Checkbox Station (Verification) - User Manual
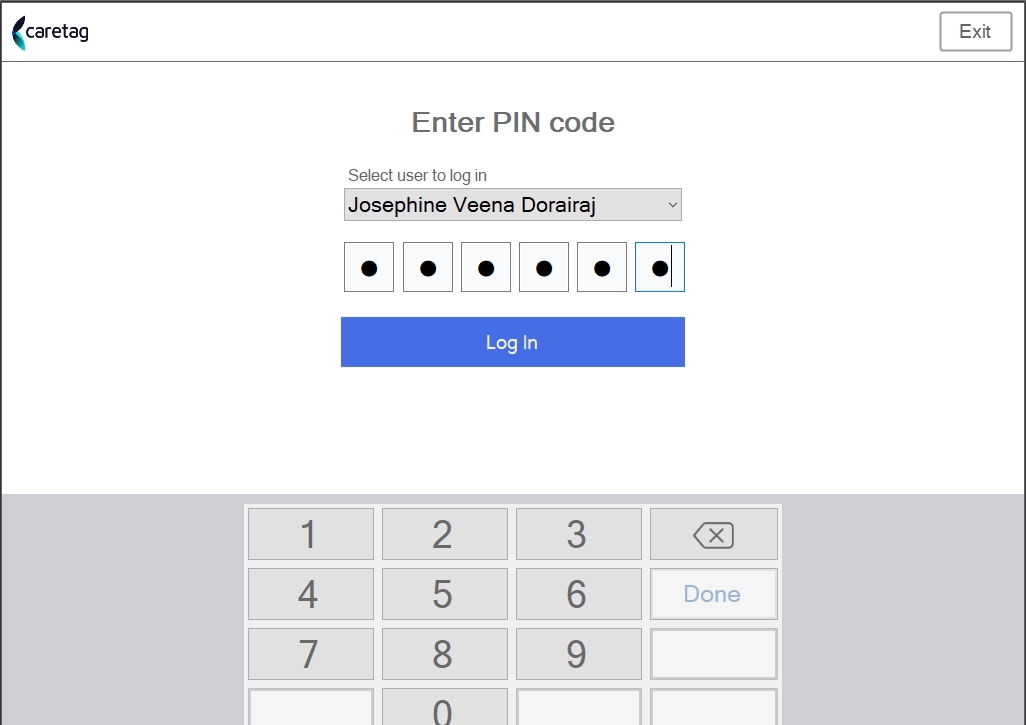
- Login with your credentials
Home Screen
- The home screen has 3 tabs: Activity, Session Scan and Difference tabs
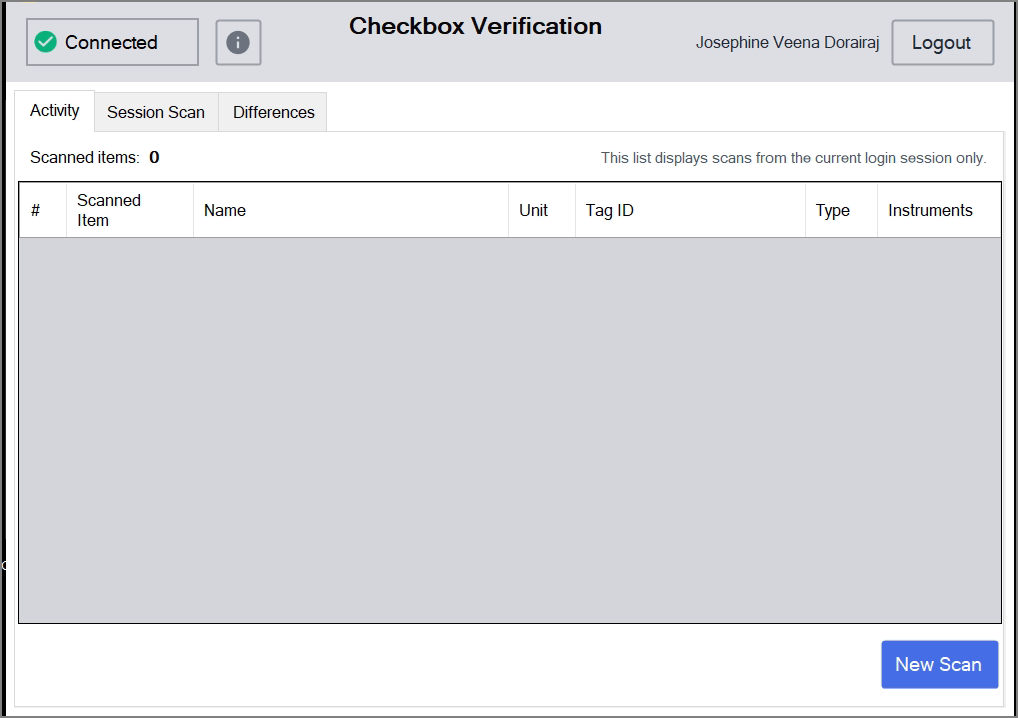
Activity - This section displays the current activity within Verification Mode. In this example, no scans have been initiated yet, so the Activity tab does not show any data. Once a scan is completed, the tab will display details of the current session.
Session Scan - Once a scan begins in the Session Scan tab, the items scanned during the session will be displayed.
Difference - Here it shows the instruments that are not packed but belongs to the packset. The instruments that are packed but not scanned. Any extra instruments that are scanned/packed.
Connected
- Click the Connected button in the top-left corner.
- Always make sure that IO BOX and the Reader and server are displayed as connected and in green color as shown in the picture.
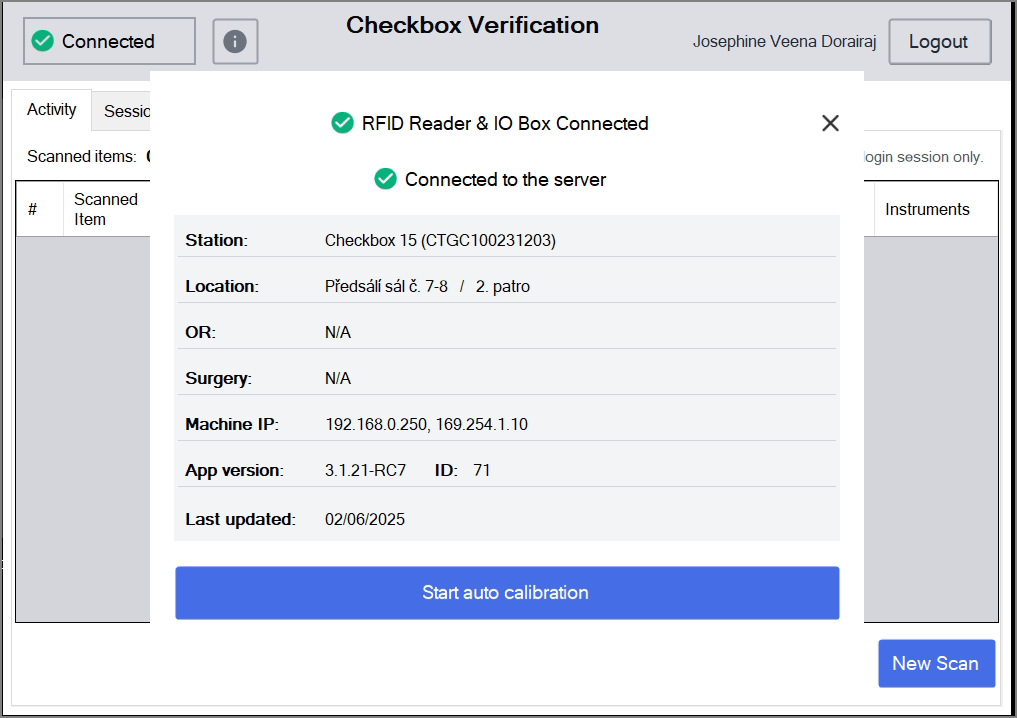
| Details | Description |
|---|---|
Station | Name of the Machine |
Location | Where the Machine is located(Floor and Room details) |
OR | Operating room details (if available) |
Surgery | Surgery details (if available) |
Machine IP | IP Address of the Machine |
APP Version | Application version |
Last updated | App Last updated date |
Start Auto Calibration | Click the start auto calibration button, the turn table will rotate and stop in the right position |
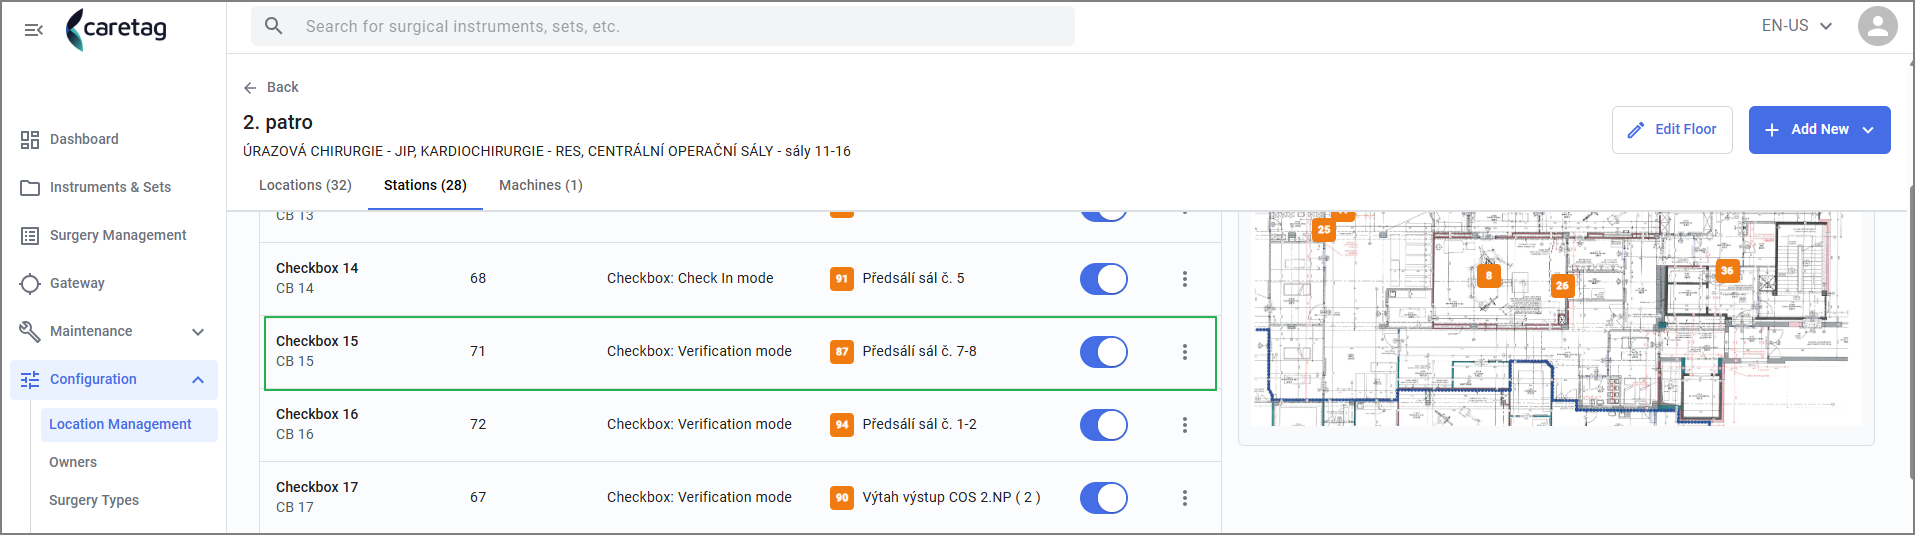
- The information shown in the table above is sourced from the Admin Station’s Location Management section within the web application.
New Scan
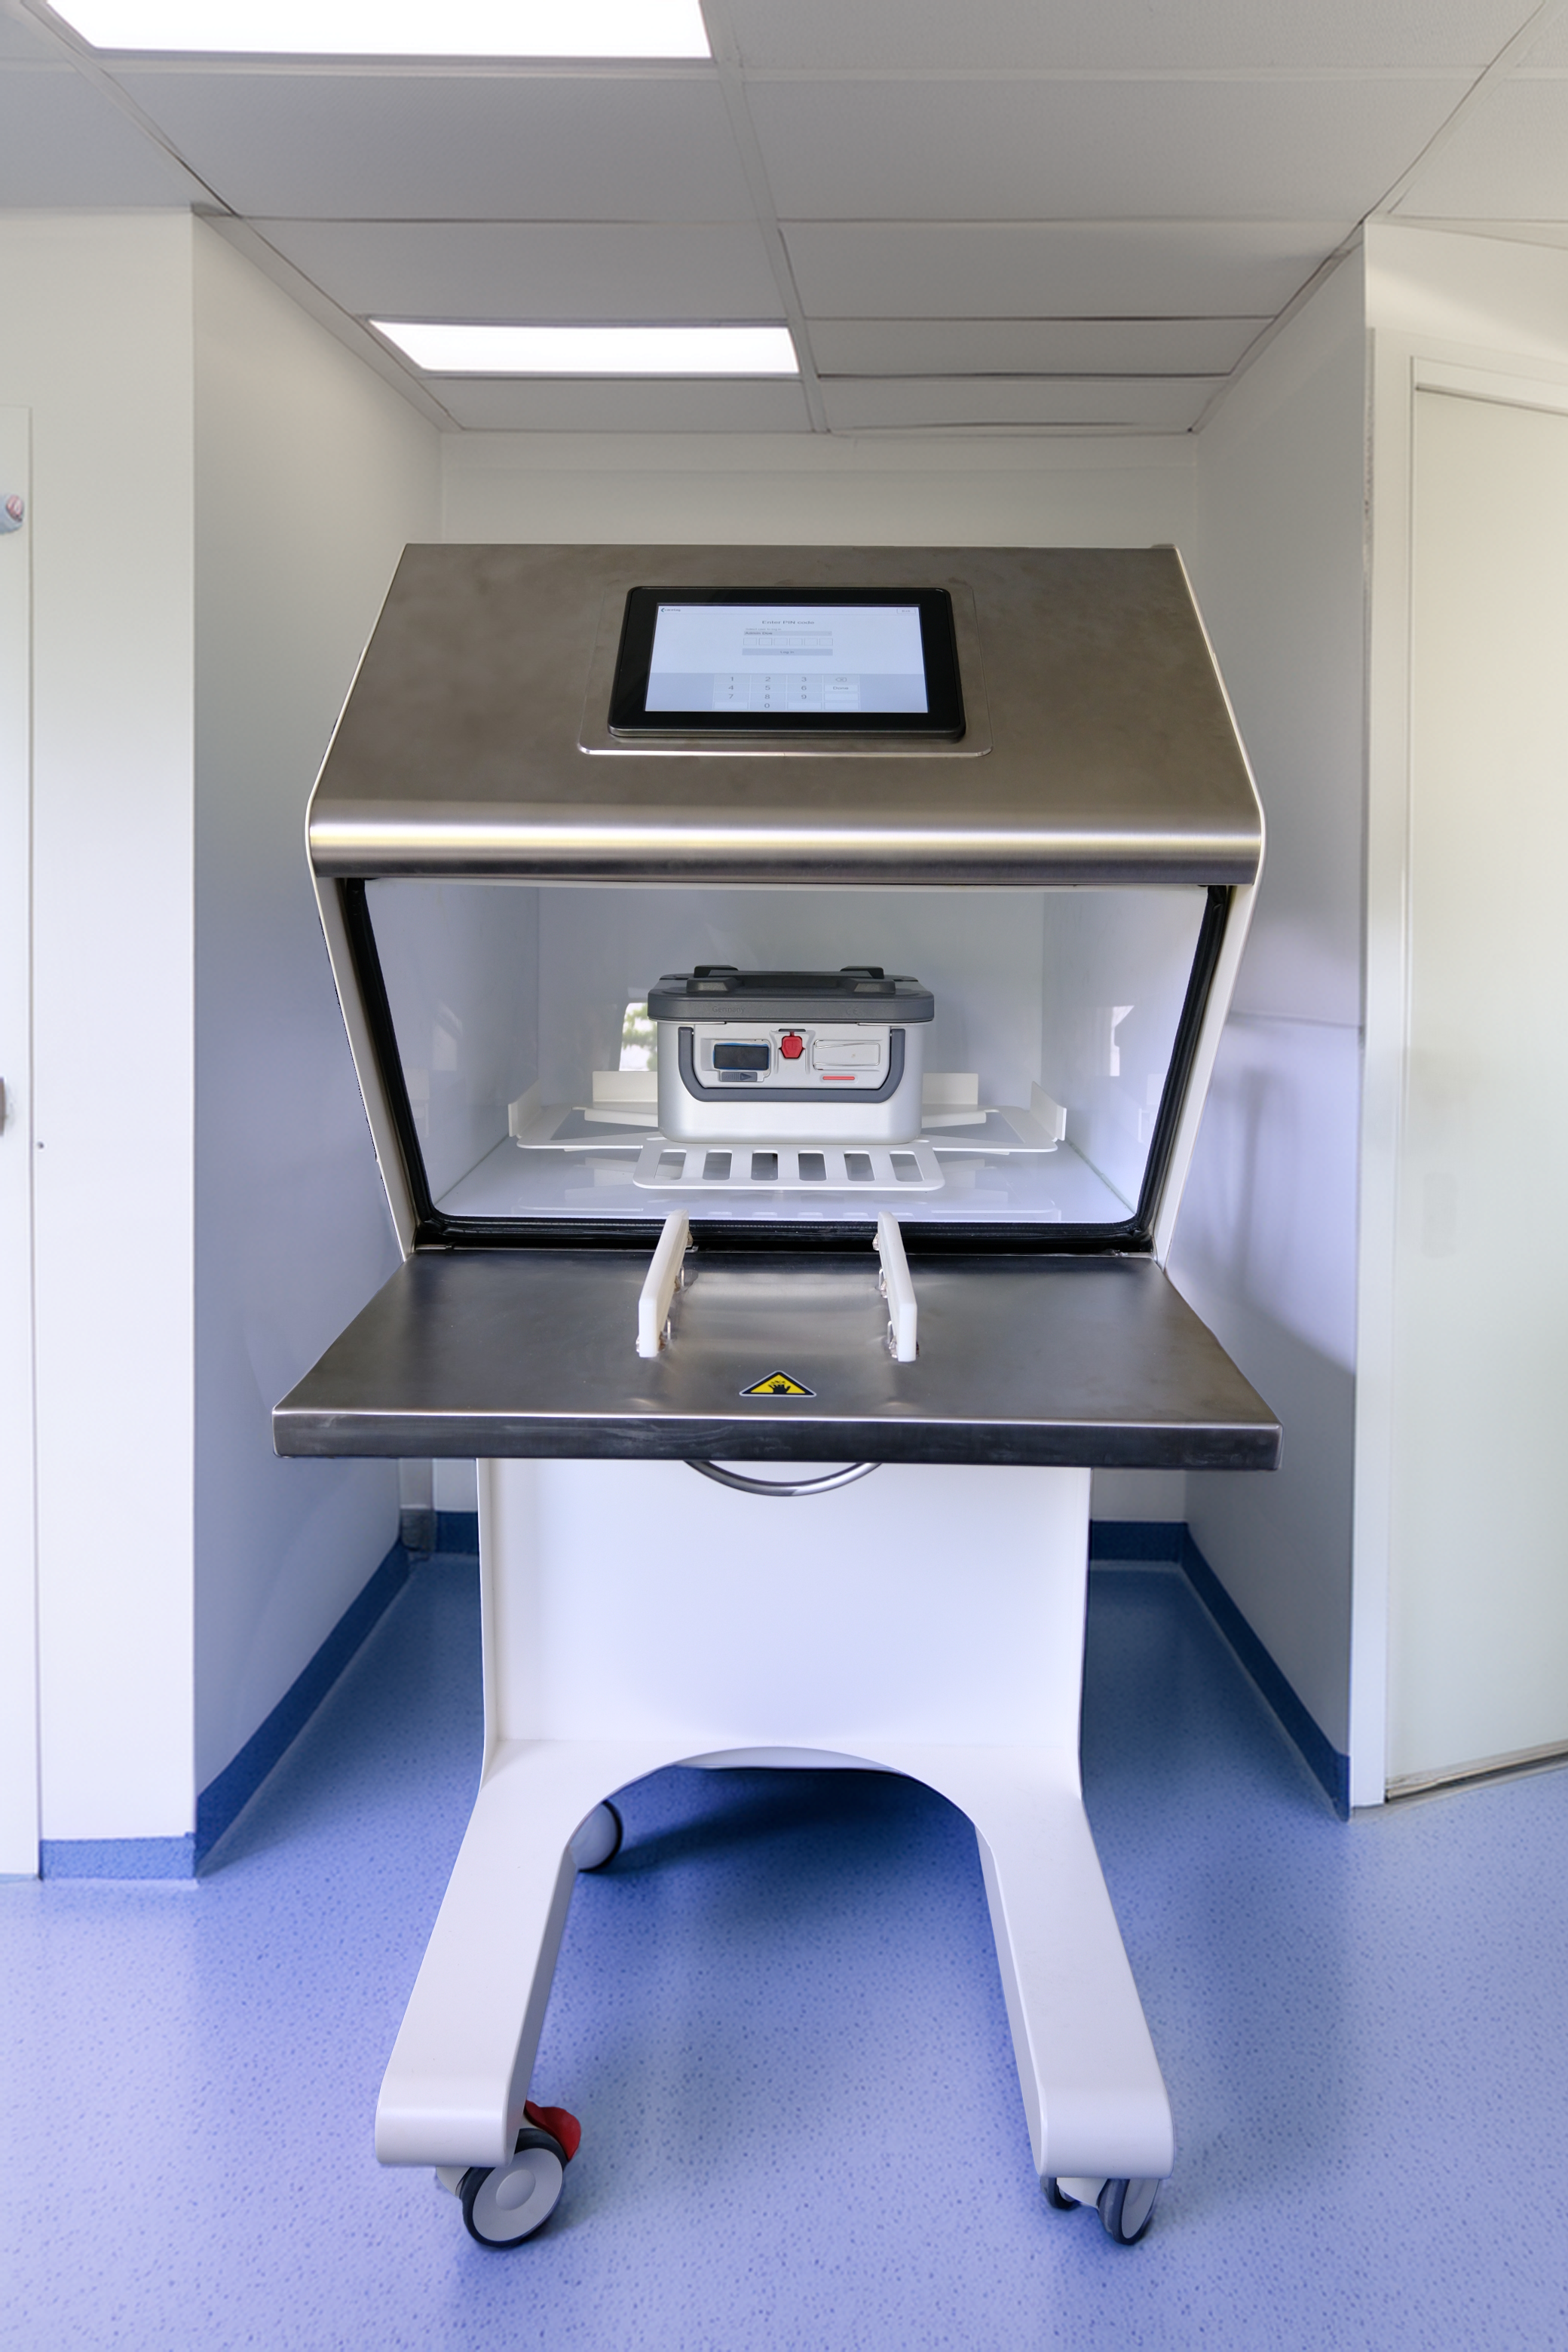
- The packed tray/container/pouch is placed inside the checkbox and close the door.
Note
Only one set should be placed inside the checkbox machine at a time for verification. Do not place multiple sets together (e.g., a container/tray along with a pouch), as this is not allowed.
- Click the New Scan button
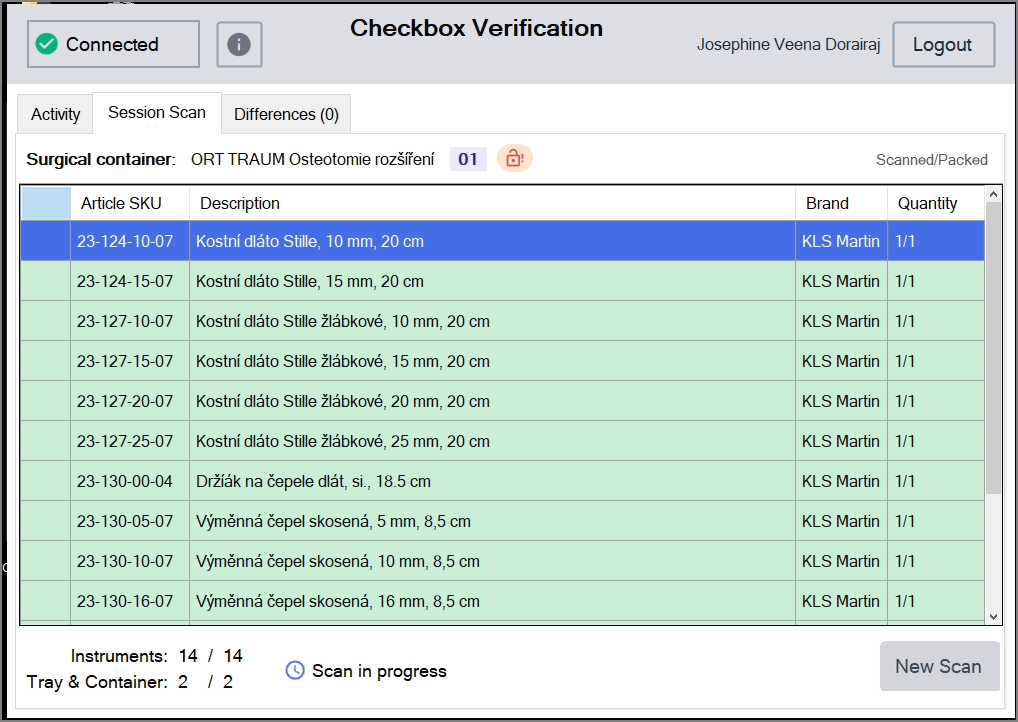
- While the scanning is in progress, the scanned items’ details are displayed in the session scan tab.
- In the session scan tab it displays the article SKU, name of the instruments, brand of the instruments and the Quantity in scanned vs Packed.
- In the center of the screen it displays the name of the tray or container.
- At the bottom, the total count of scanned versus packed instruments, as well as the number of trays and containers, is shown.
- Any missing or extra items in packing/scanning are displayed in the difference tab, highlighting them in green color.
- In this scenario we have 2 extra items and 2 missing items from packing.
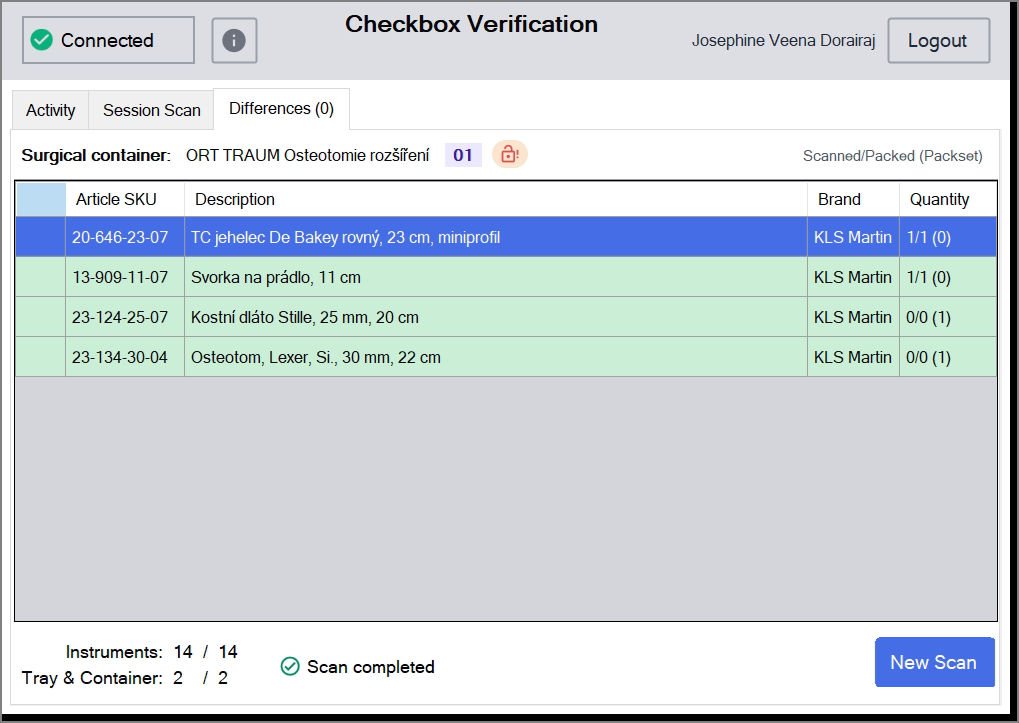
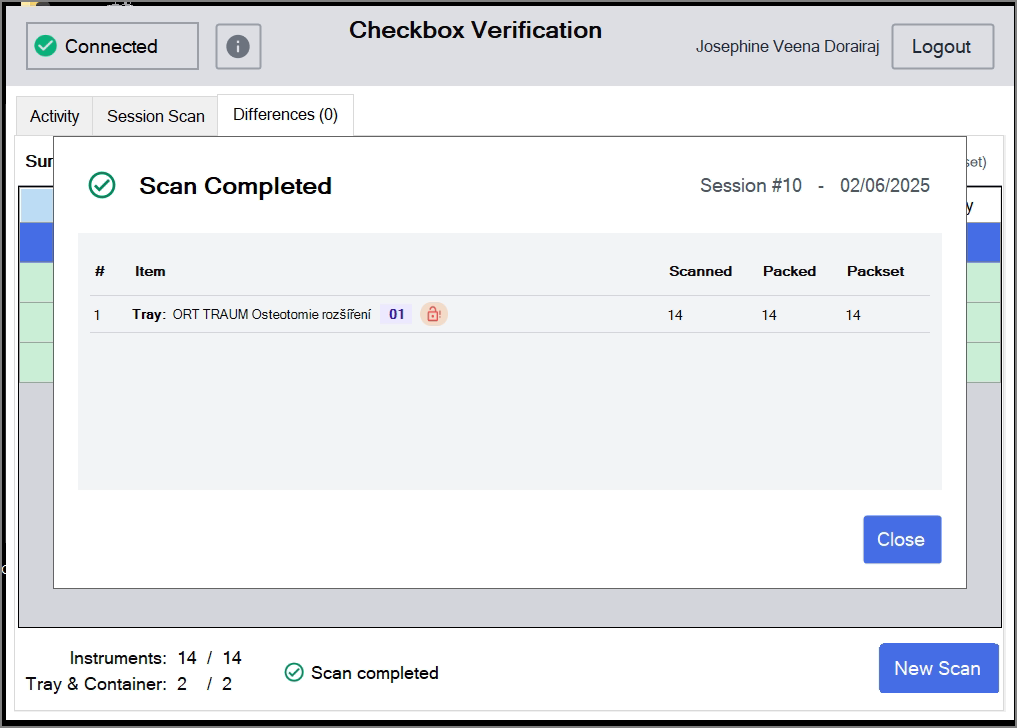
- Once the scan is completed, a ‘Scan Completed’ window appears. It displays the packset name, the number of items scanned and packed, and the total packset count.
- The session number and date are shown in the top-right corner.
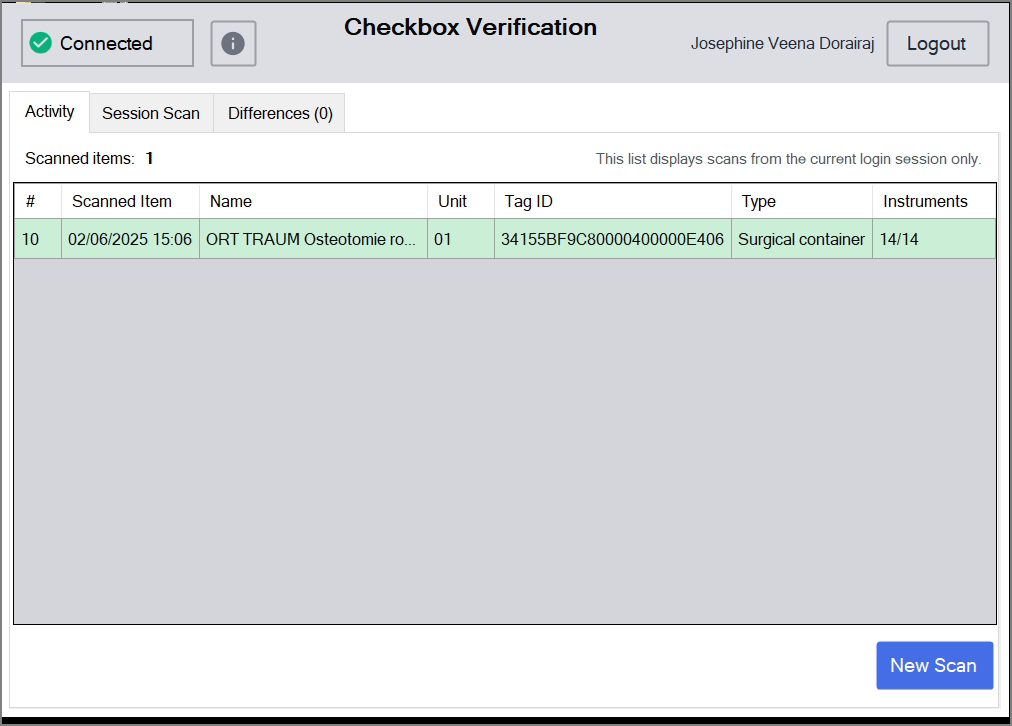
- In the acitivy tab it dispalys the current session details of the scanned items, name of the tray, unit, tag ID , type and instrument count.