Checkbox Station (Check-Out) - User Manual
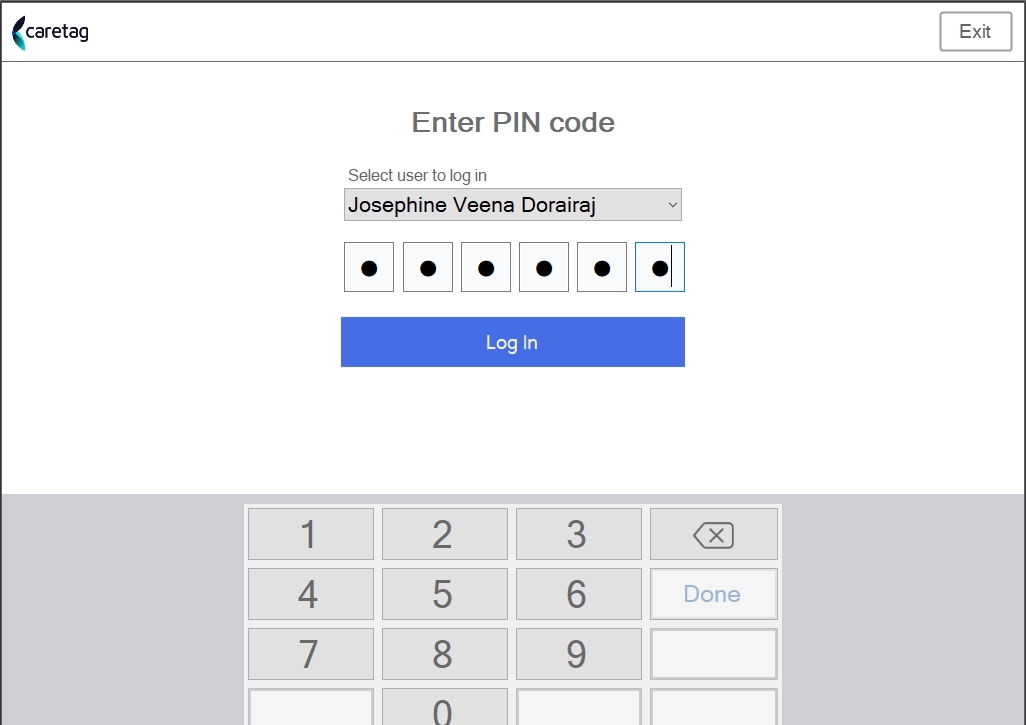
Log in to the application. Select your name and enter the pin code.
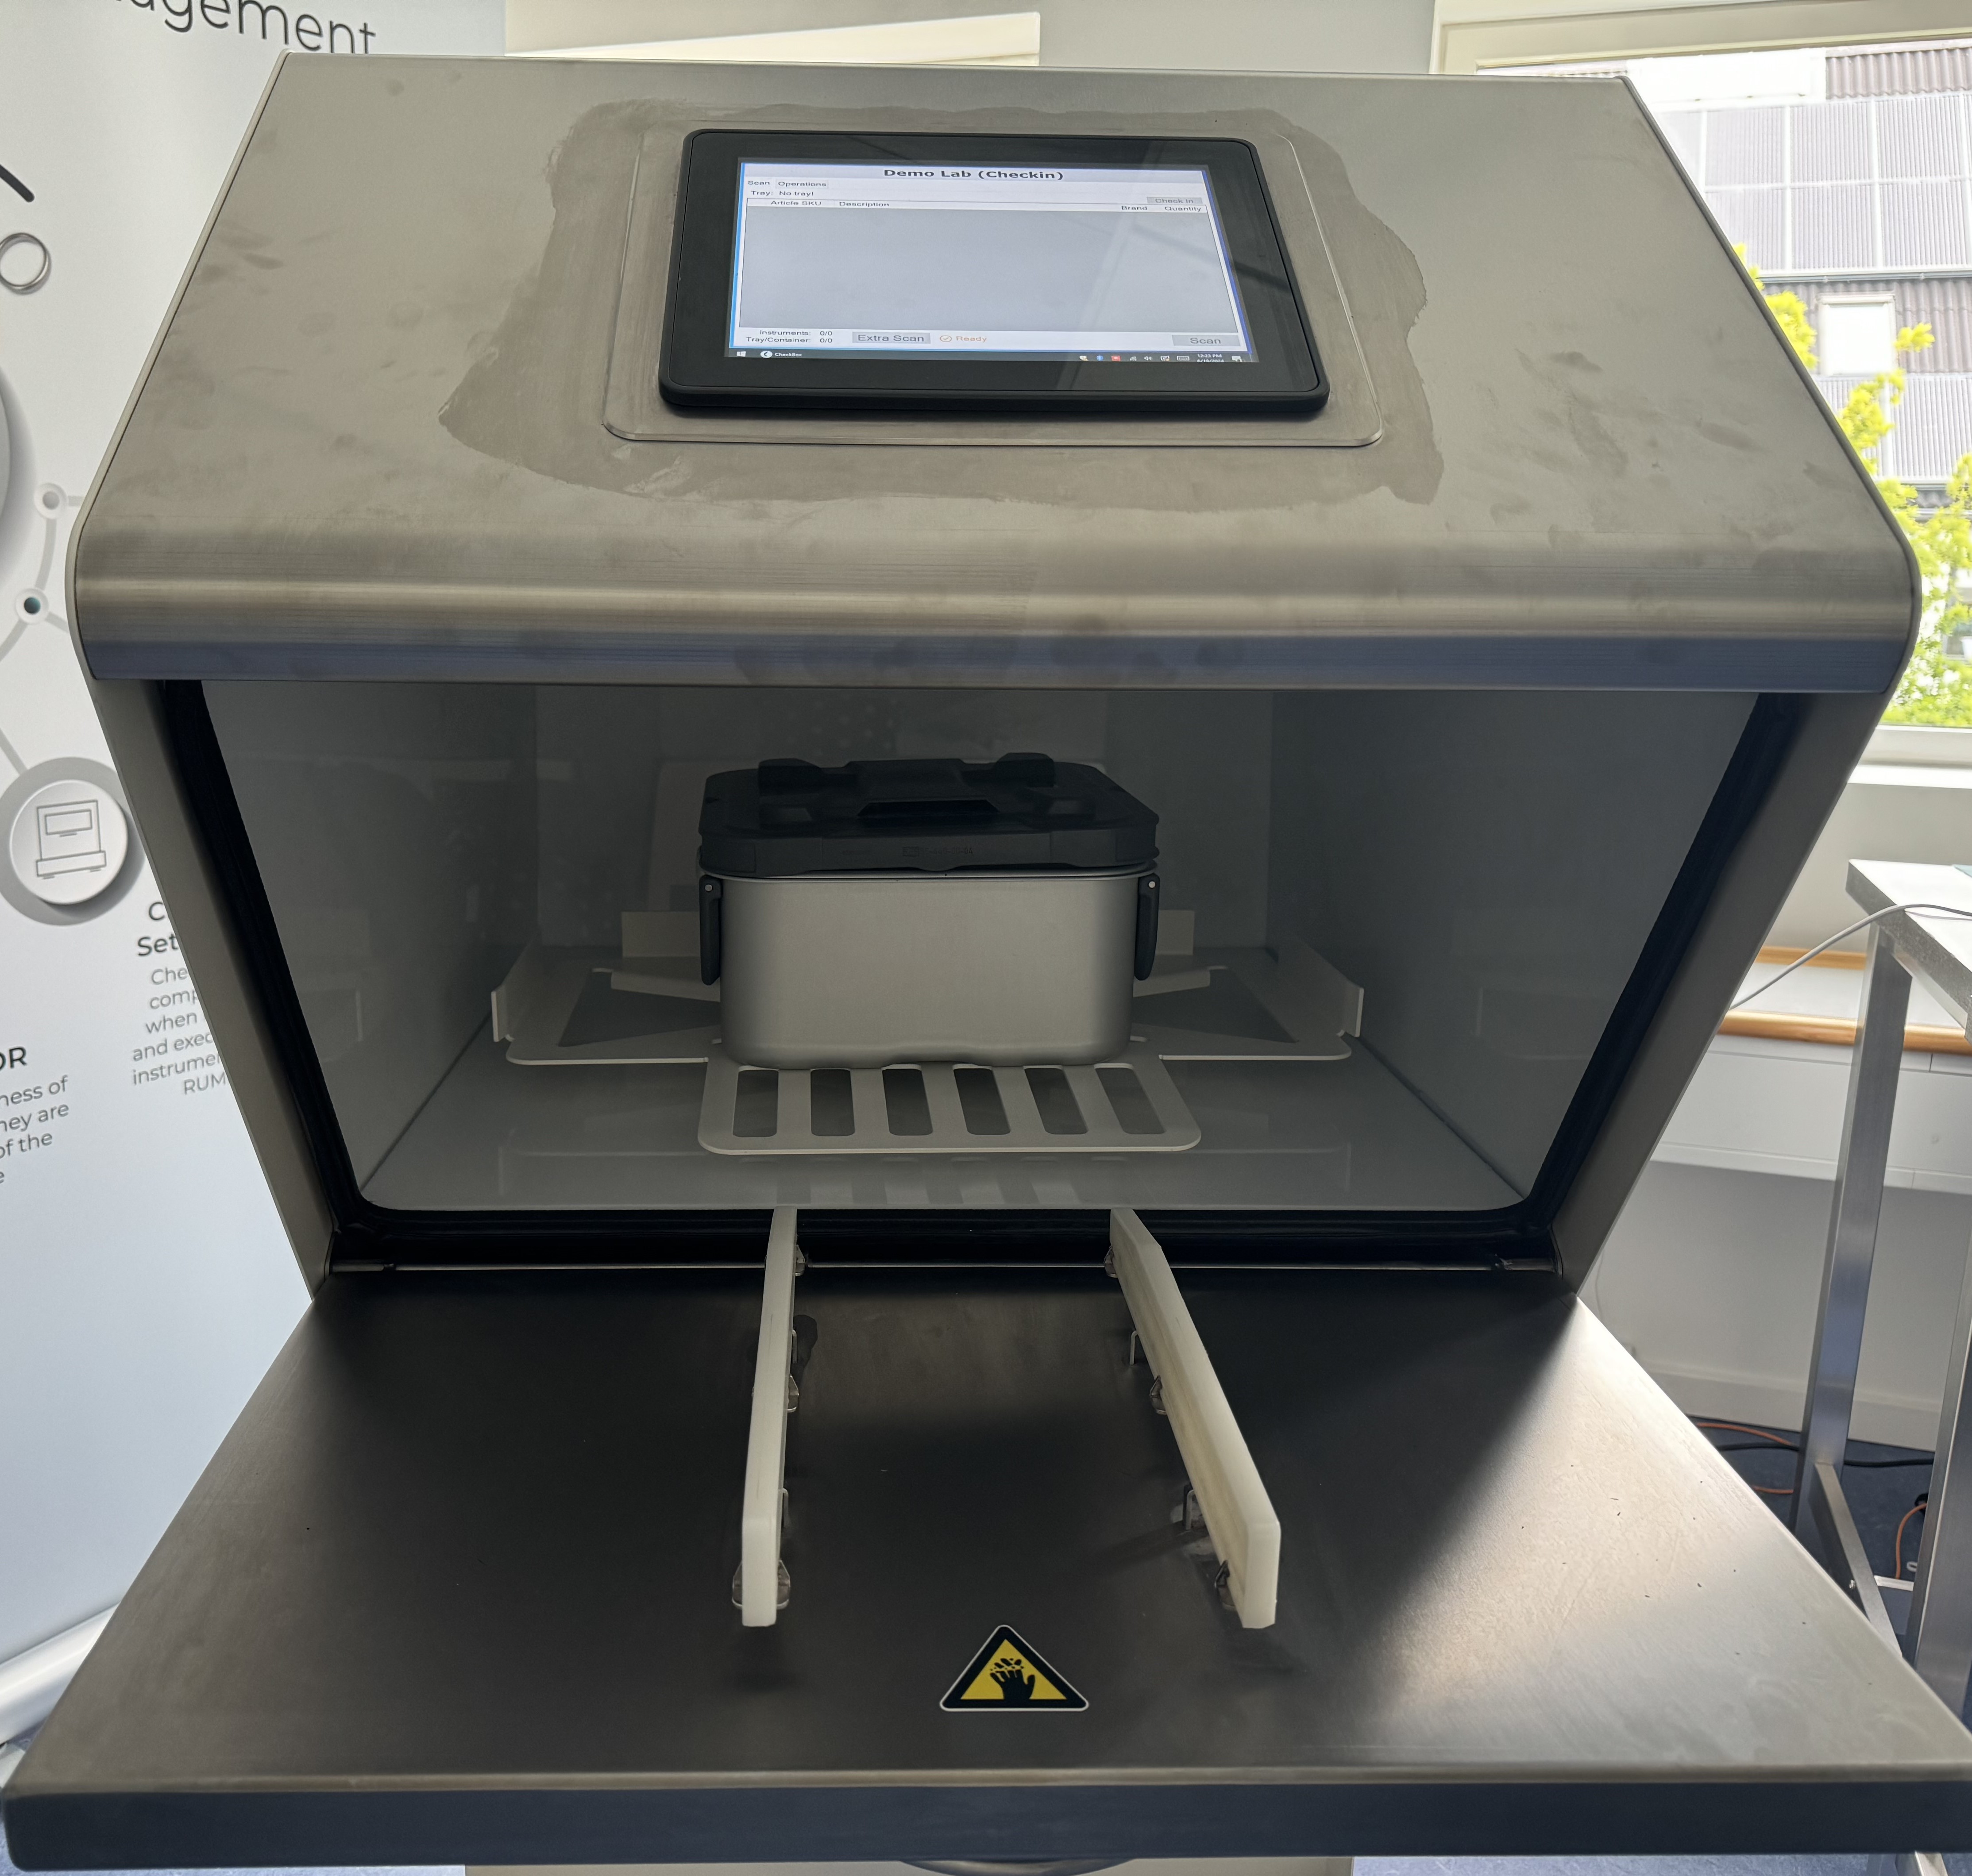
Place the container/tray inside the check-out station.
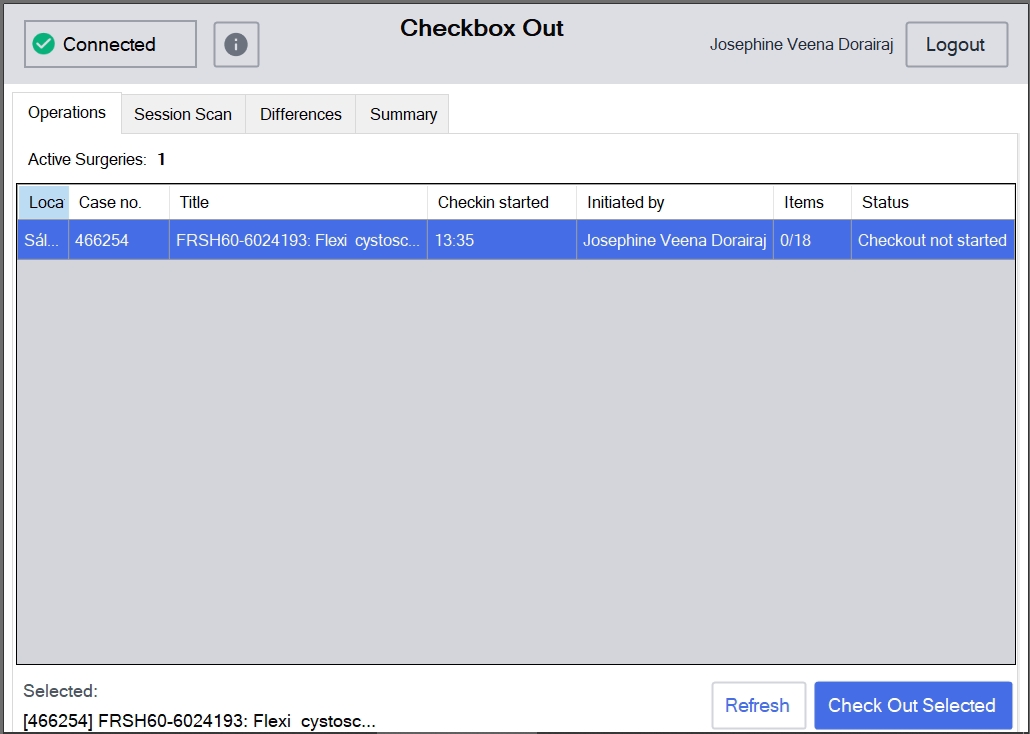
Choose a surgery from the list and click “Check Out Selected”.
A popup with the surgery details will appear:
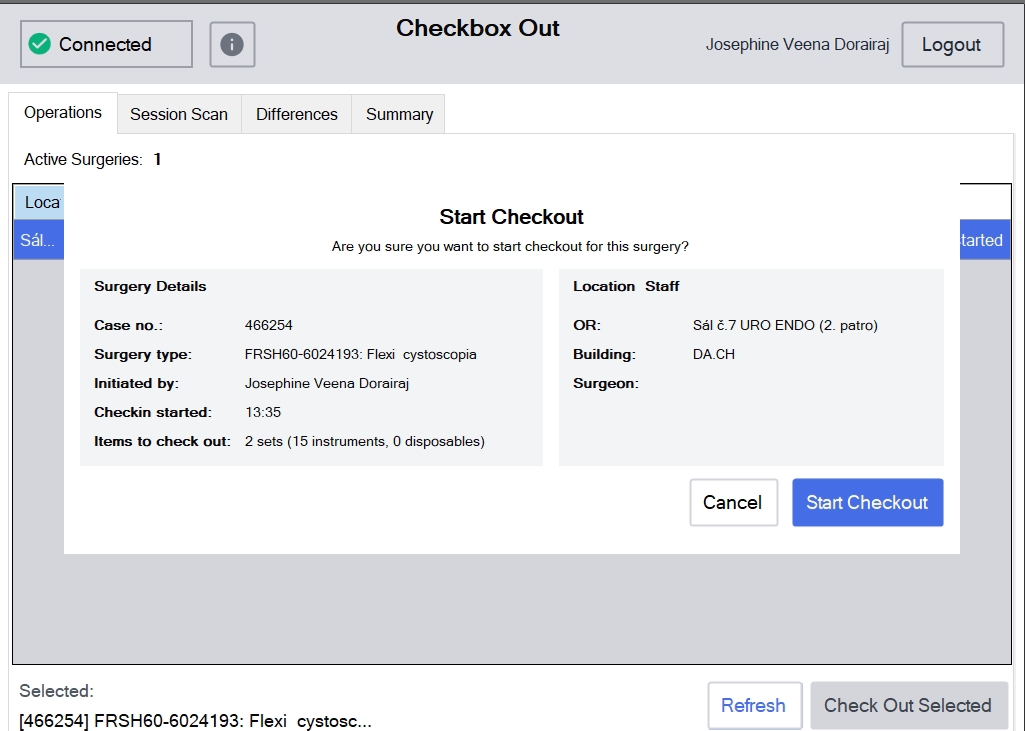
In order to carry on, click on “Start Checkout”. Then, the below screen will be displayed. Click “New Scan” to begin scanning.
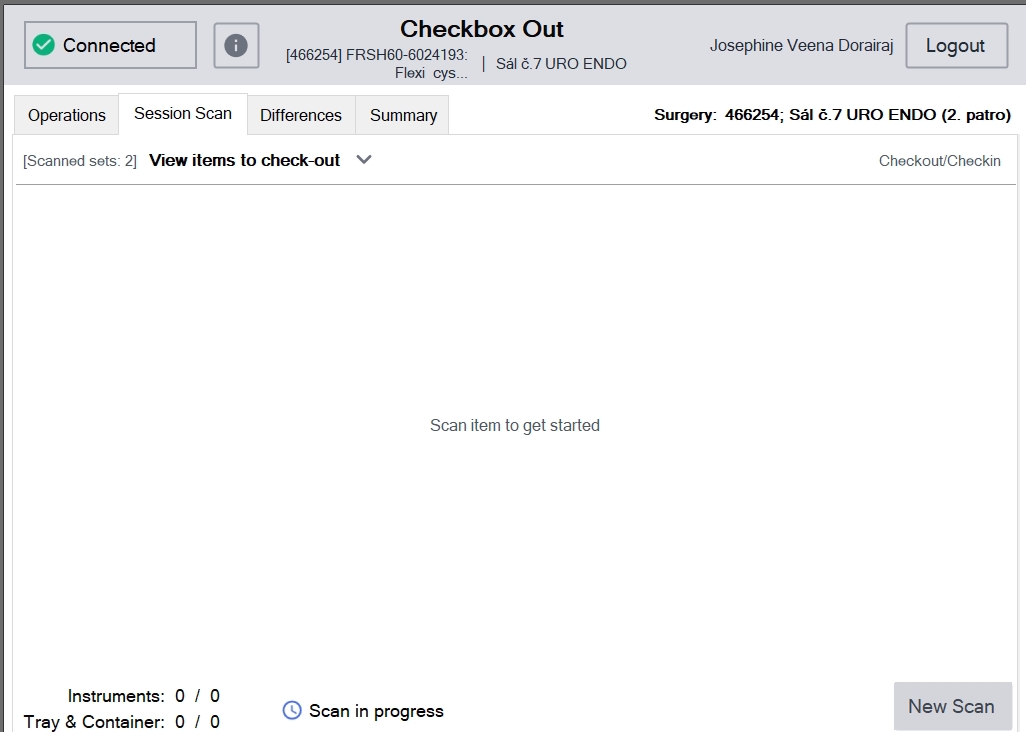
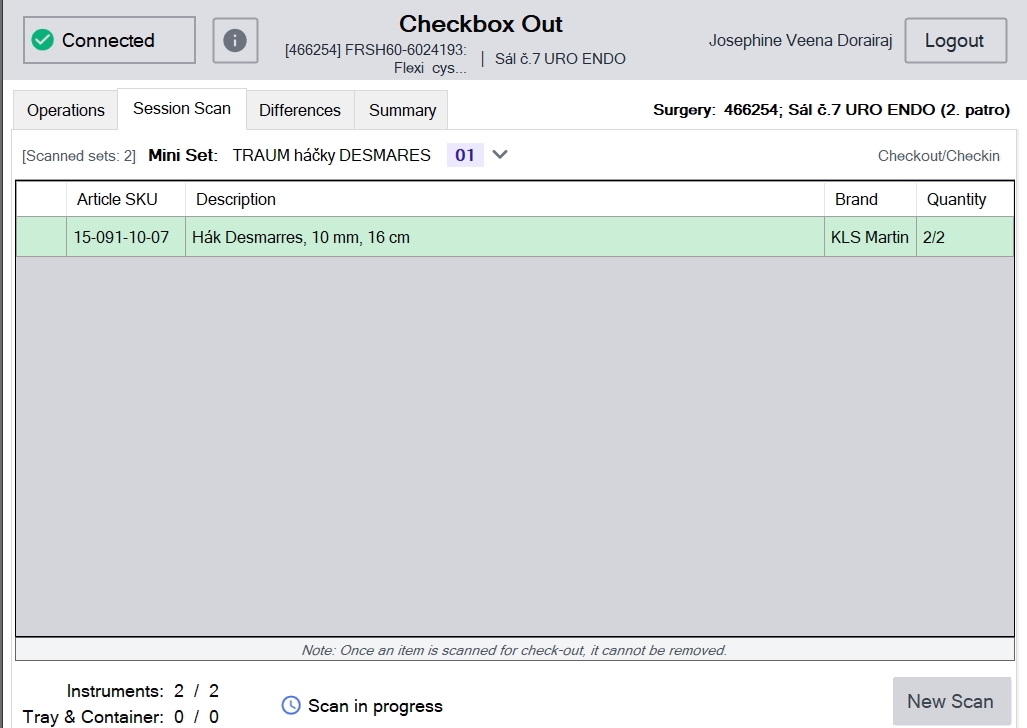
The scanned items will be shown:
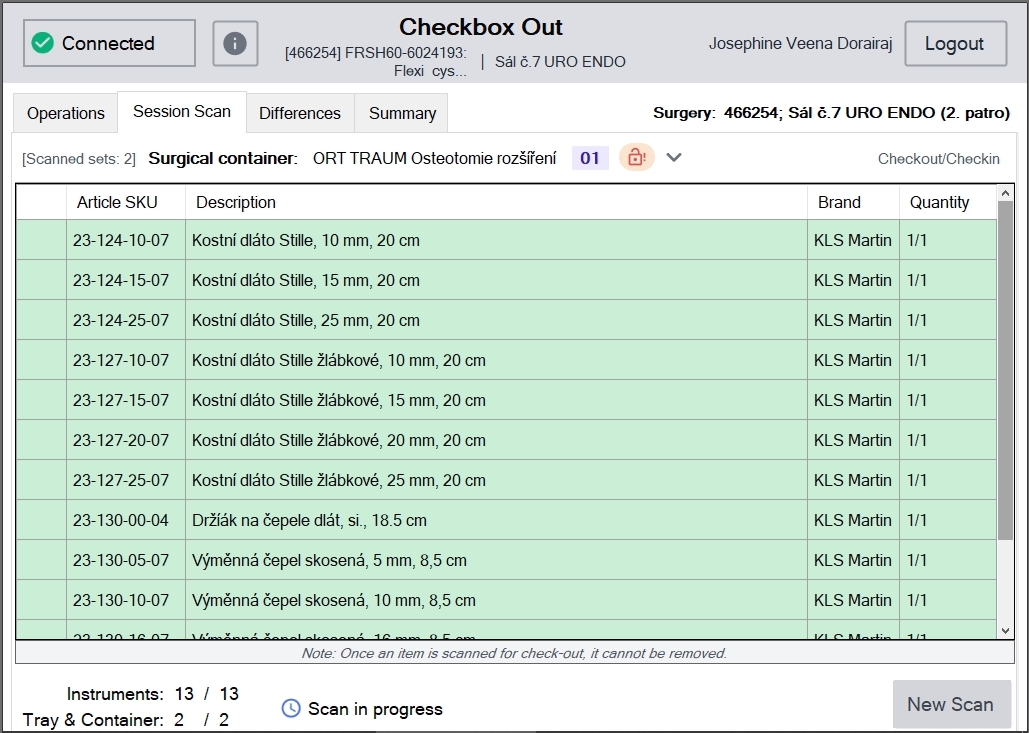
While scanning, items are color-coded: green (matches the packing list), yellow (missing items) and purple (extra items). To have more details, click on “Differences” tab.
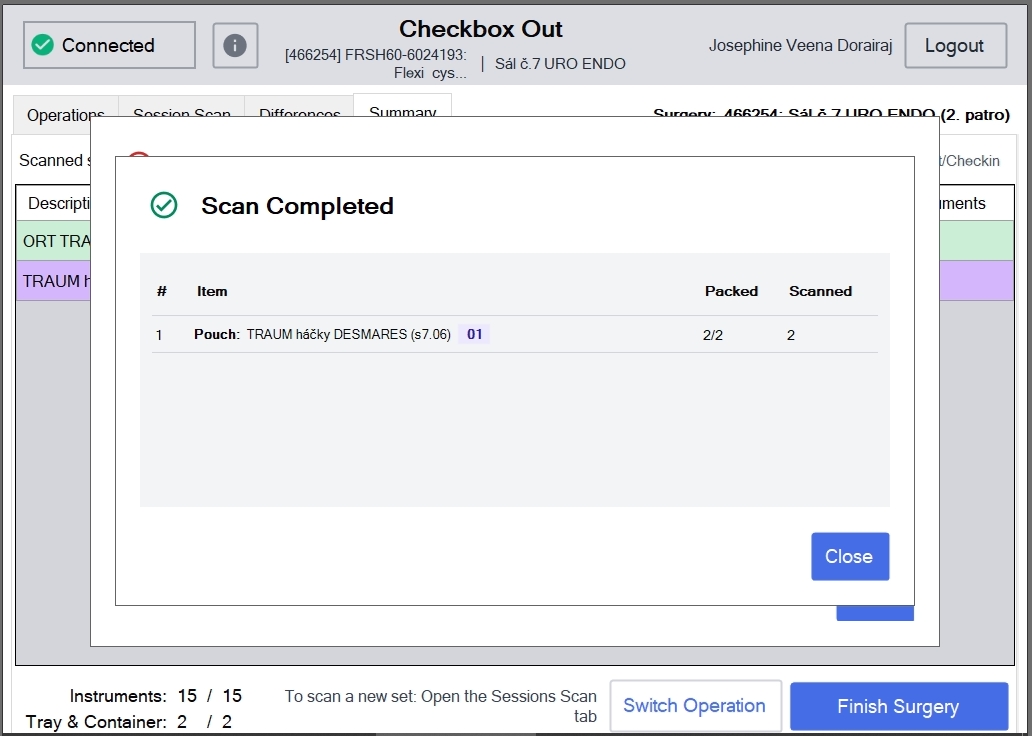
When the scan is finished, it will appear a message.
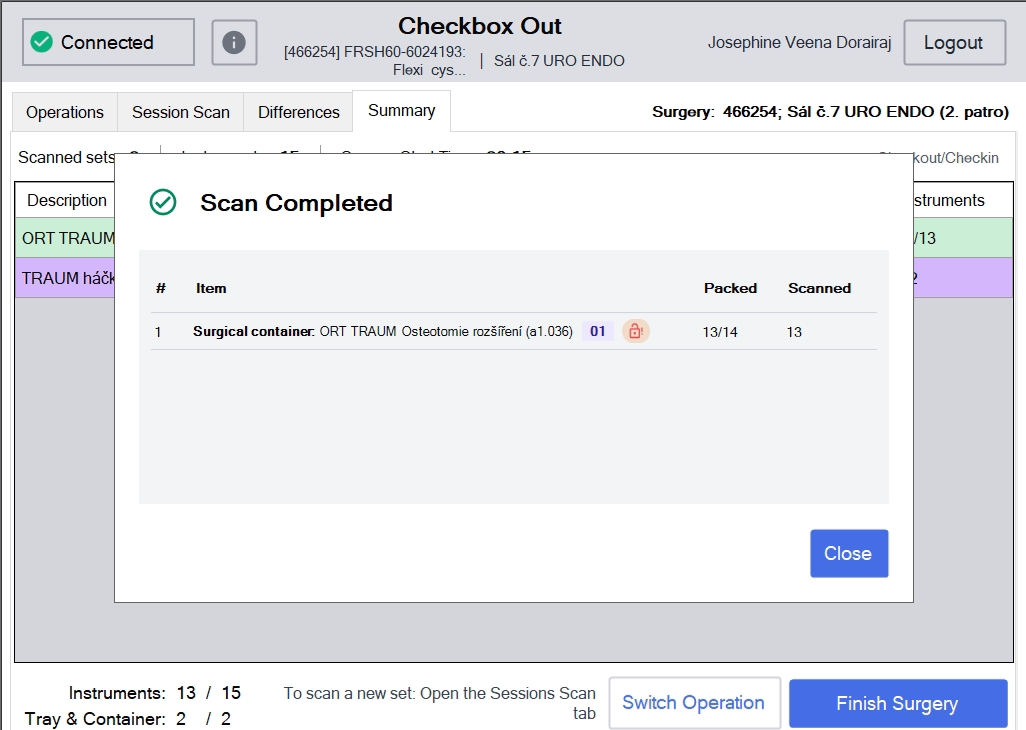
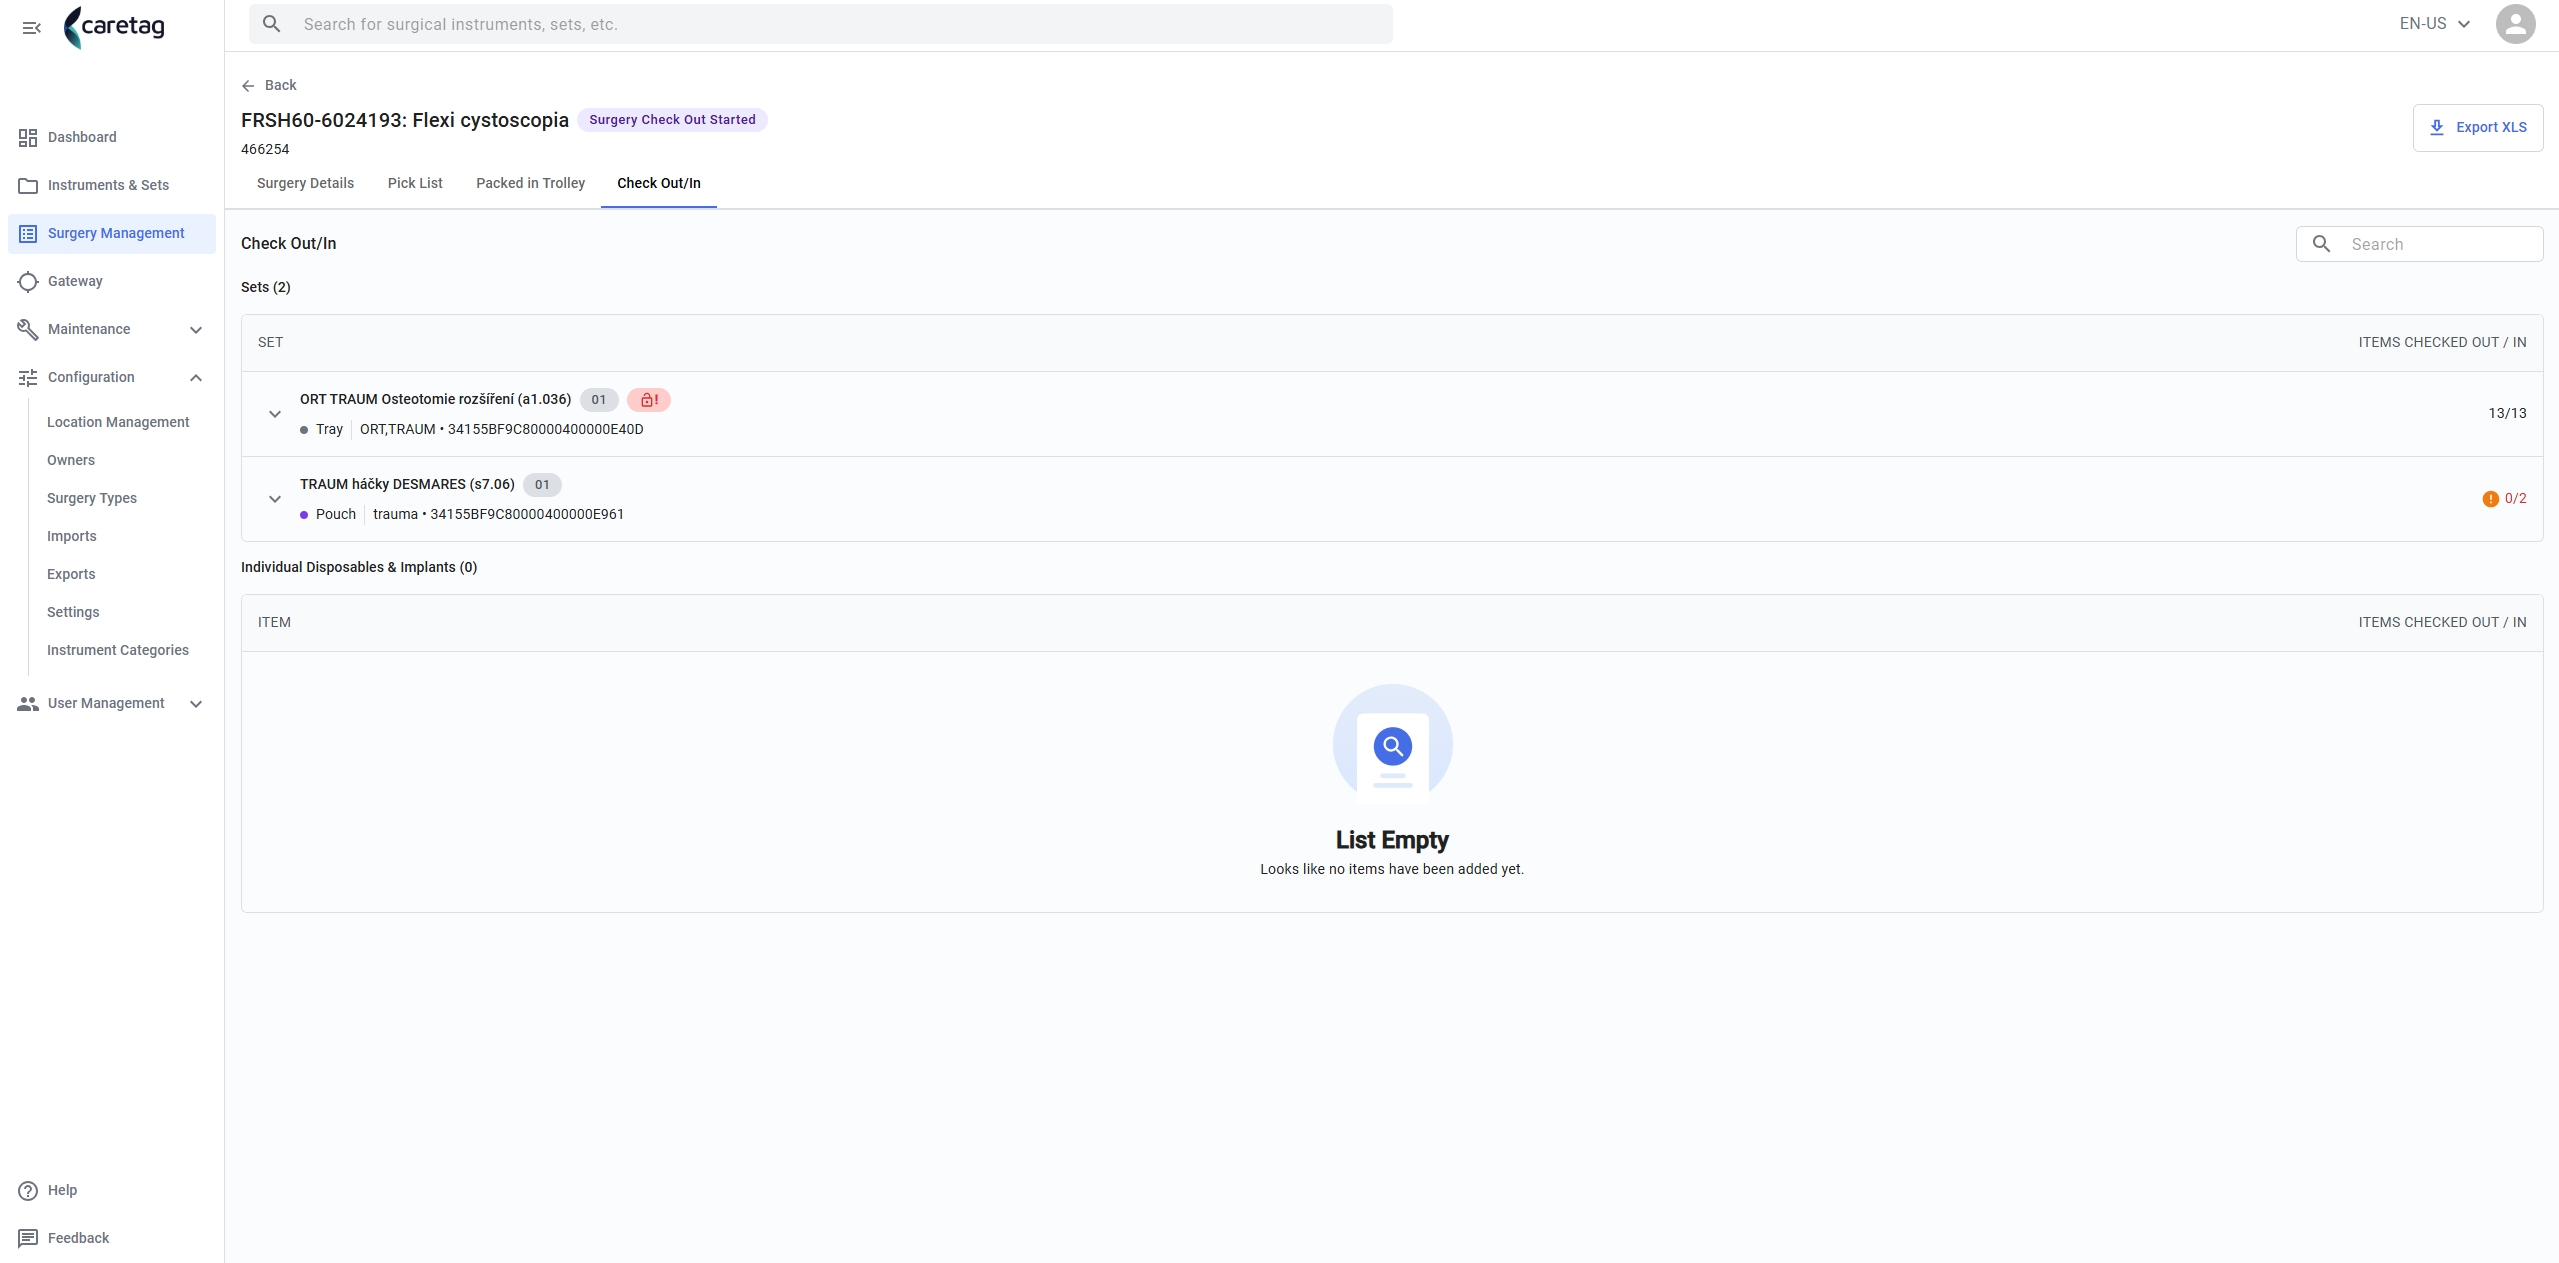
In the Admin Station (Web application) we will be able to see that the Surgery Check Out has started, not yet completed though.
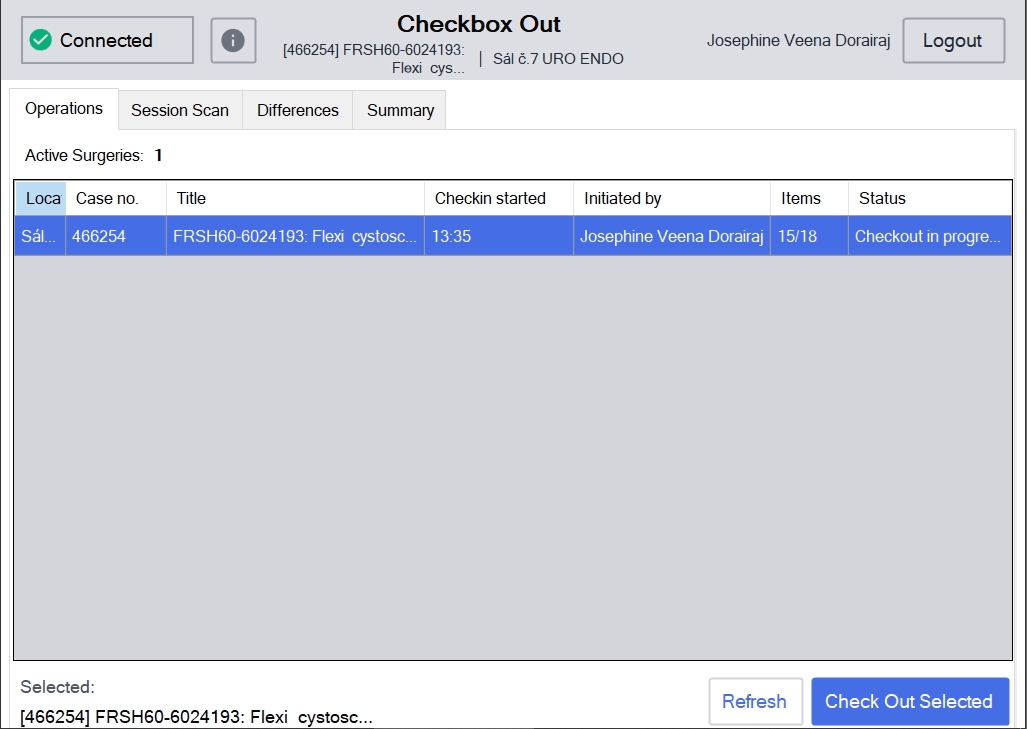
The same status in the application: checkout in progress.
Tab “Session Scan”: bold
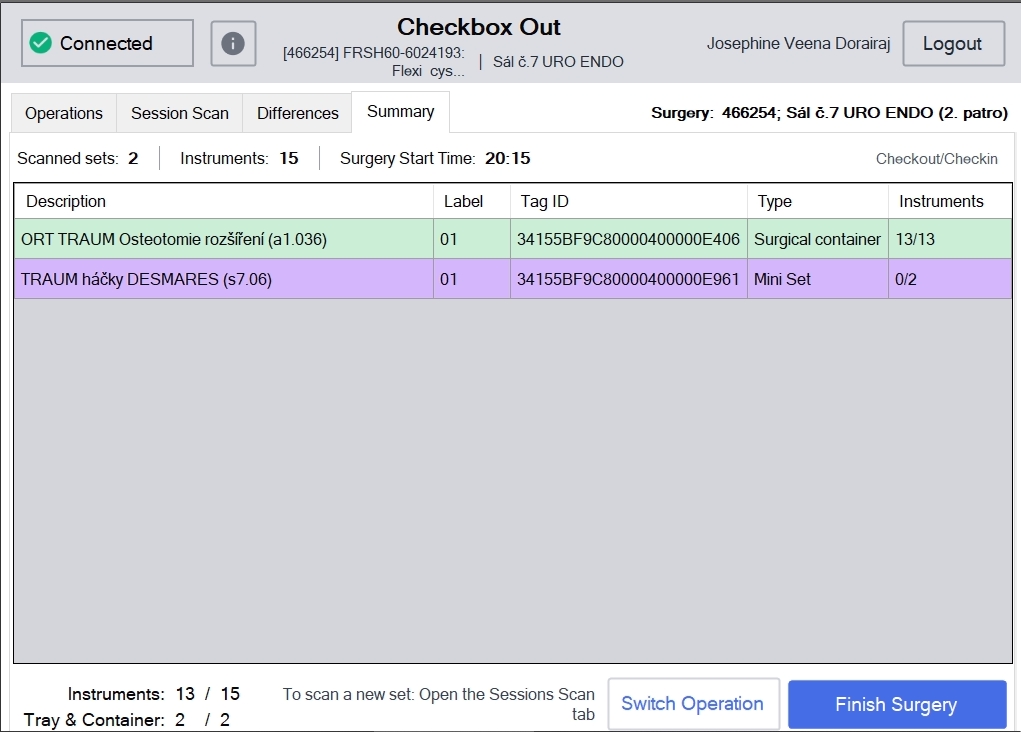
Click “Summary” to have a full overview.
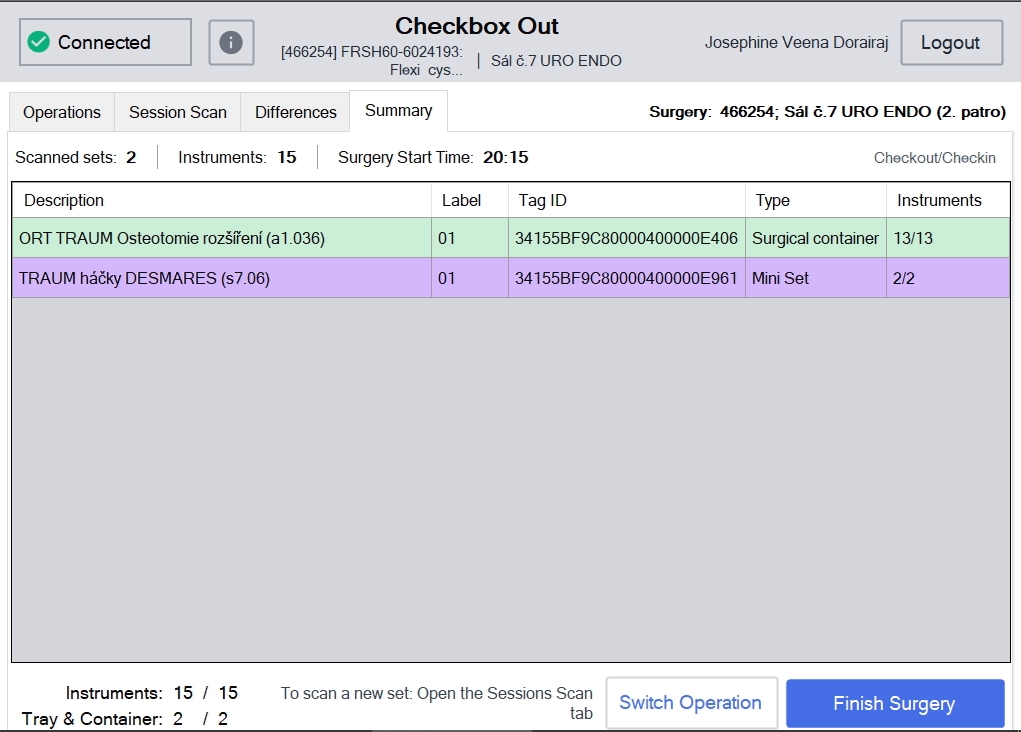
Scan completed bold
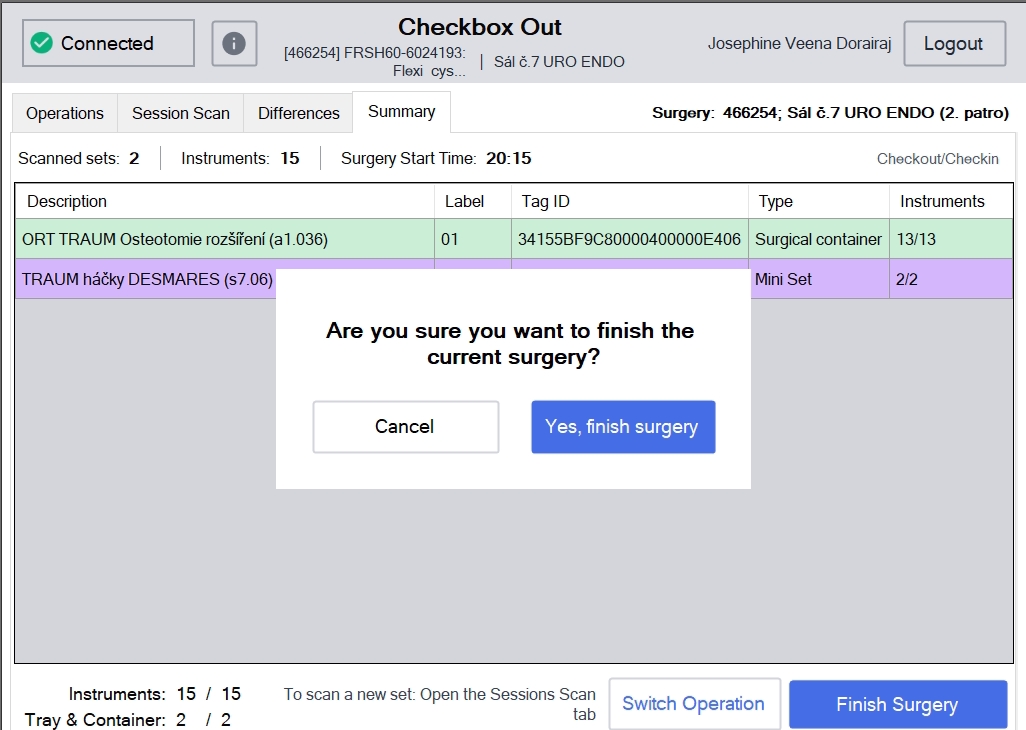
Go to “Finish Surgery” to finalize the checkout process.
In case of discrepancies, you will be prompt with:
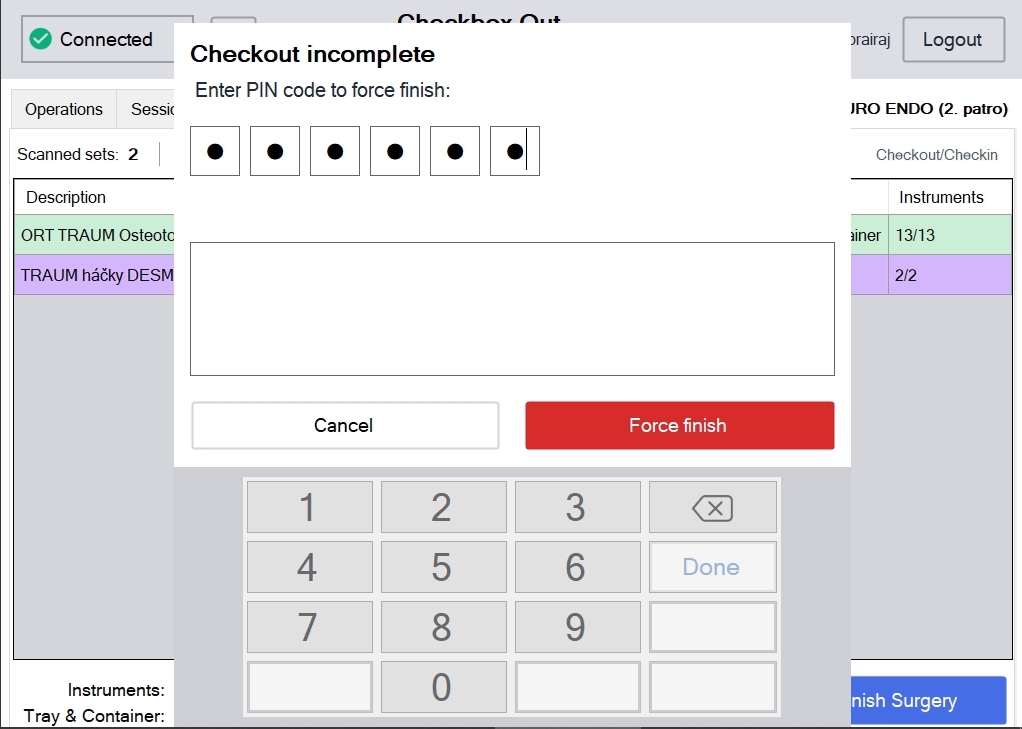
You just need to enter the PIN and click “Force finish”.
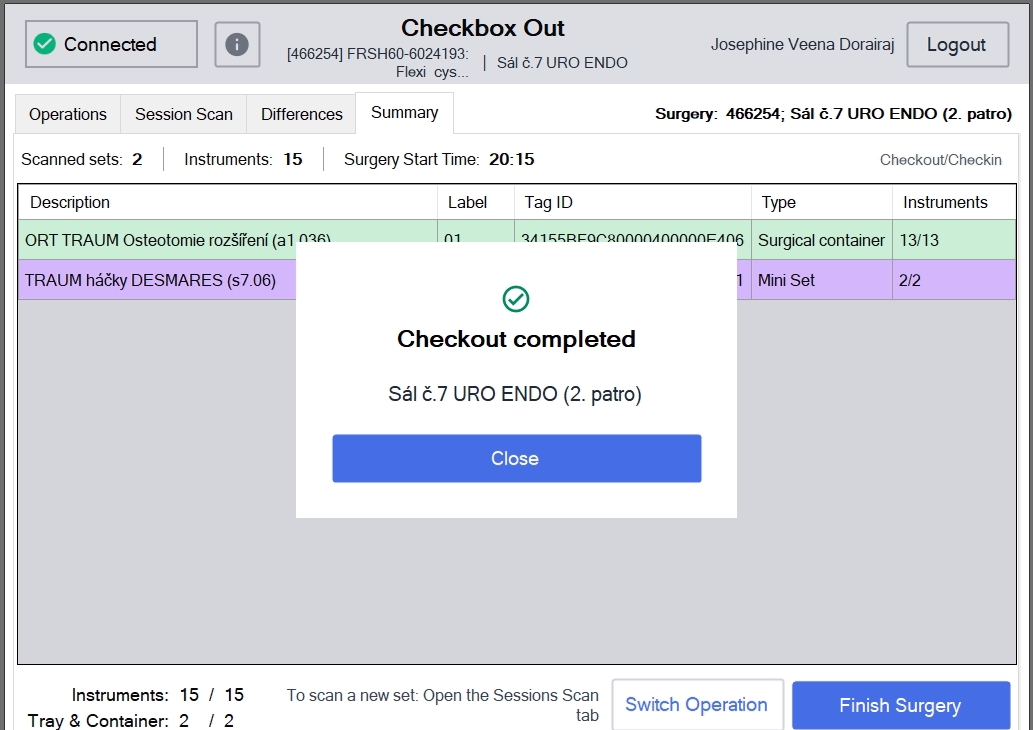
Checkout is completed.
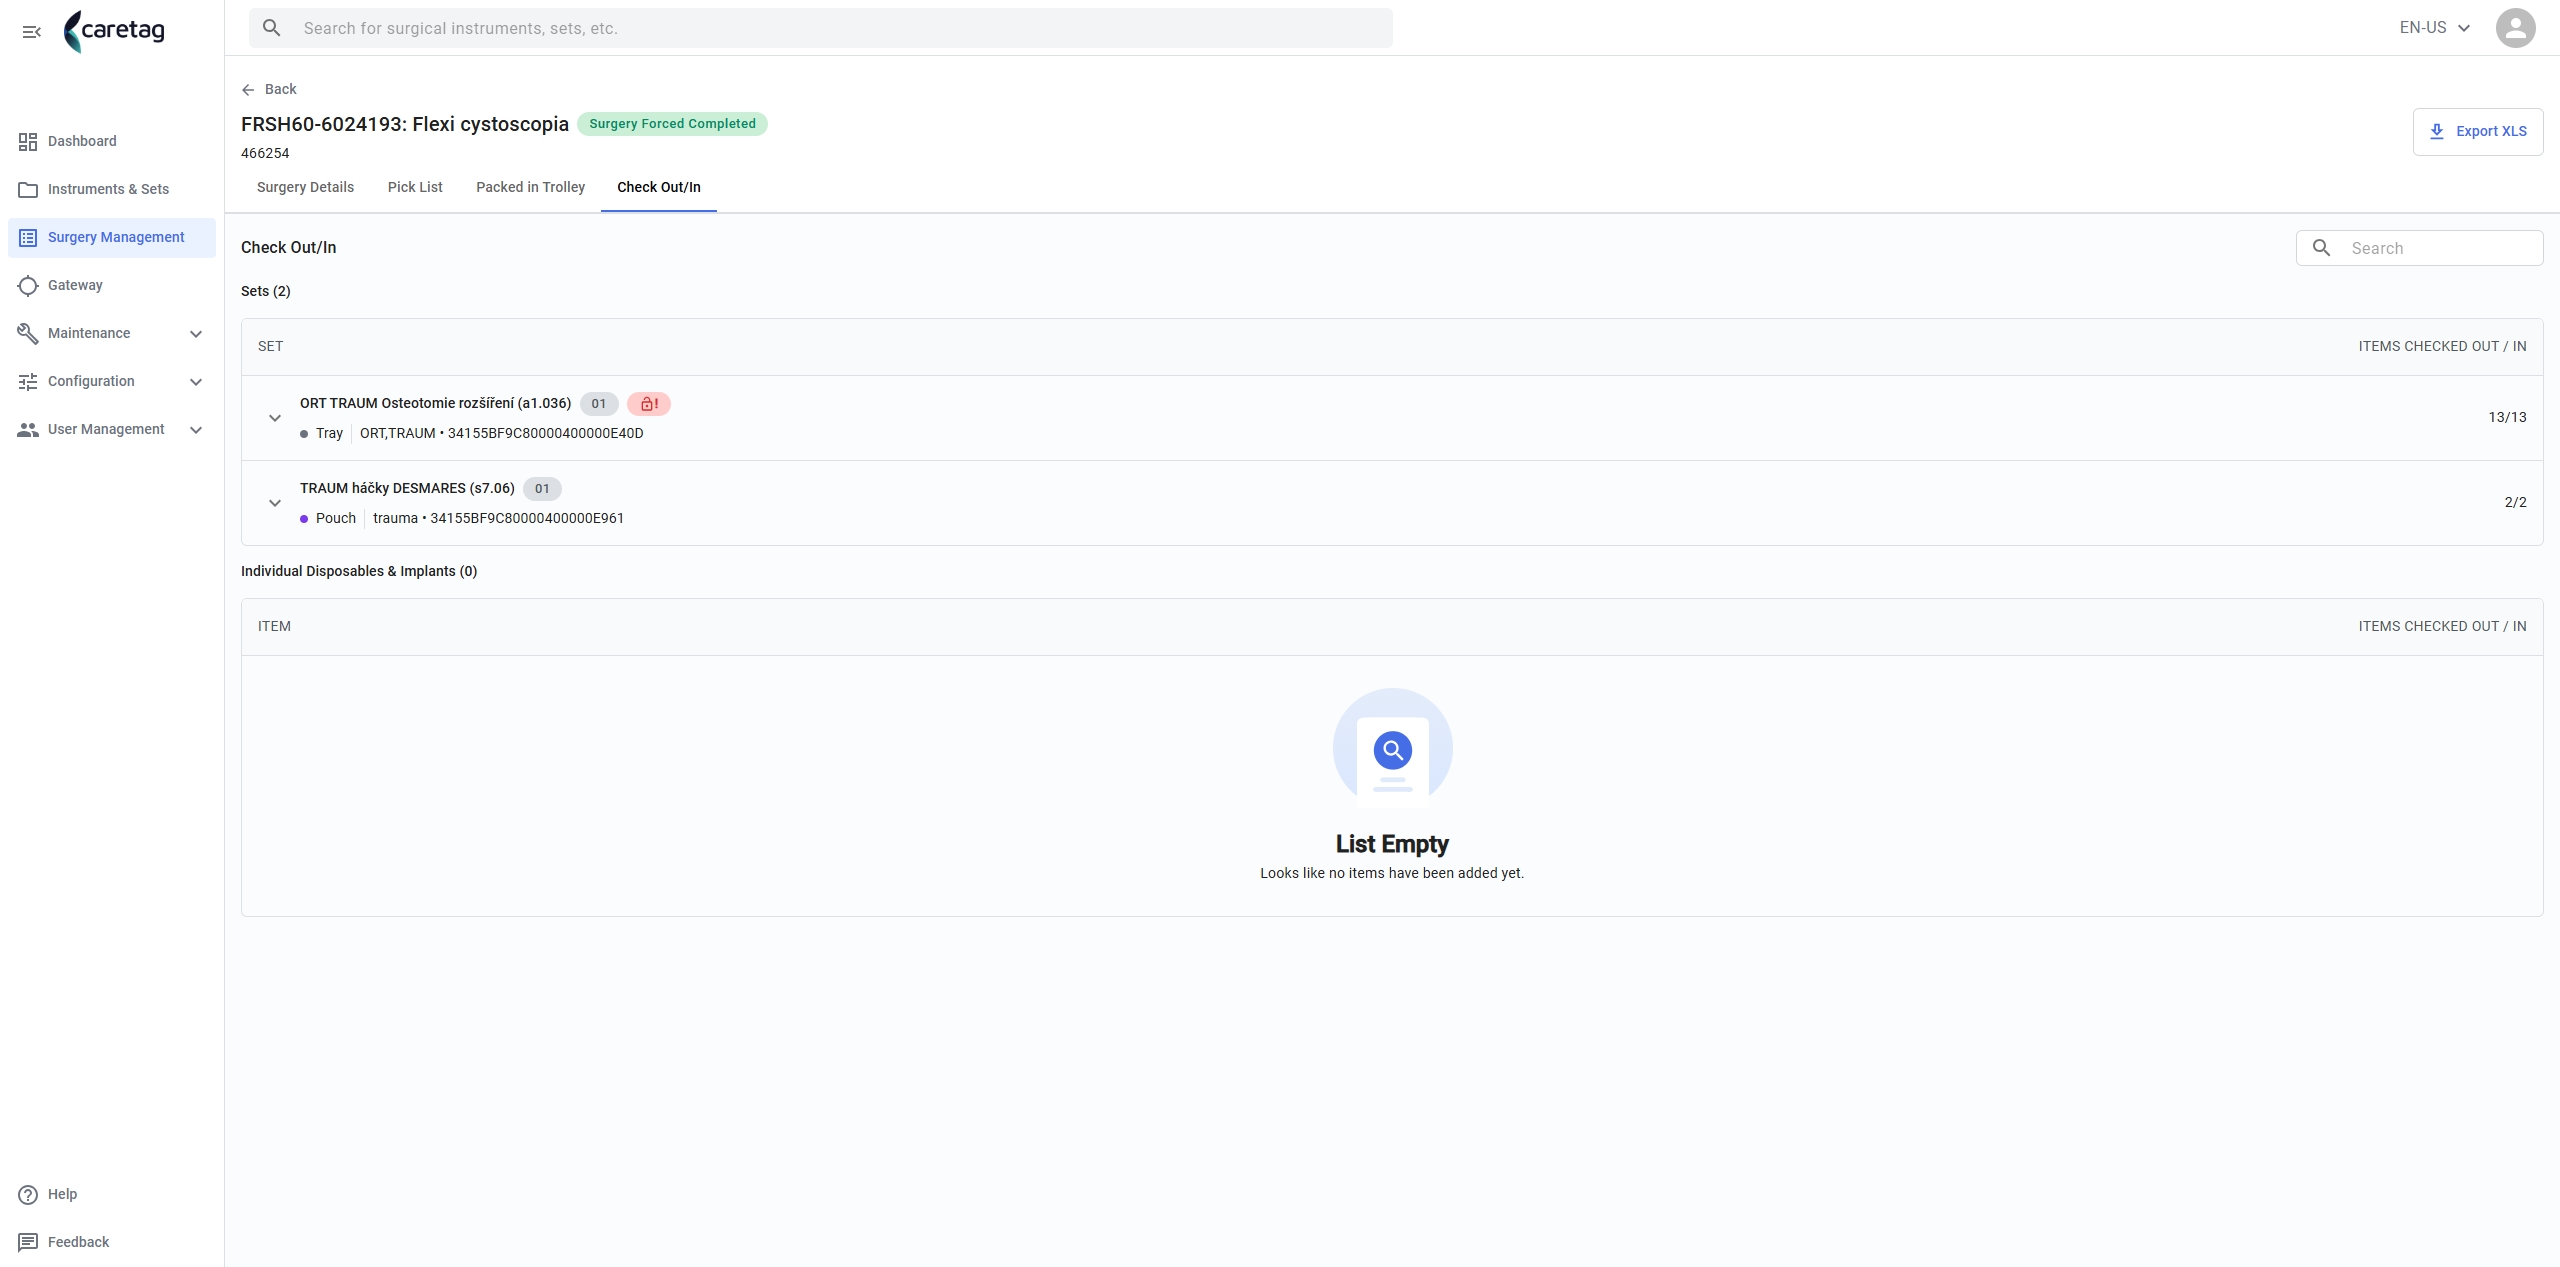
The same information can also be seen in Admin Station (Web Application).