Packing Station - Getting Started
Start of the application
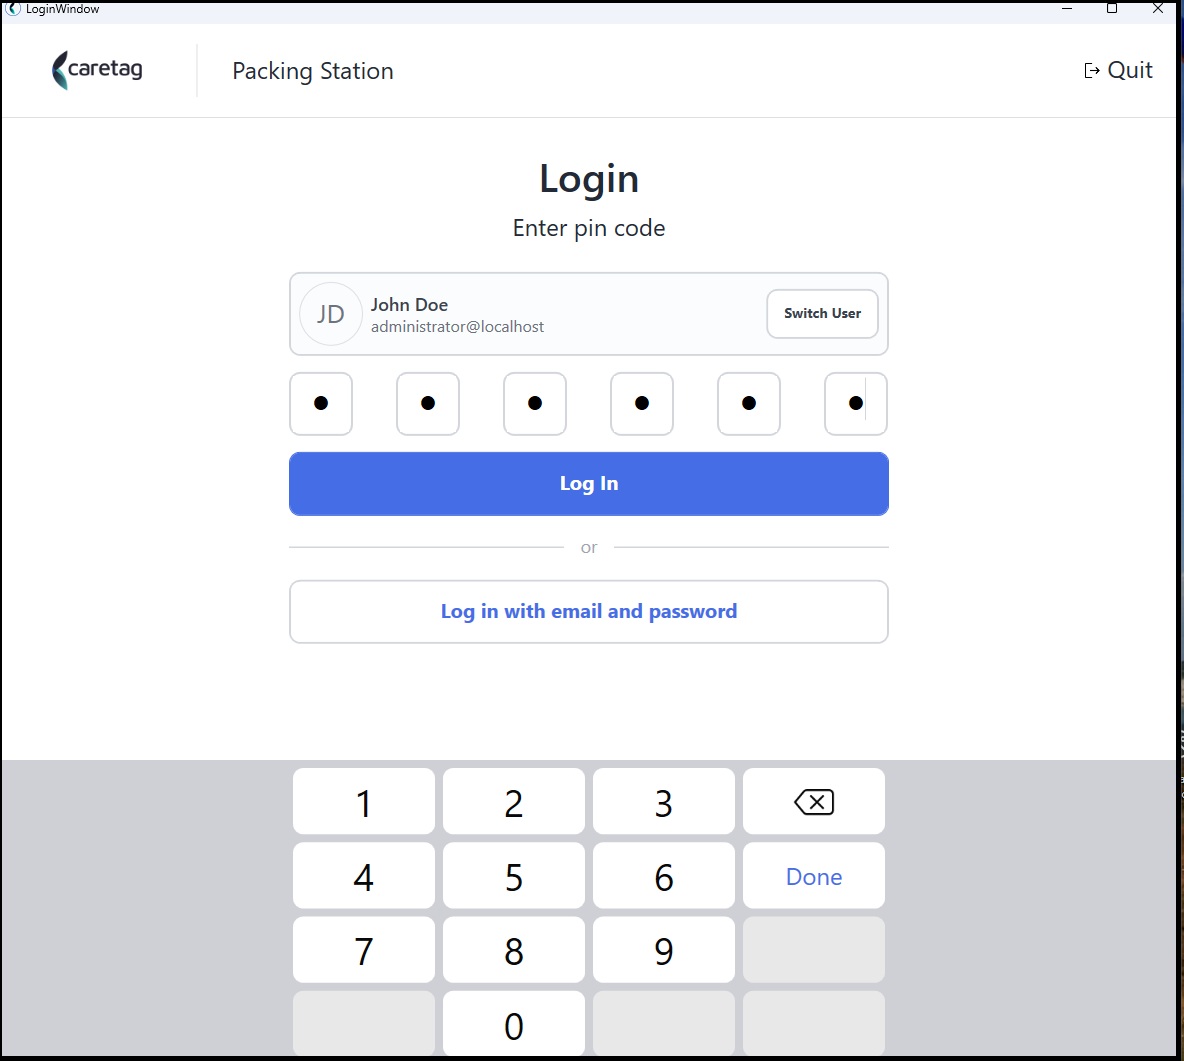
Launch the application and login with the provided pin code or email and password
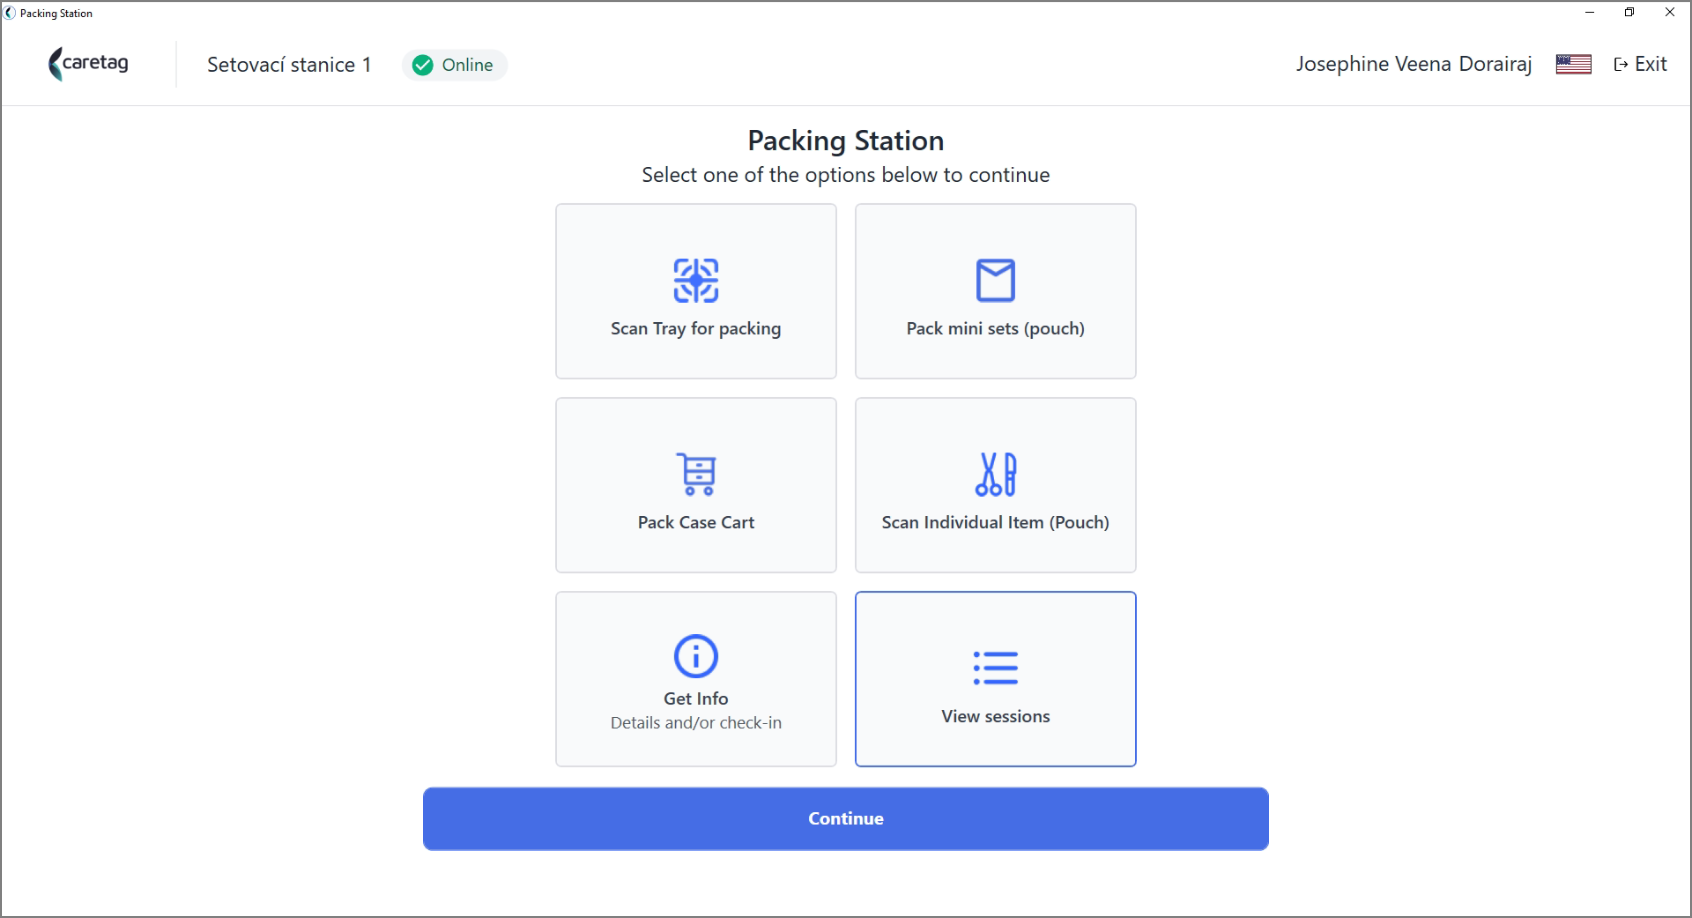
Modules / Options
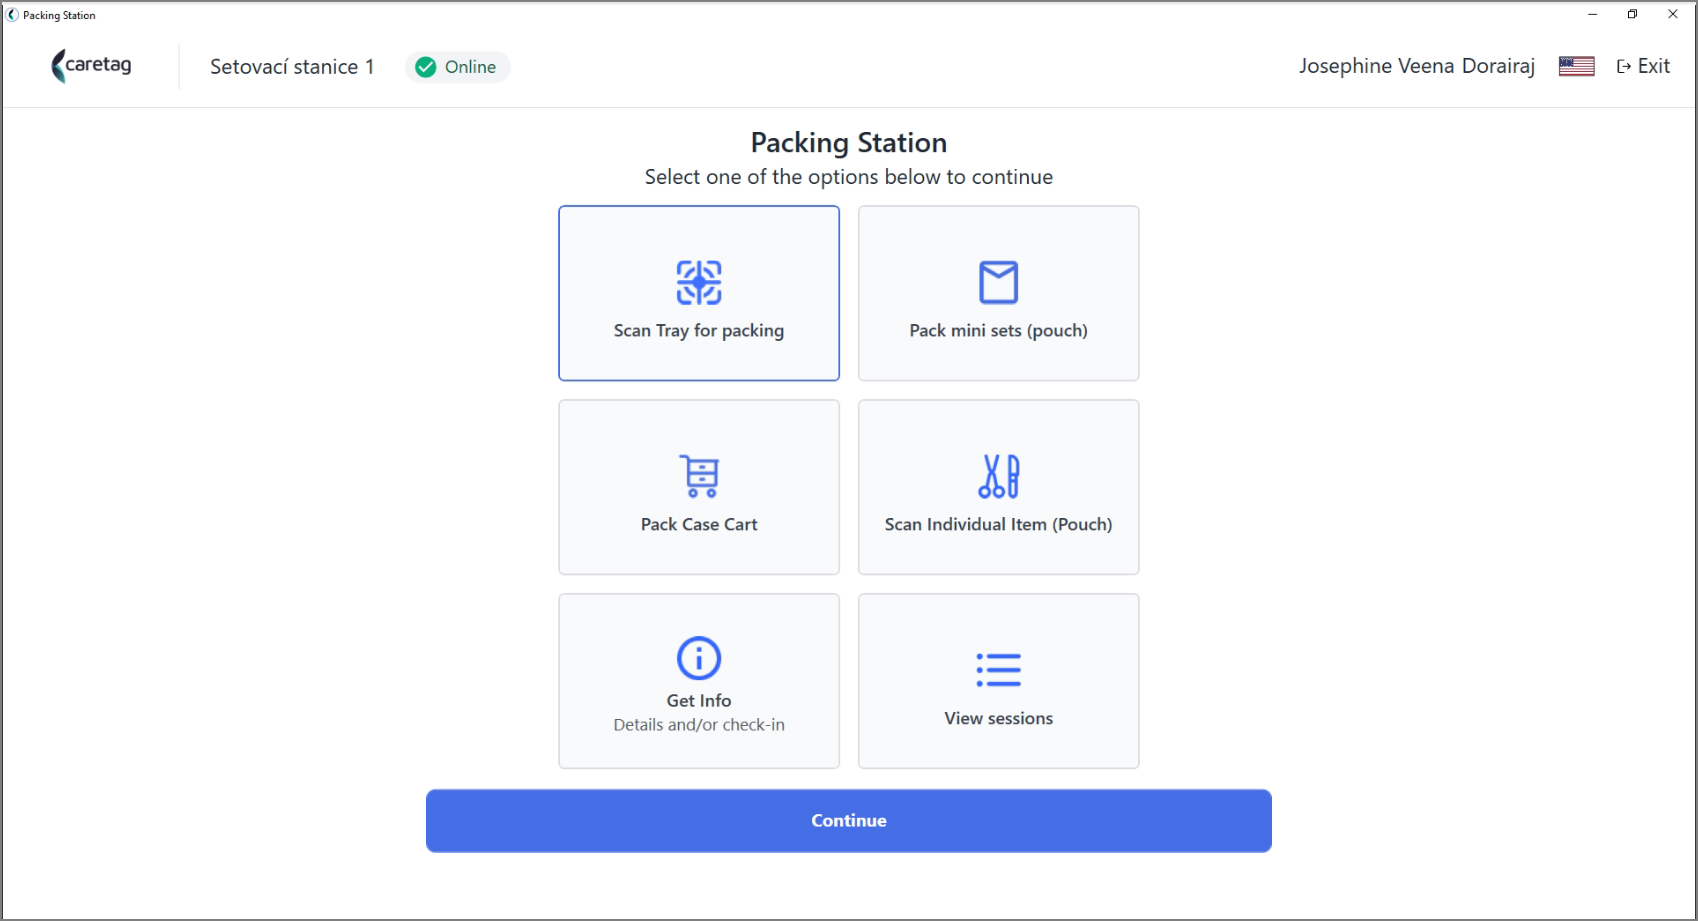
Scan Tray for Packing
- Scan the tray tag
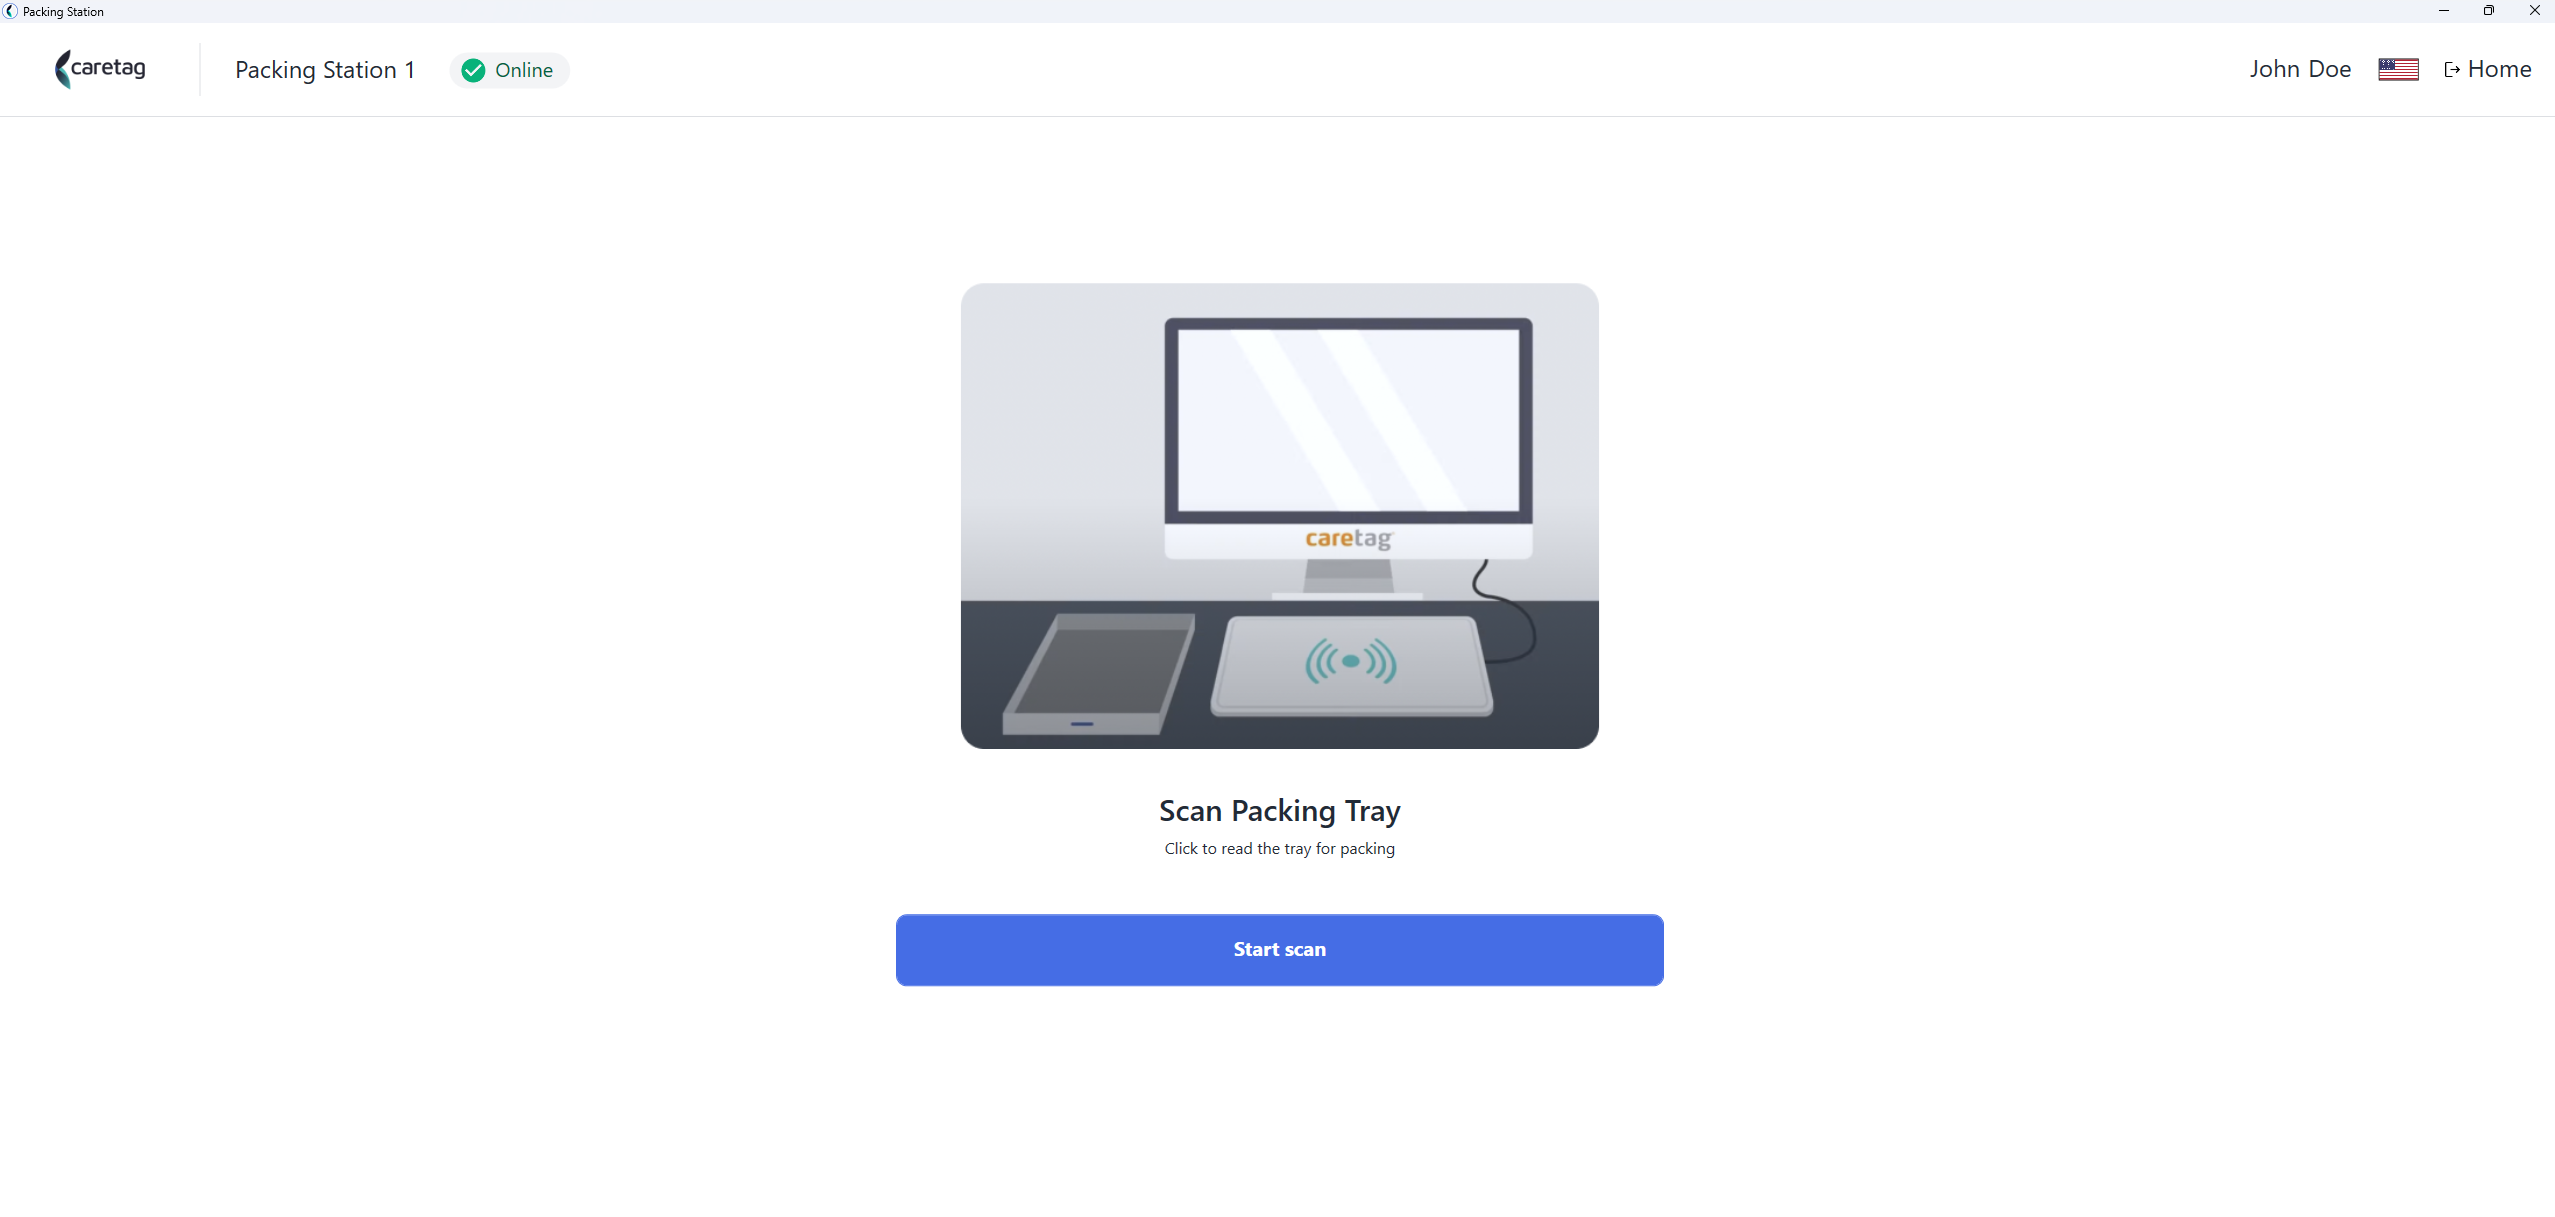
- Select tray type by typing the tray name, select the tray and click the continue button.
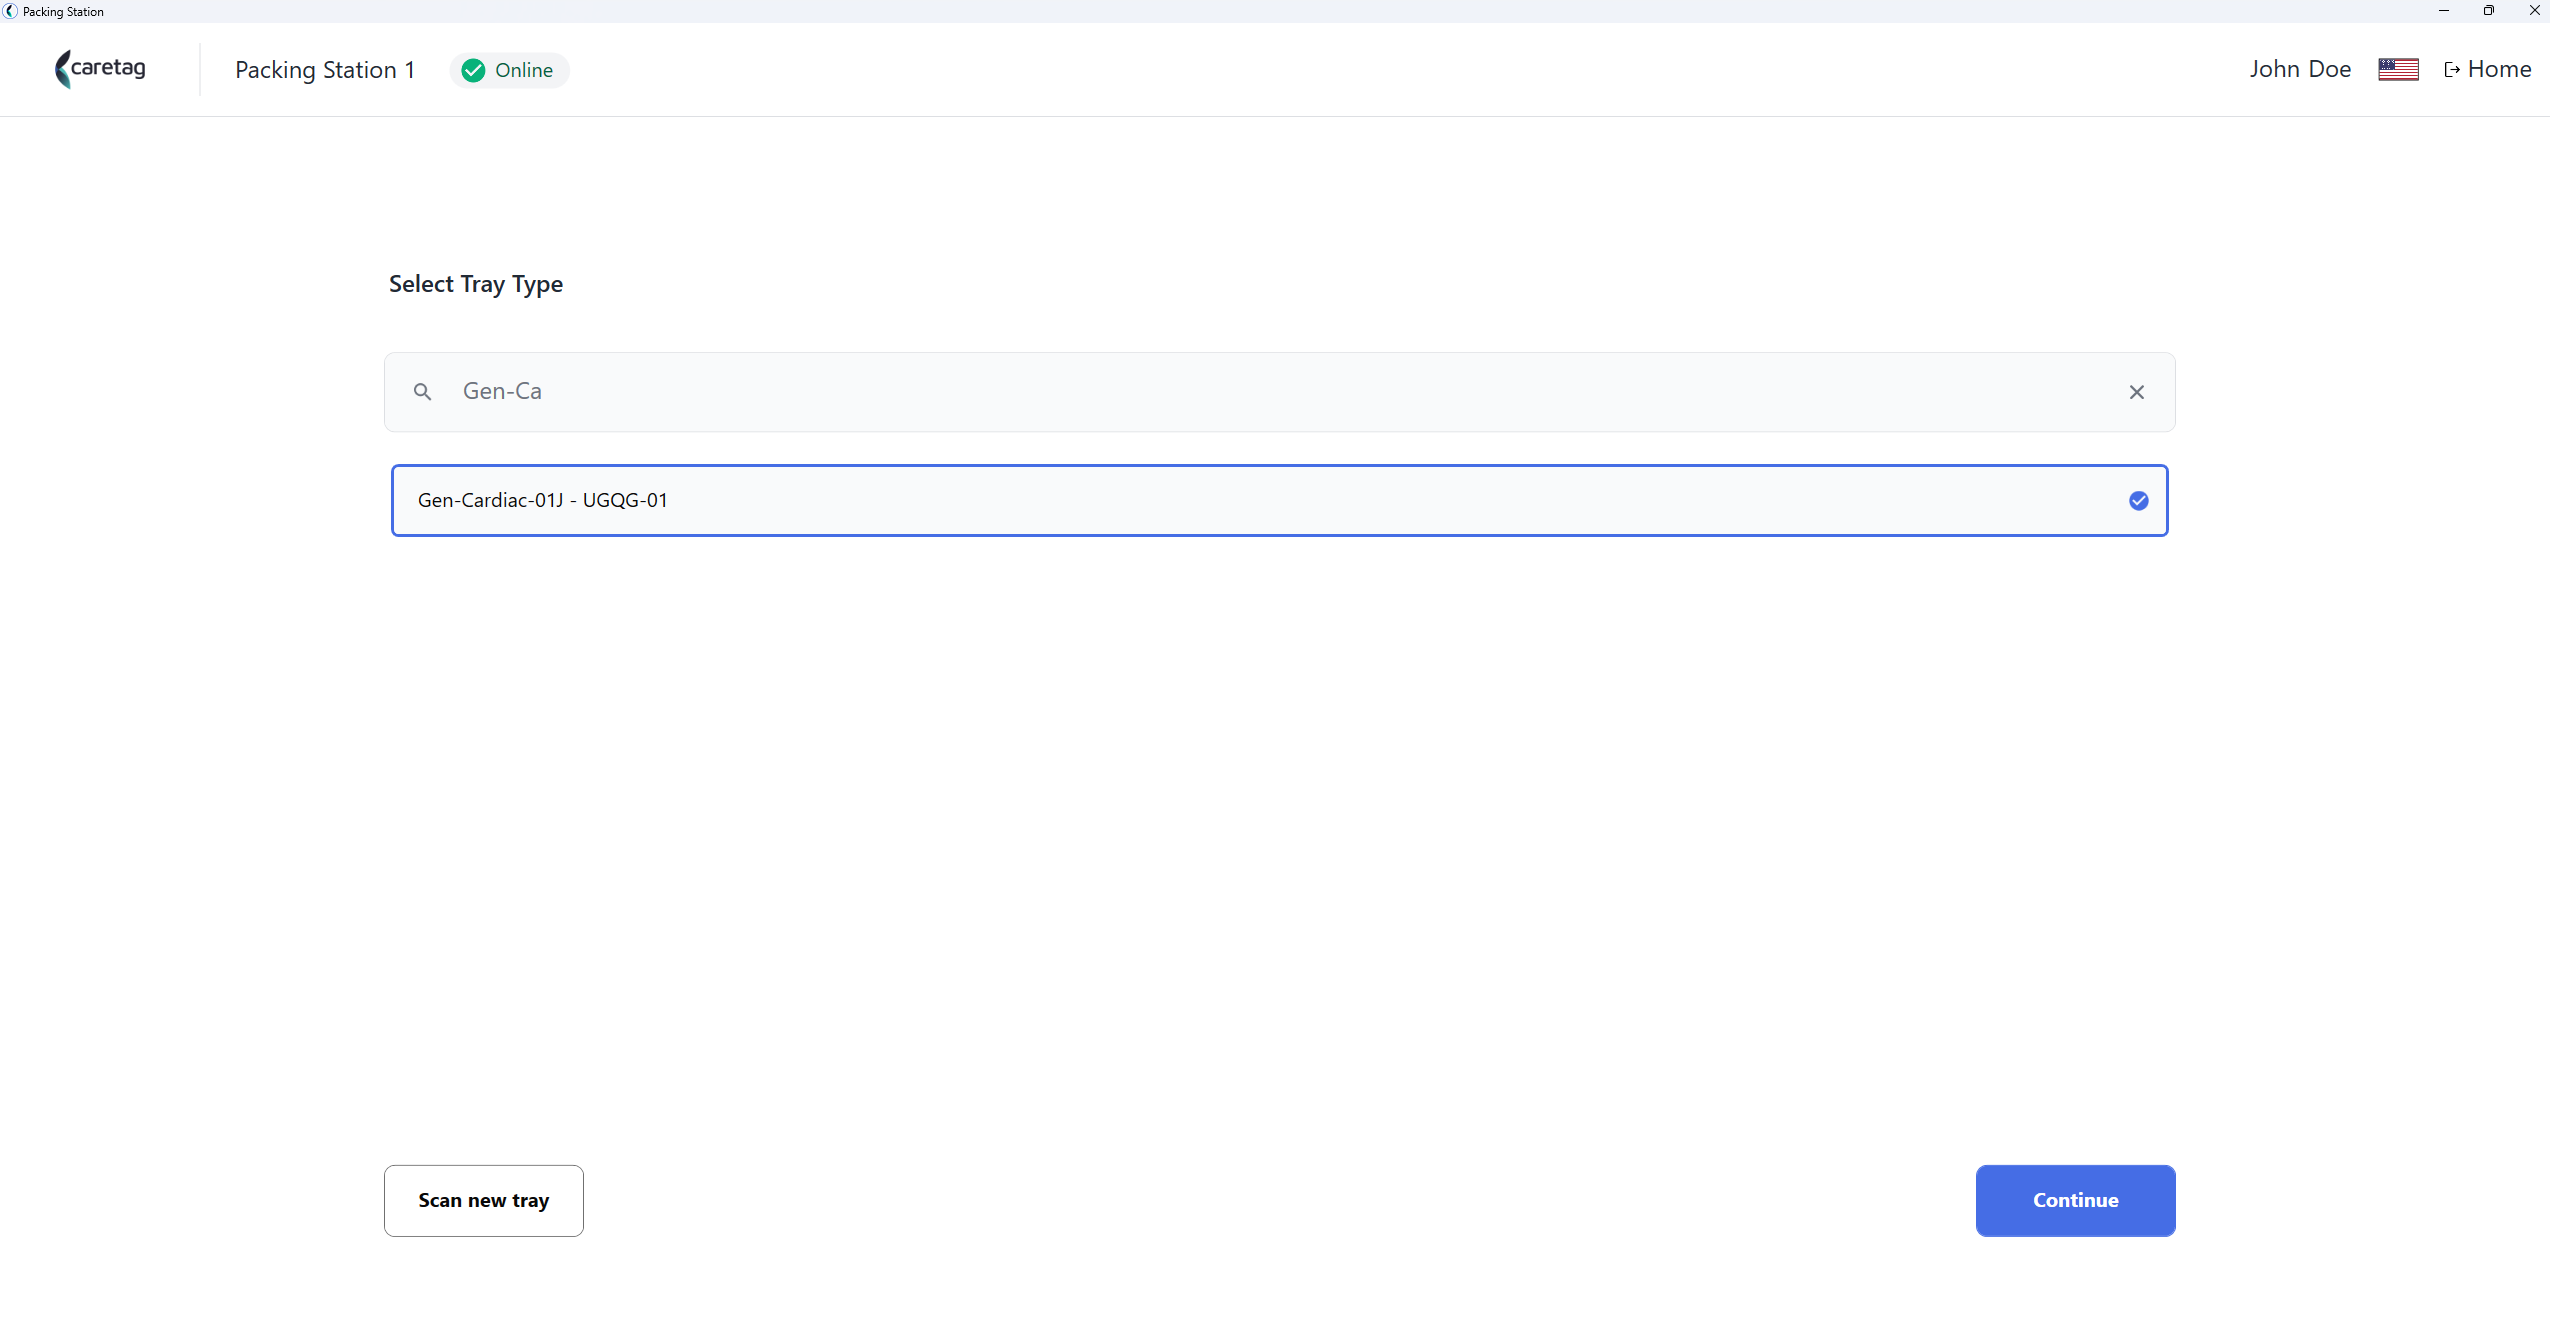
- Select the unit
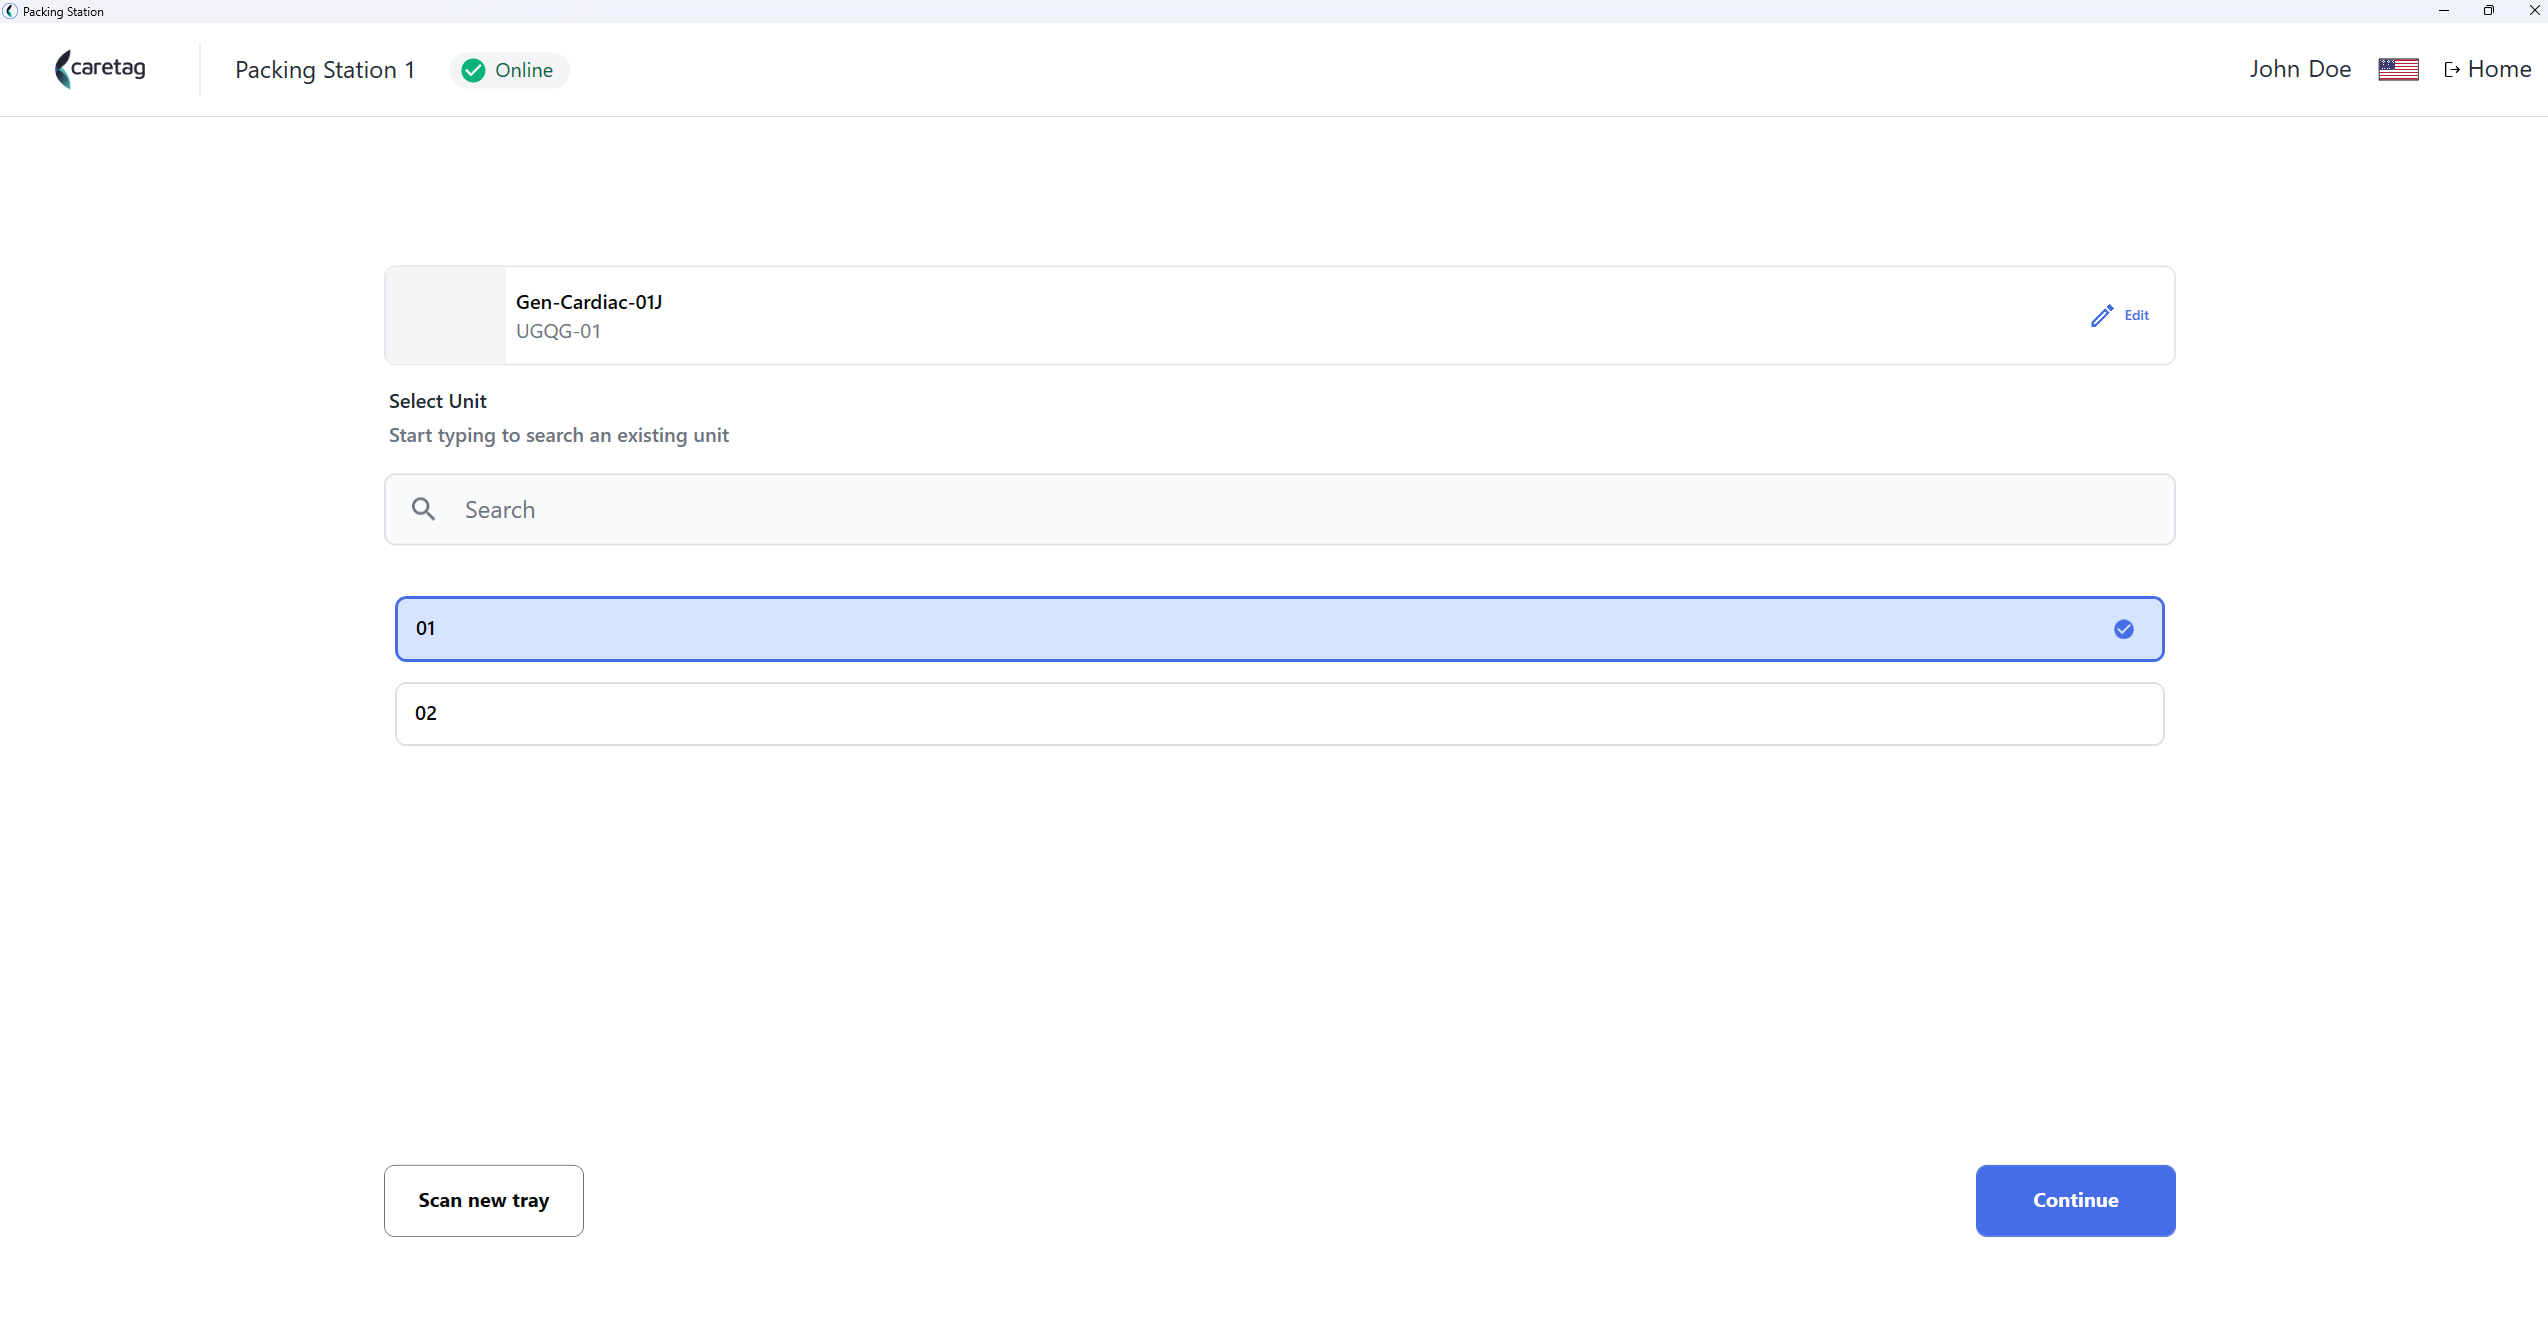
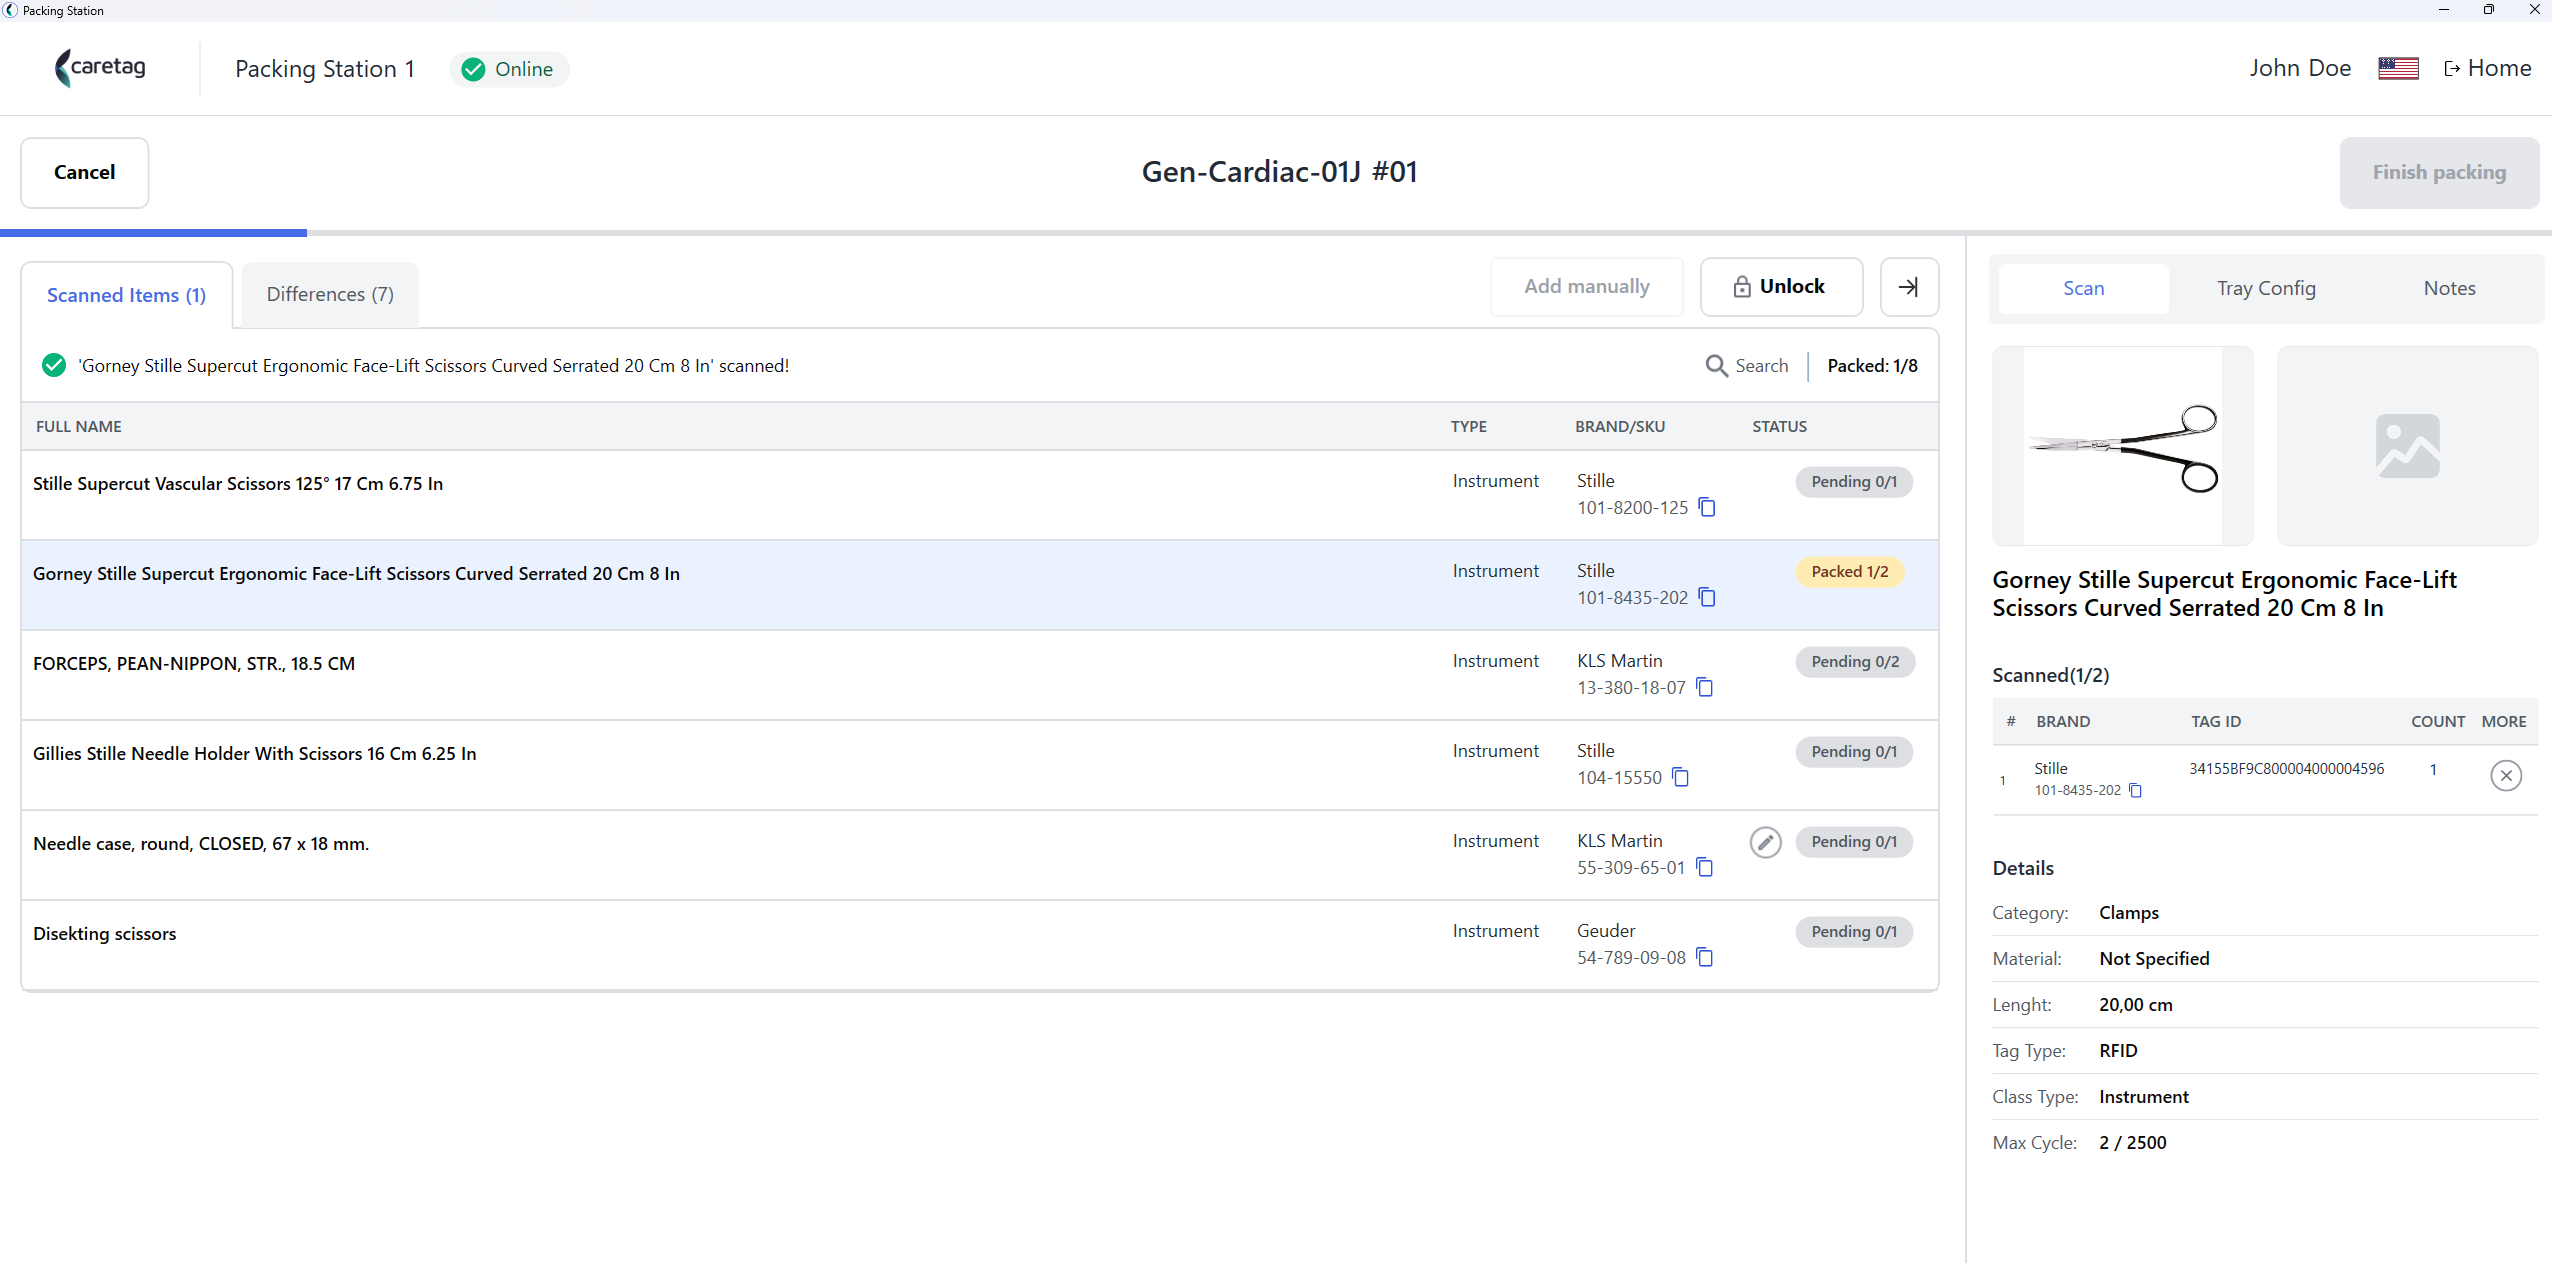
- It displays all the instruments in the packing set and their details, like name, SKU, quantity. - On the right side you can see the picture of the instruments and tray.
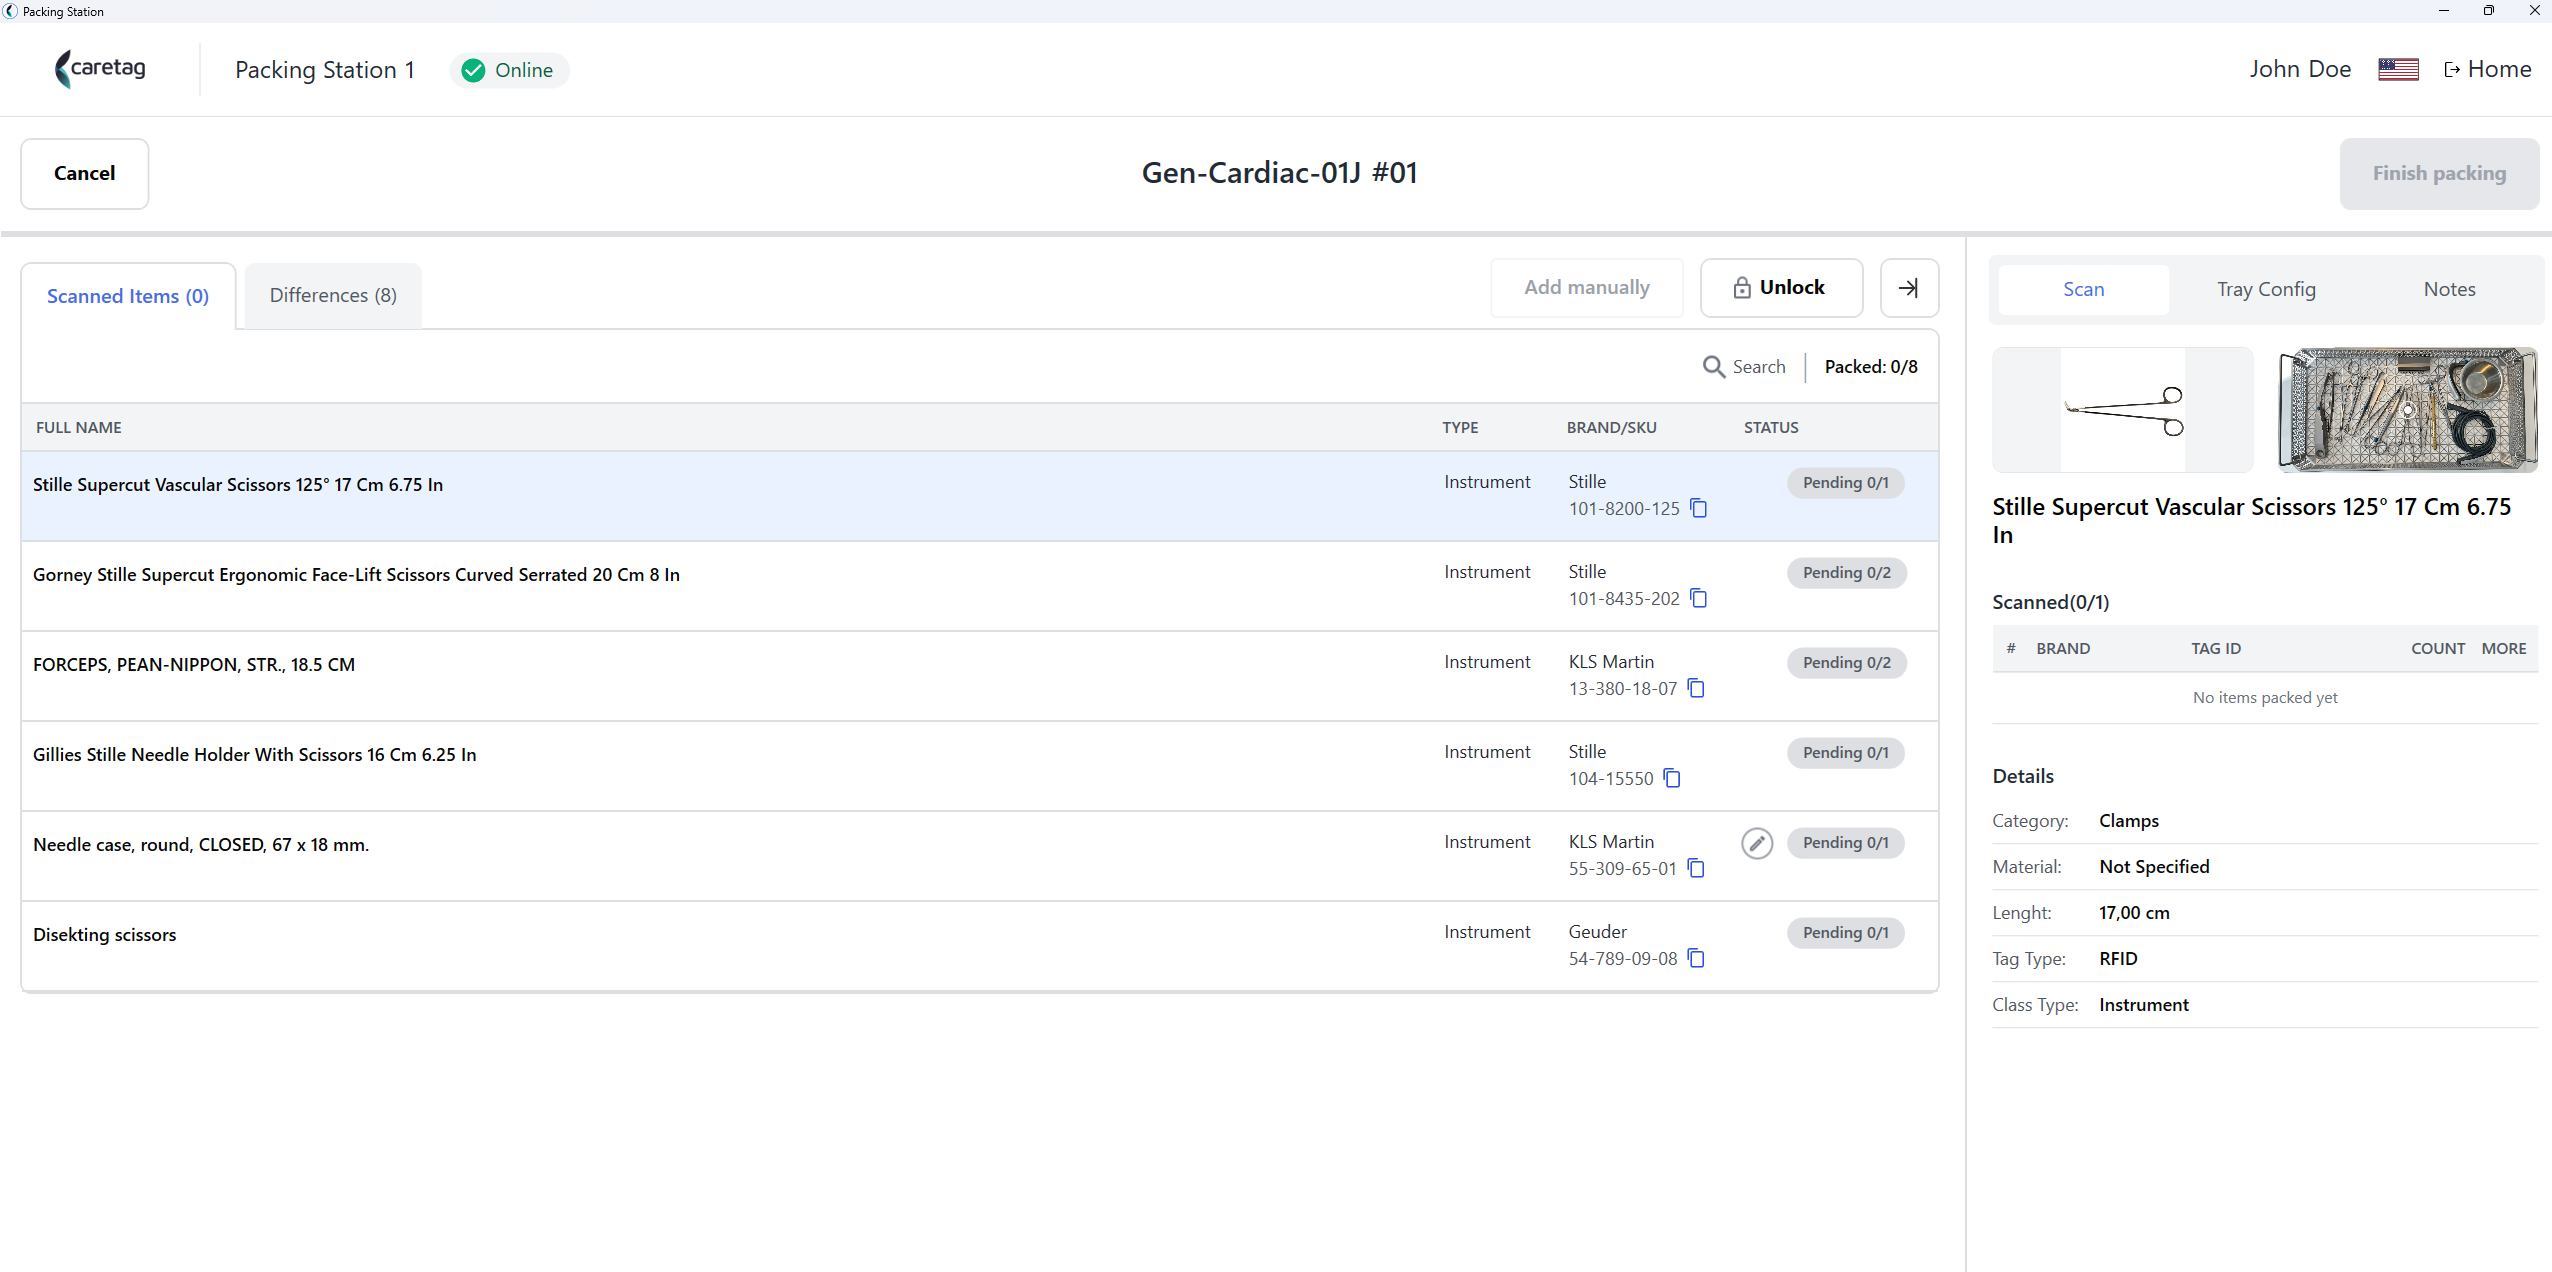
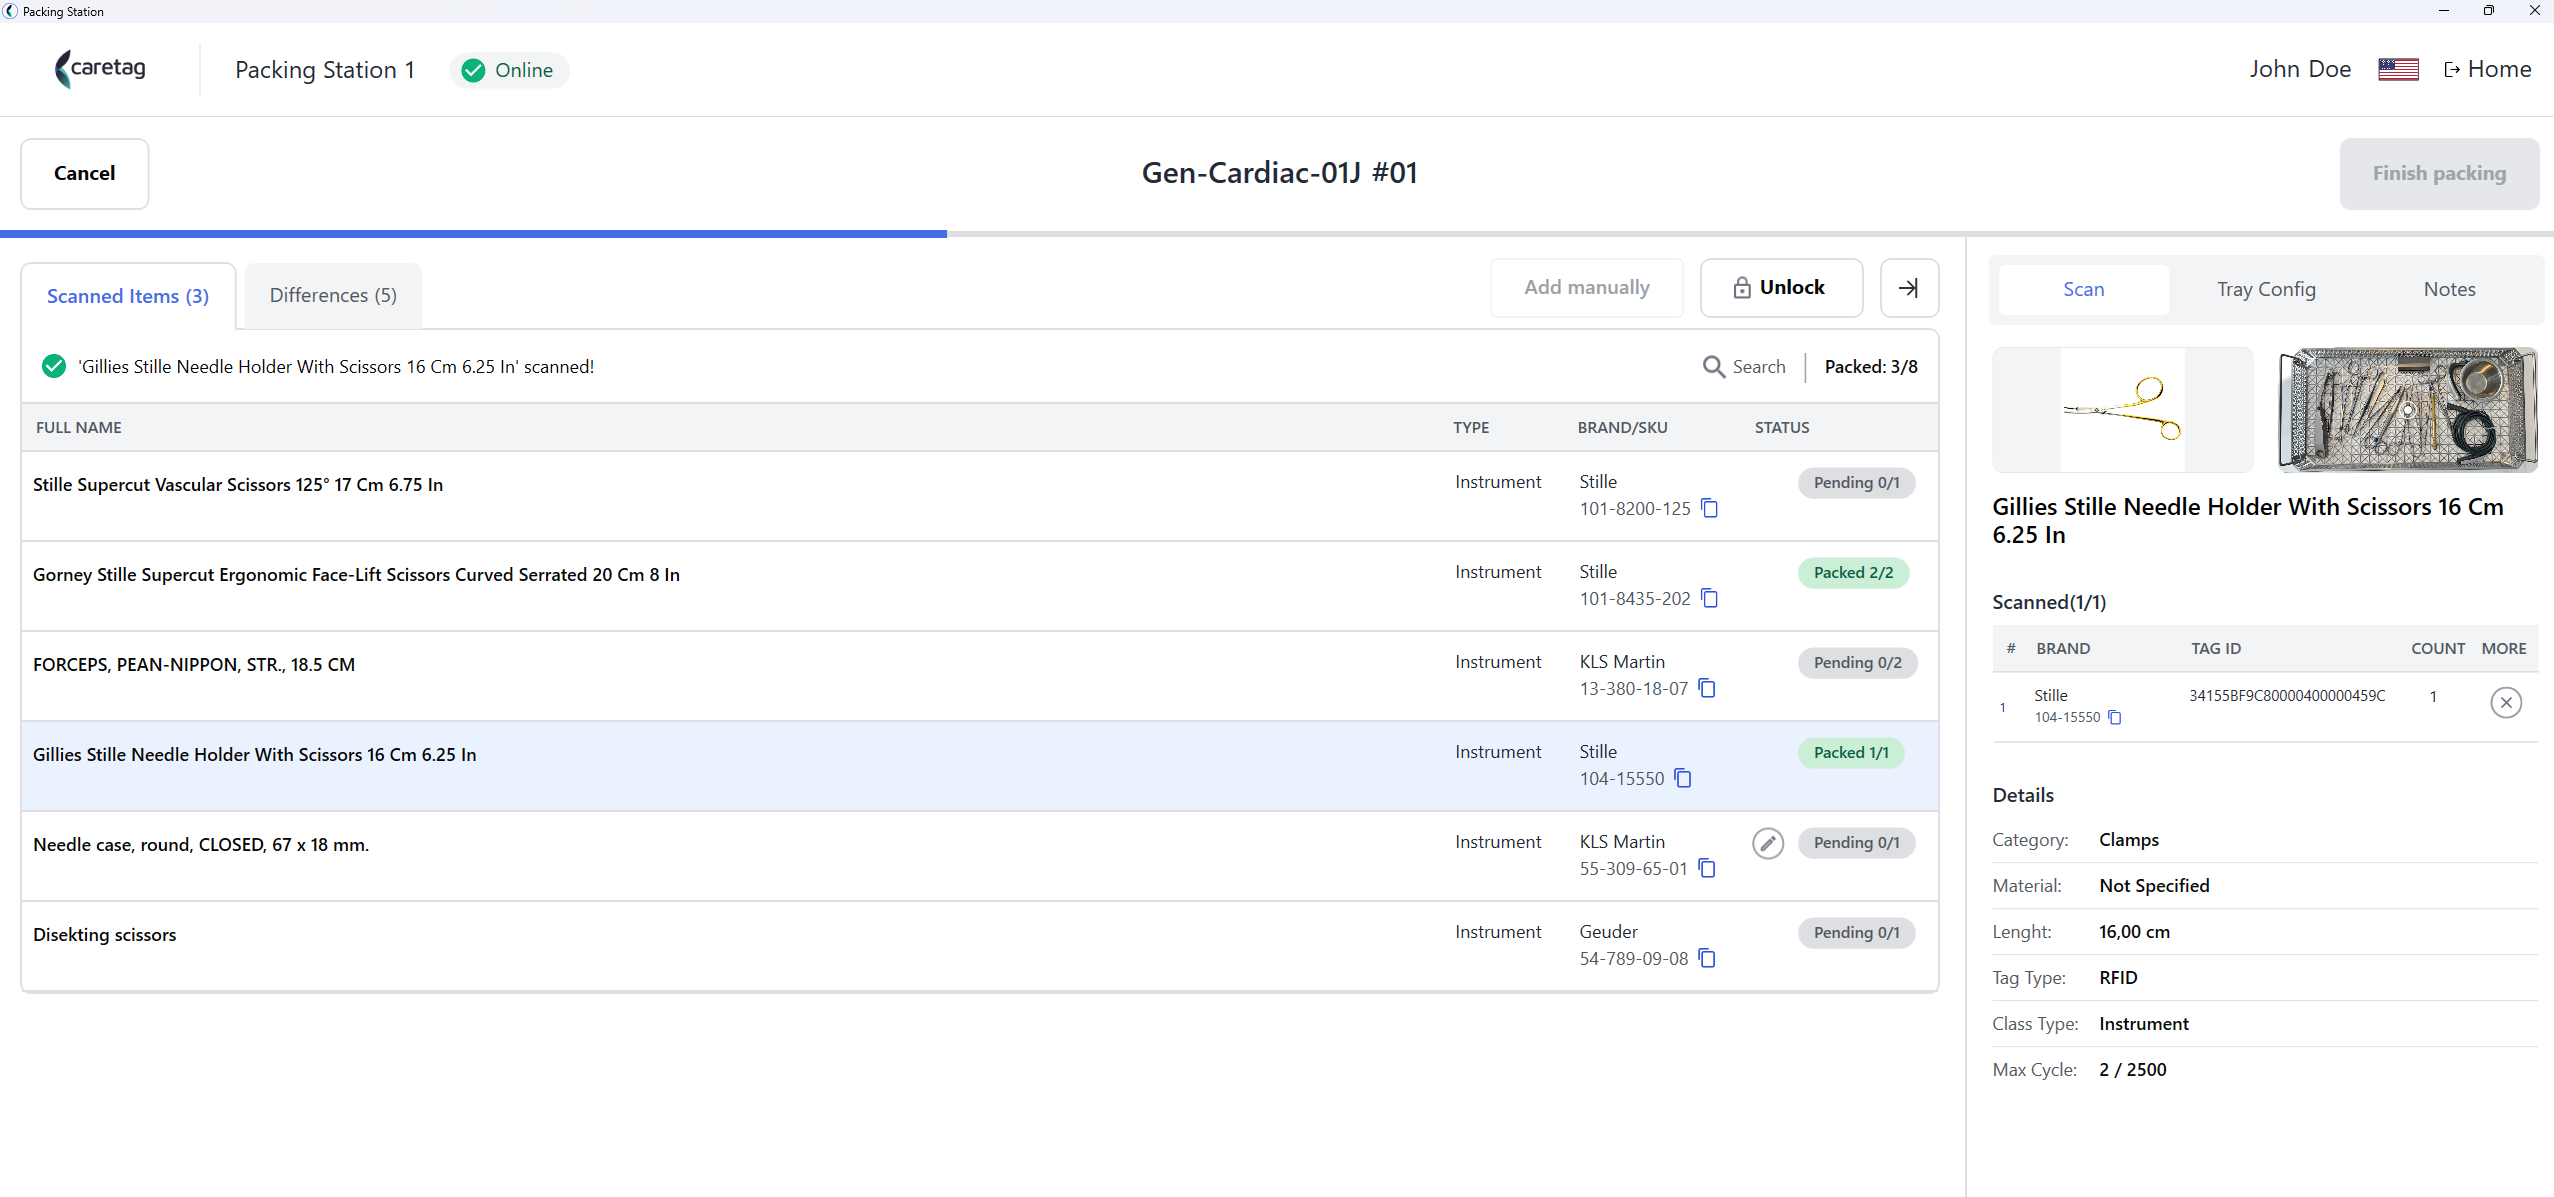
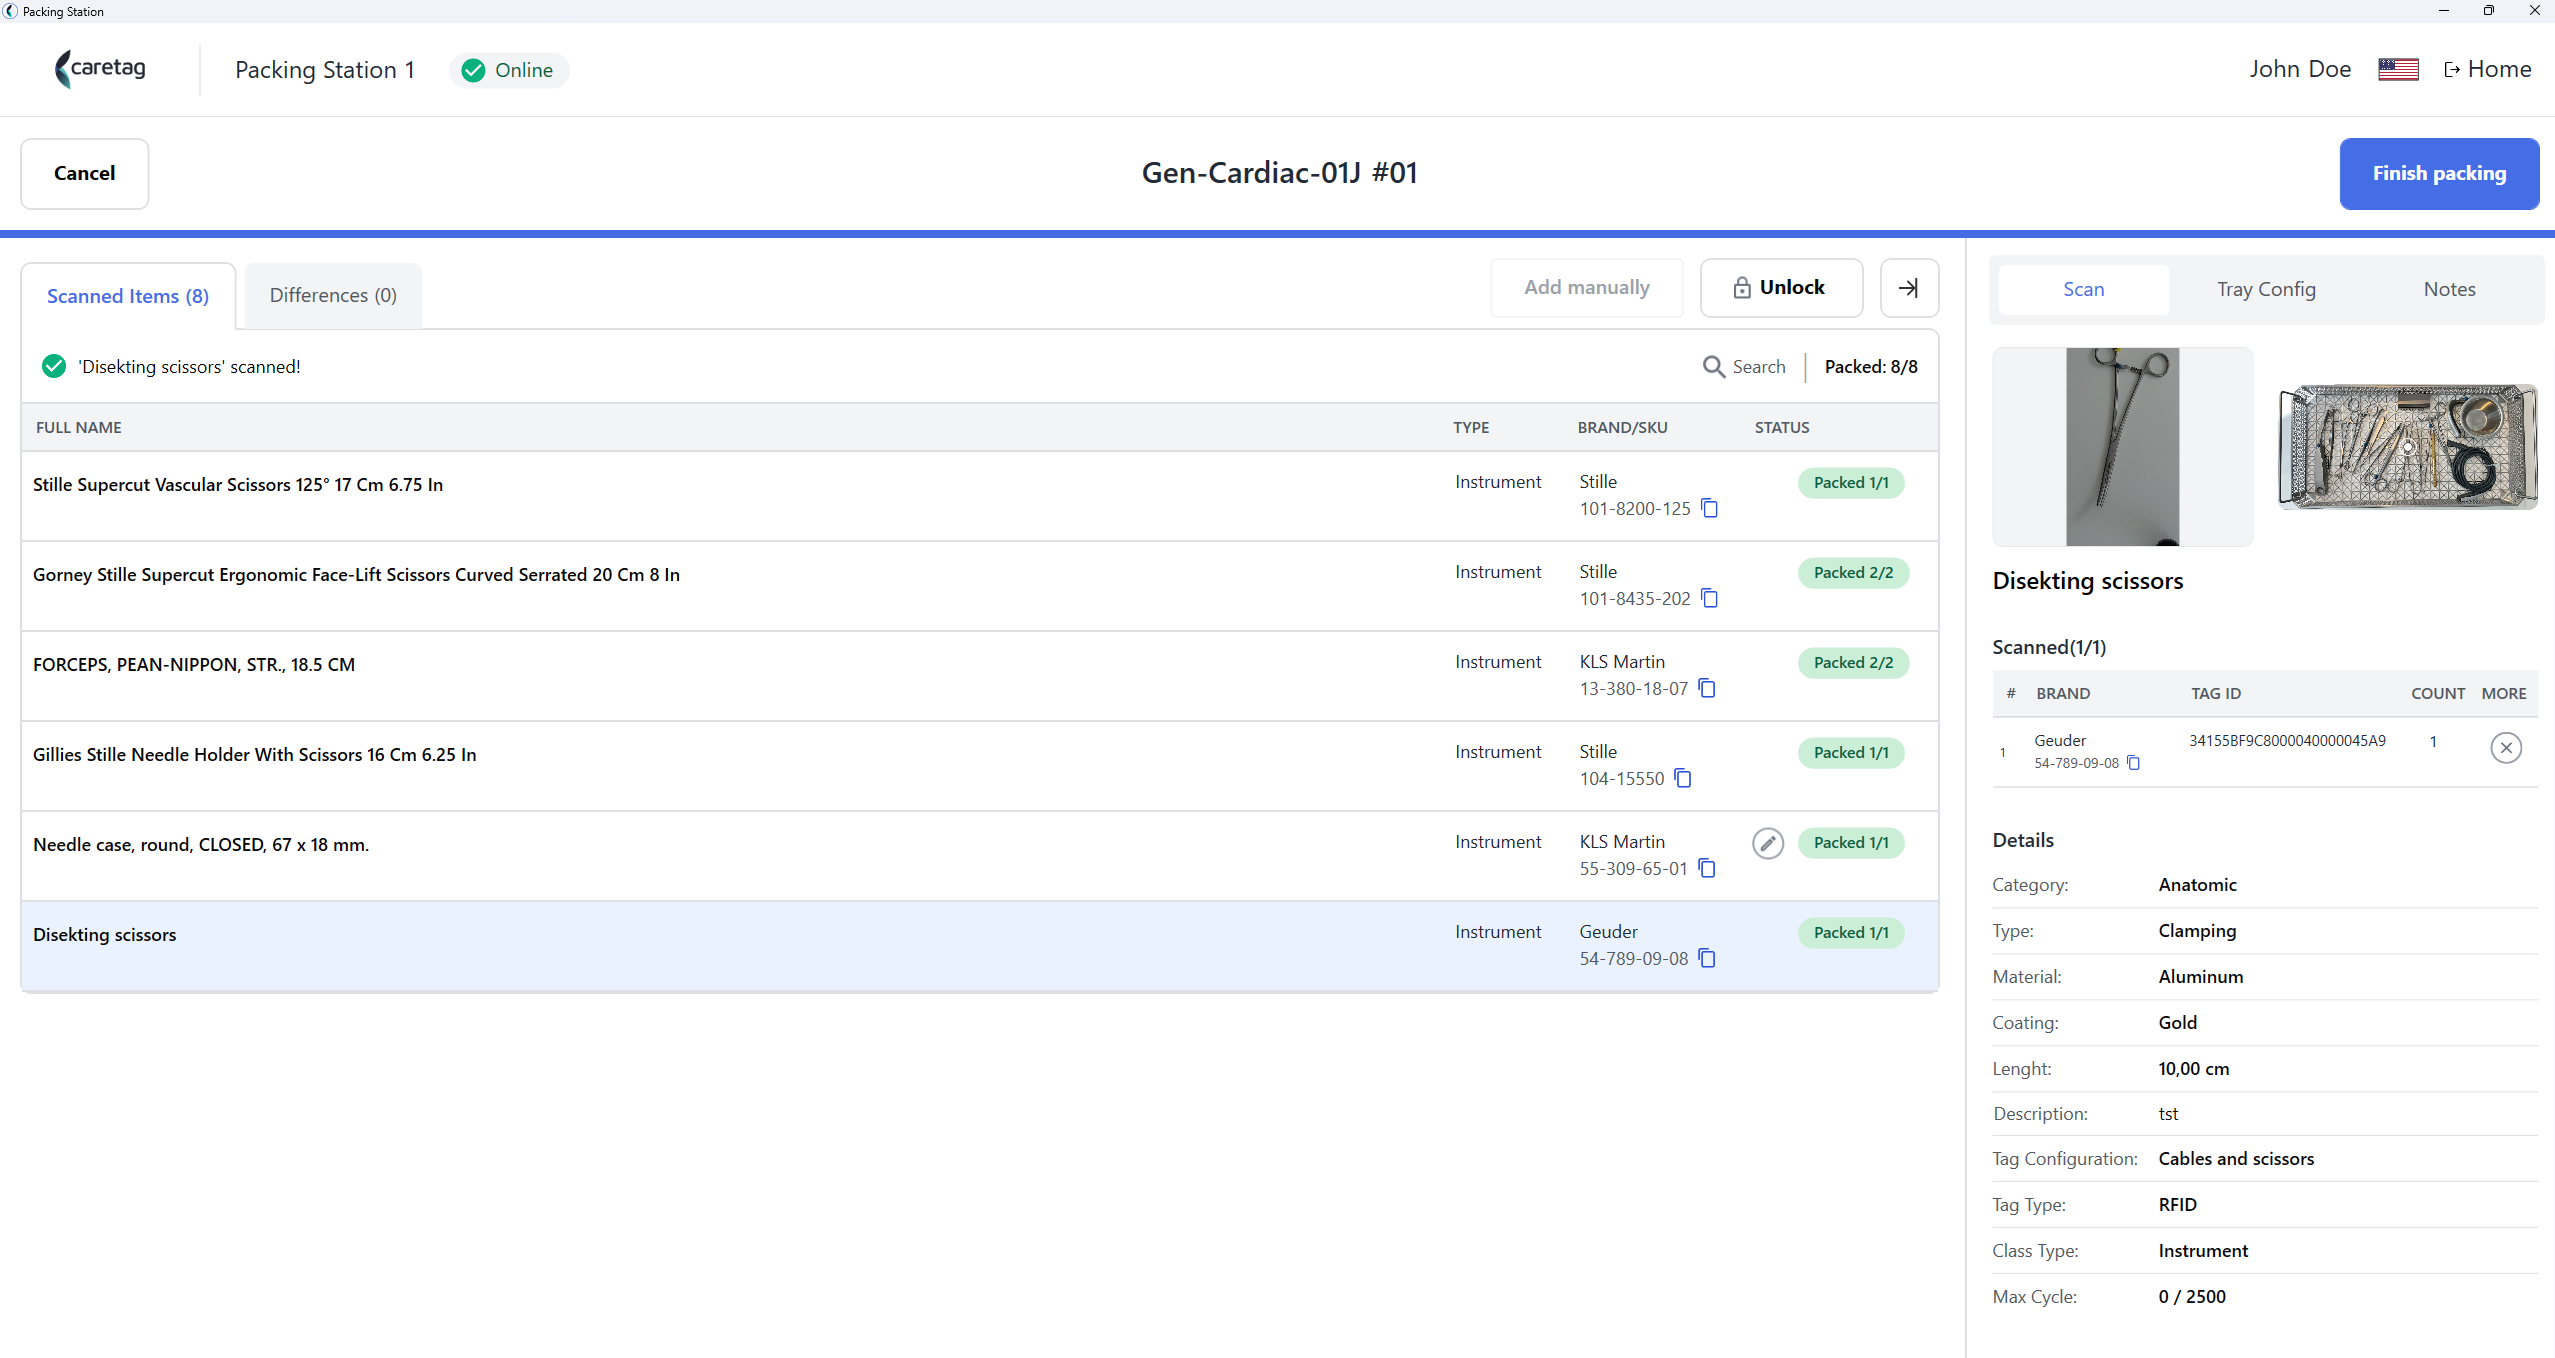
- Once you start scanning the instrument, you can see the blue bar on the top is progressing and the scanned instruments will change and will be highlighted in green and yellow when there are items yet to be packed.
- The packing gets completed once all the instruments are scanned successfully.
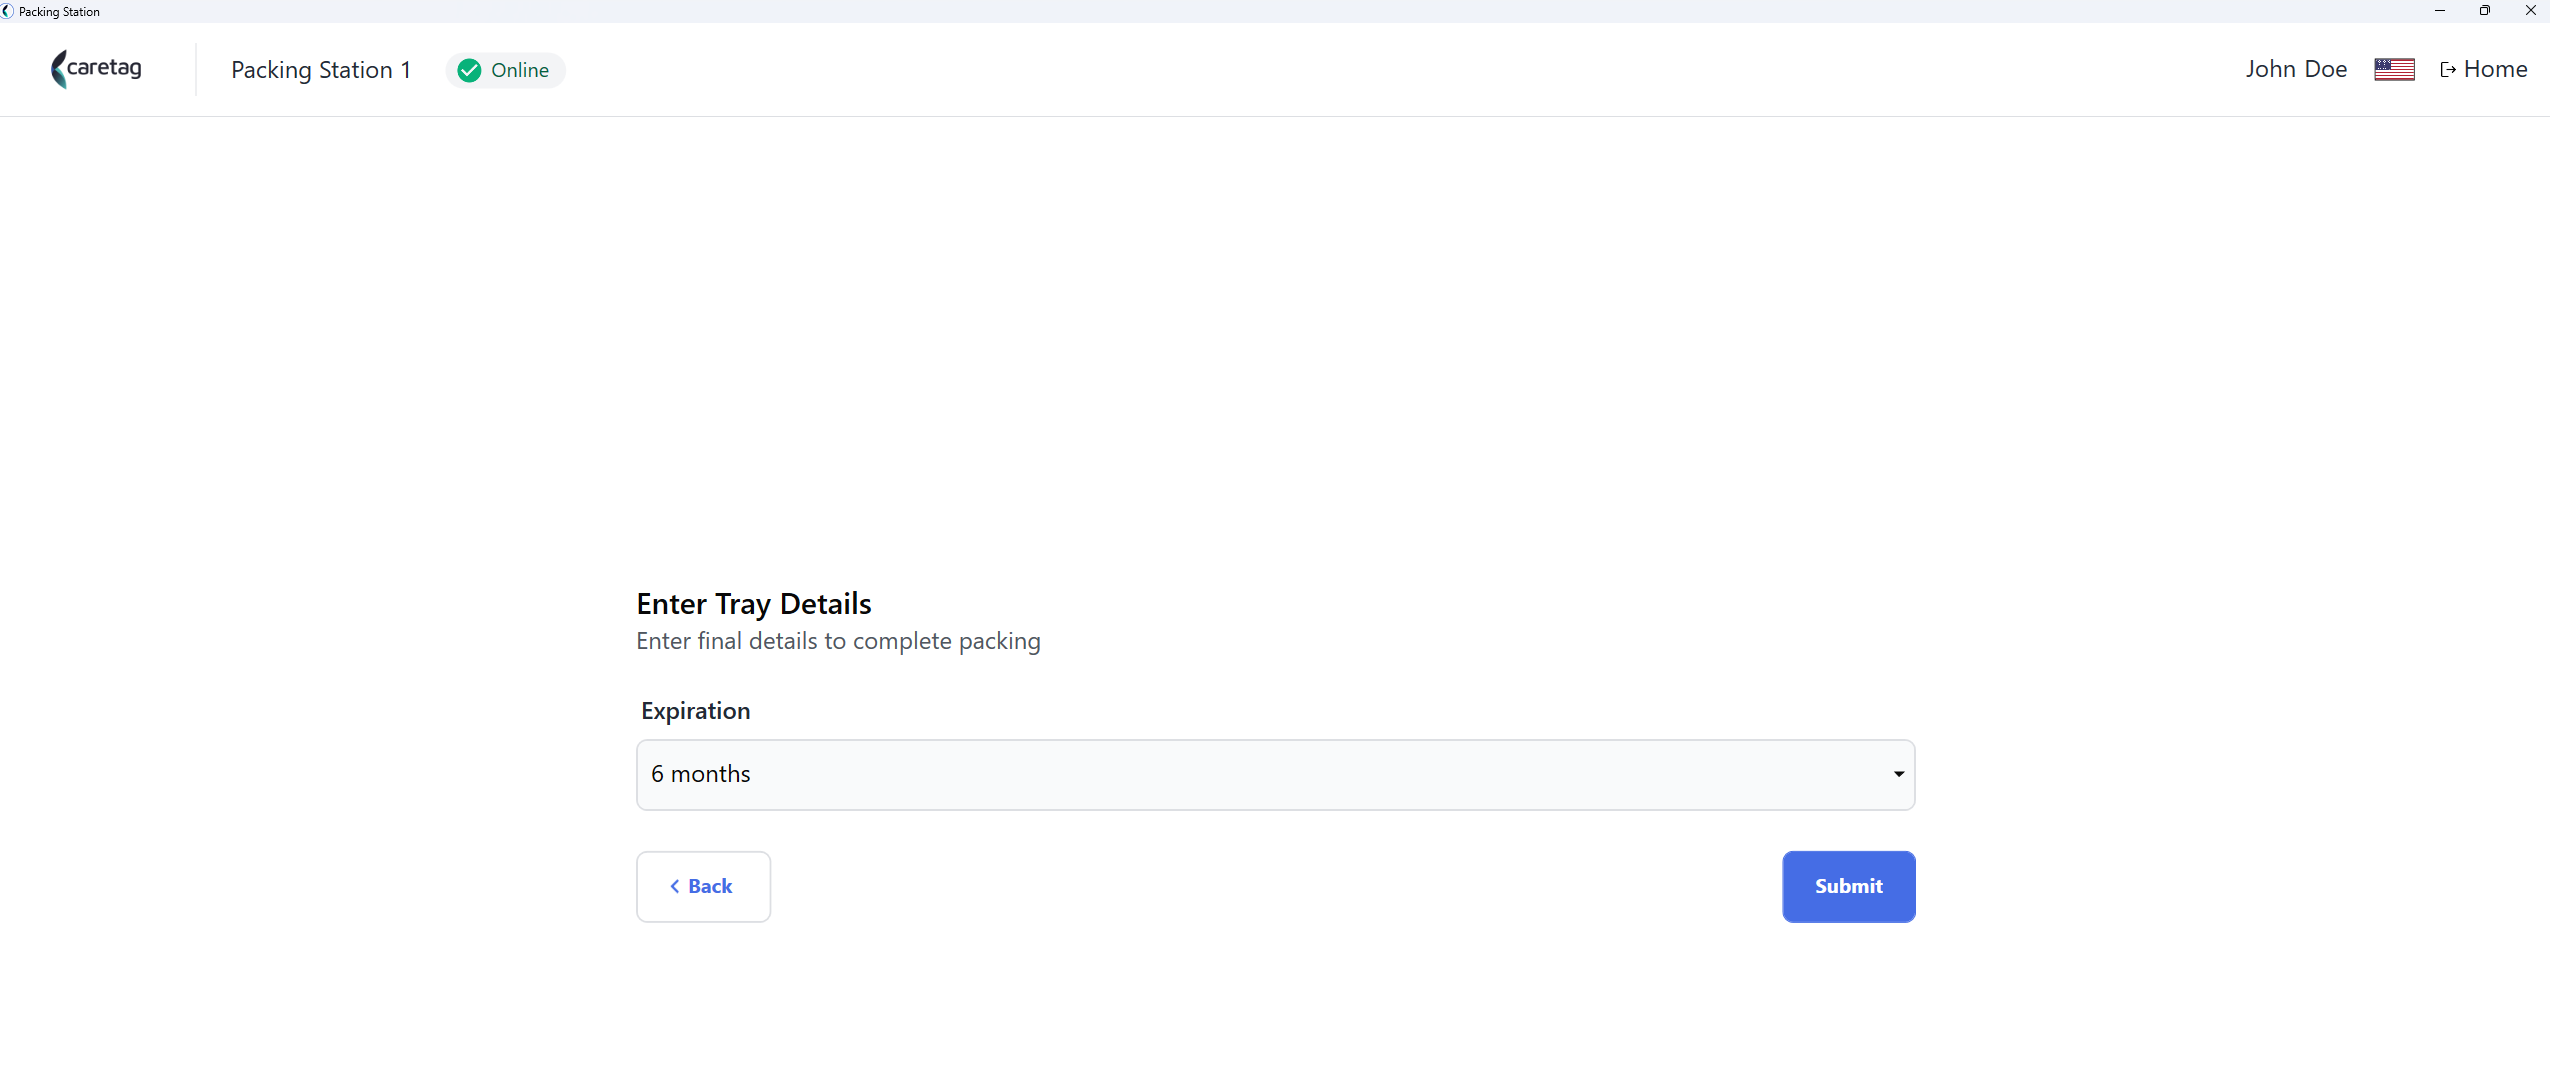
- Select the expiration period
- In the summary page, it will display the tray details with Tray UDI, user name, time of packing and expiry date.
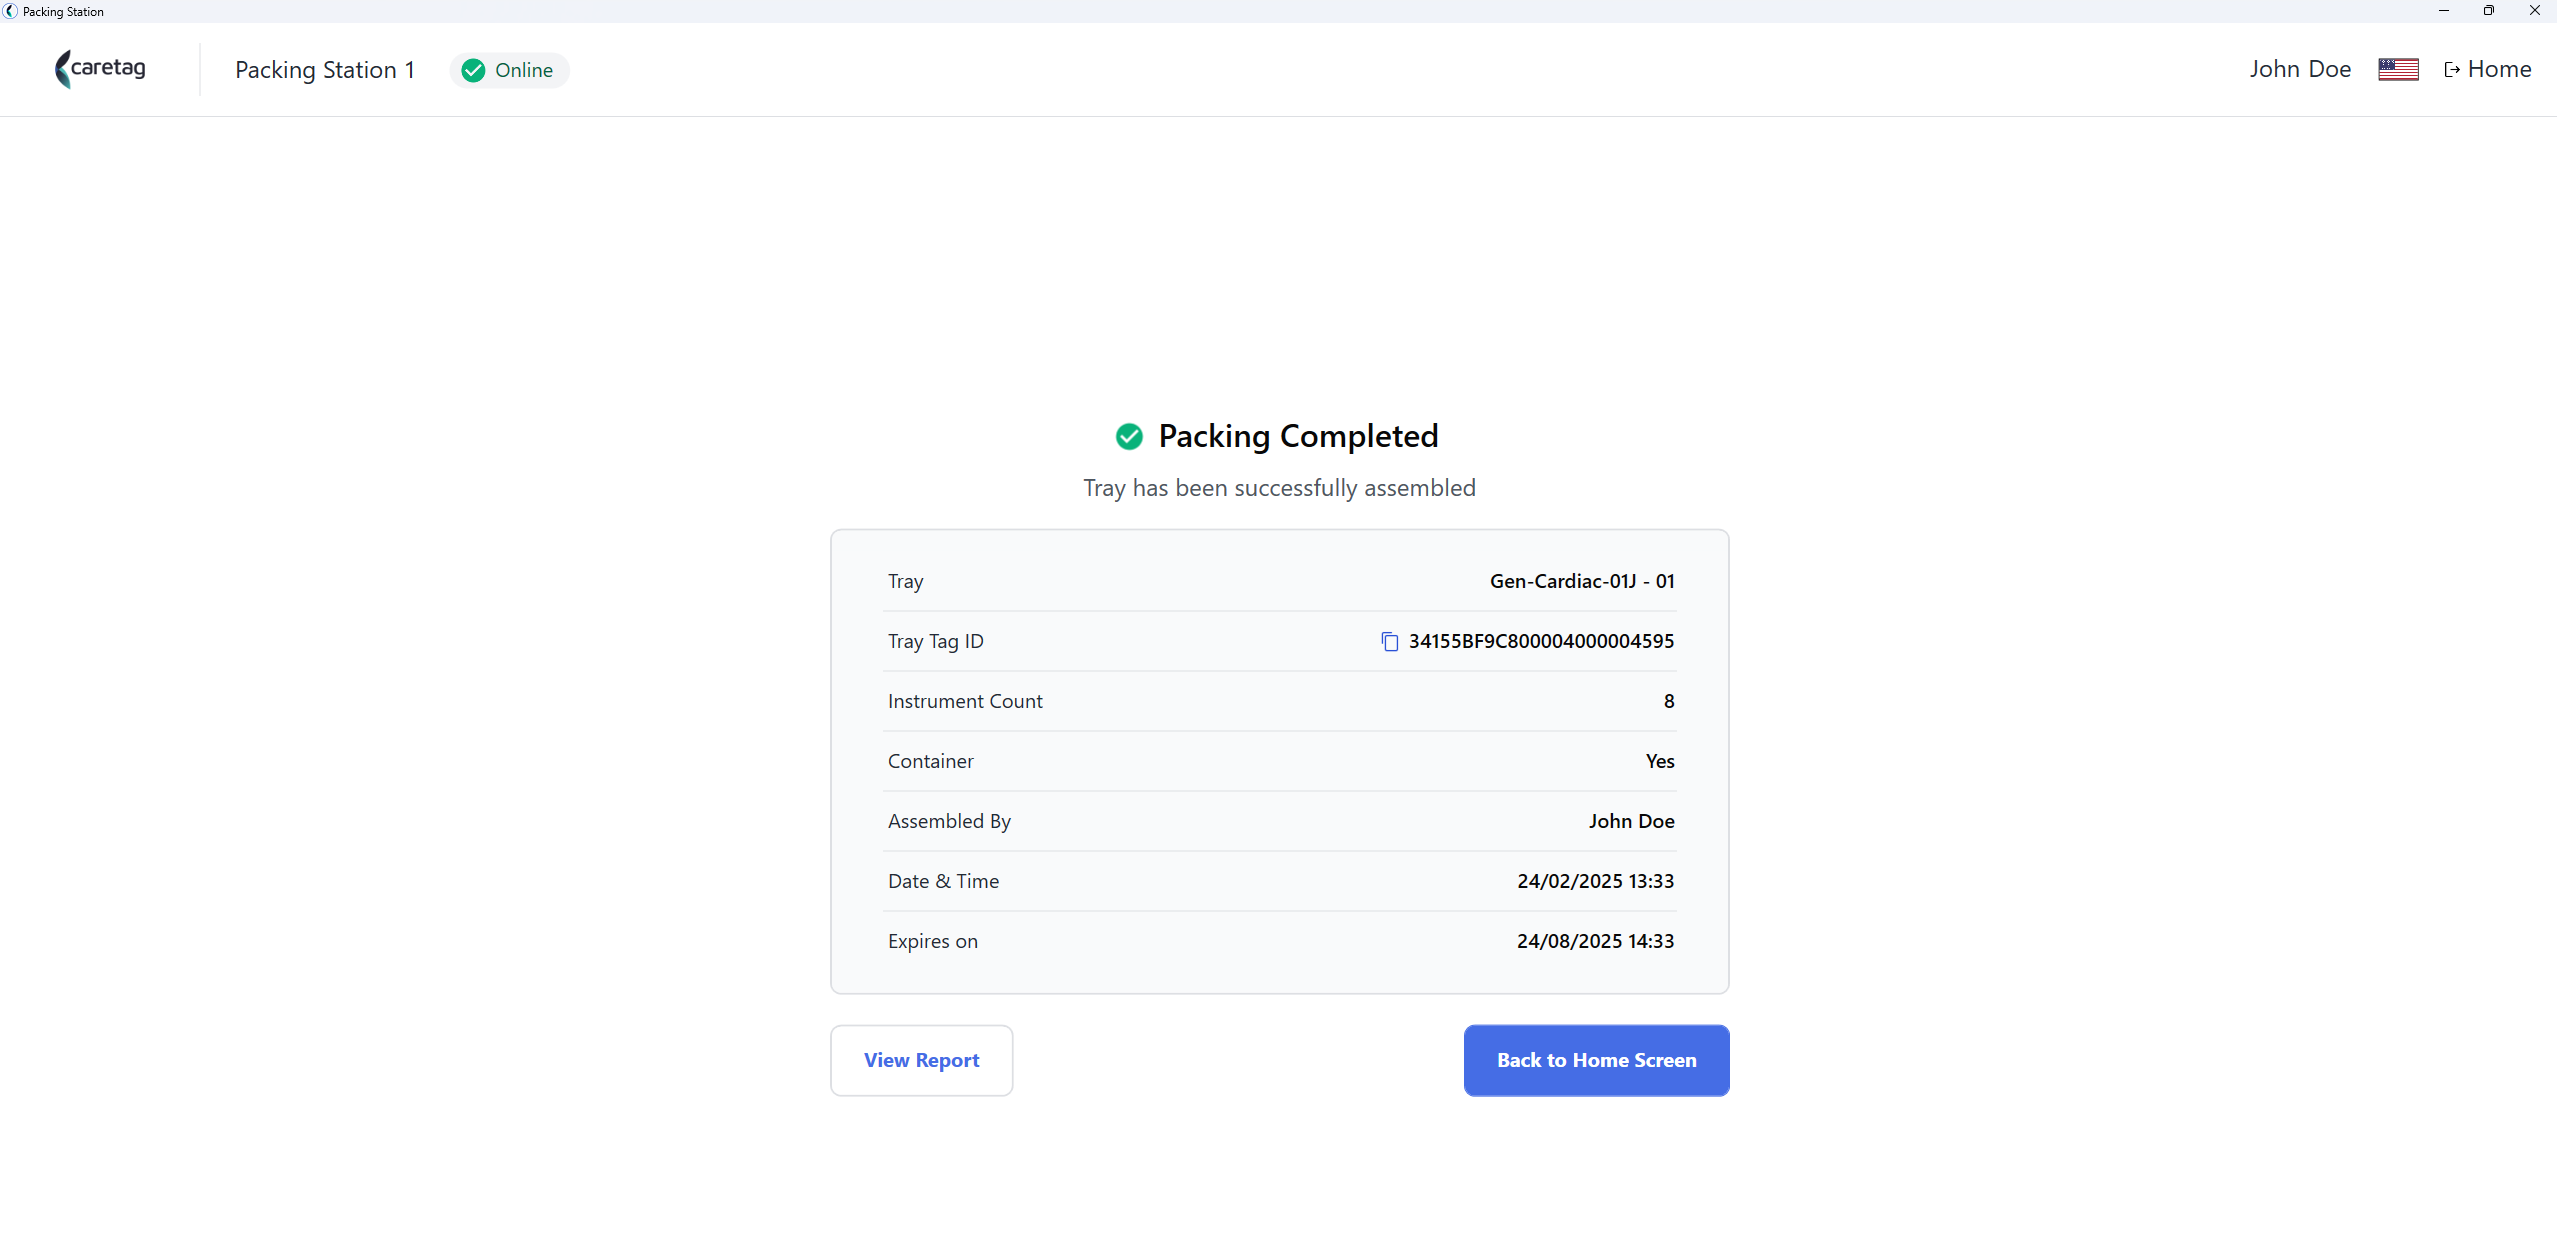
- The packing report can be viewed and downloaded.
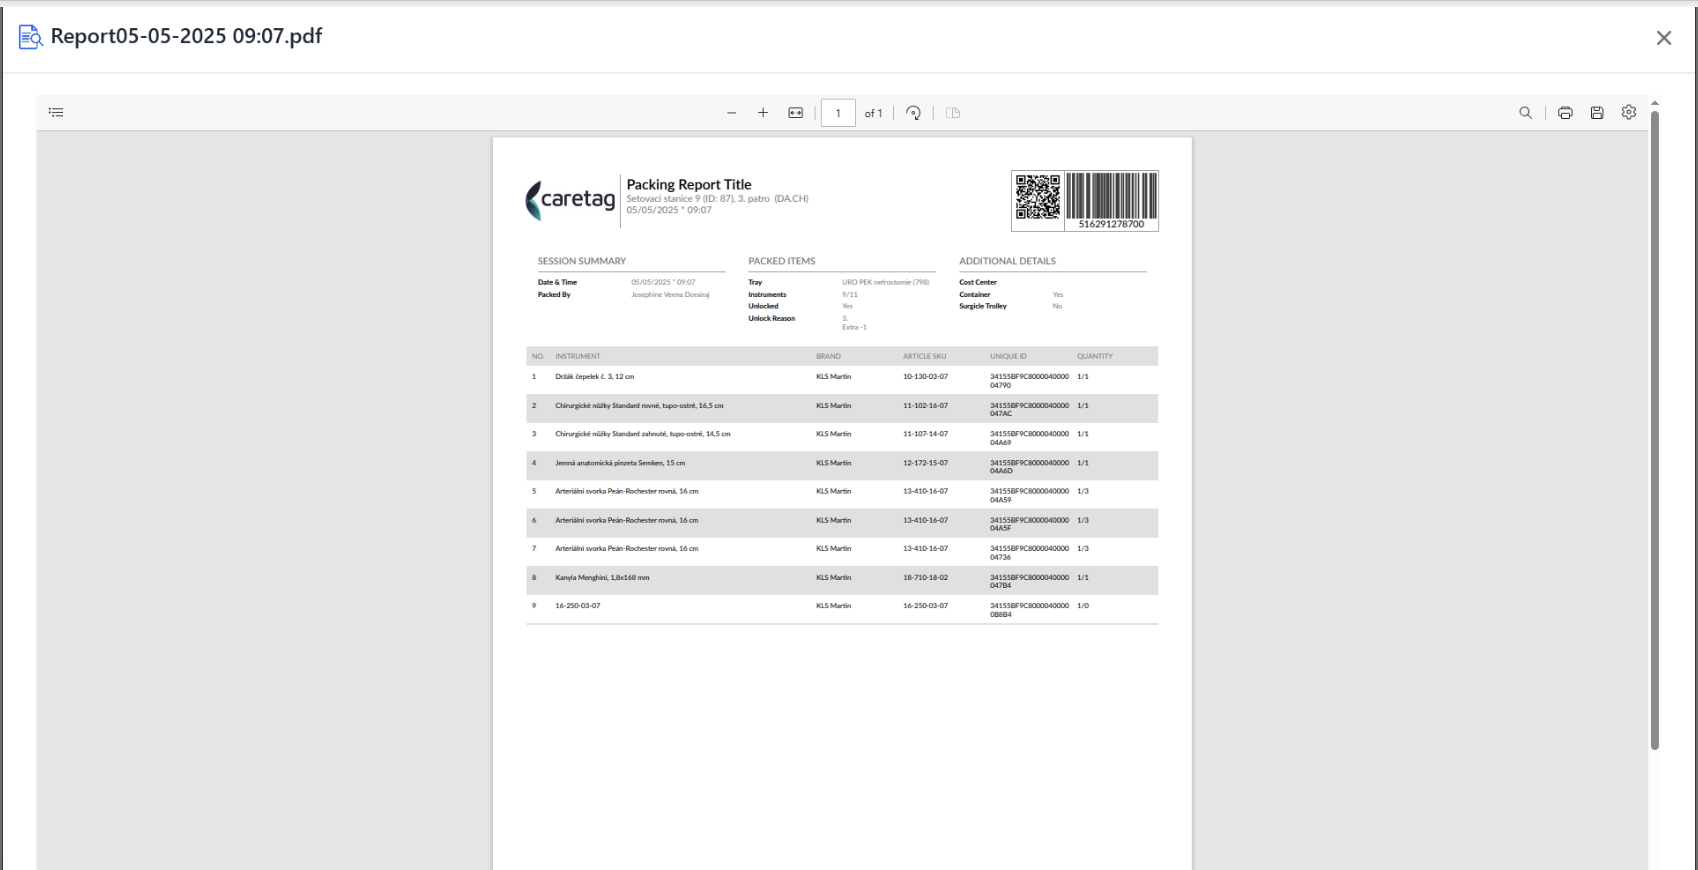
Note
The report displayed above is from the latest version and may not match the tray images shown in the ‘Scan Tray for Packing’ section.
Pack Mini set(Pouch)
Mini-sets are predefined pouches with small number of instruments.
- Select Pack mini sets(Pouch) option from the Packing station
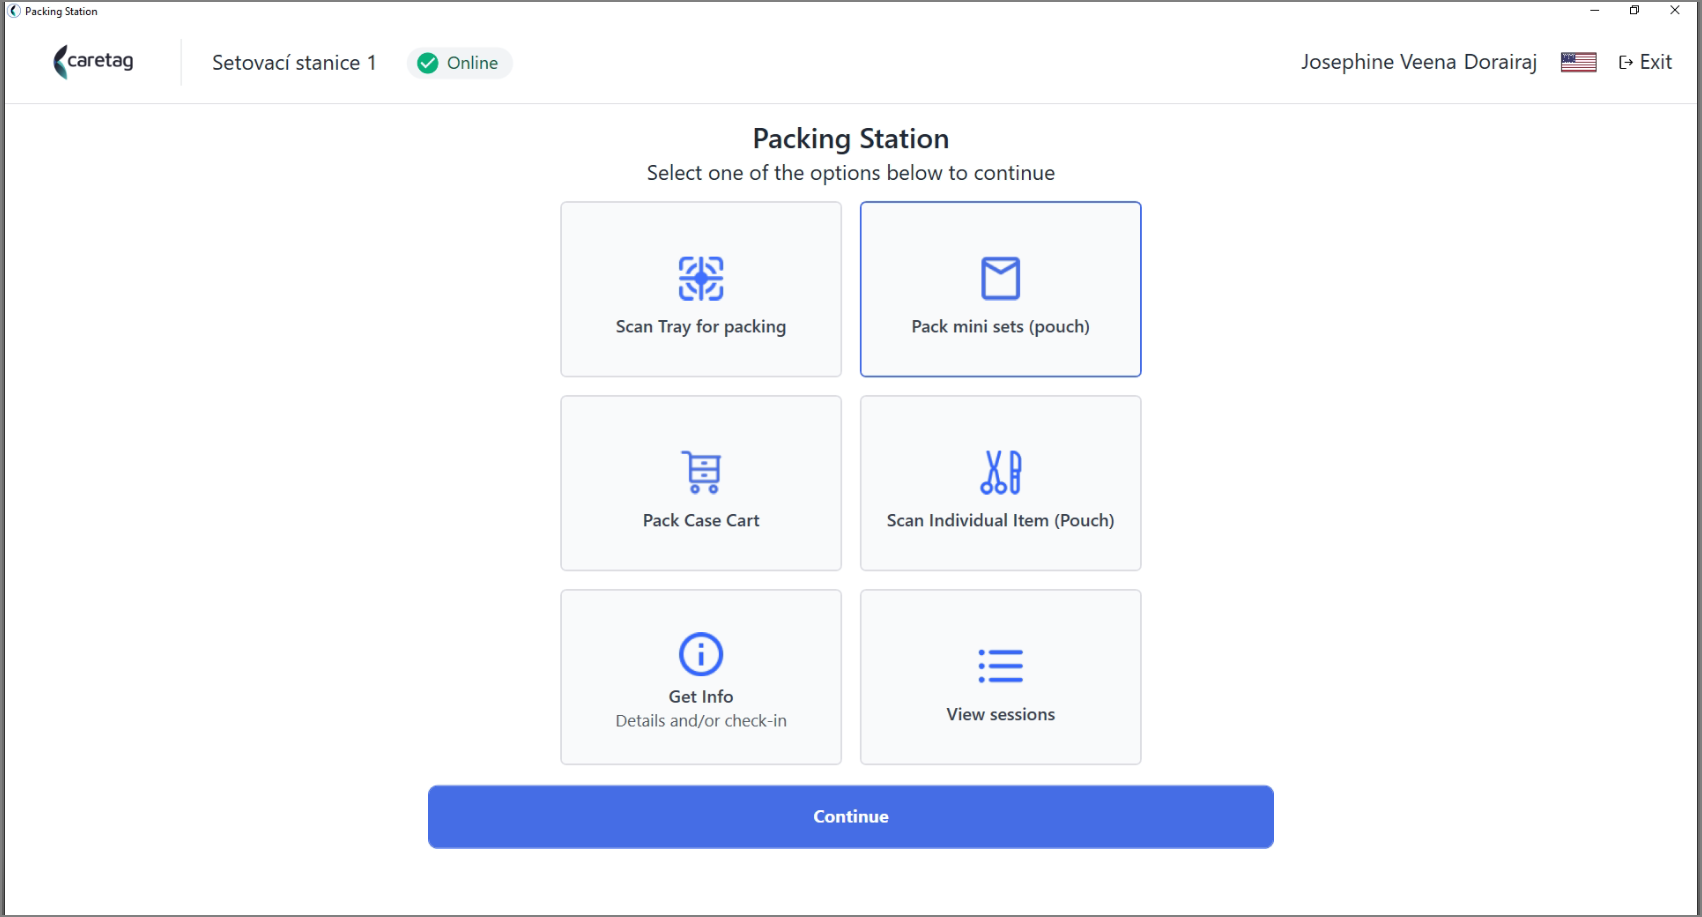
- Select the pouch type from the list, scroll down or simply type in the search bar to select the mini set.
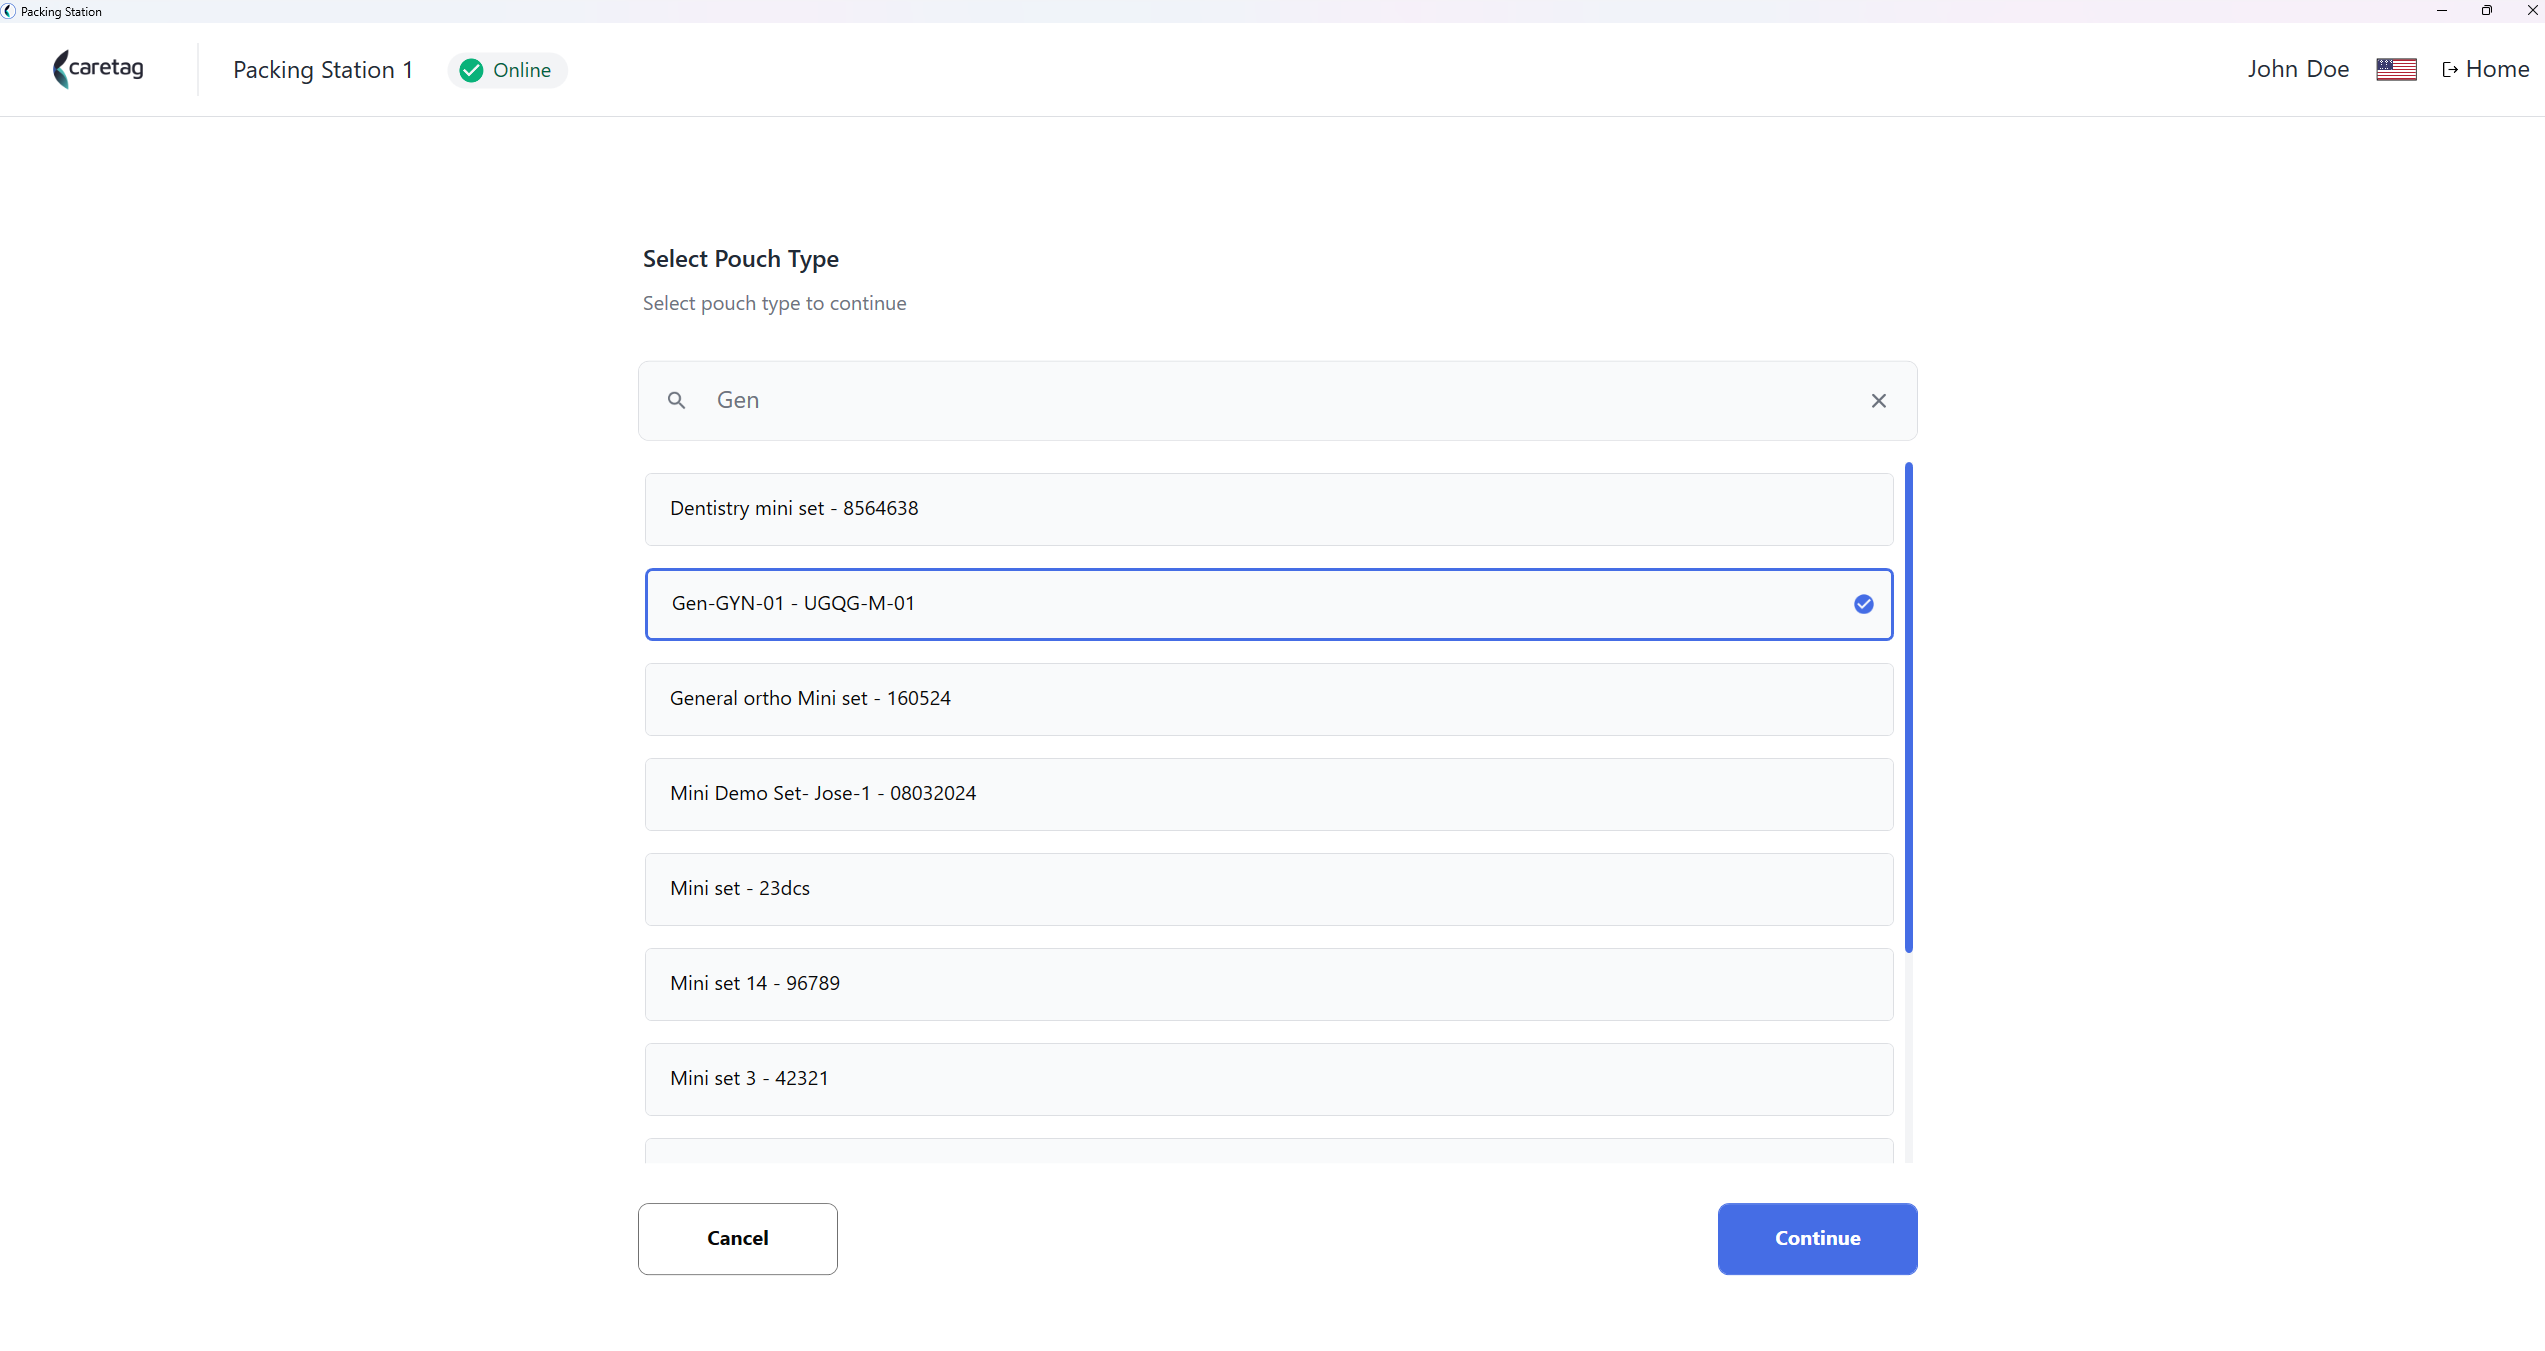
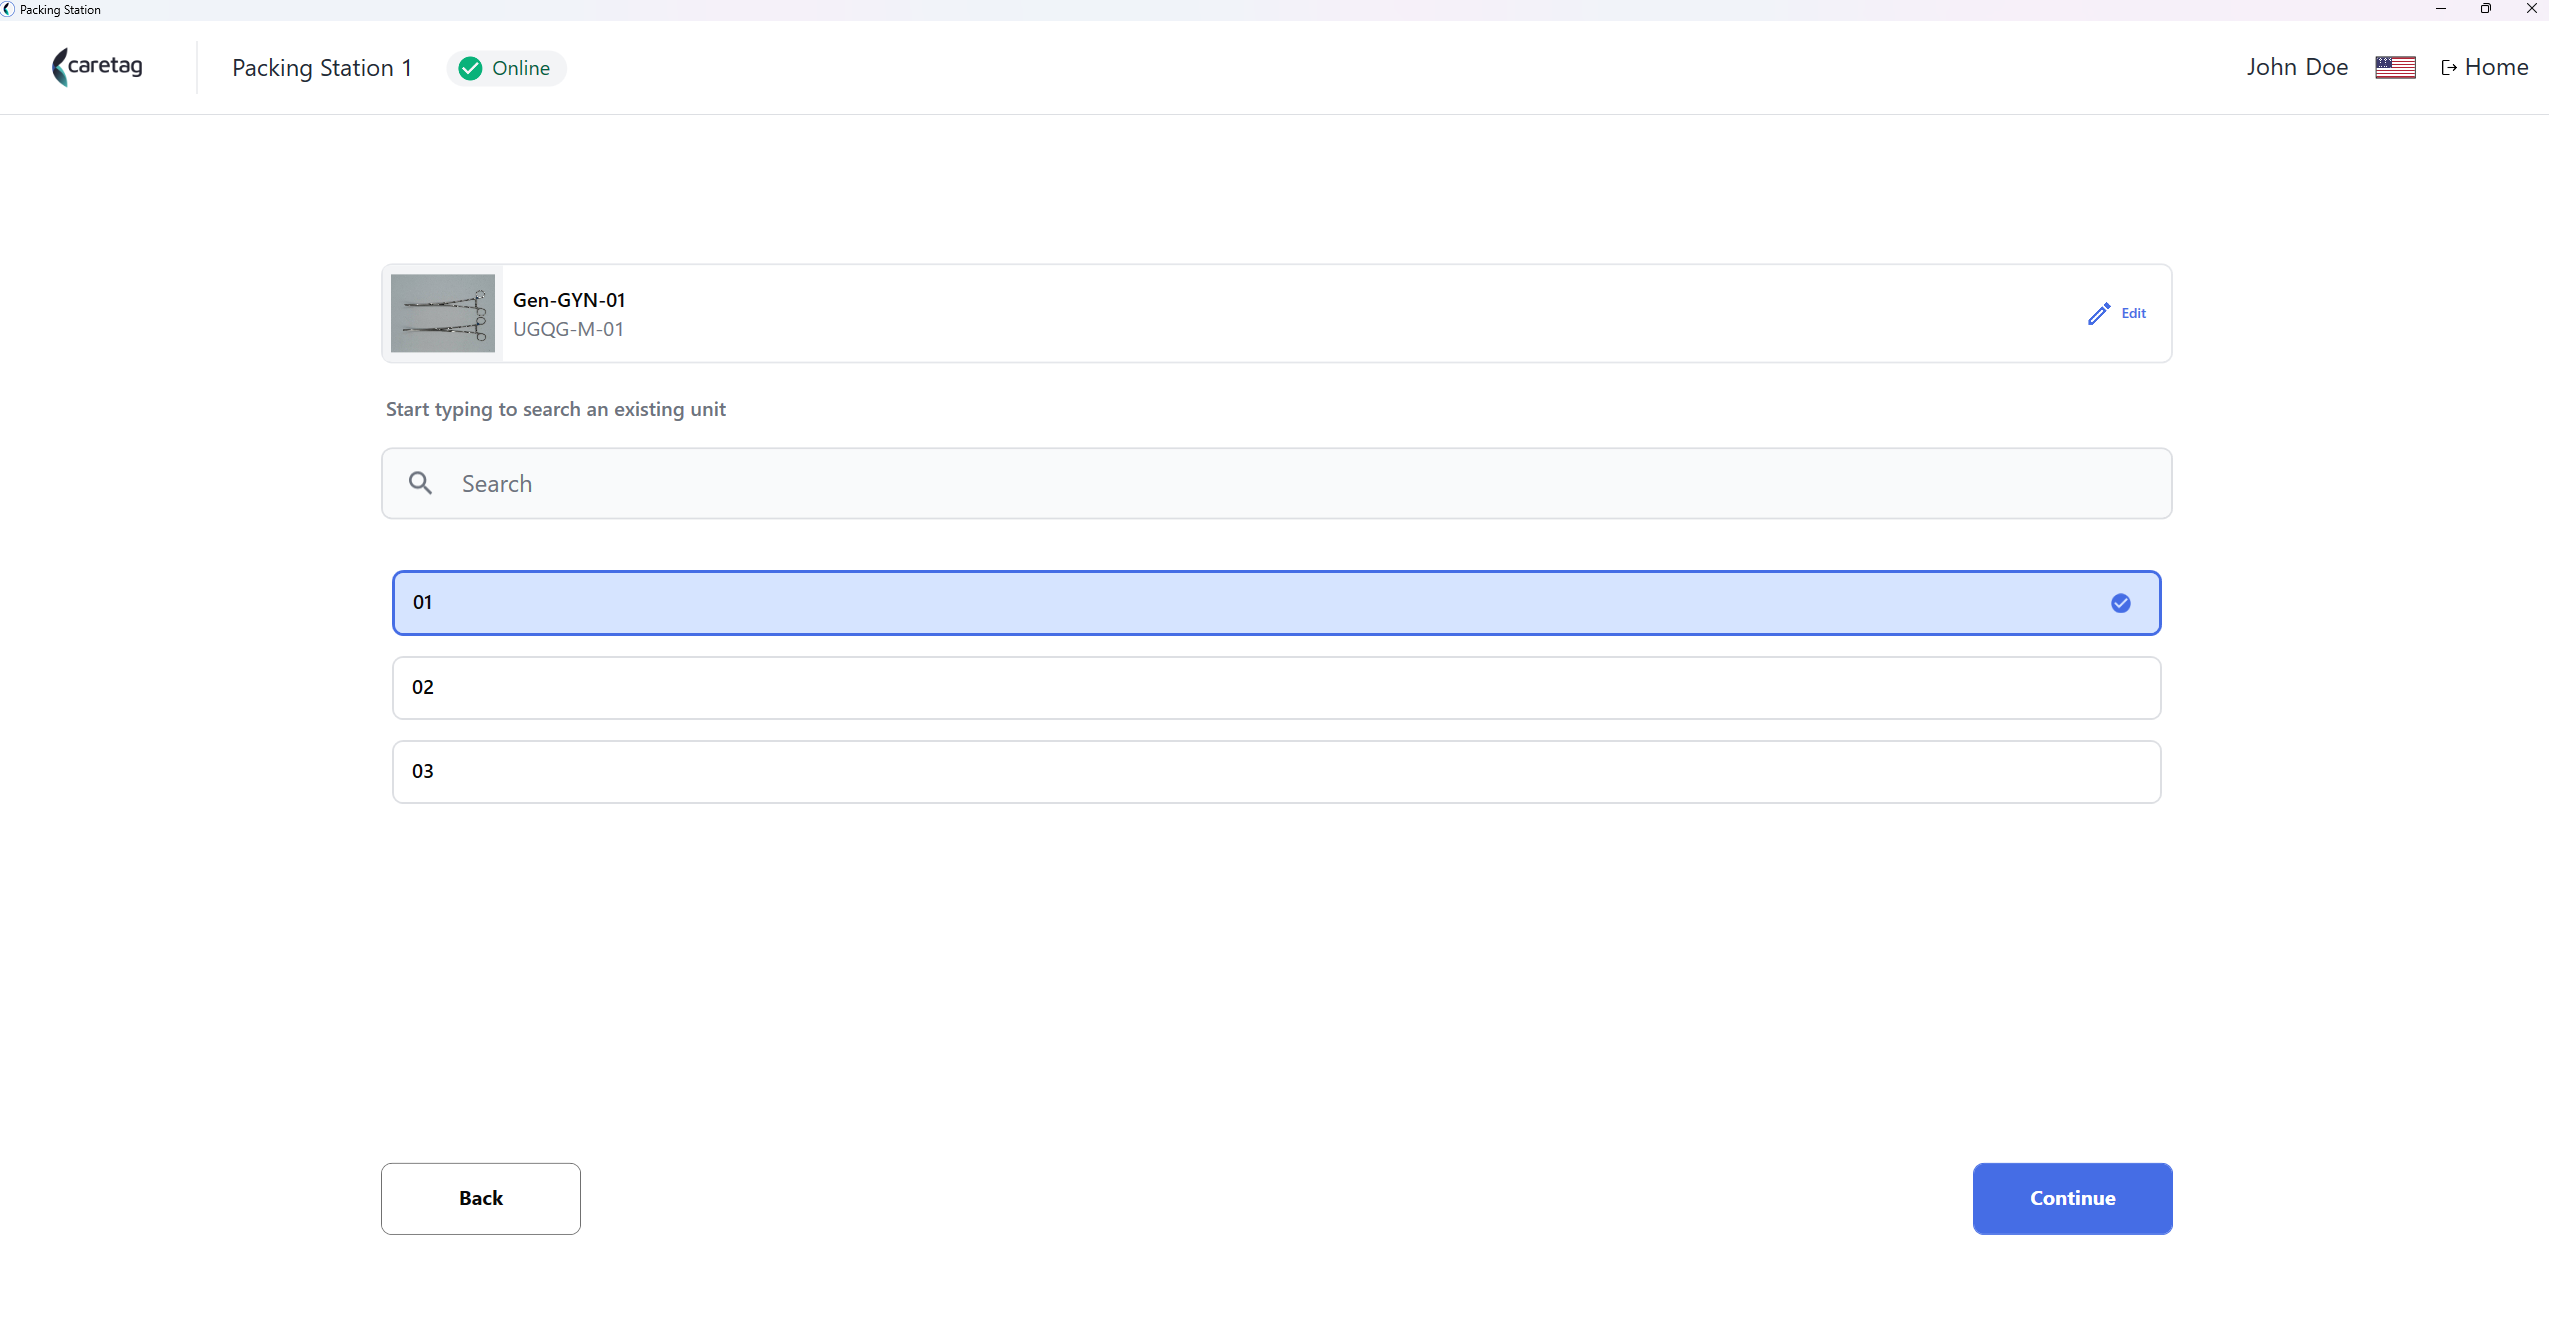
- Select the unit
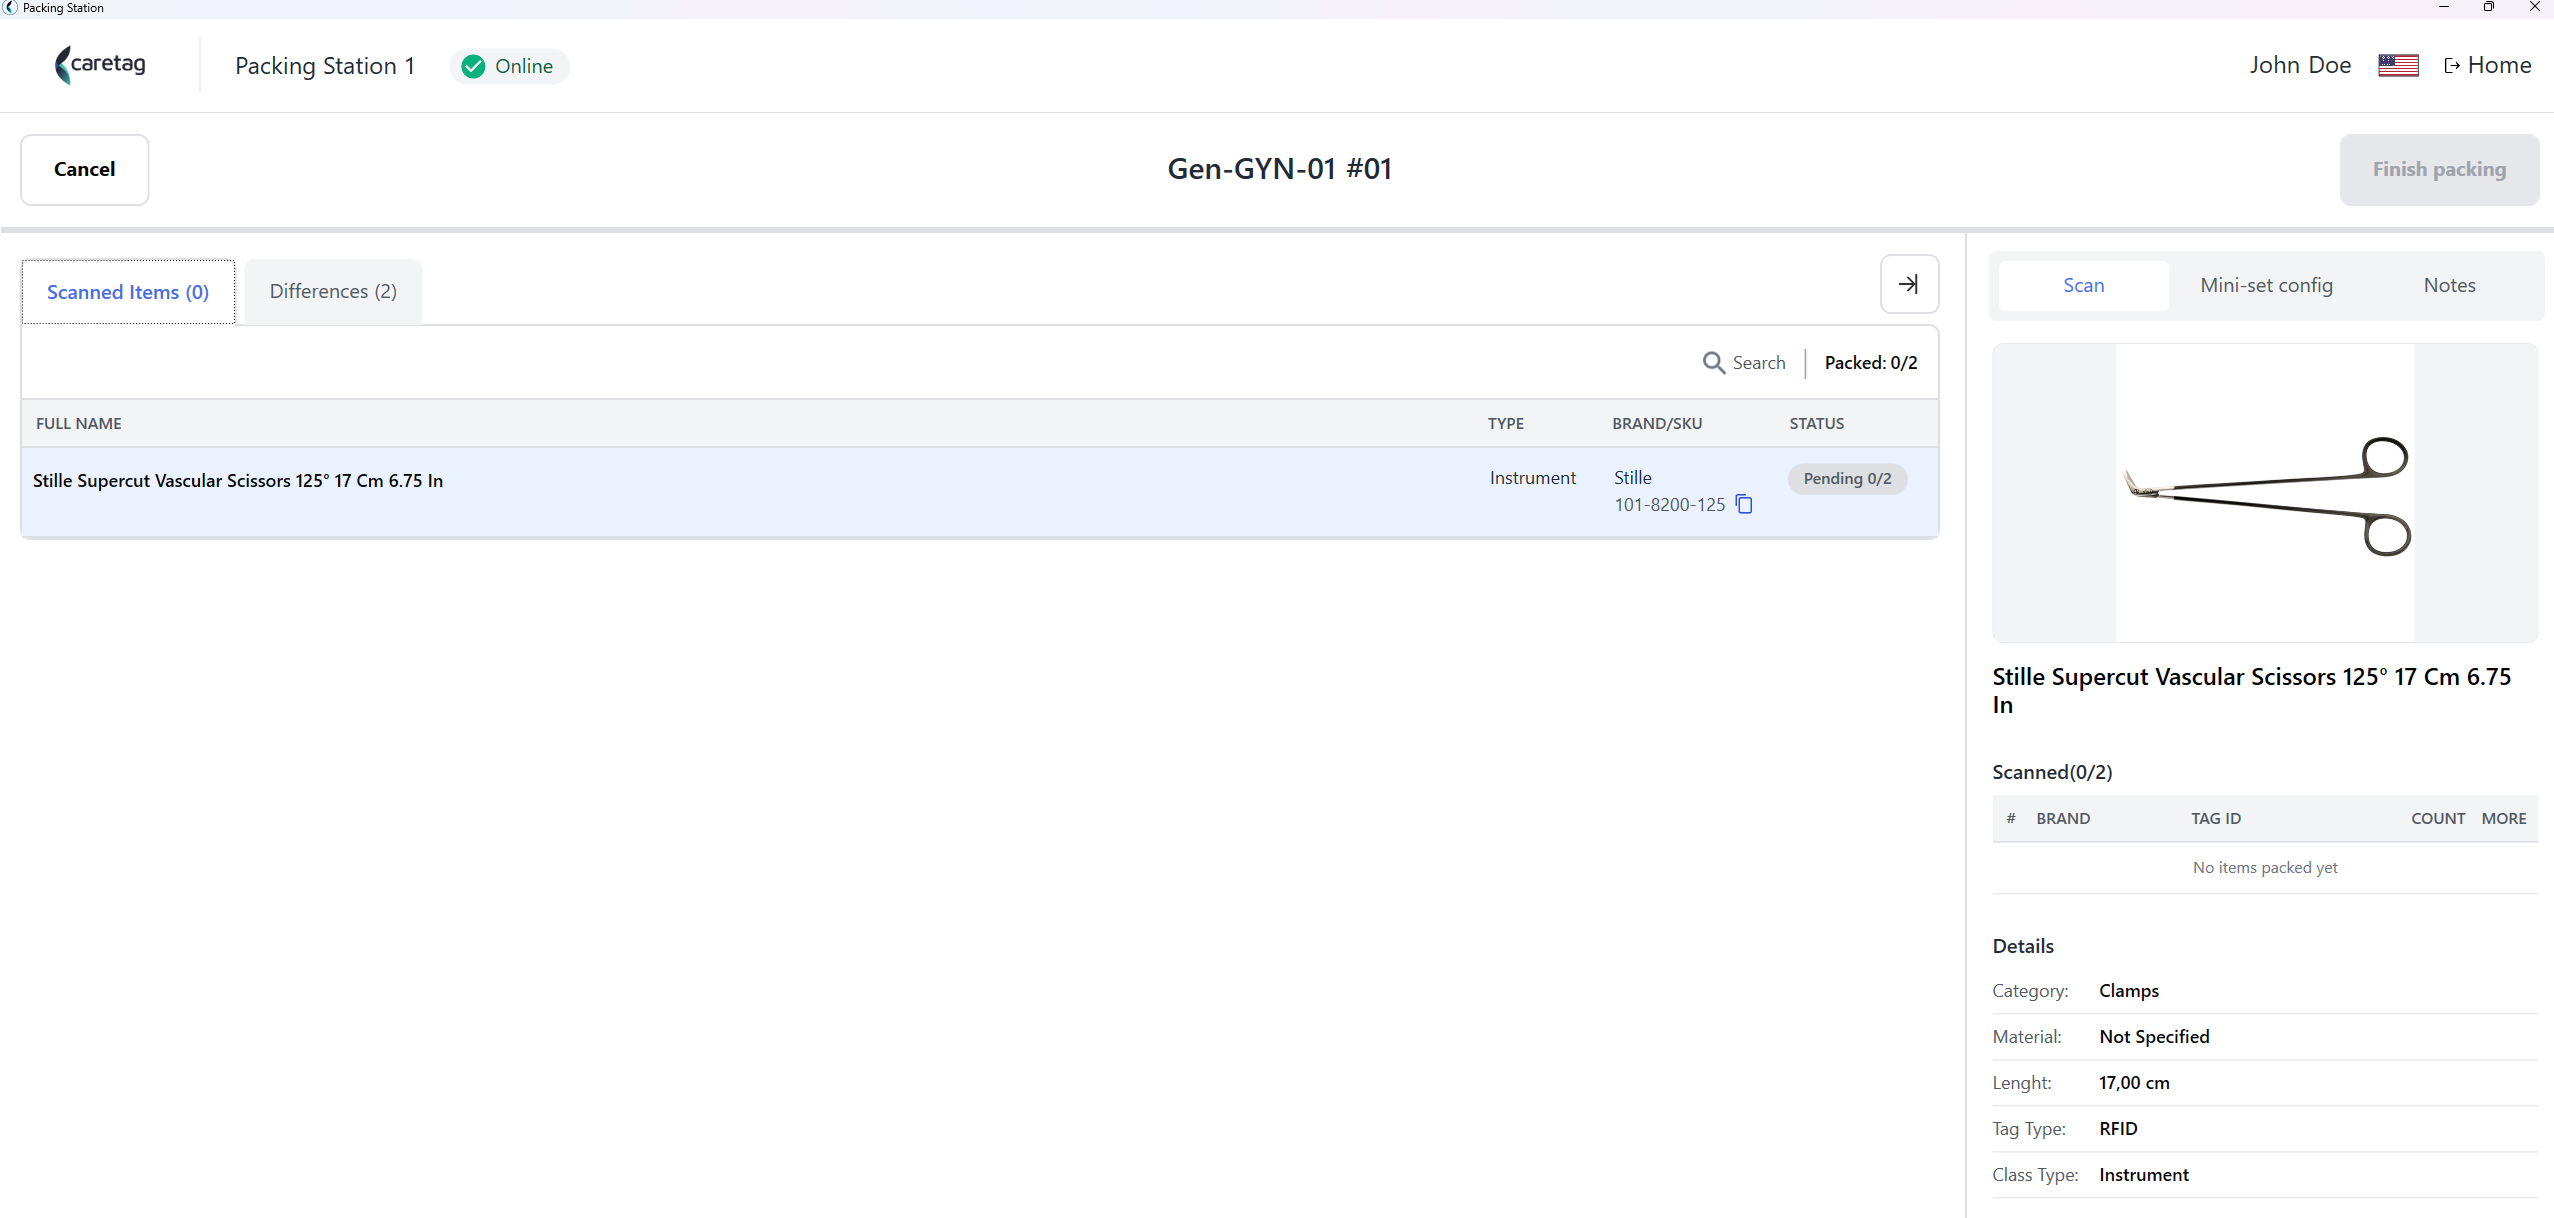
- Here you can the see the instruments belong to this mini set
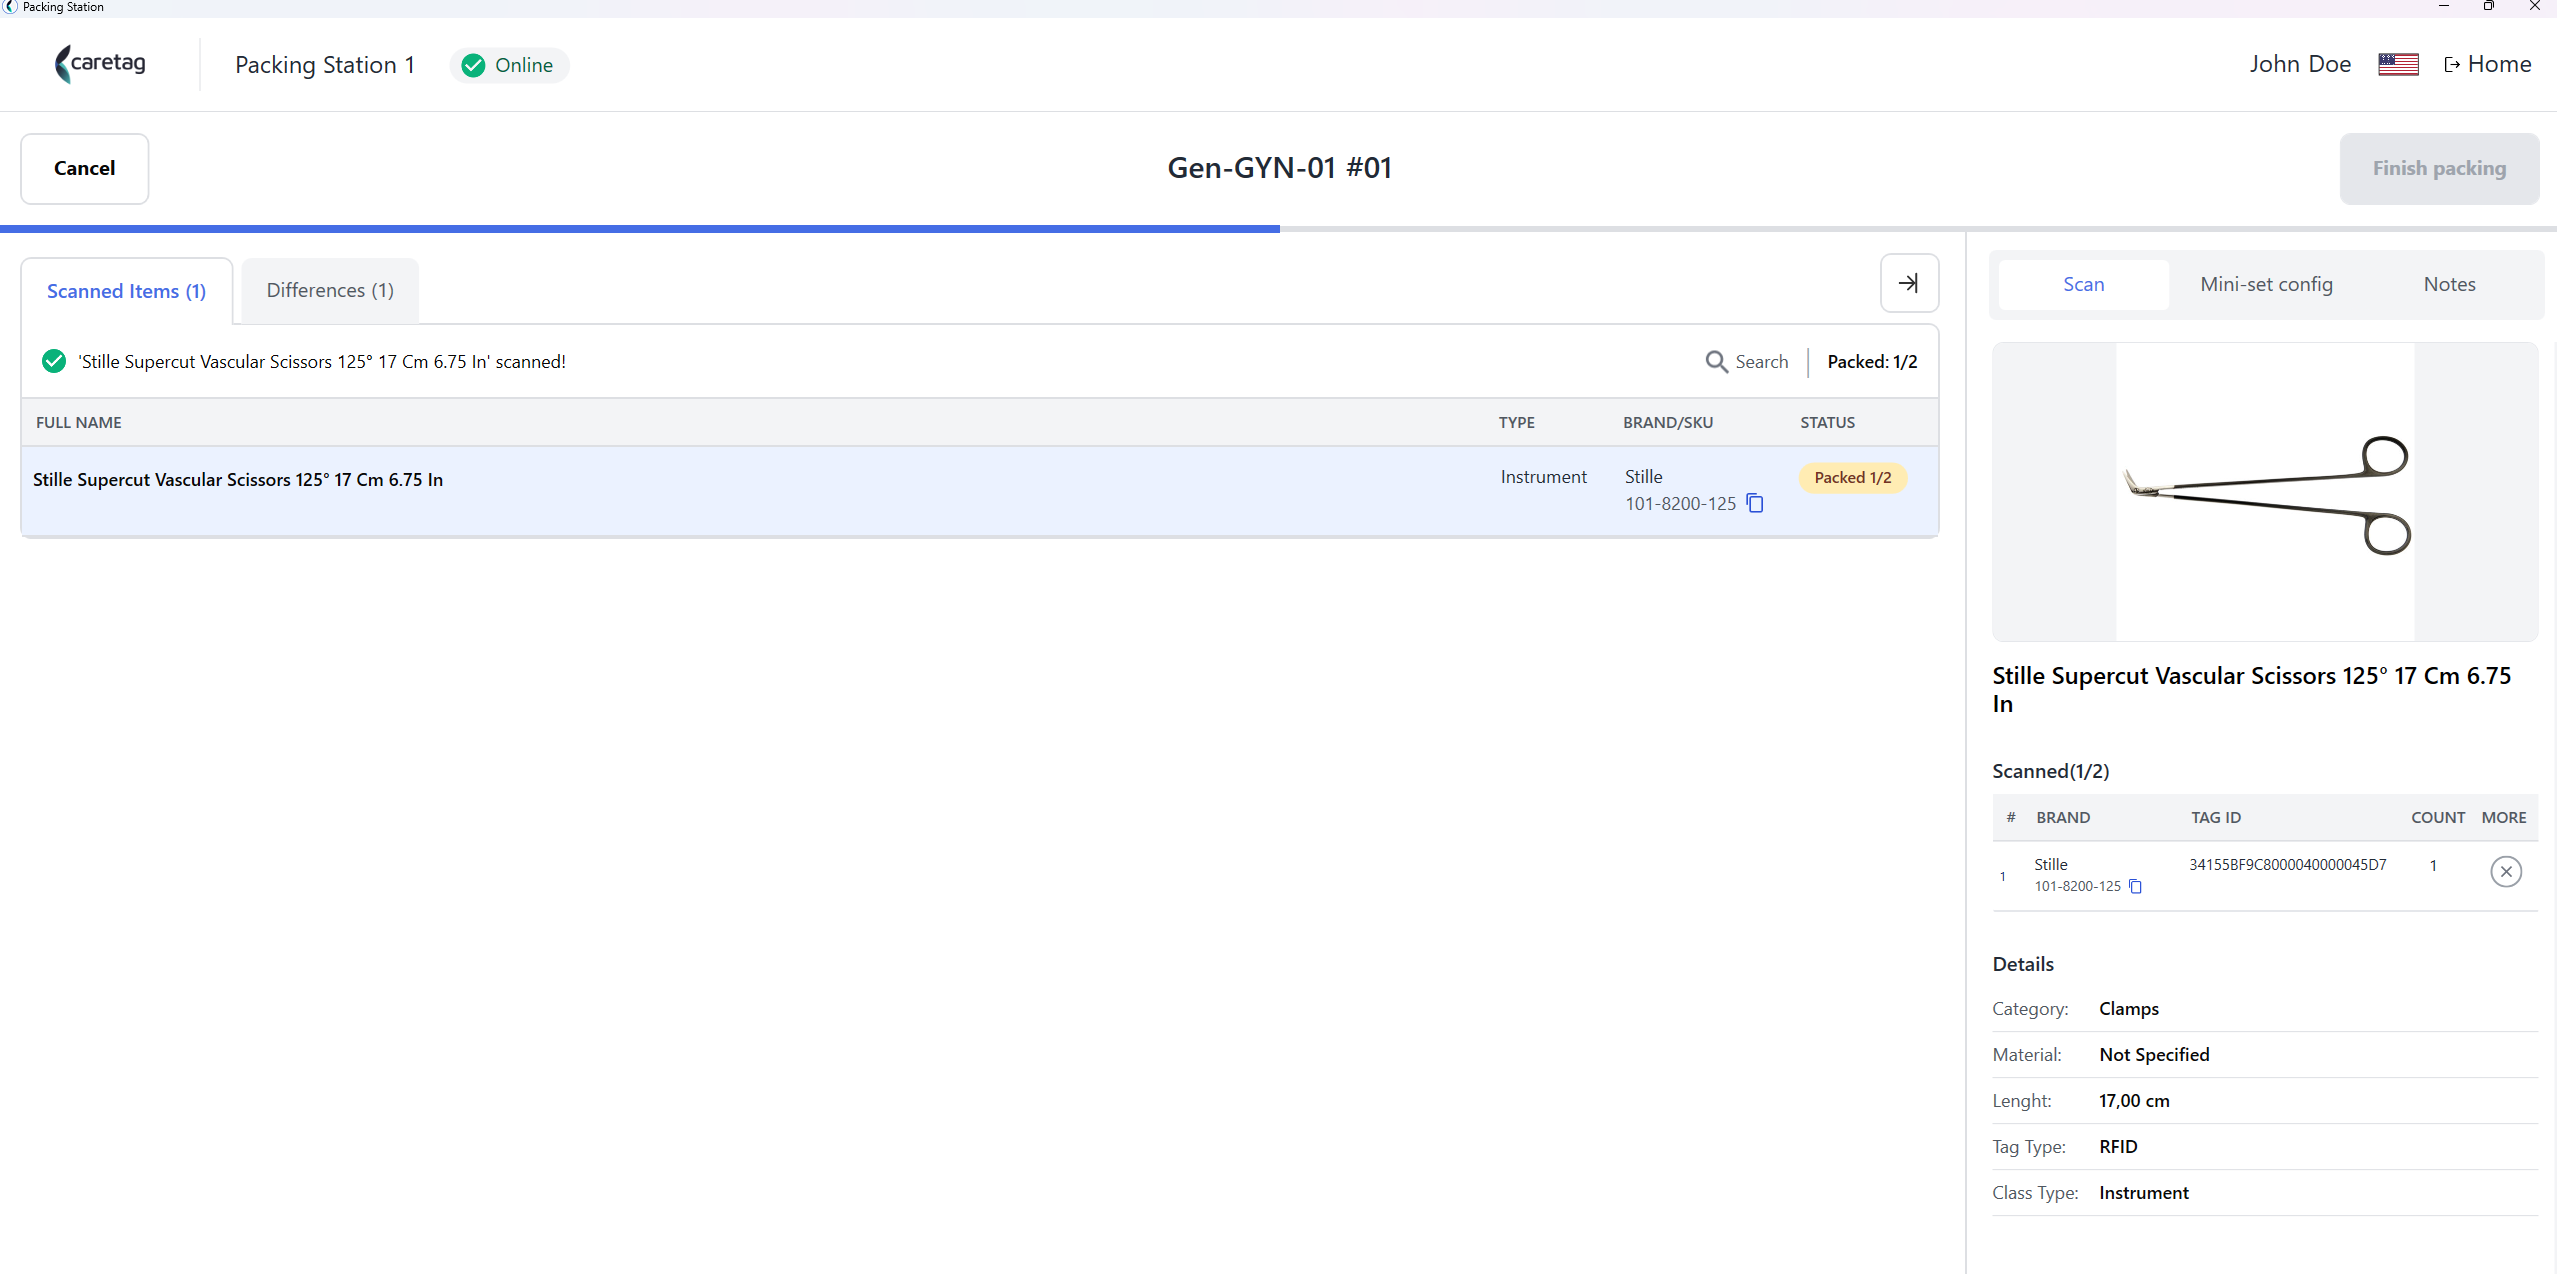
- Place the instruments on the RFID Reader. Once the tags are read, the status is changed.
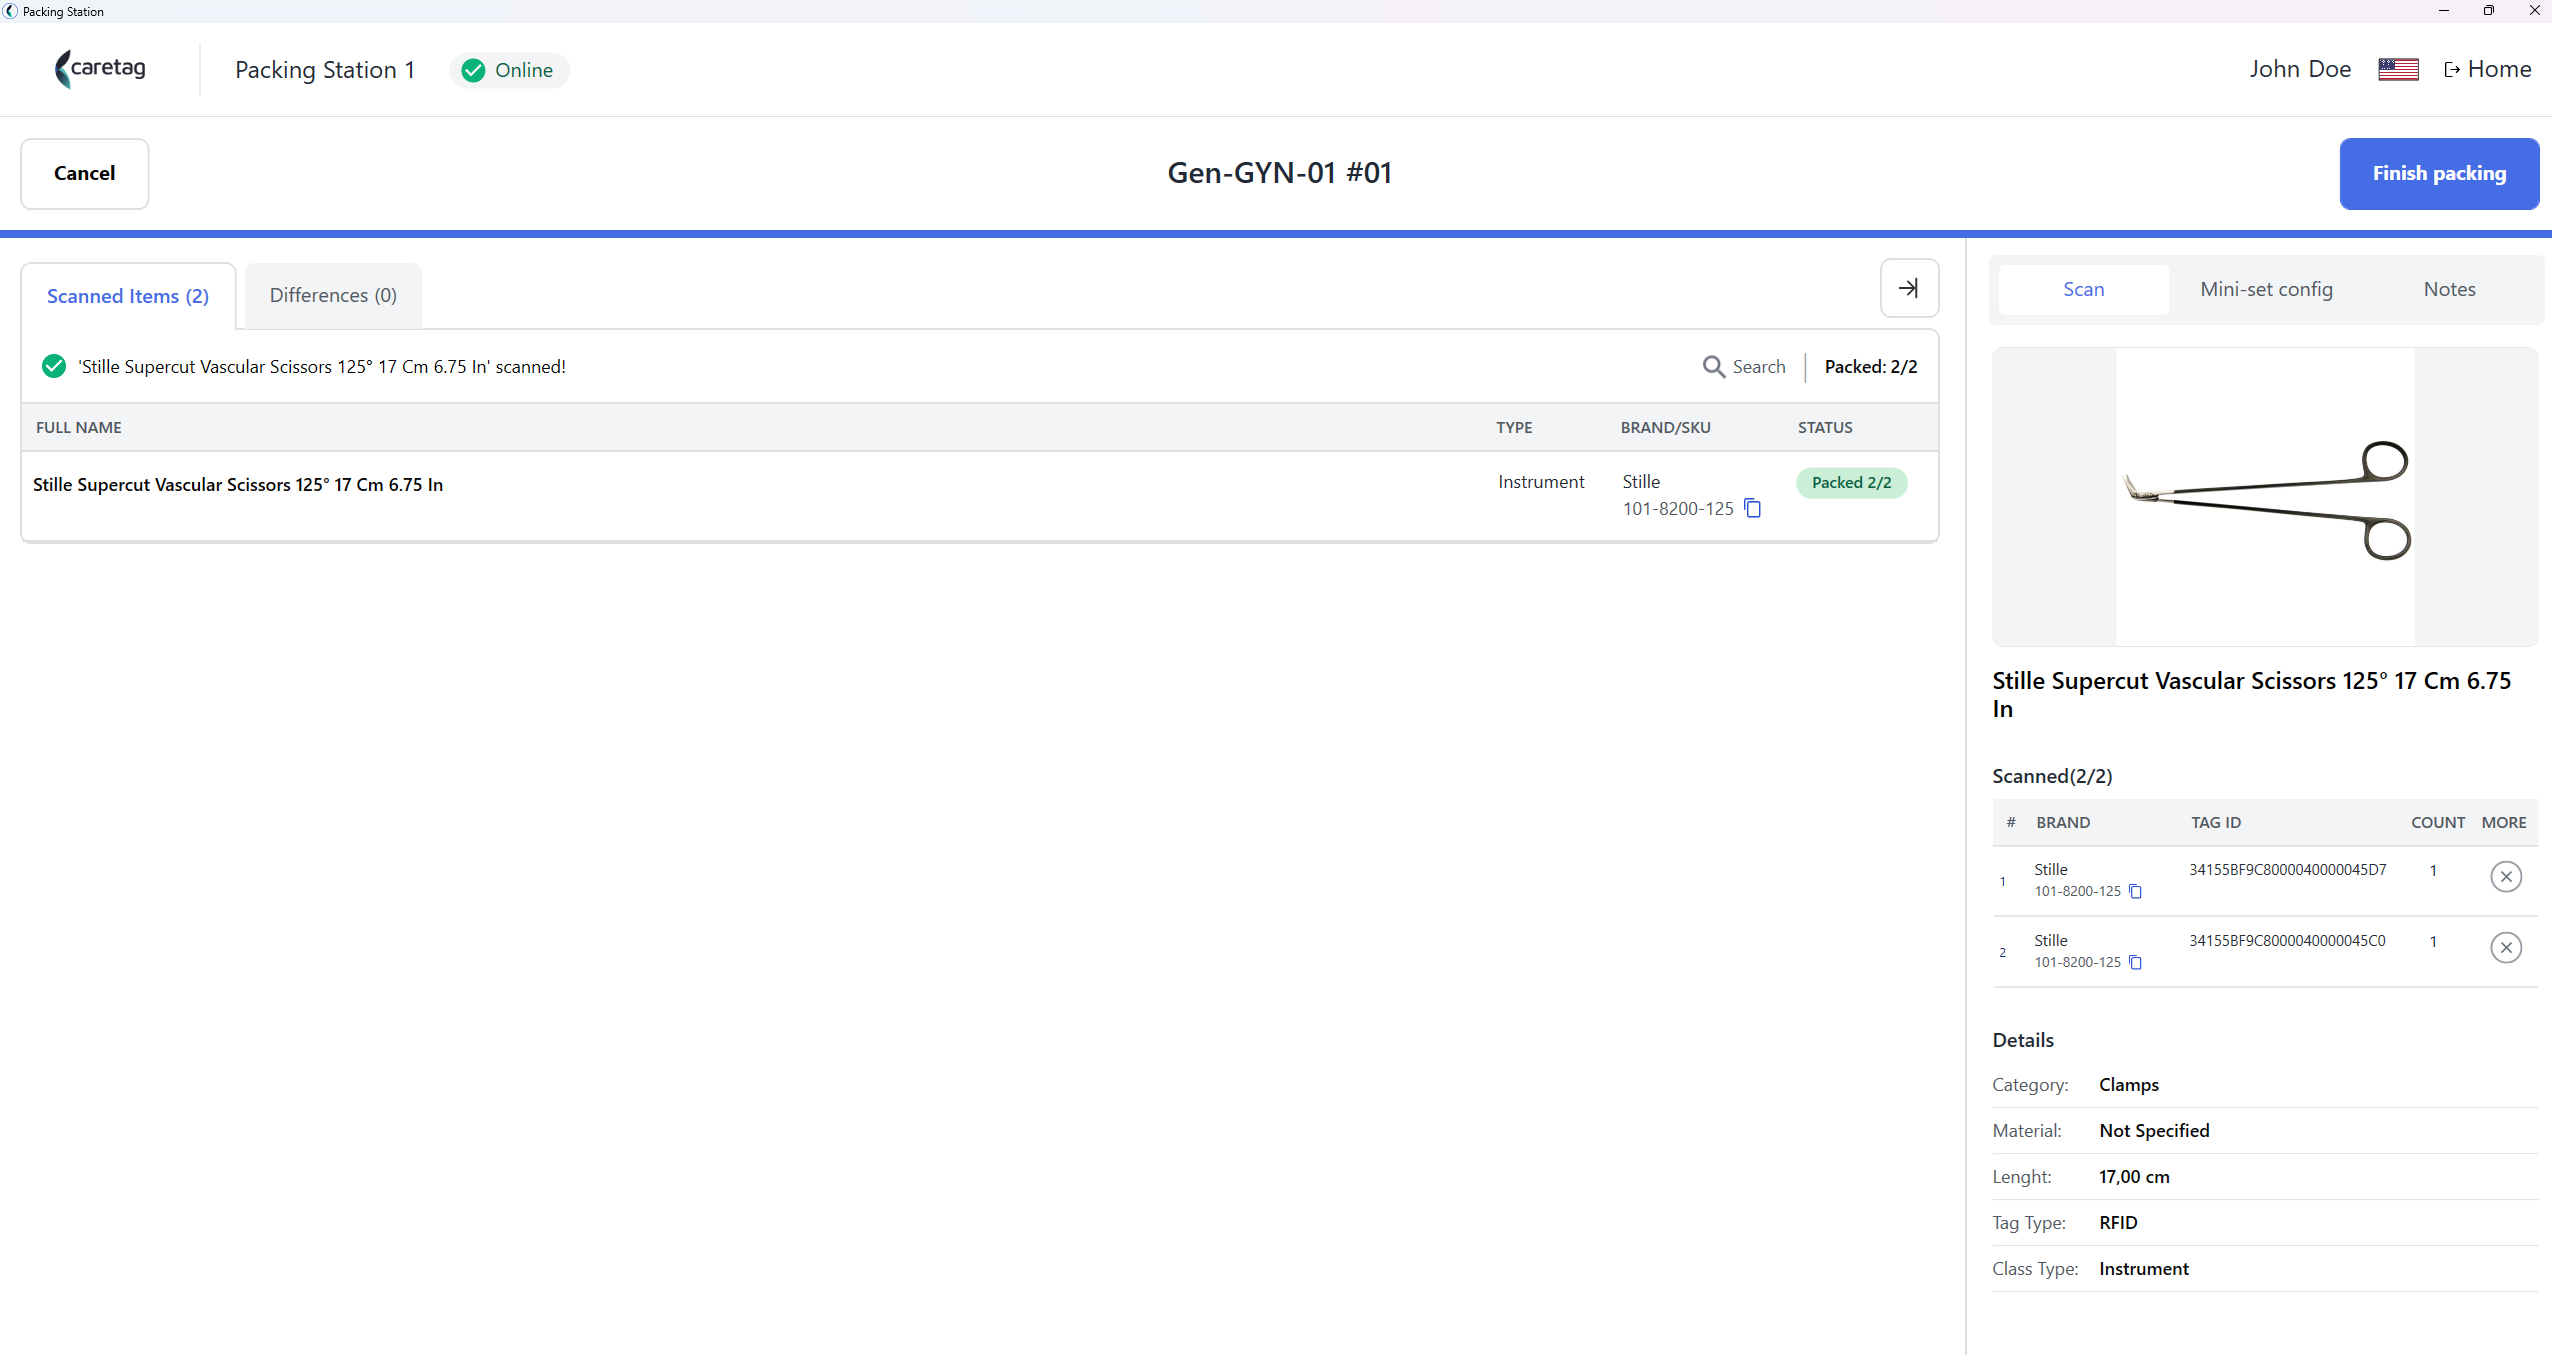
- Select the expiration period
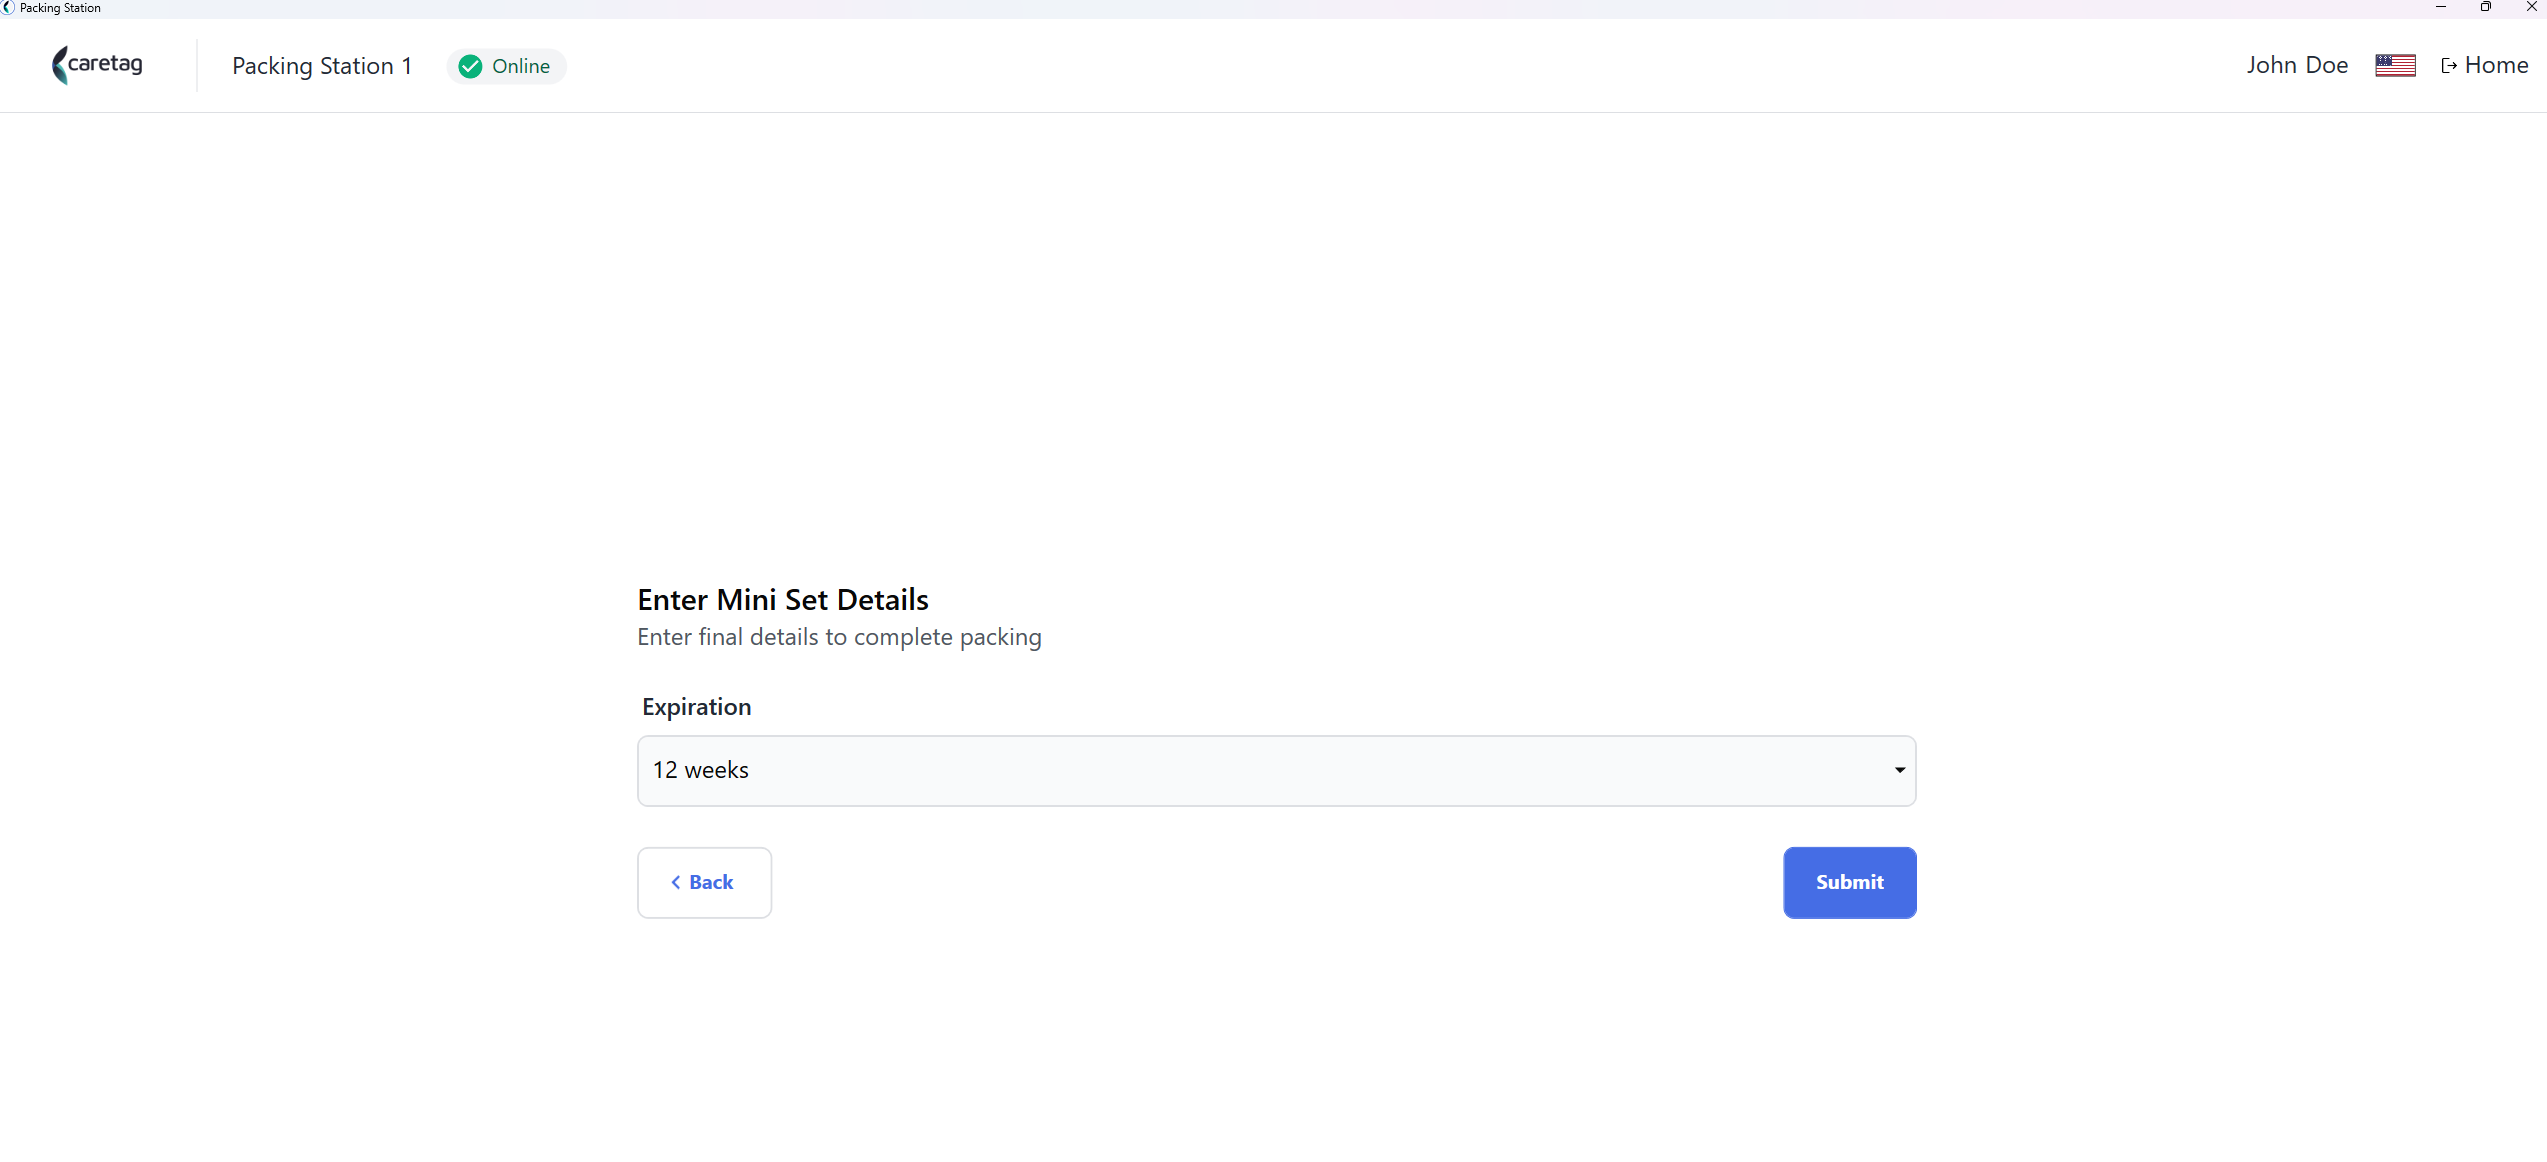
- Packing summary
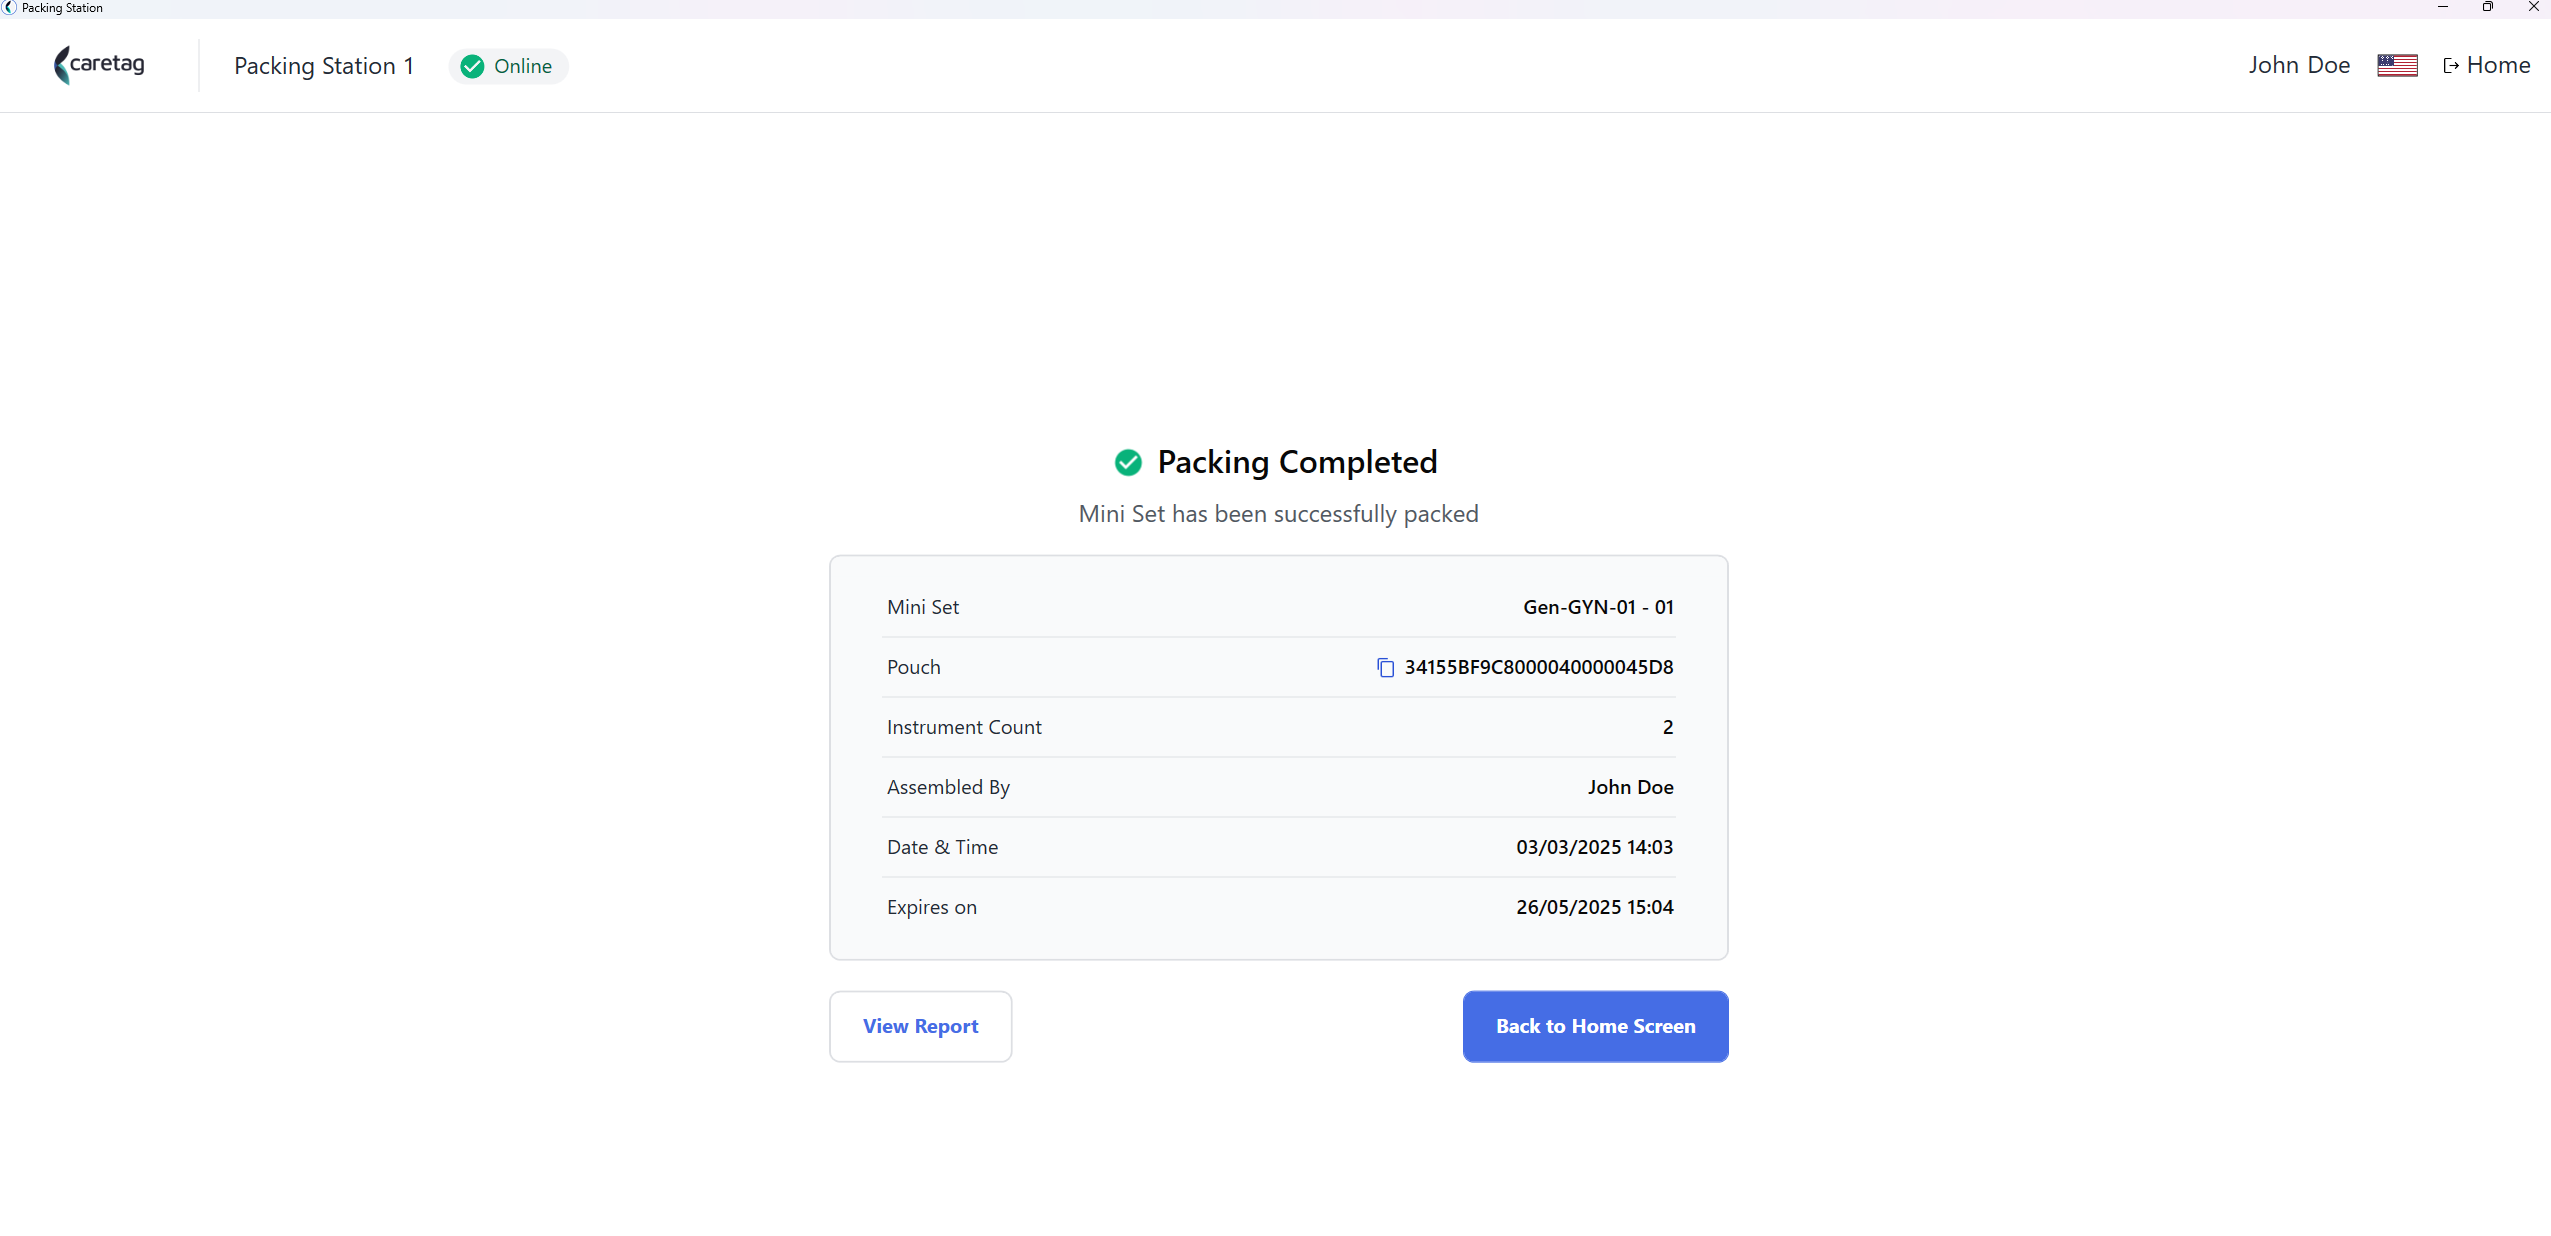
- Click on view report
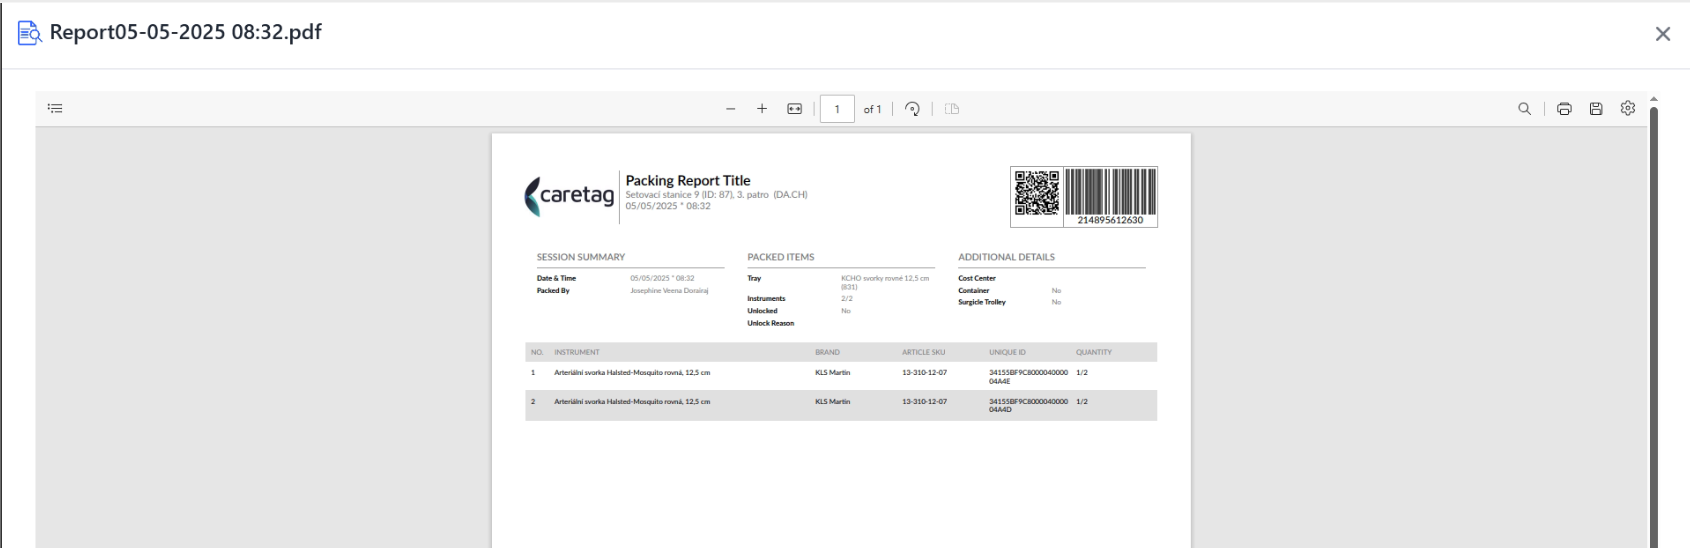
Note
The report displayed above is from the latest version and may not match the tray images shown in the ‘Pack mini set’ section.
Pack Case Cart
- Select Pack Case Cart Option and click the continue button.
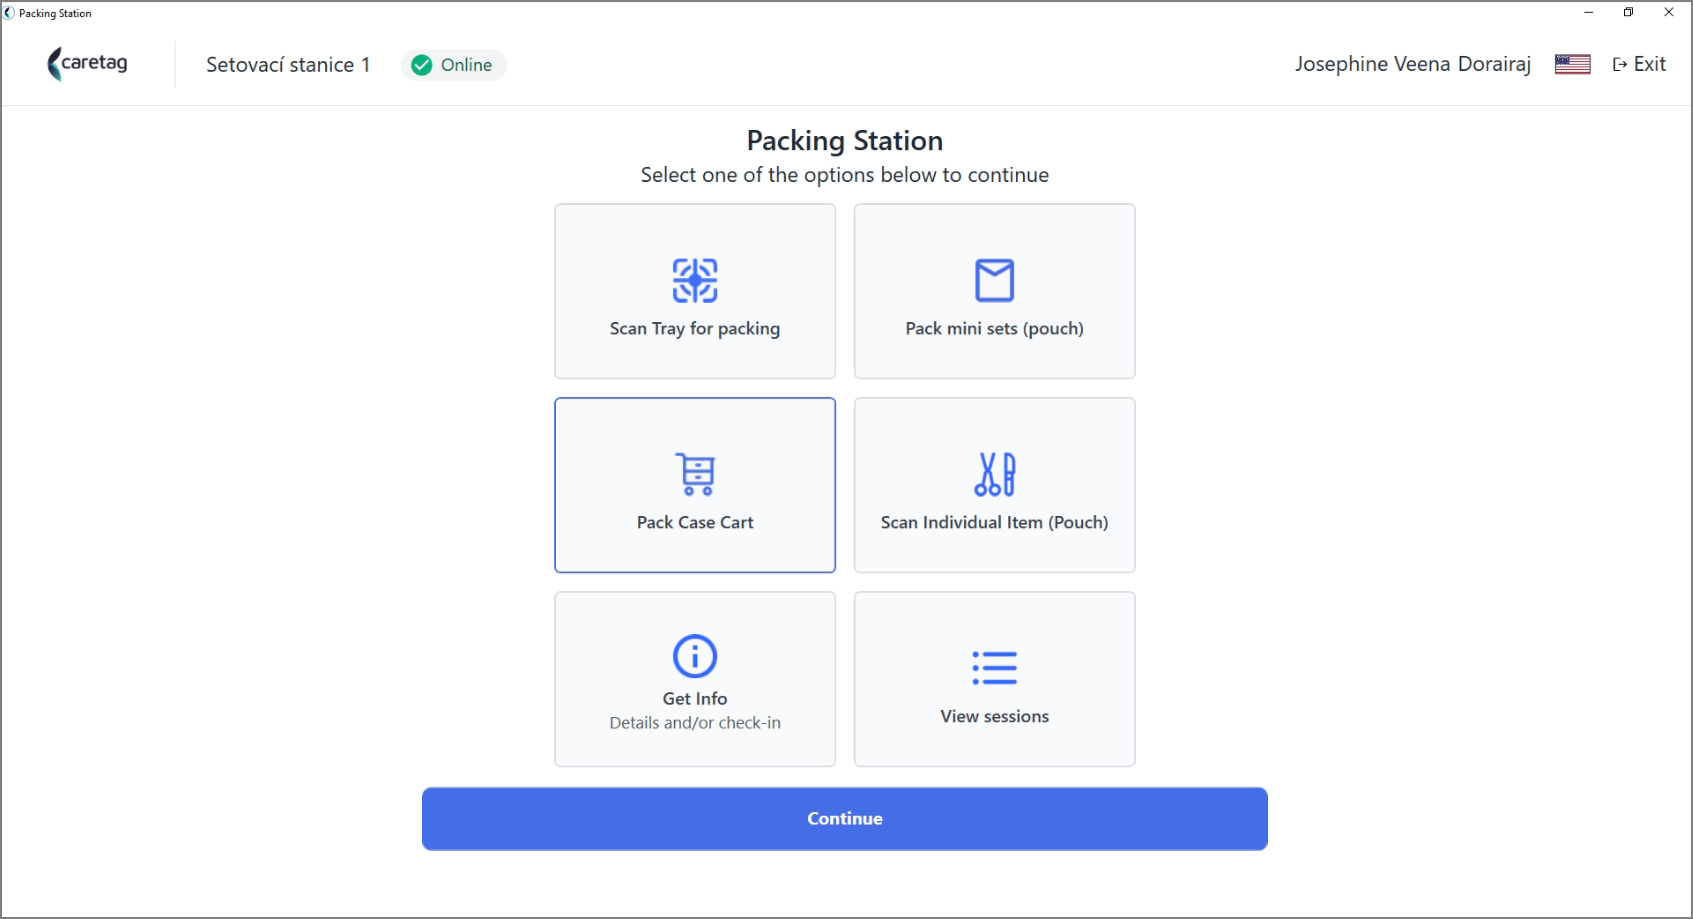
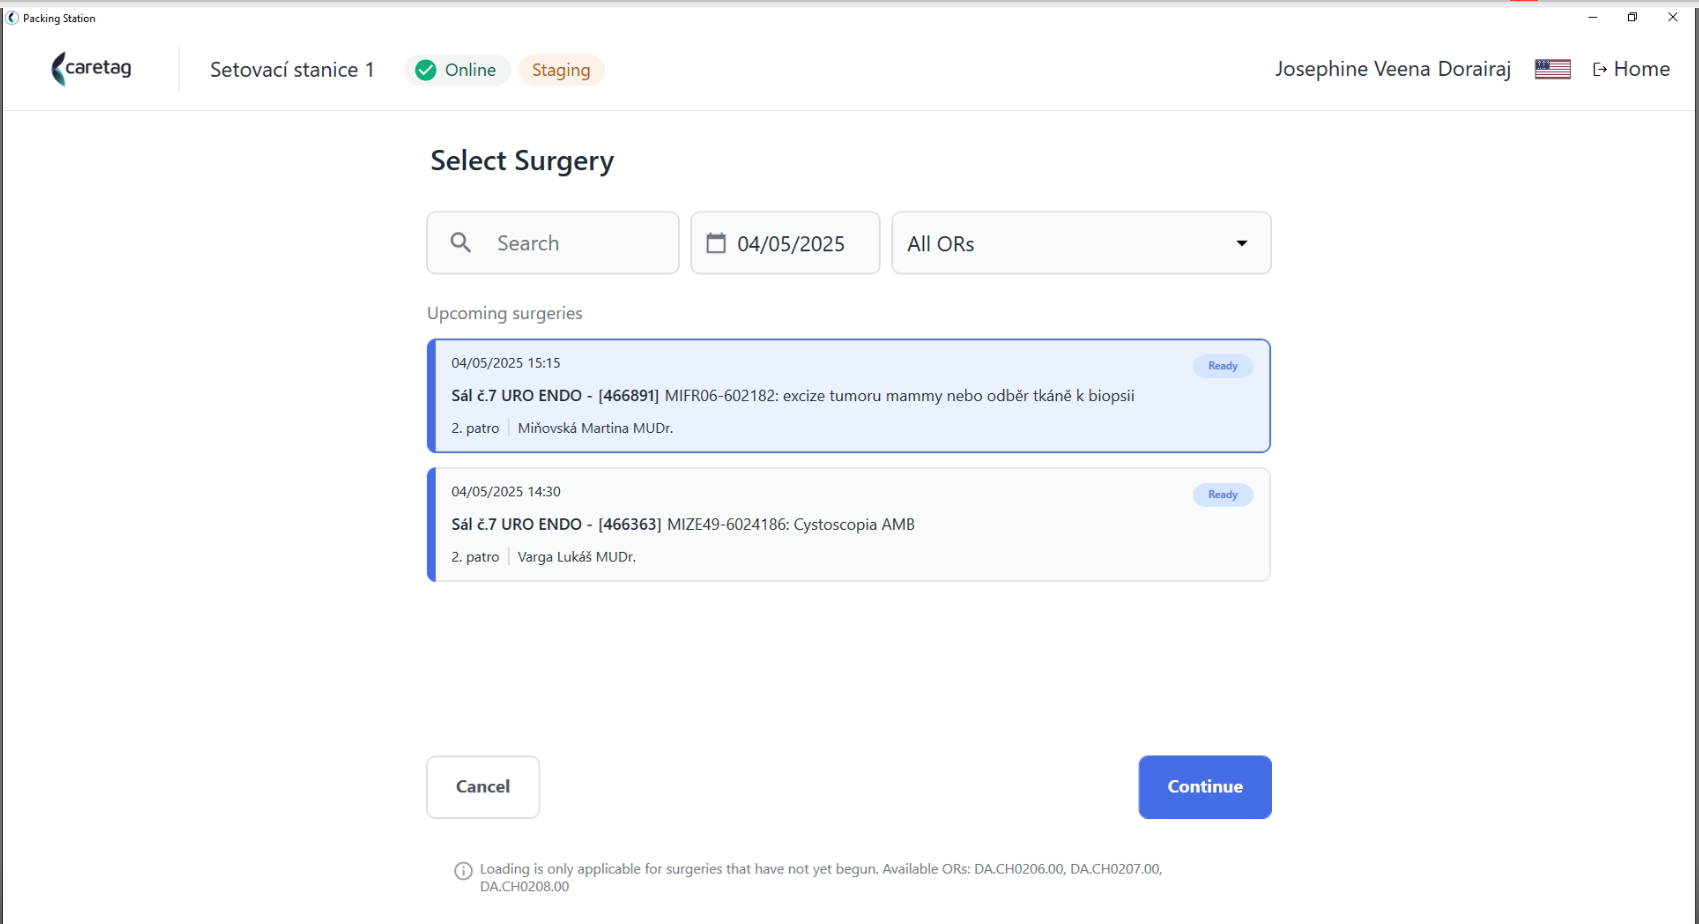
- Select Surgery and click on continue.
- The user can directly type the surgery ID in the search bar or select a date and choose from the list. Here there is also an option to select a specific OR and see the surgery list.
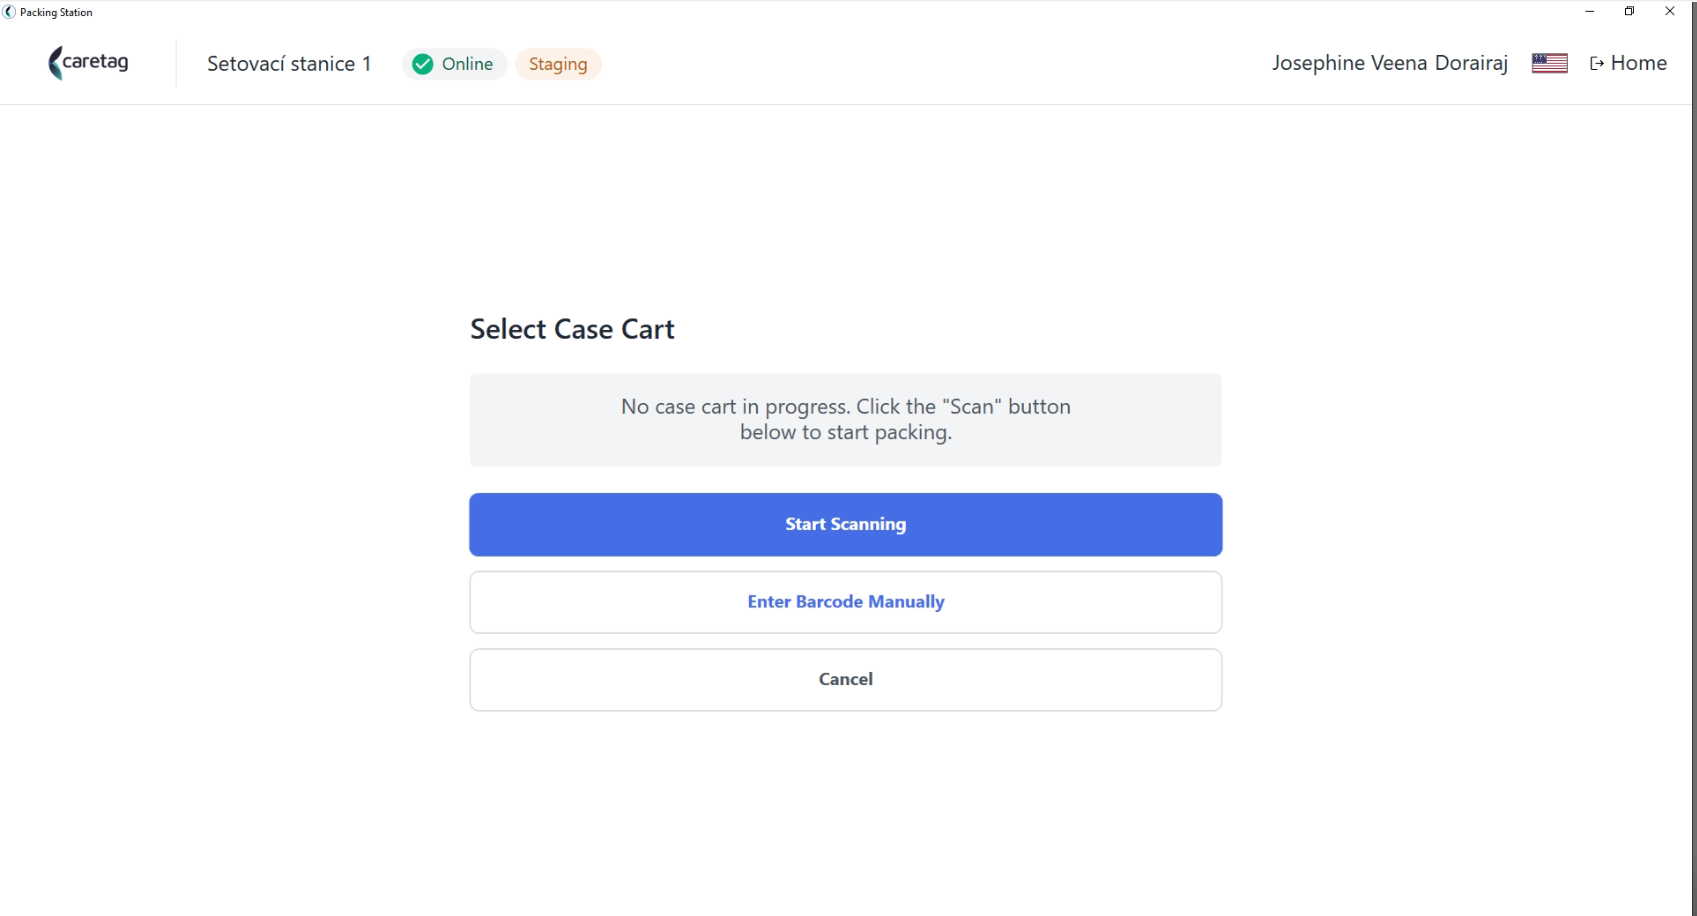
- Select Case Cart, scan the case cart tag
- It displays the surgery details and picking list.
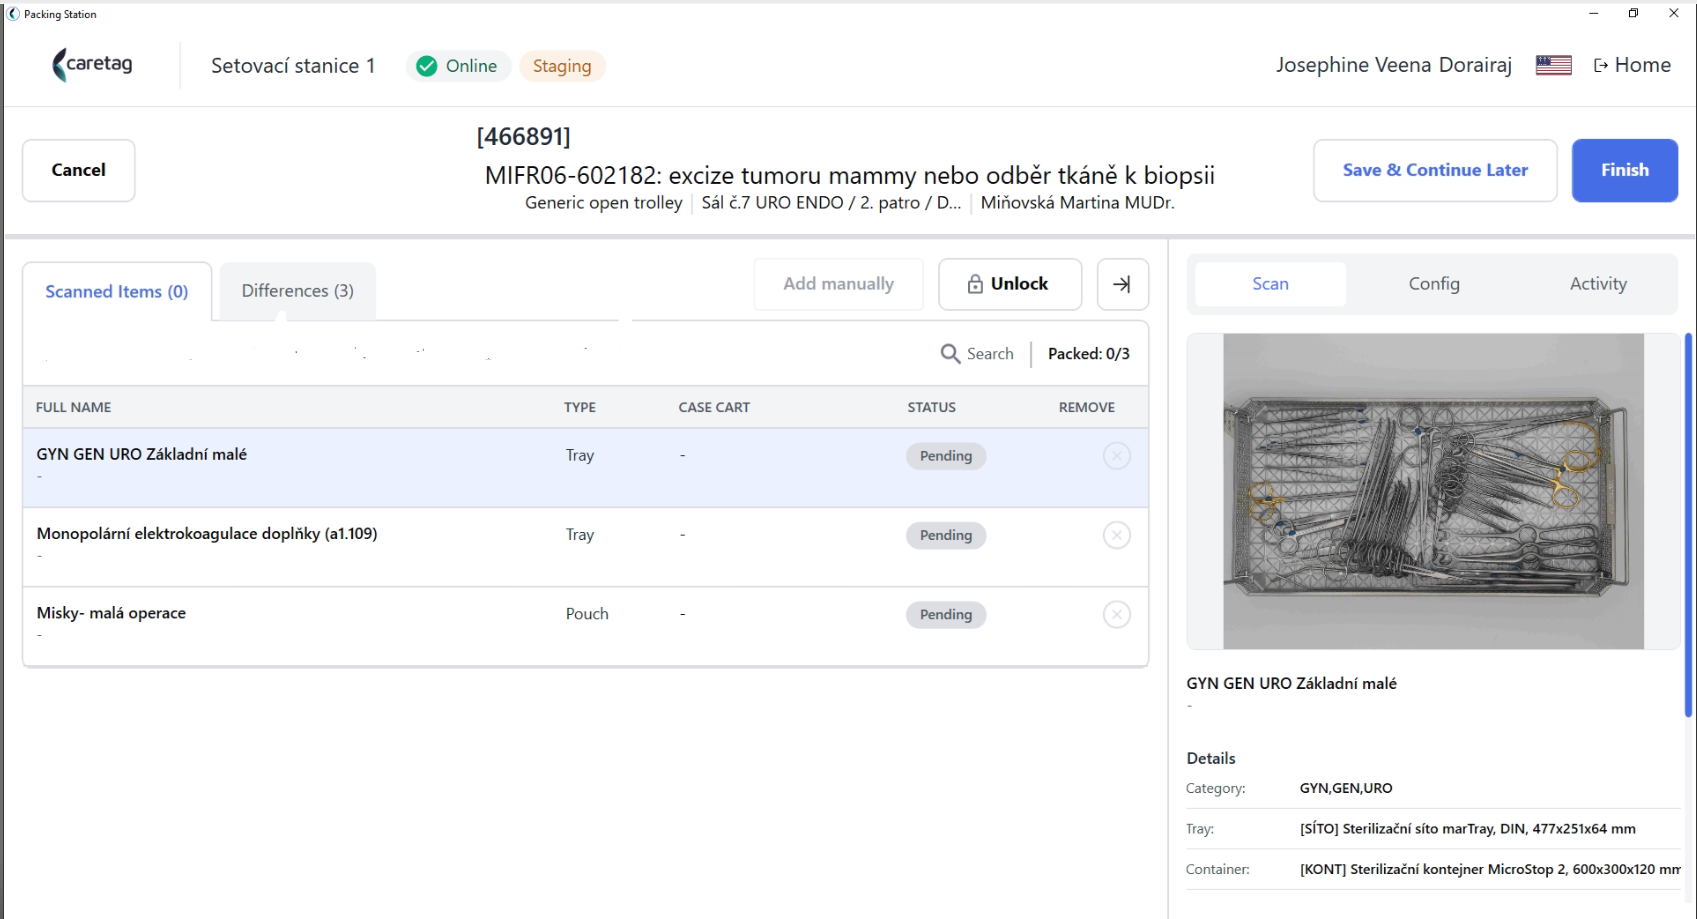
- Each Surgeries have their own dedicated packing sets(trays/minisets/pouches).
- In this page, you can see the Surgery ID name, Trolley details, Operating room and floor are shown in the center.
- The details of the trays are displayed in the right side window.
-
If the user has all the items(containers/pouches) packed according to the picking list, they can directly scan, otherwise the user can unlock the case cart and start to scan the containers/pouches that are not in the picking list.
-
Start to scan the container/tray tag/pouch.
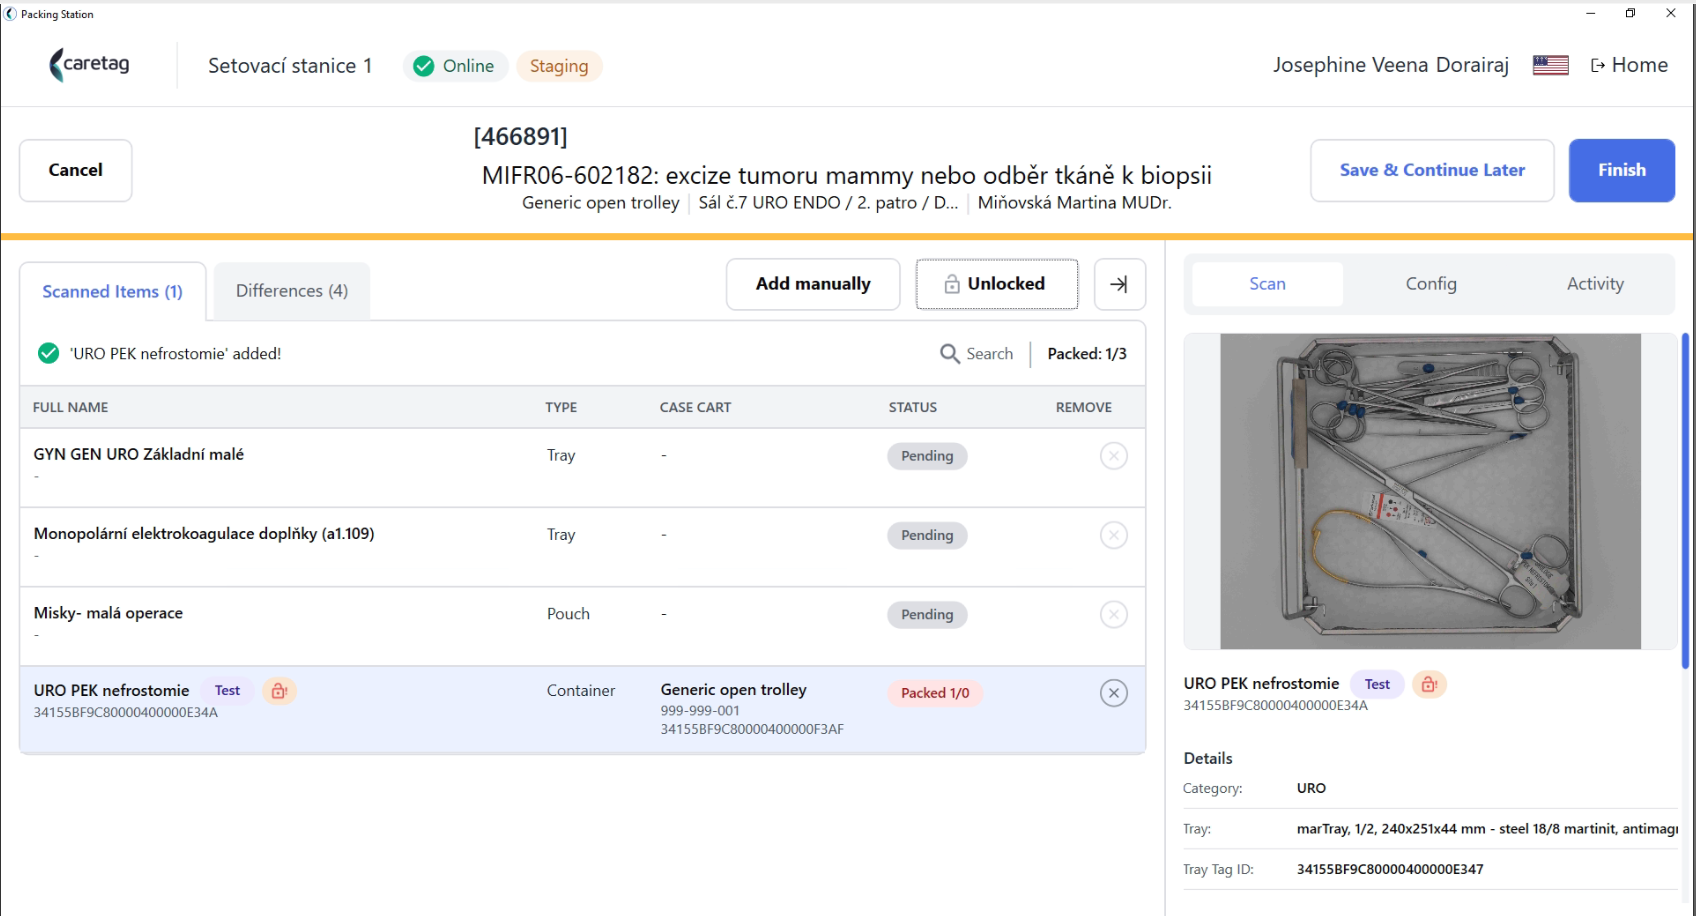
- Scan miniset/pouch.
- When a miniset is scanned it will ask the user if they want to add the full set.
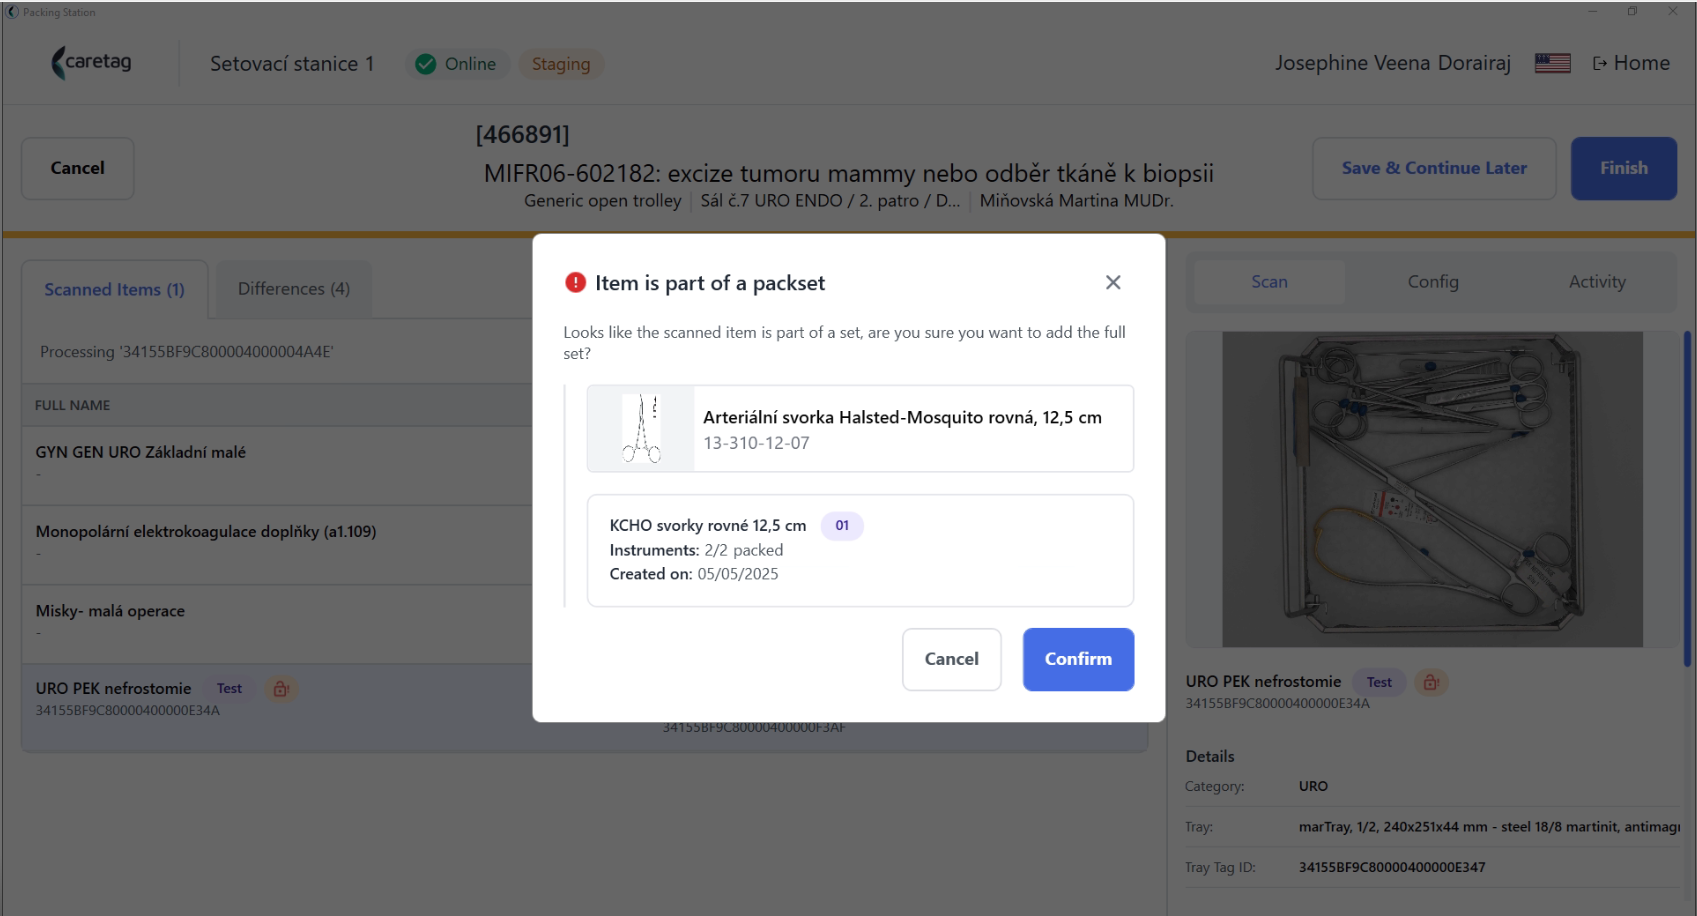
- The picking can be either finished or saved and continue later.
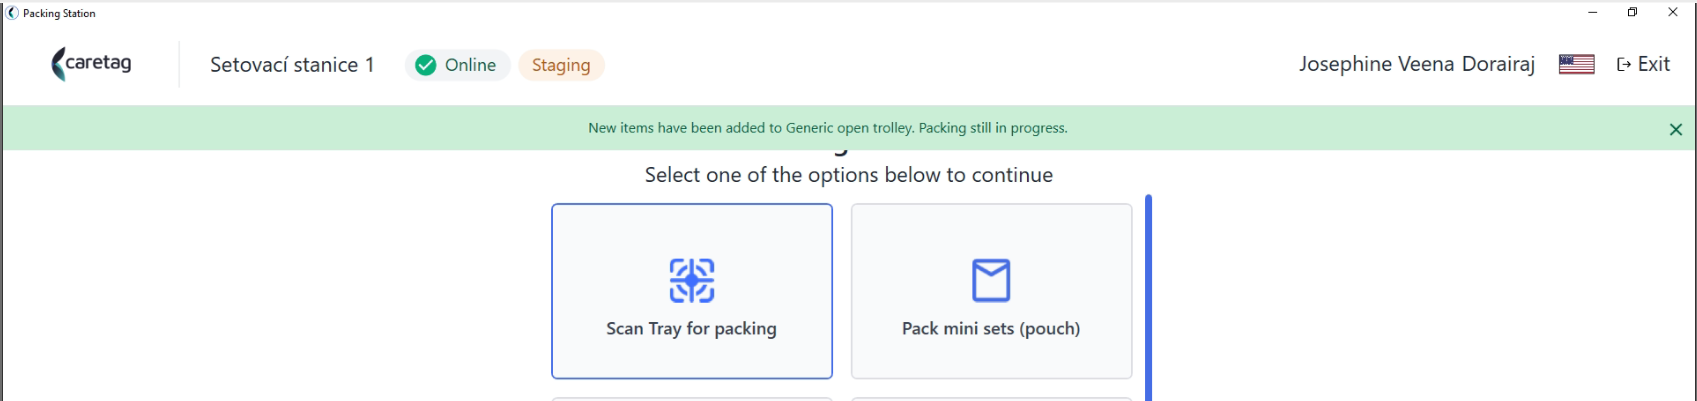
- We can allocate the different containers/pouches to different case carts for the same surgery.
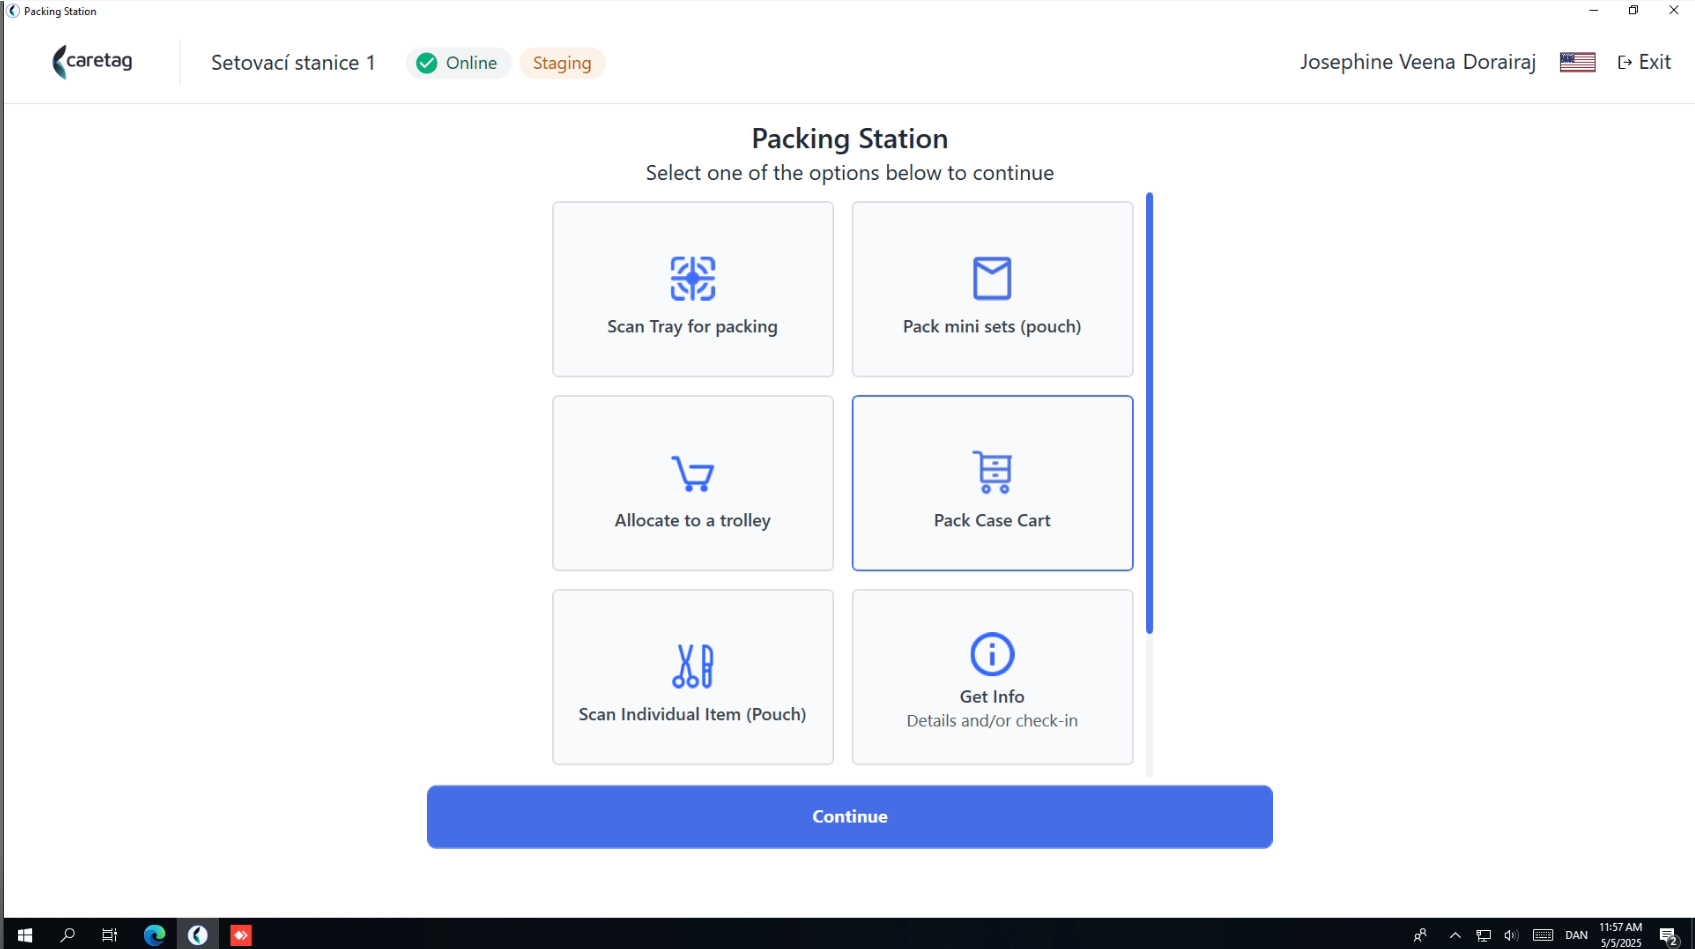
- Select the Pack Case cart option again.
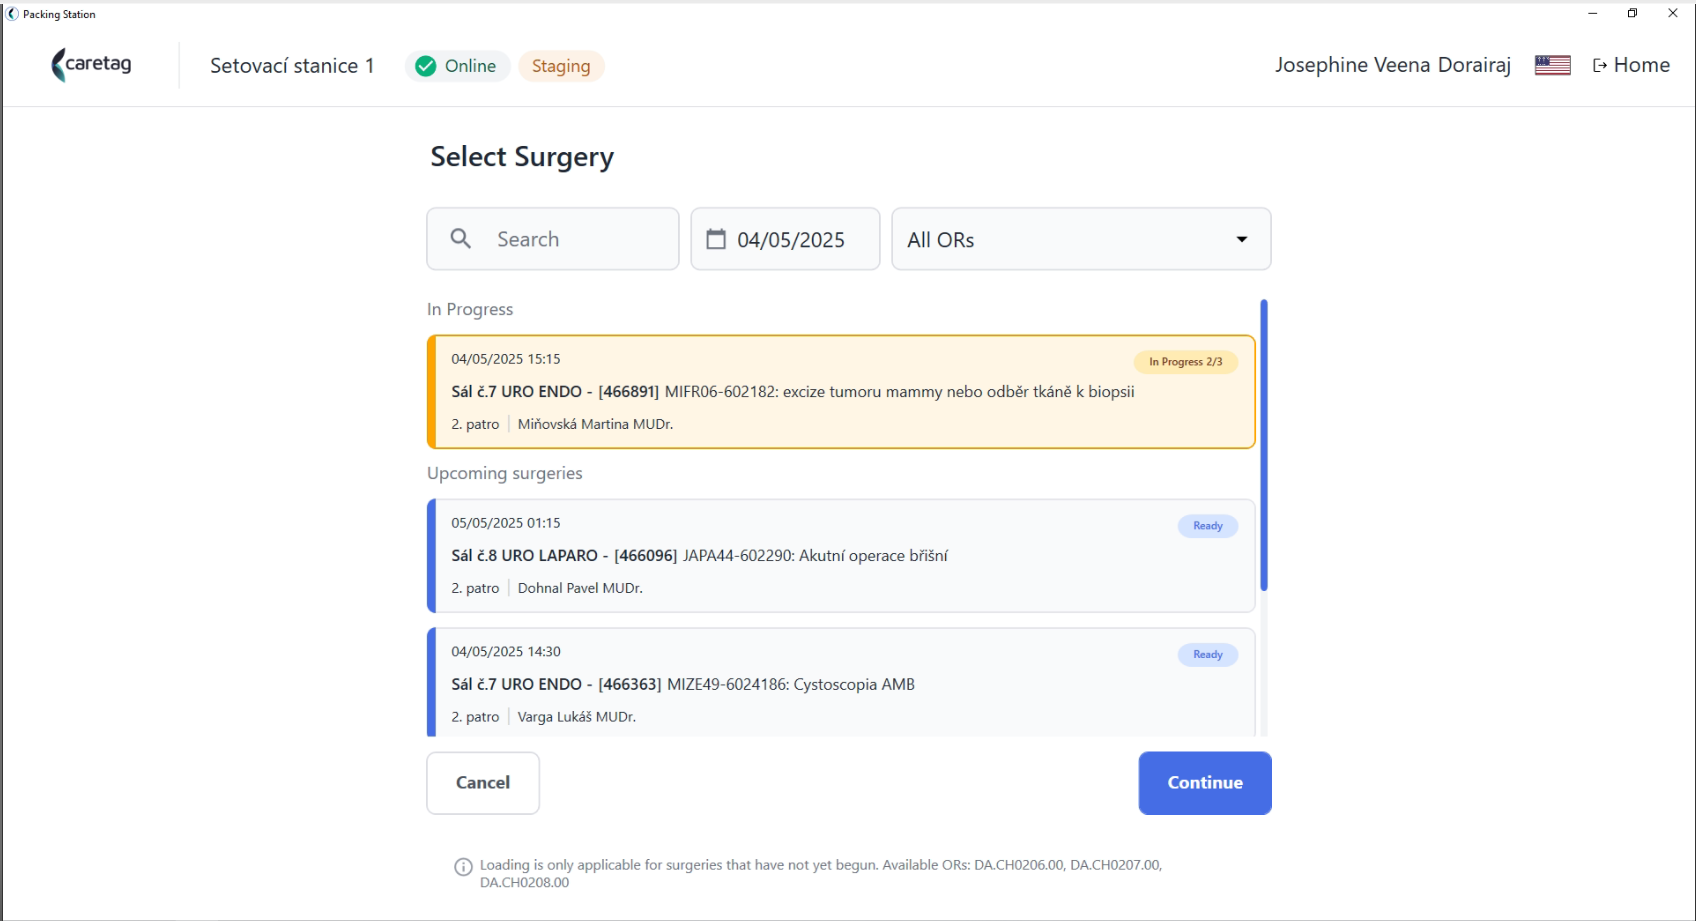
- Select the same surgery, the status is in progress.
- It displays the details of the trolley that has already picked some items for the surgery.
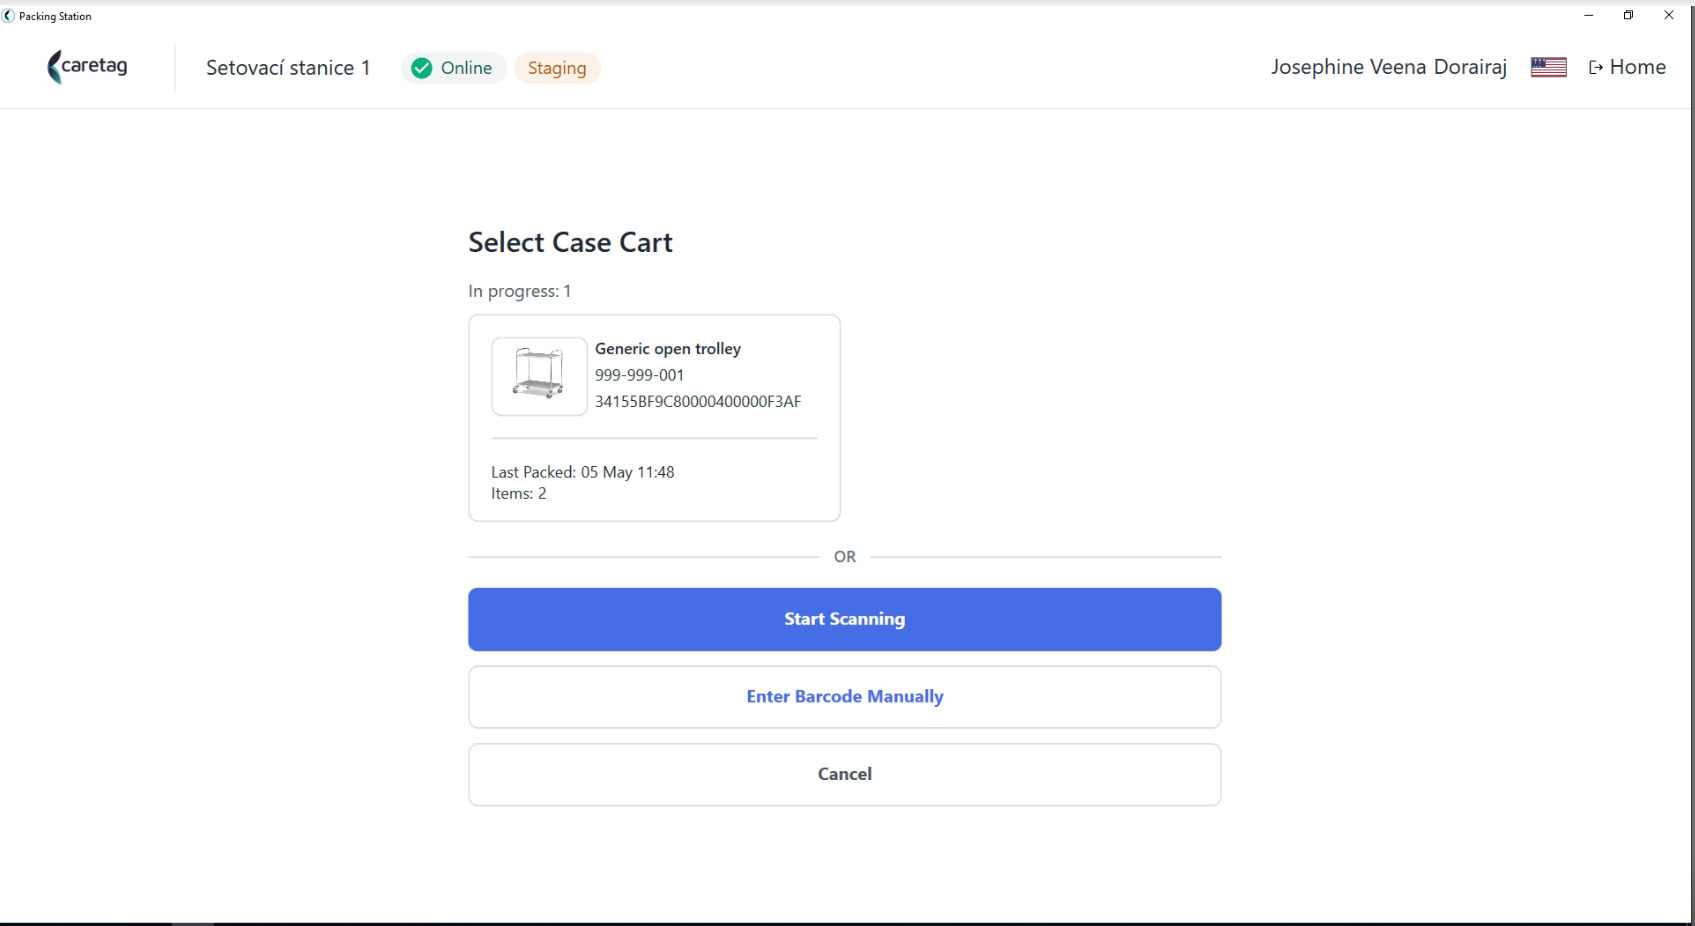
- To add more items to the same case cart, click on the case cart and continue scanning the items.
- If you want to use a different trolley, scan the new trolley and begin picking the required items for the surgery from it.
- Here we have scanned a new trolley tag to add another tray for the surgery.
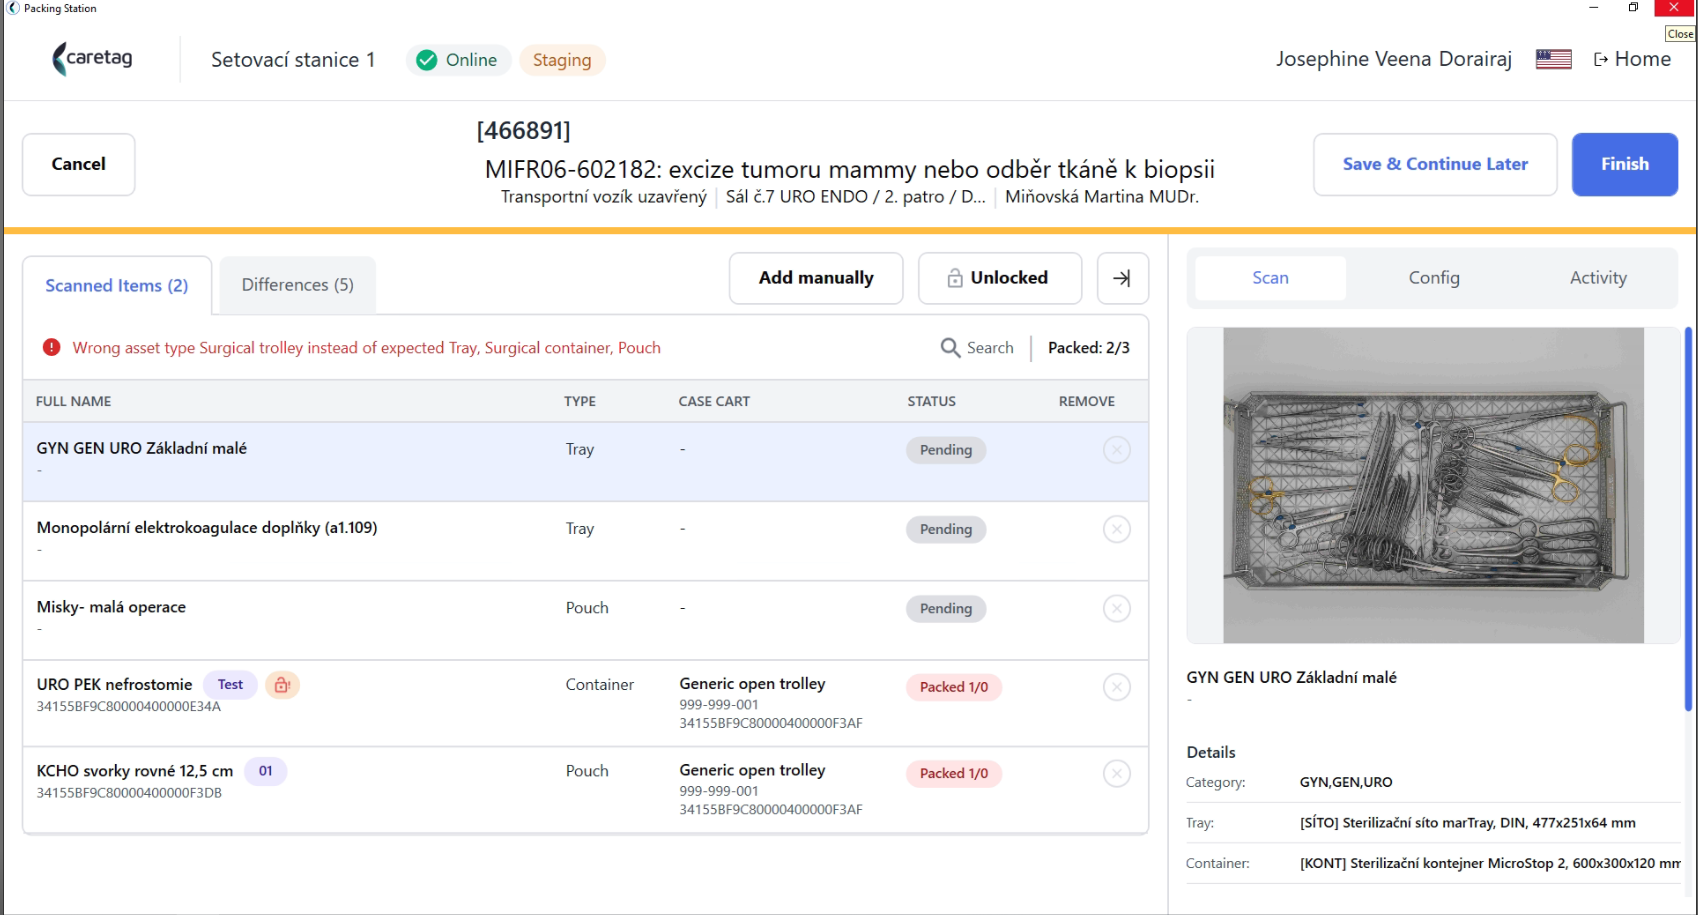
- Scanned container/pouch added to the picked list.
- Here, you can see that one container and pouch are picked in Generic Open trolley and the third container is picked in Tranpotni vozik trolley.
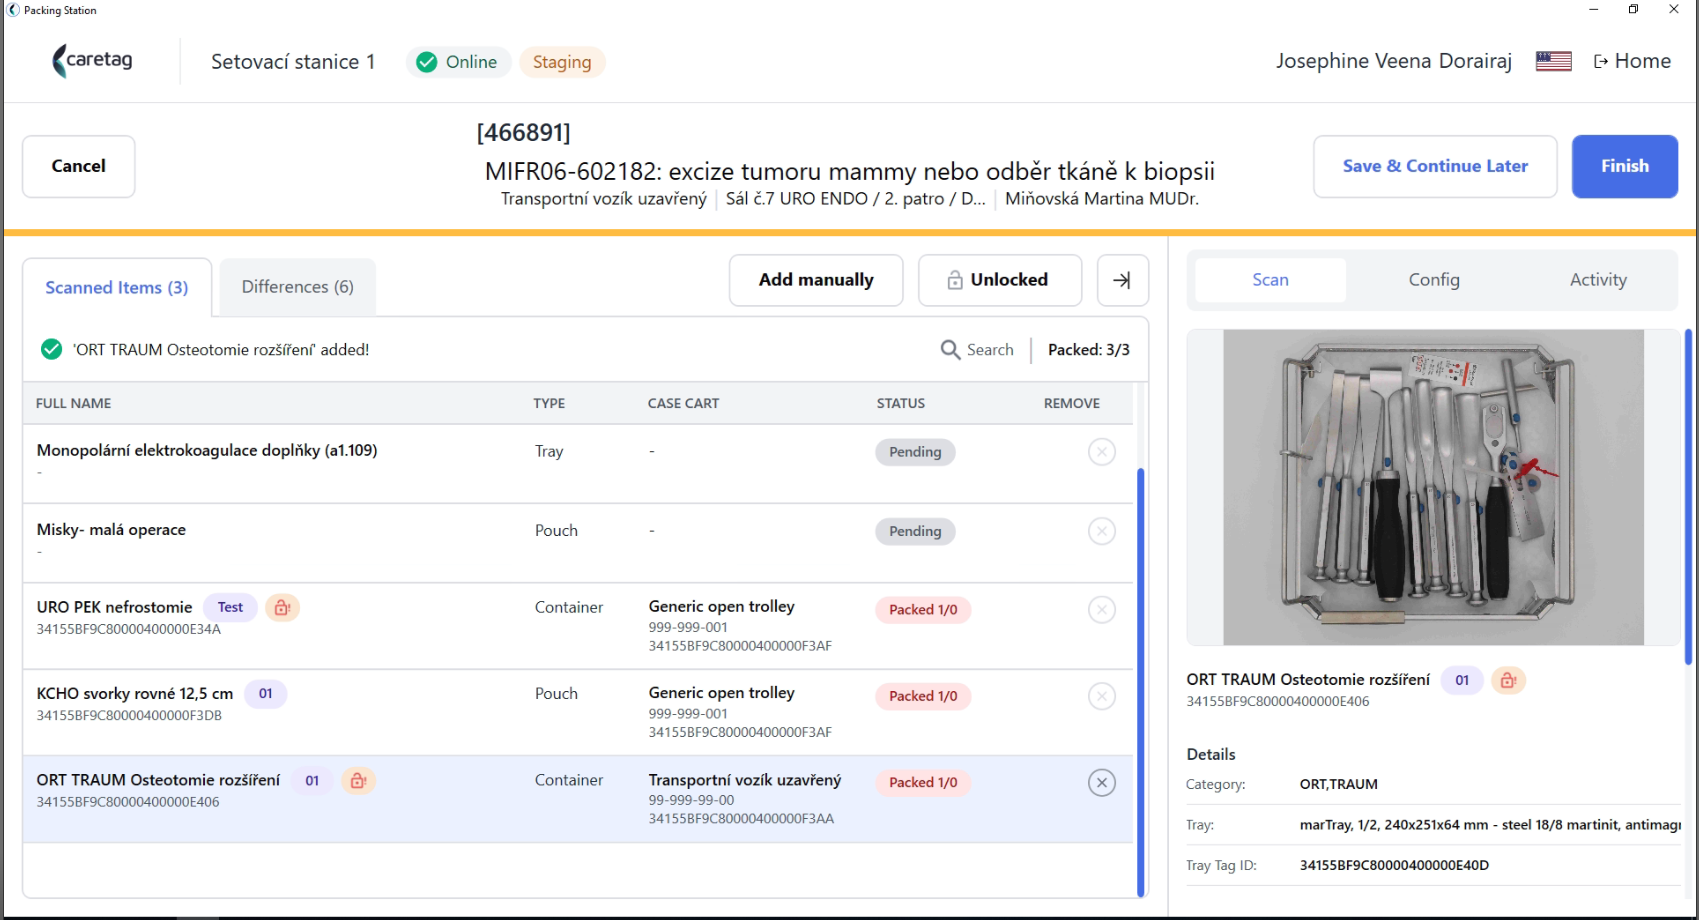
- Click on Finish surgery.
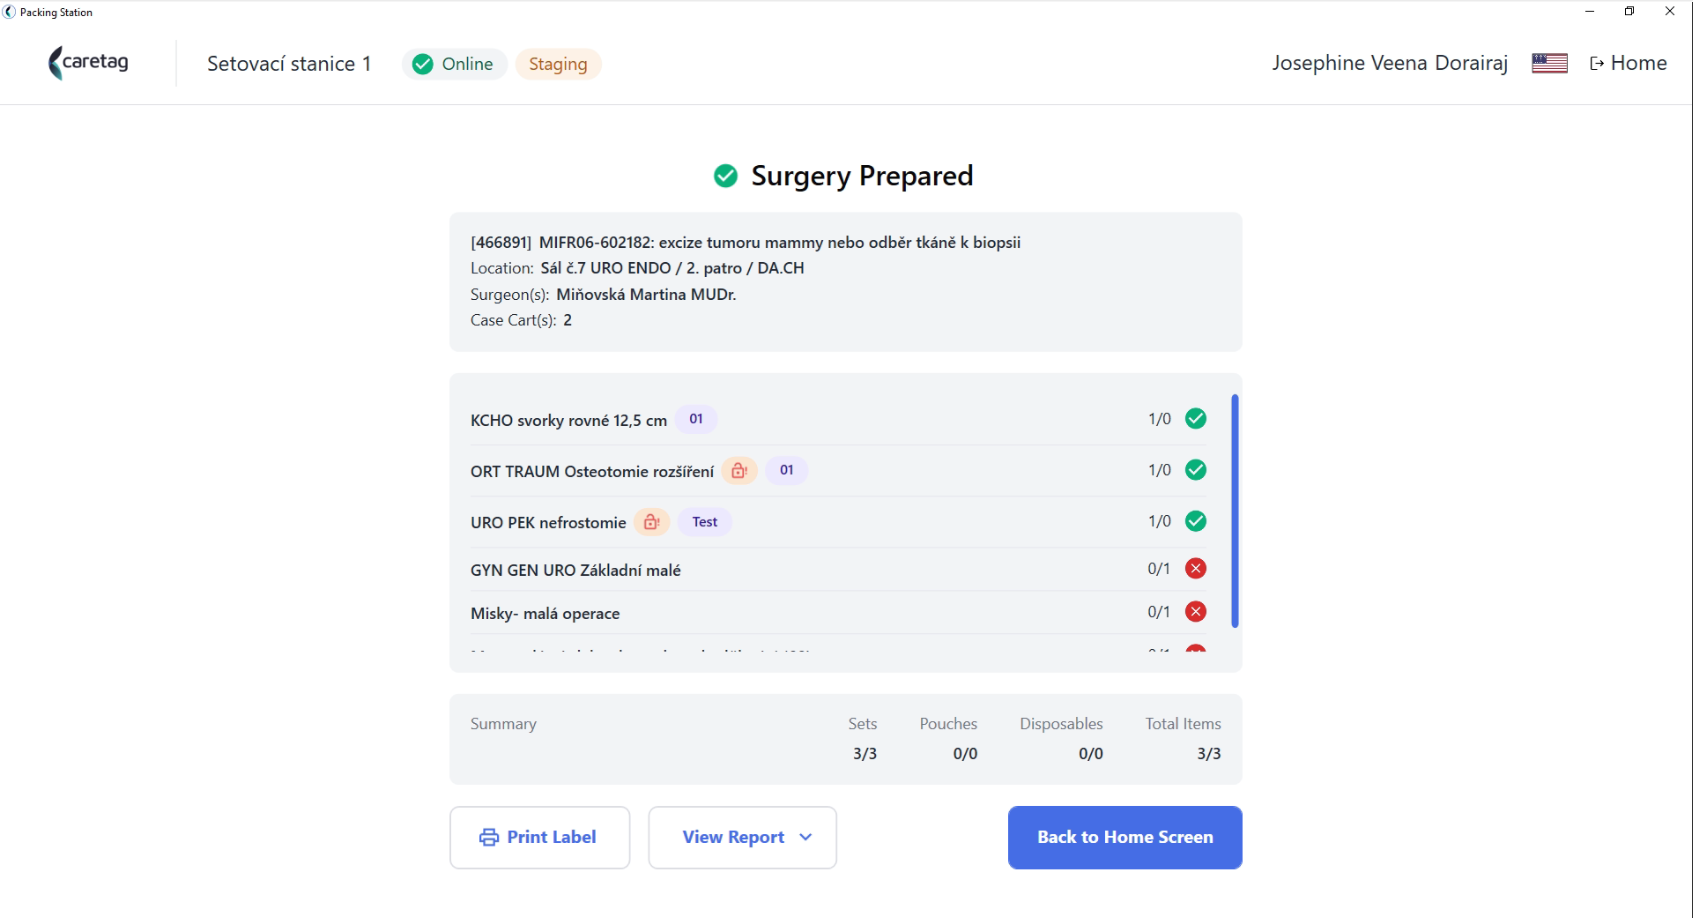
- It will display the details of 2 trolleys and the quantity of sets packed in each of them.
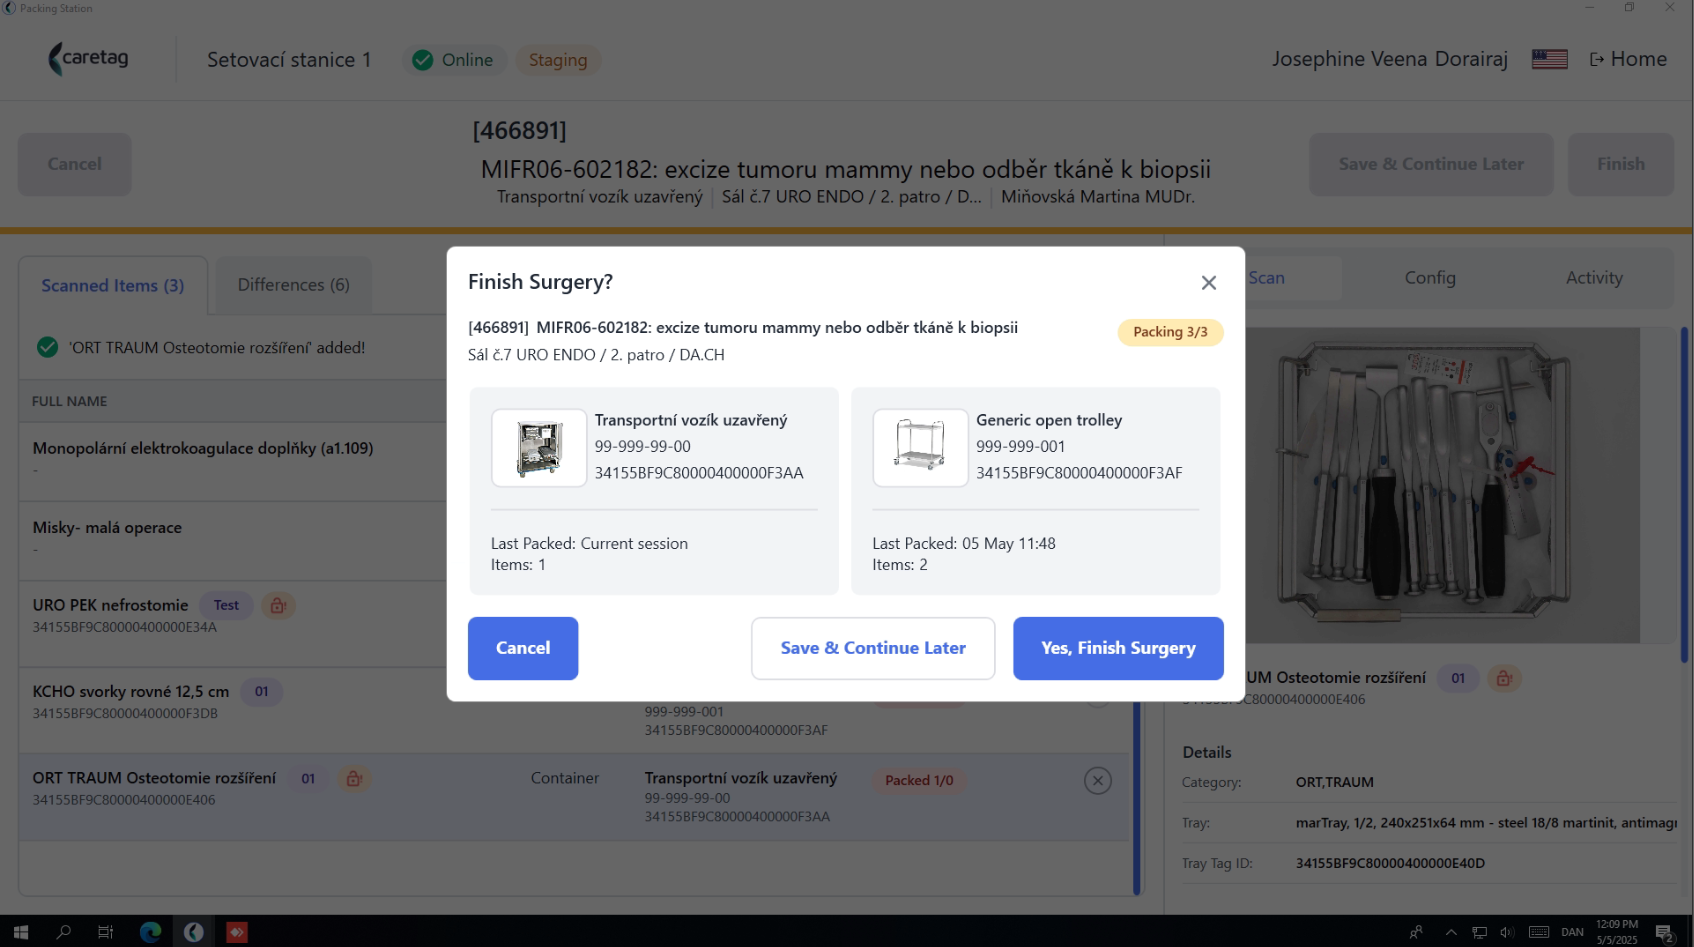
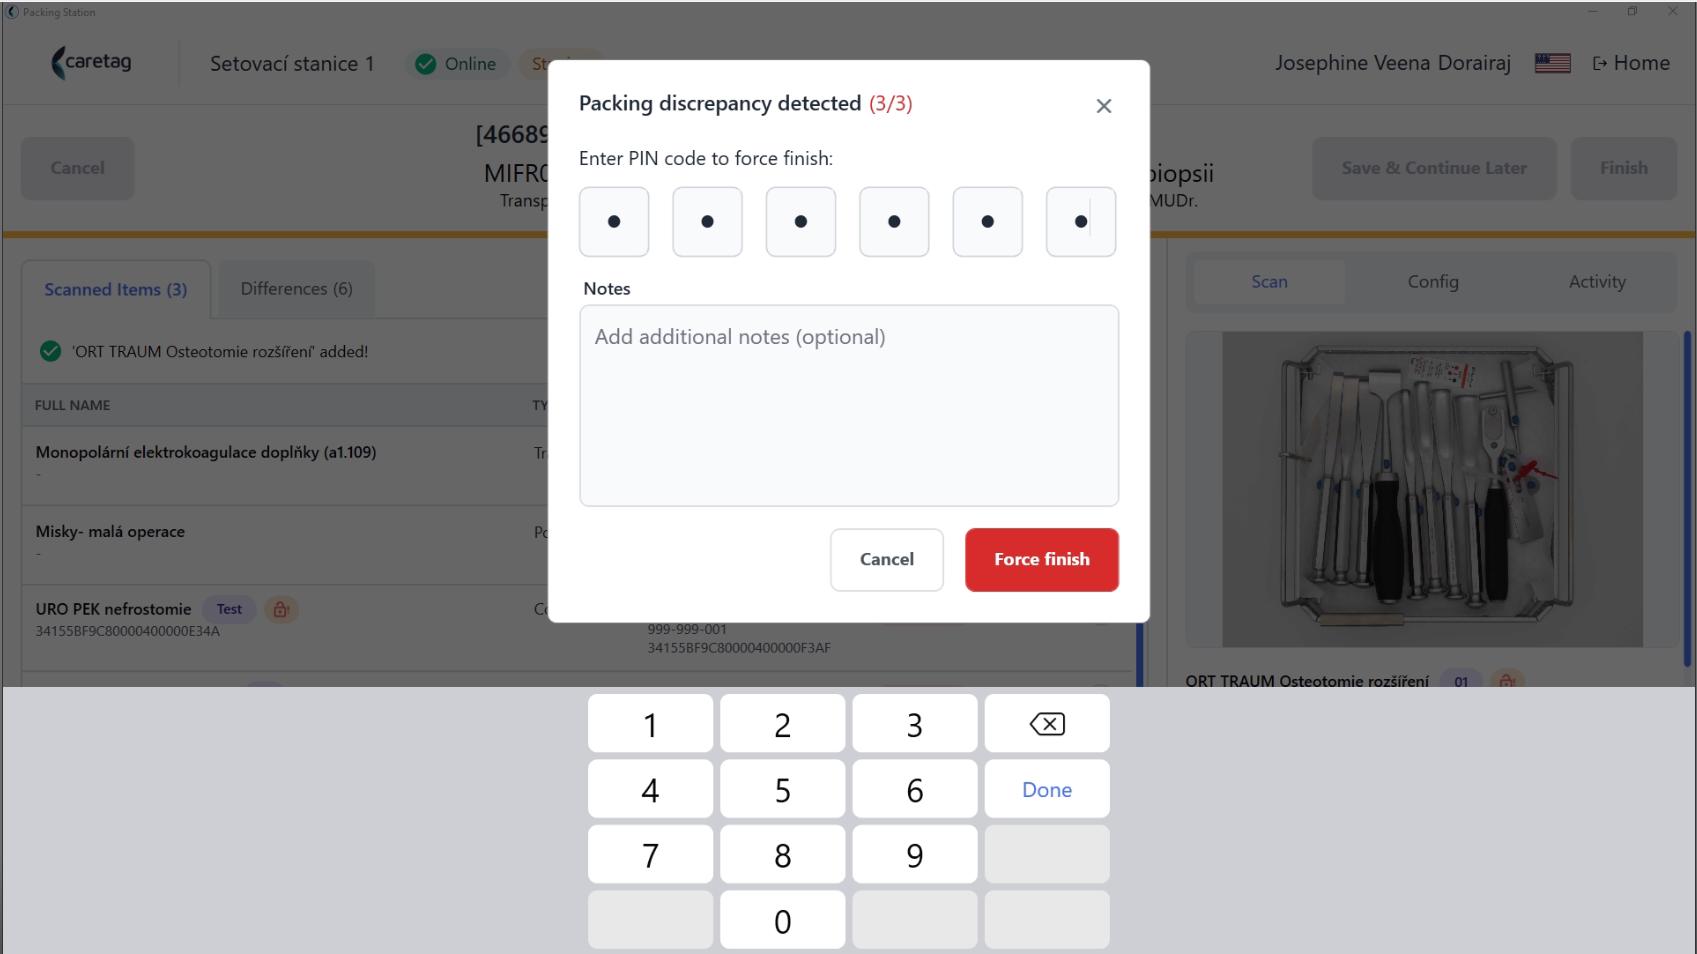
- When the surgery is unlocked during the case cart packing, the application will ask the user to enter their pincode to force finish the surgery preparation.
- Surgery prepared summary
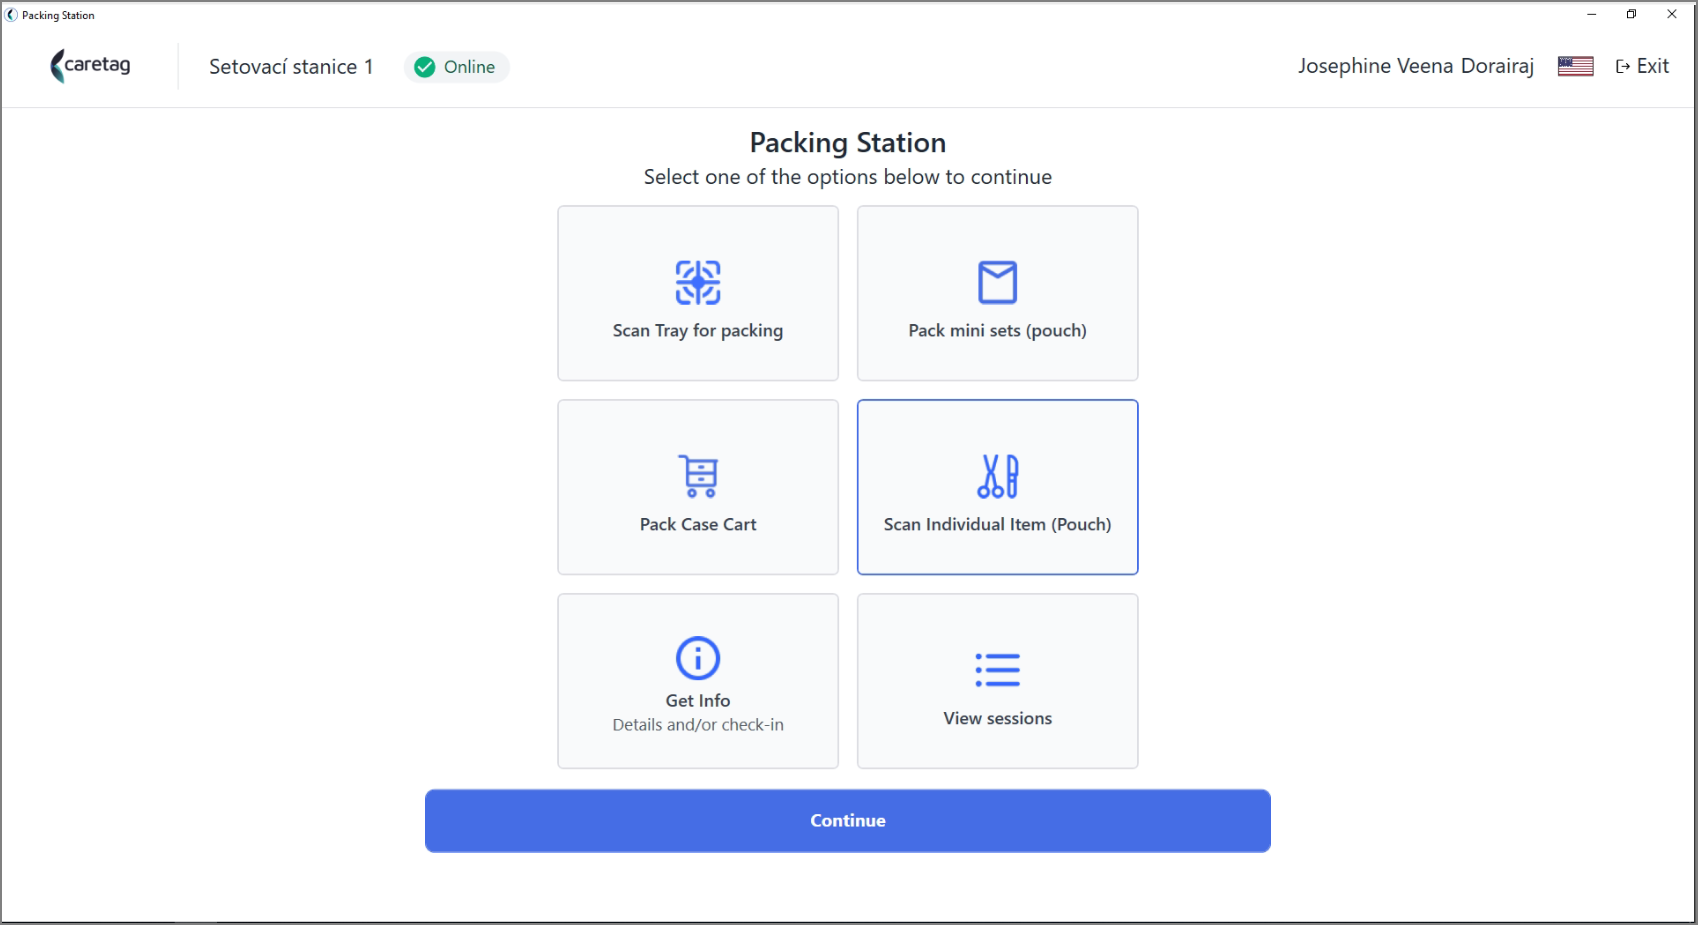
## Scan an individual item
- Select scan individual item(pouch) and click continue
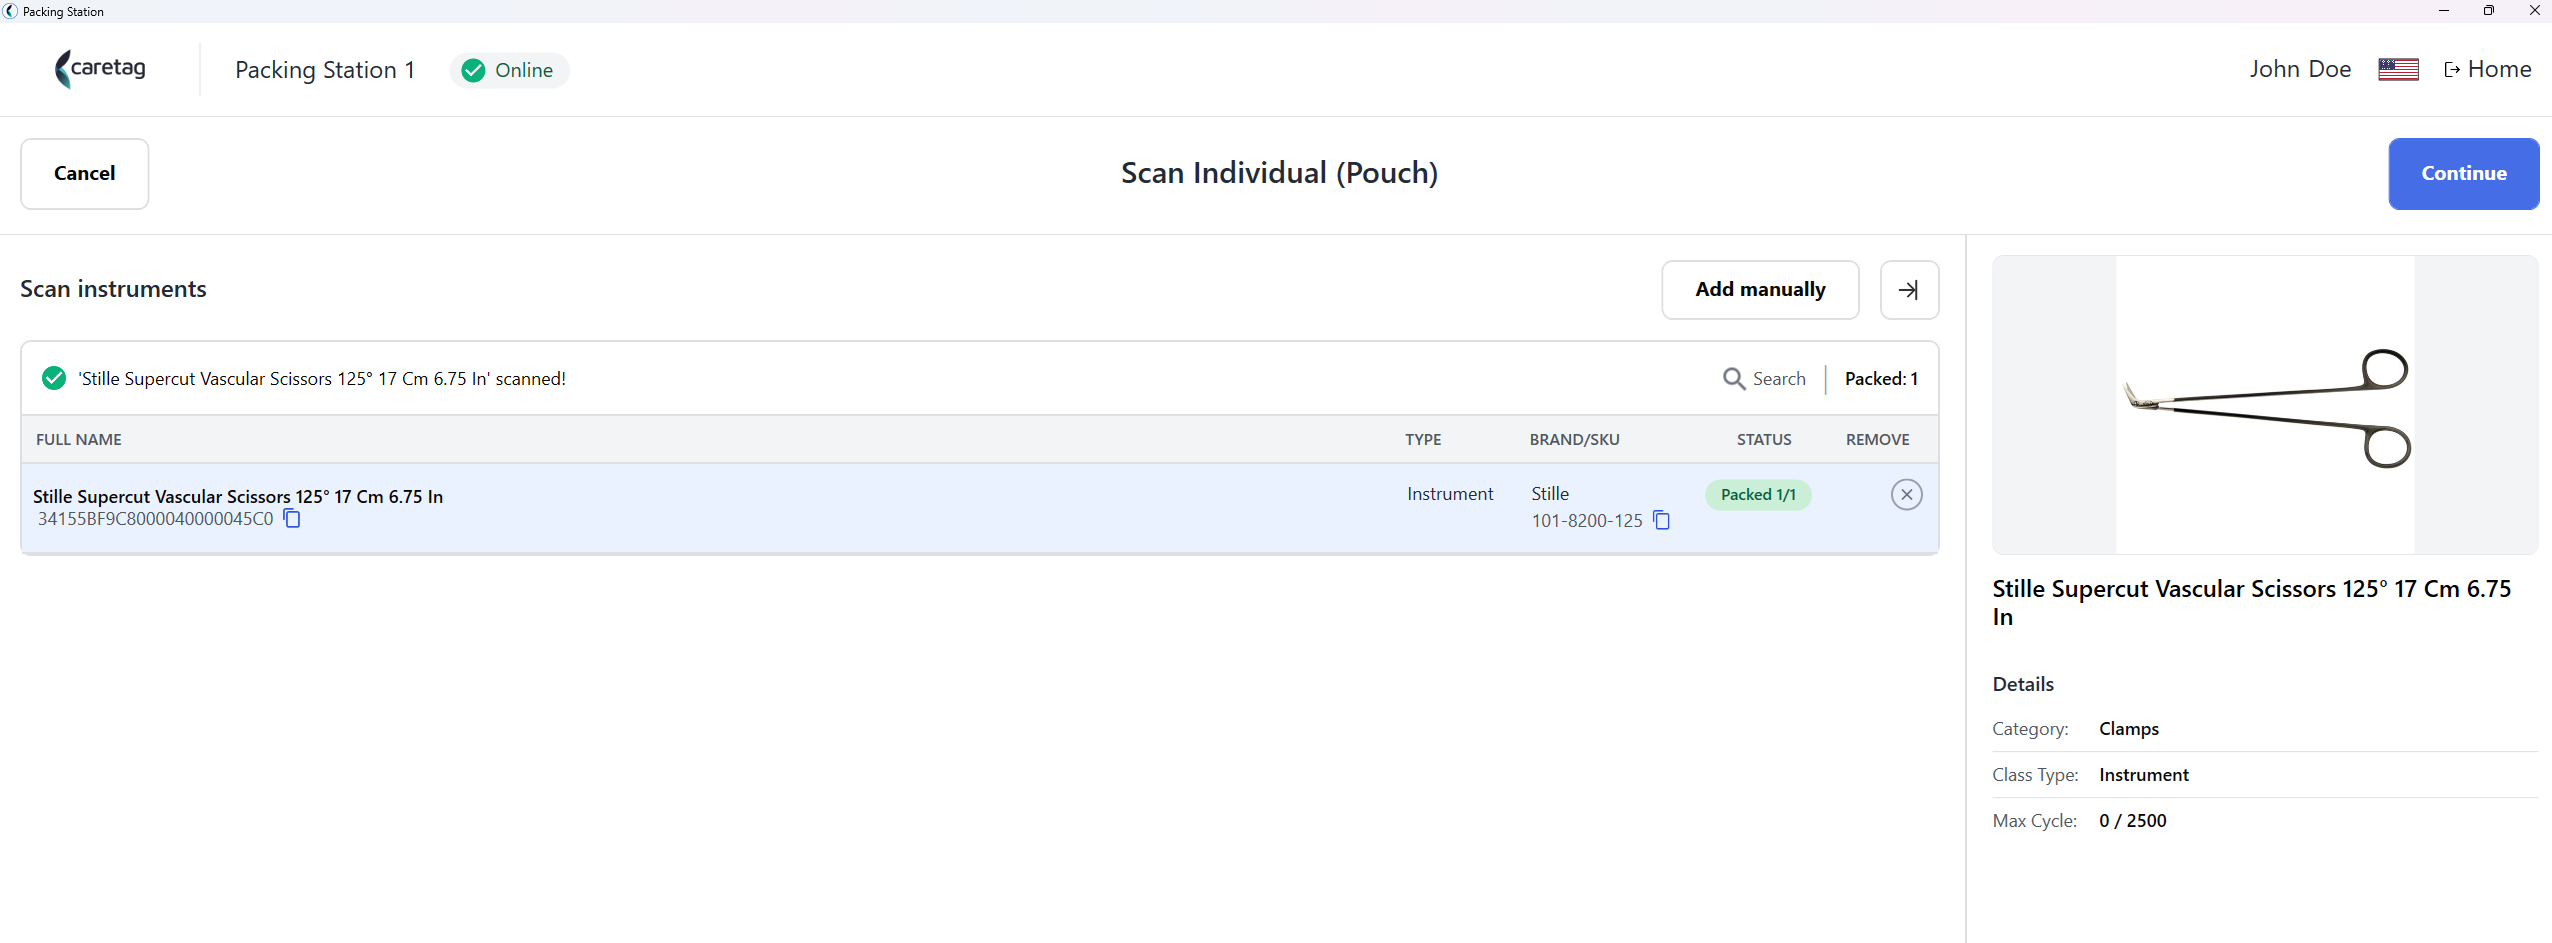
- Once the instrument tag is placed on the reader it reads and displays the details as shown below
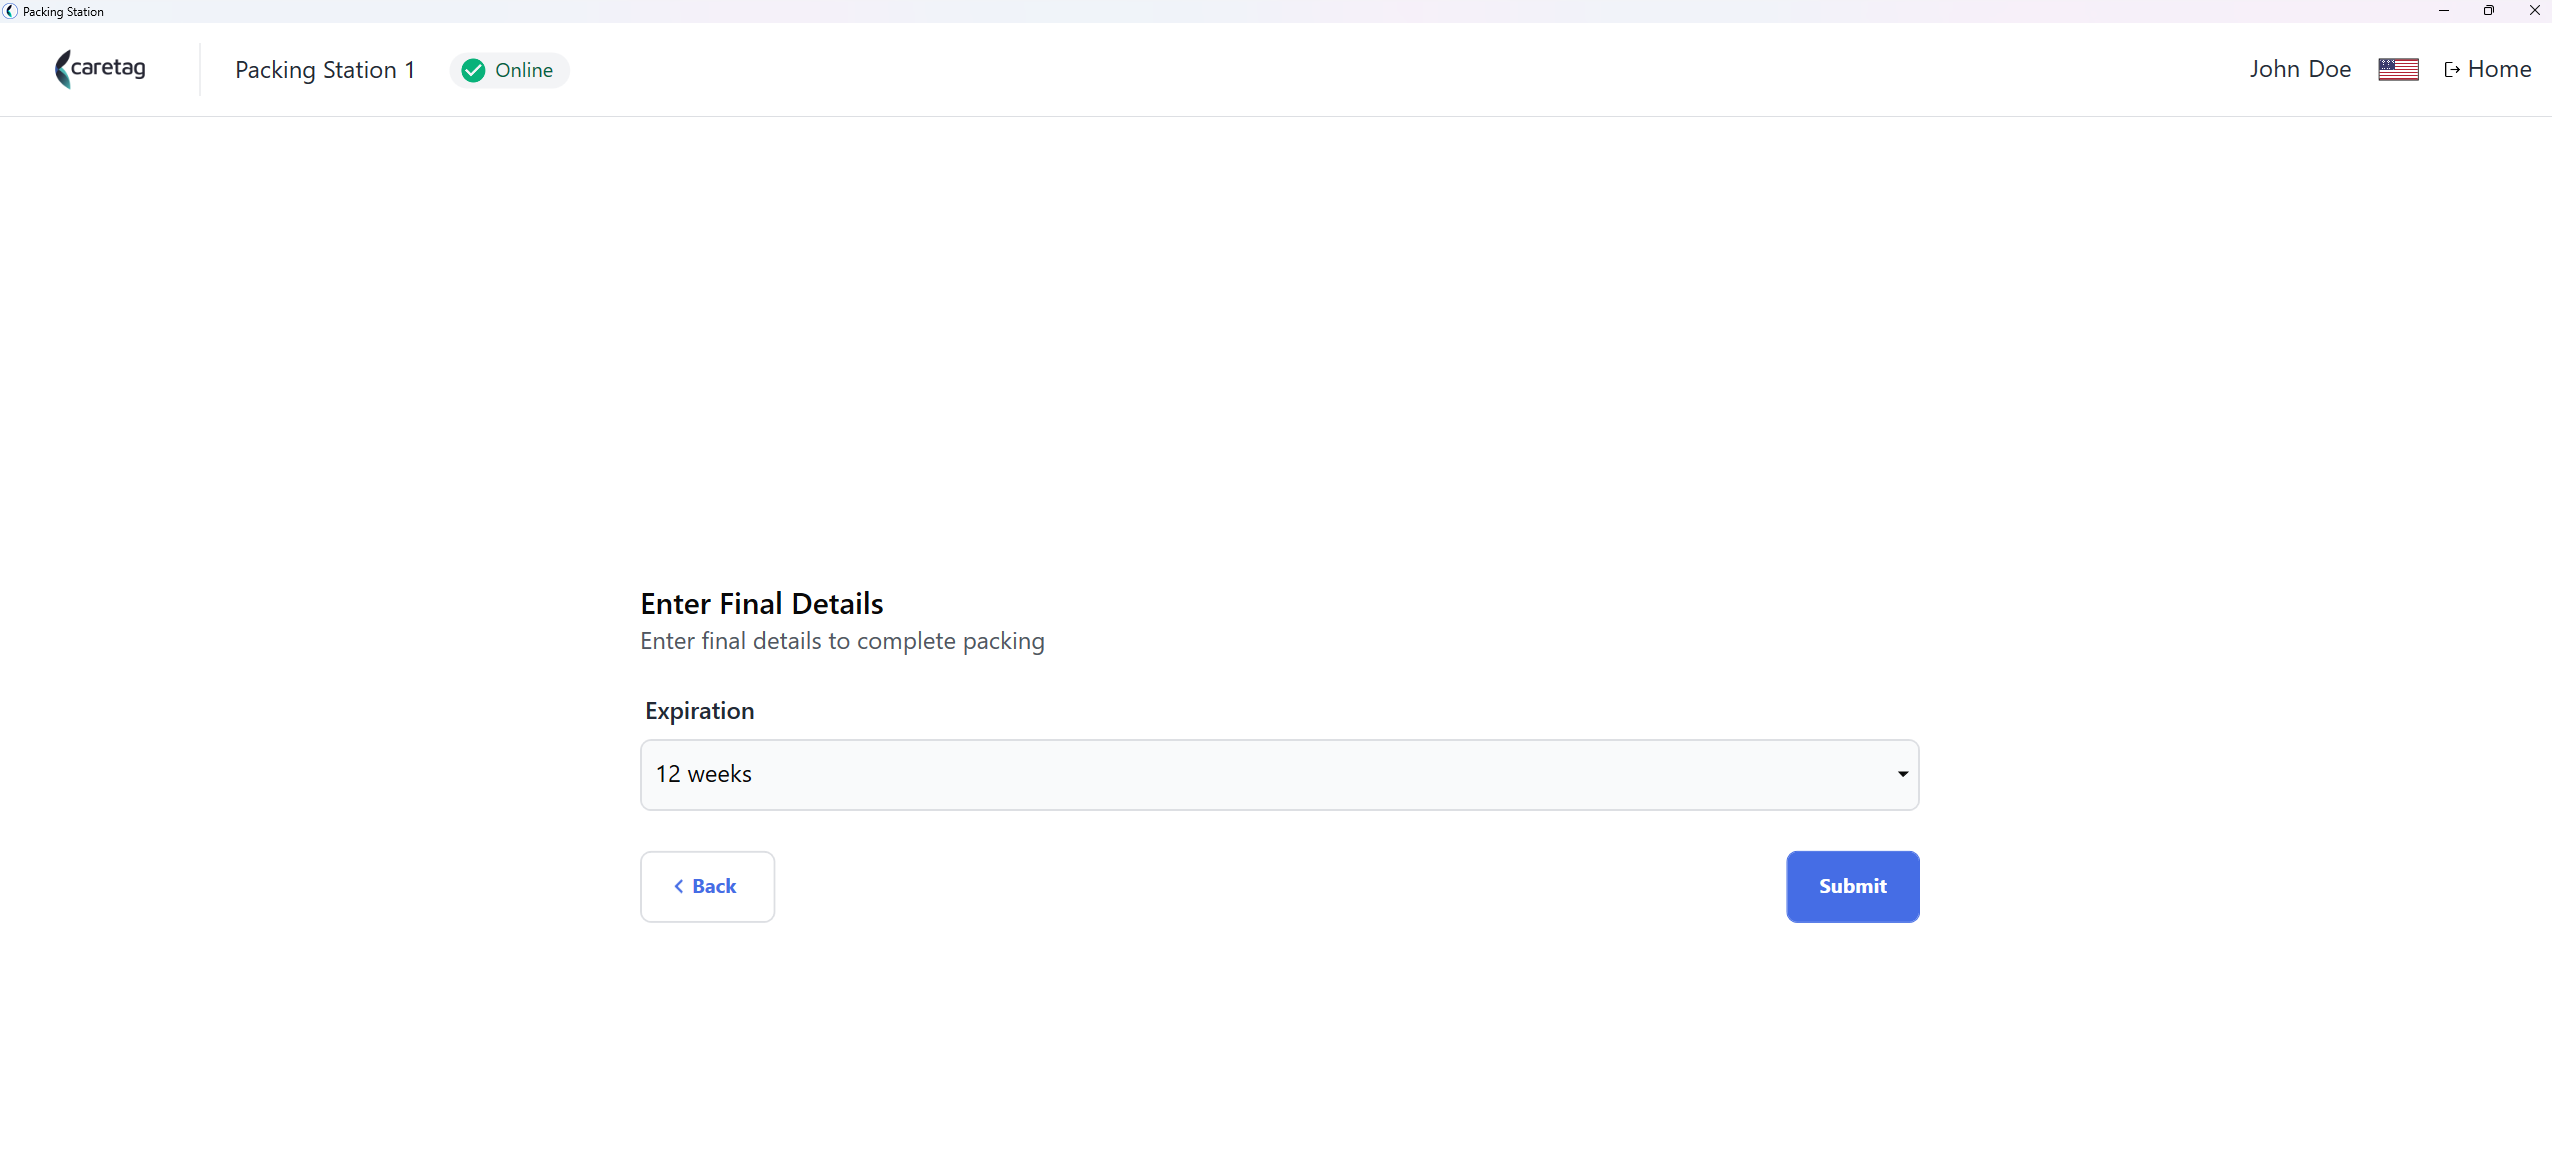
- Select the expiration period
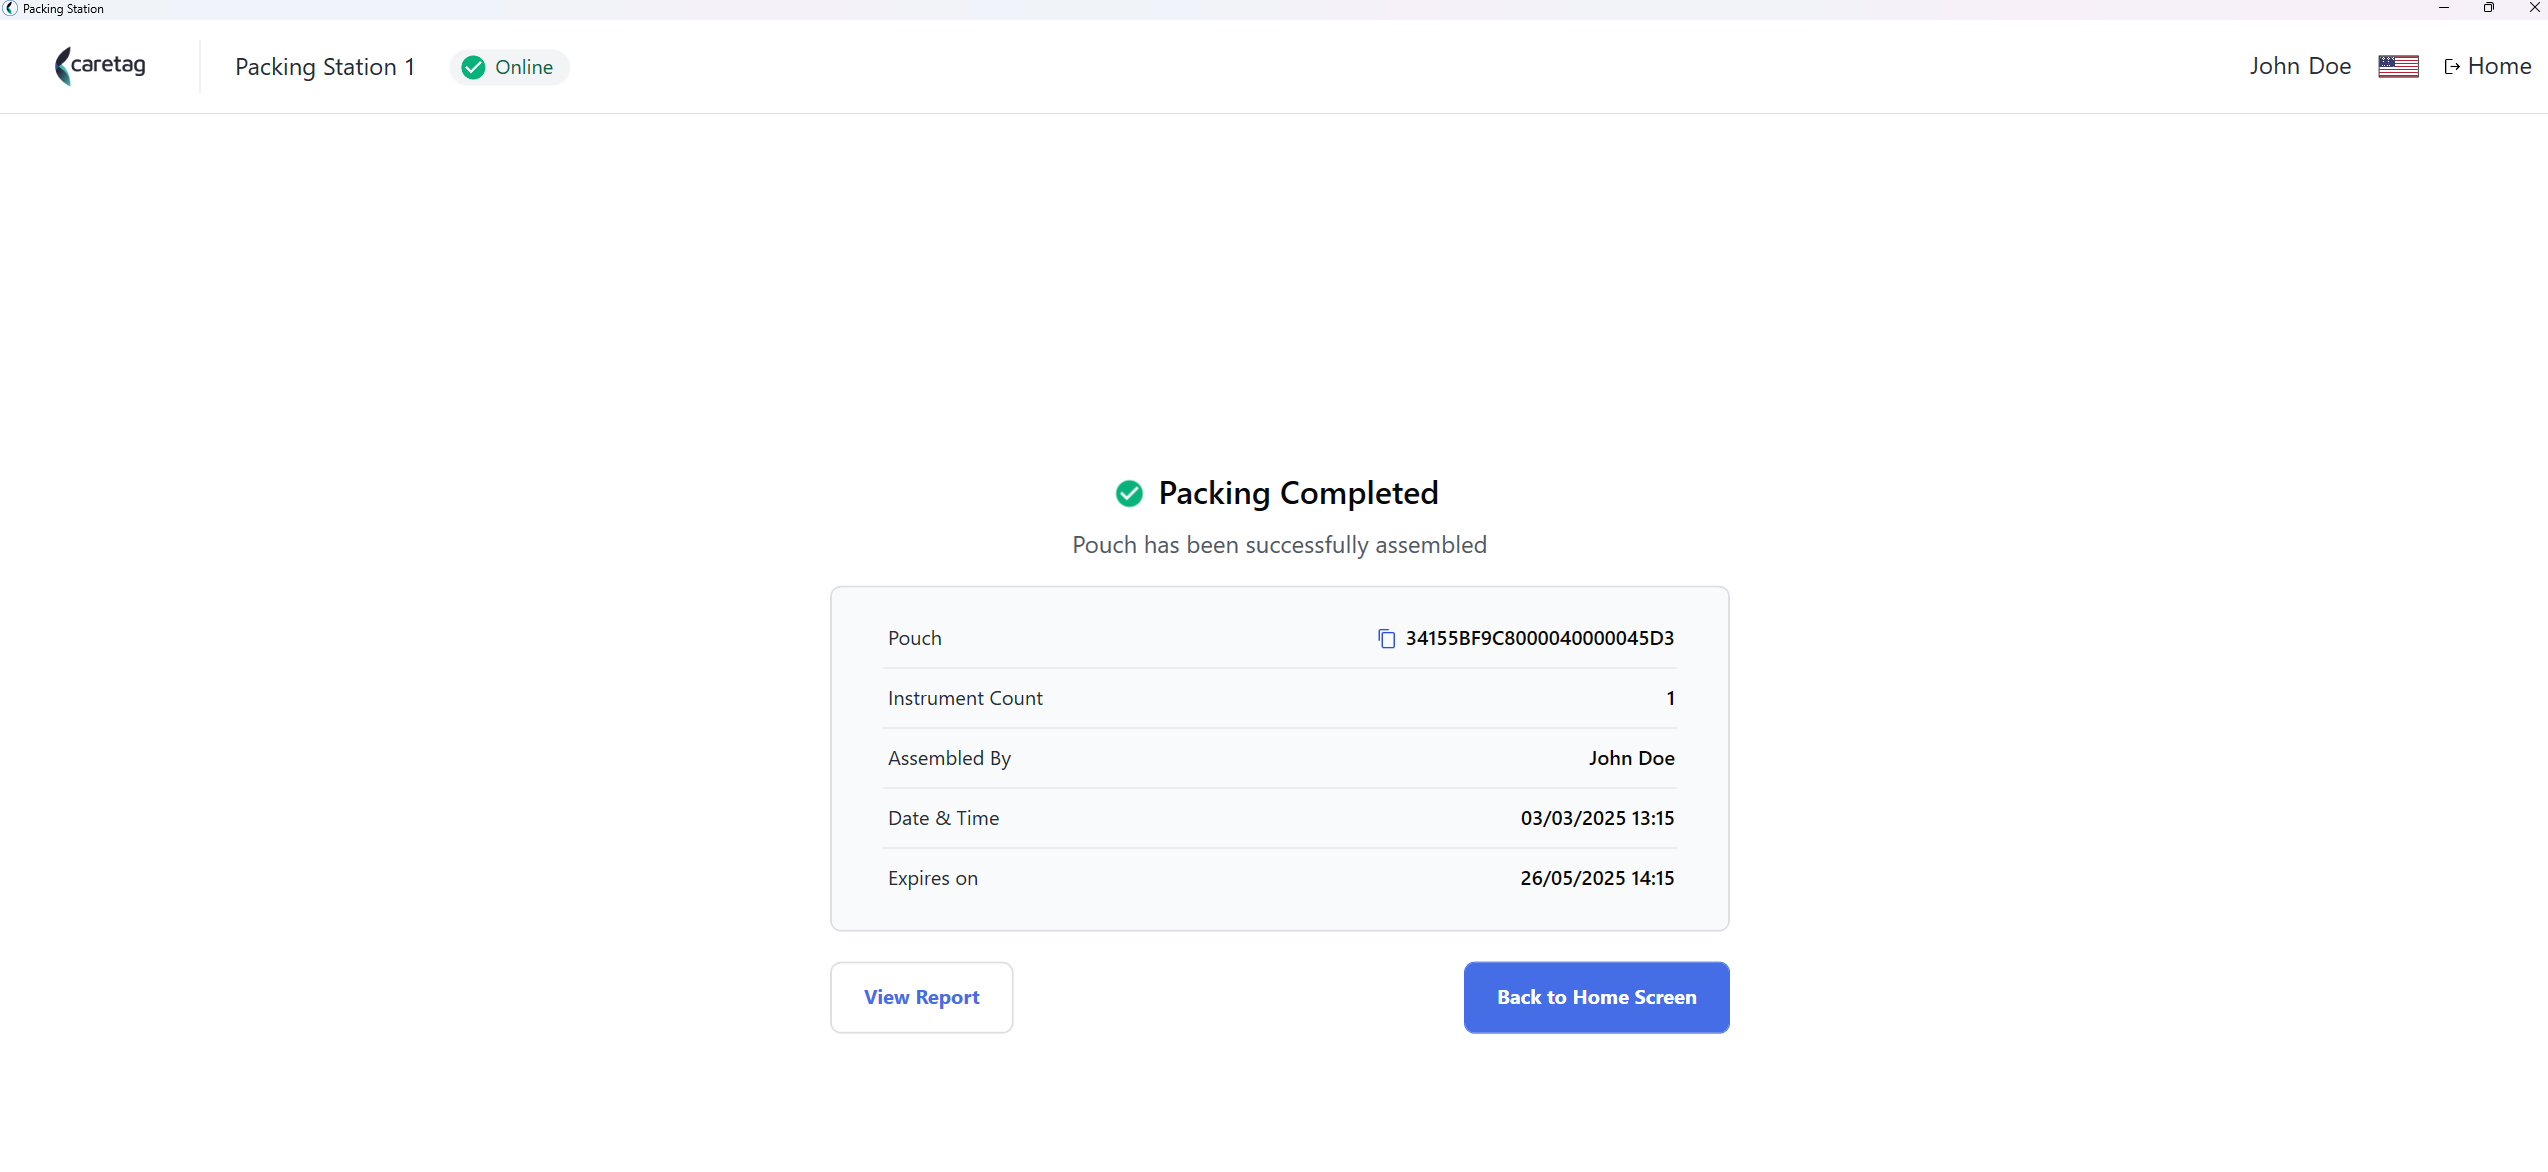
- In the Packing Summary the following details are displayed: Pouch UDI, instrument count, Assembled by, Expiration time.
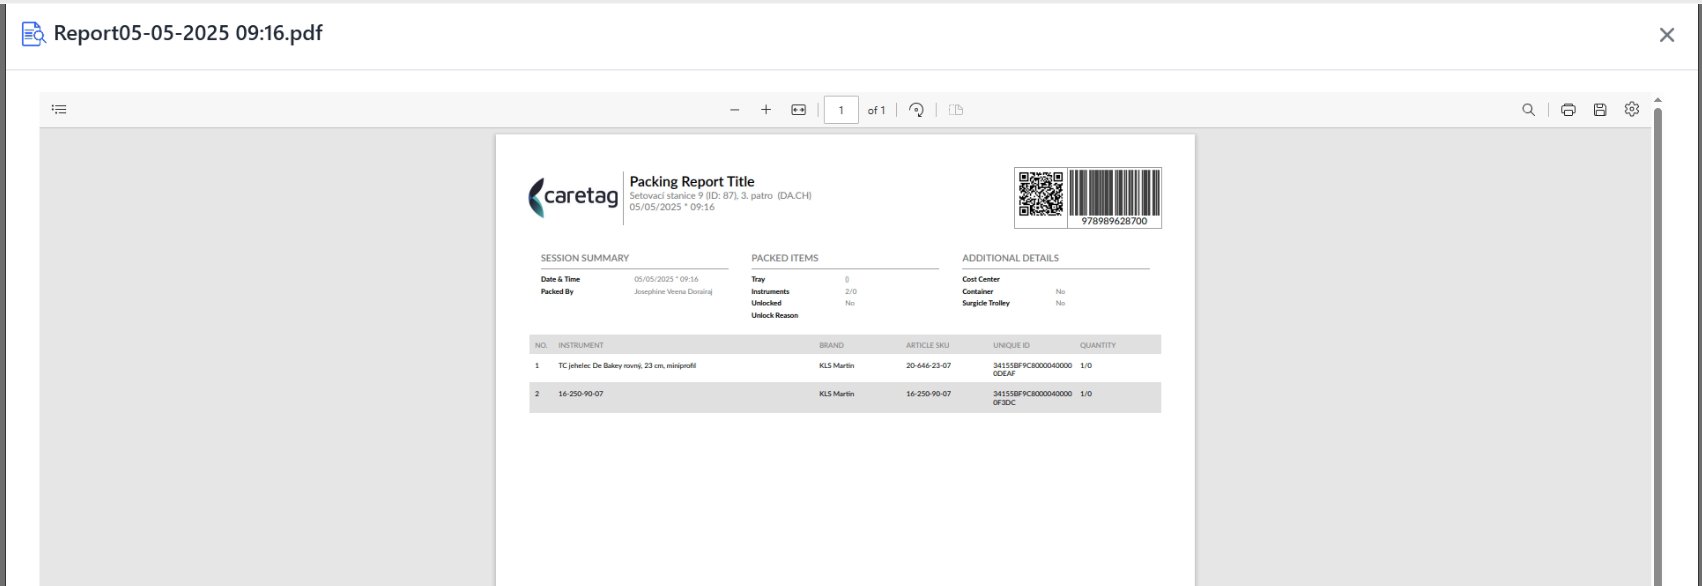
- Click on the view report.
Note
The report displayed above is from the latest version and may not match the tray images shown in the ‘Pack mini set’ section.
View Session
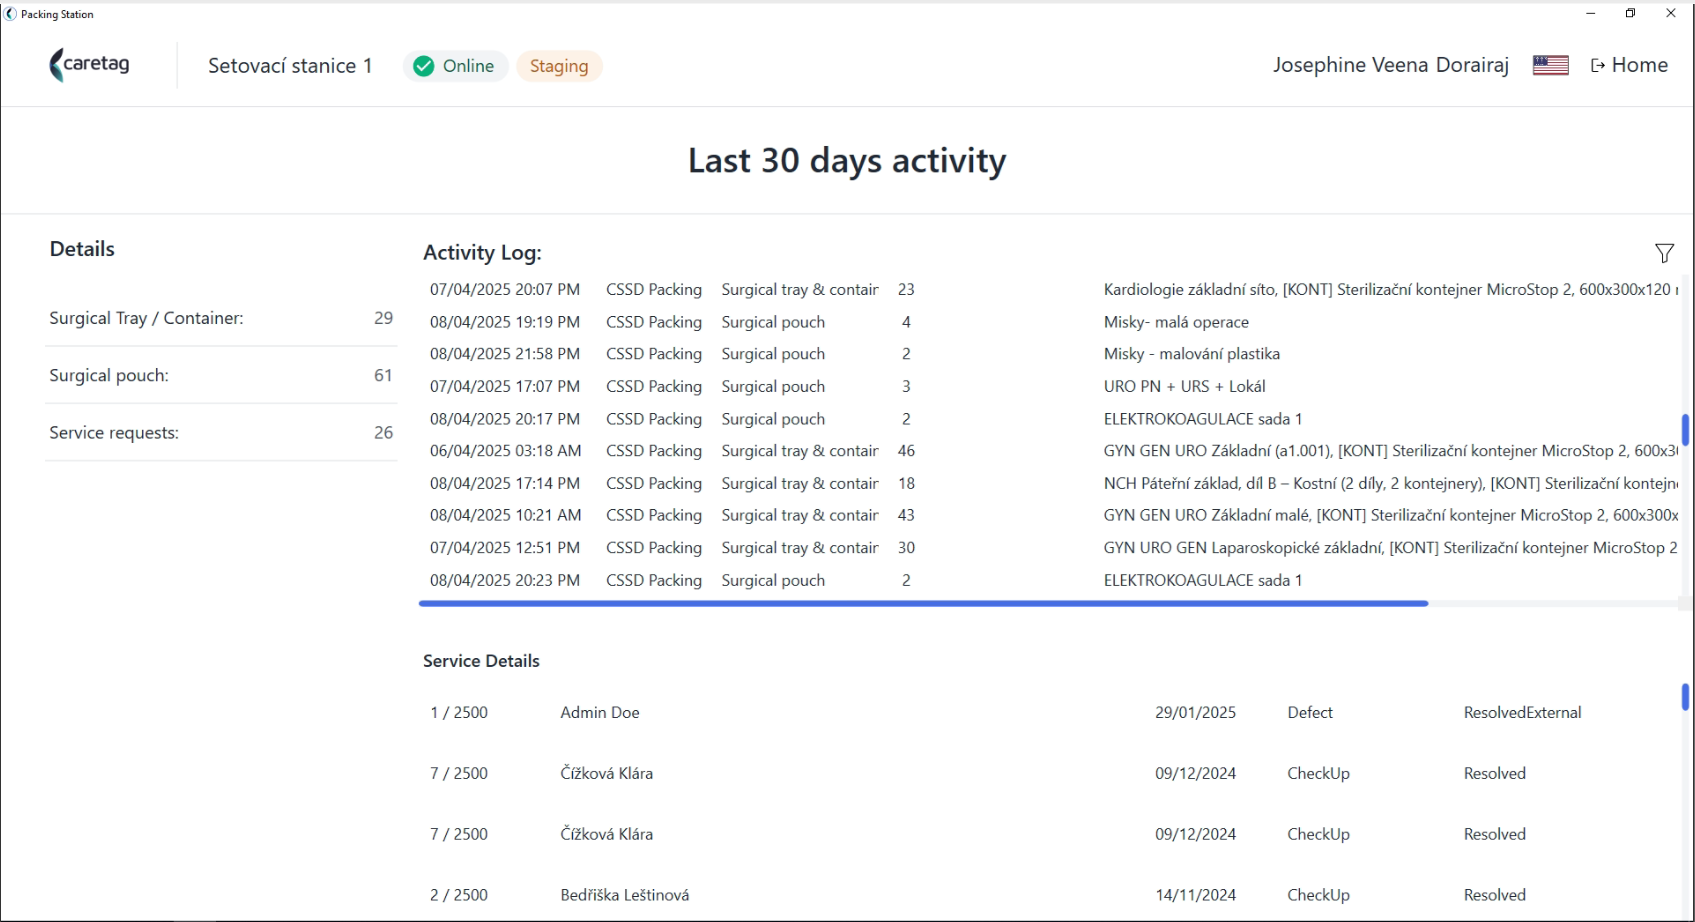
- It provides the last 30 days activites of the packing station