Technical Station - User Manual
- In the Technical station the users program the insttrument tags and link them to the right instrument asset.
Homepage
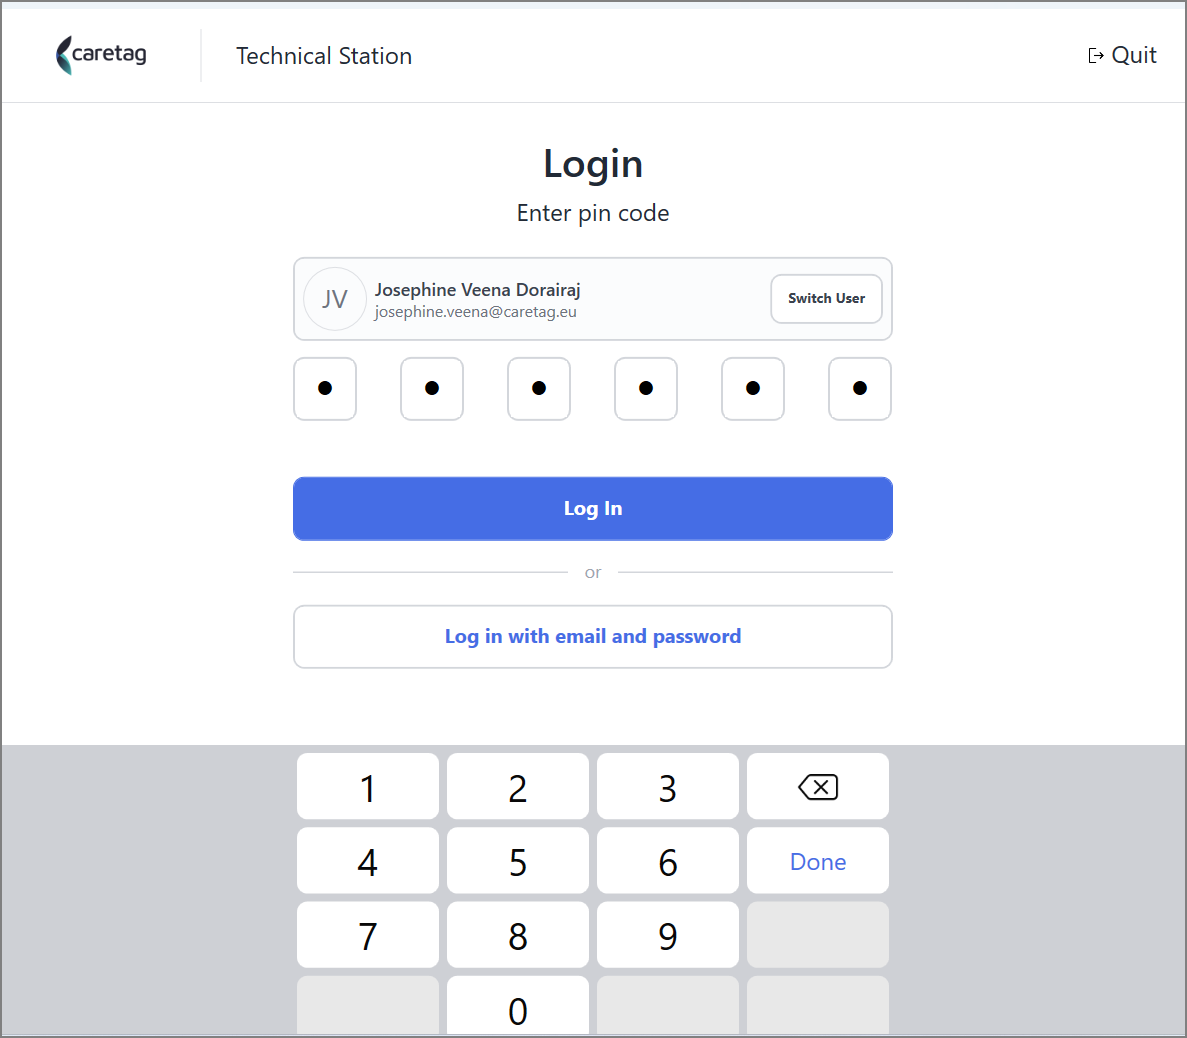
- Launch the Technical station application and Login either by entering the pincode or by using the email and password. The app will show the previously logged in user name, click on the switch user button and select your user name from the dropdown.
- The Home screen of the Technical station has 3 options: Scan Asset, Scan Tray and Get Info
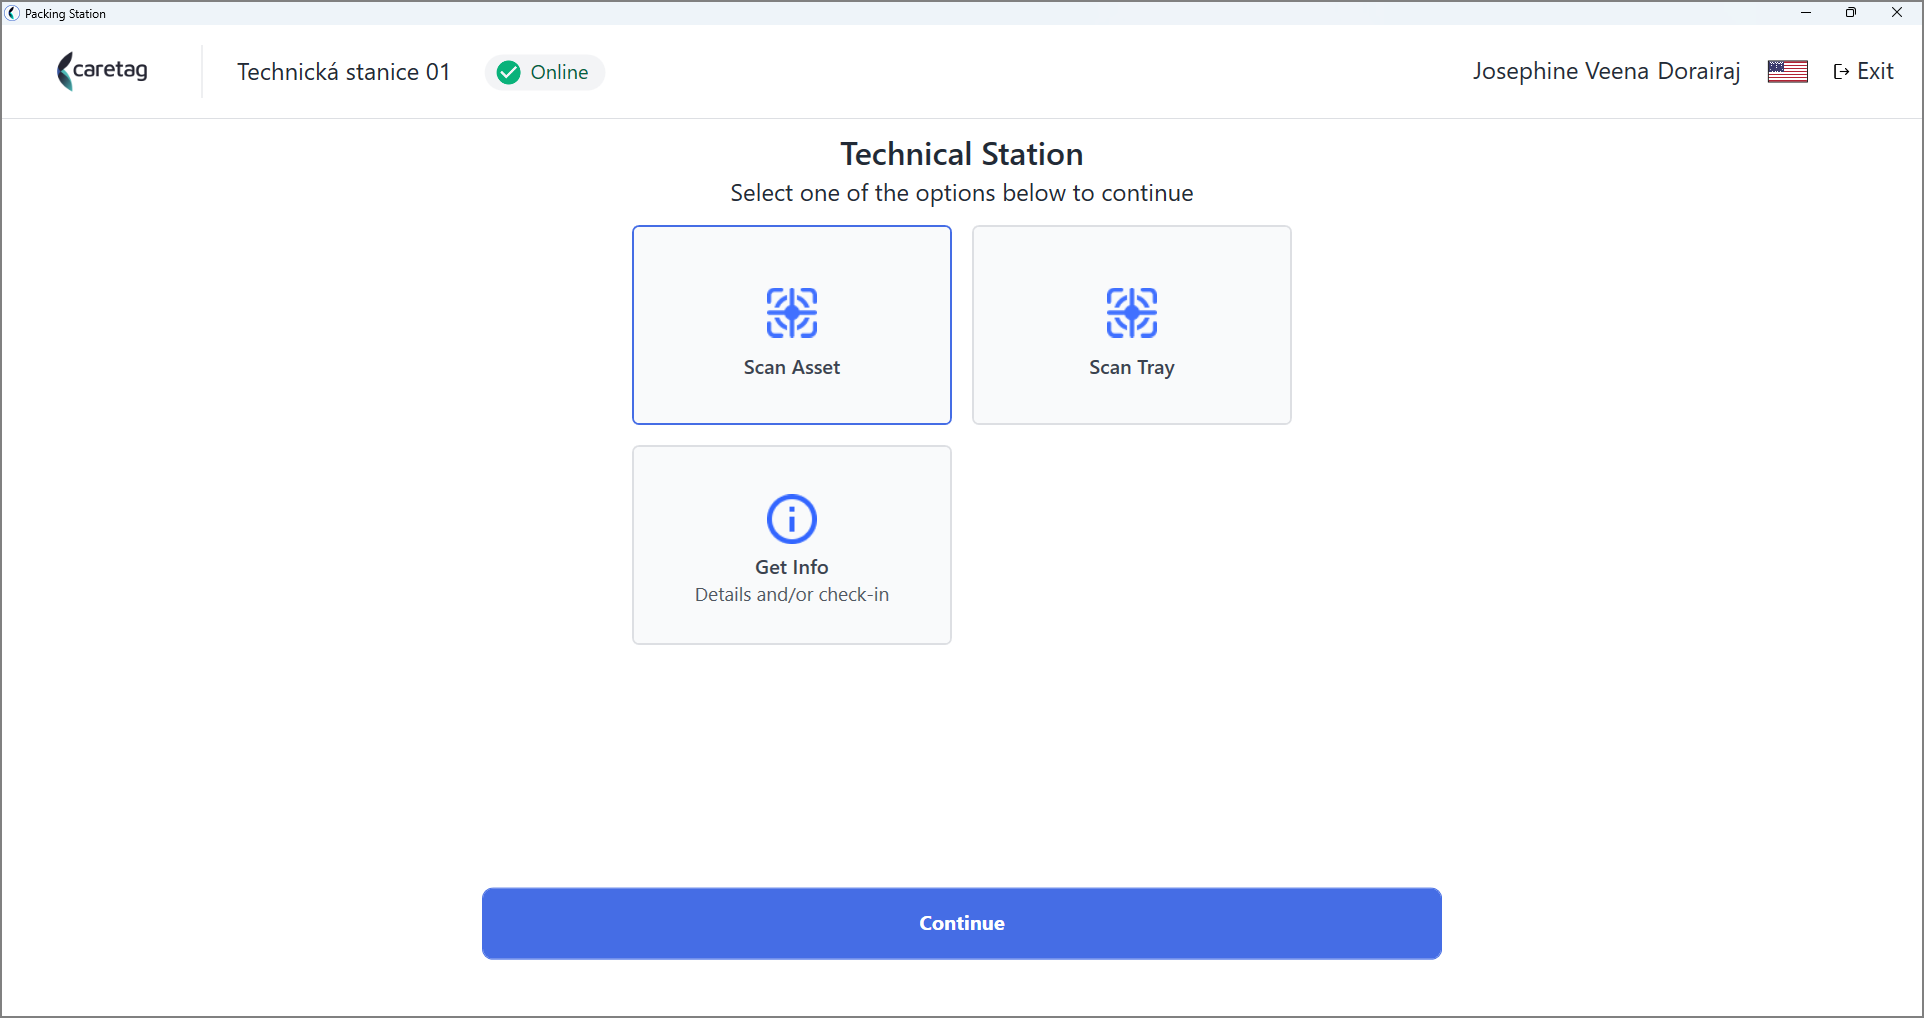
- At the top of the screen, you’ll find a button labeled Online with a green check mark—this is referred to as the Connectivity Check button (explained in detail in the following section).
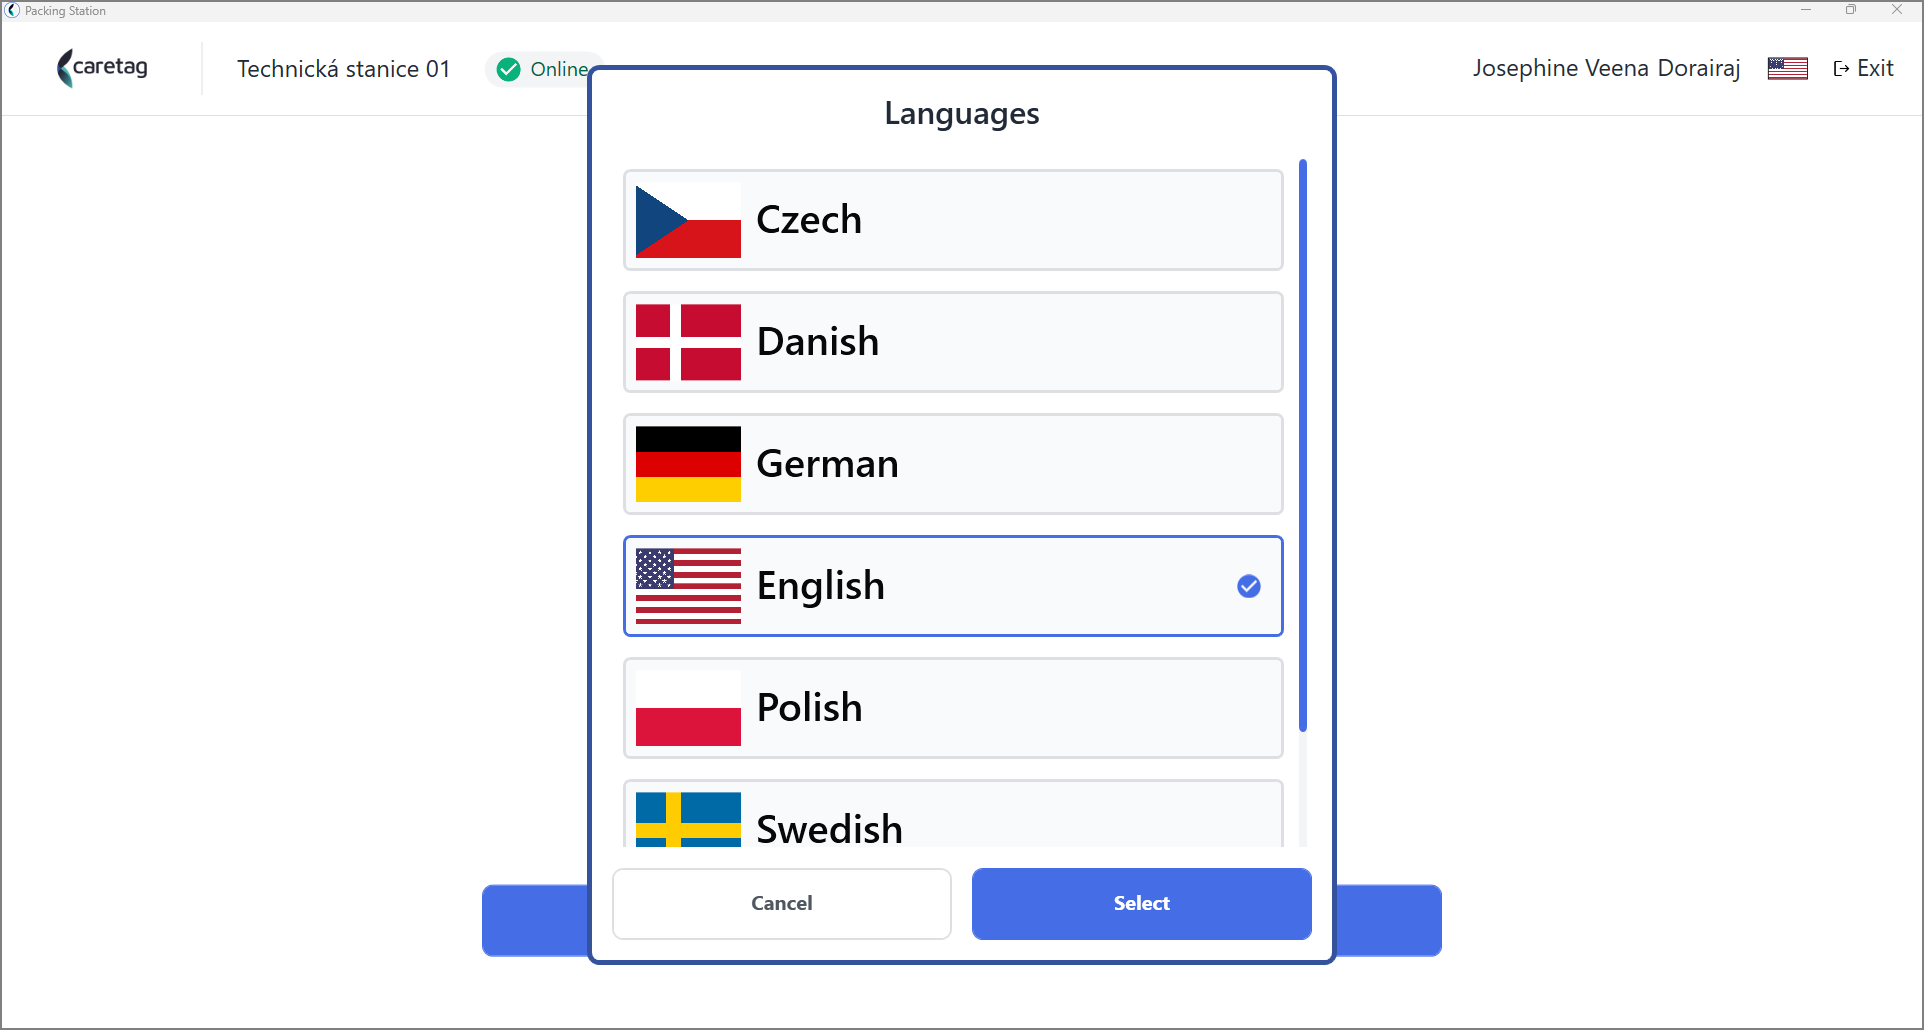
- On the top right, you can see your username, language selection, and the**exit** button.
Connectivity check
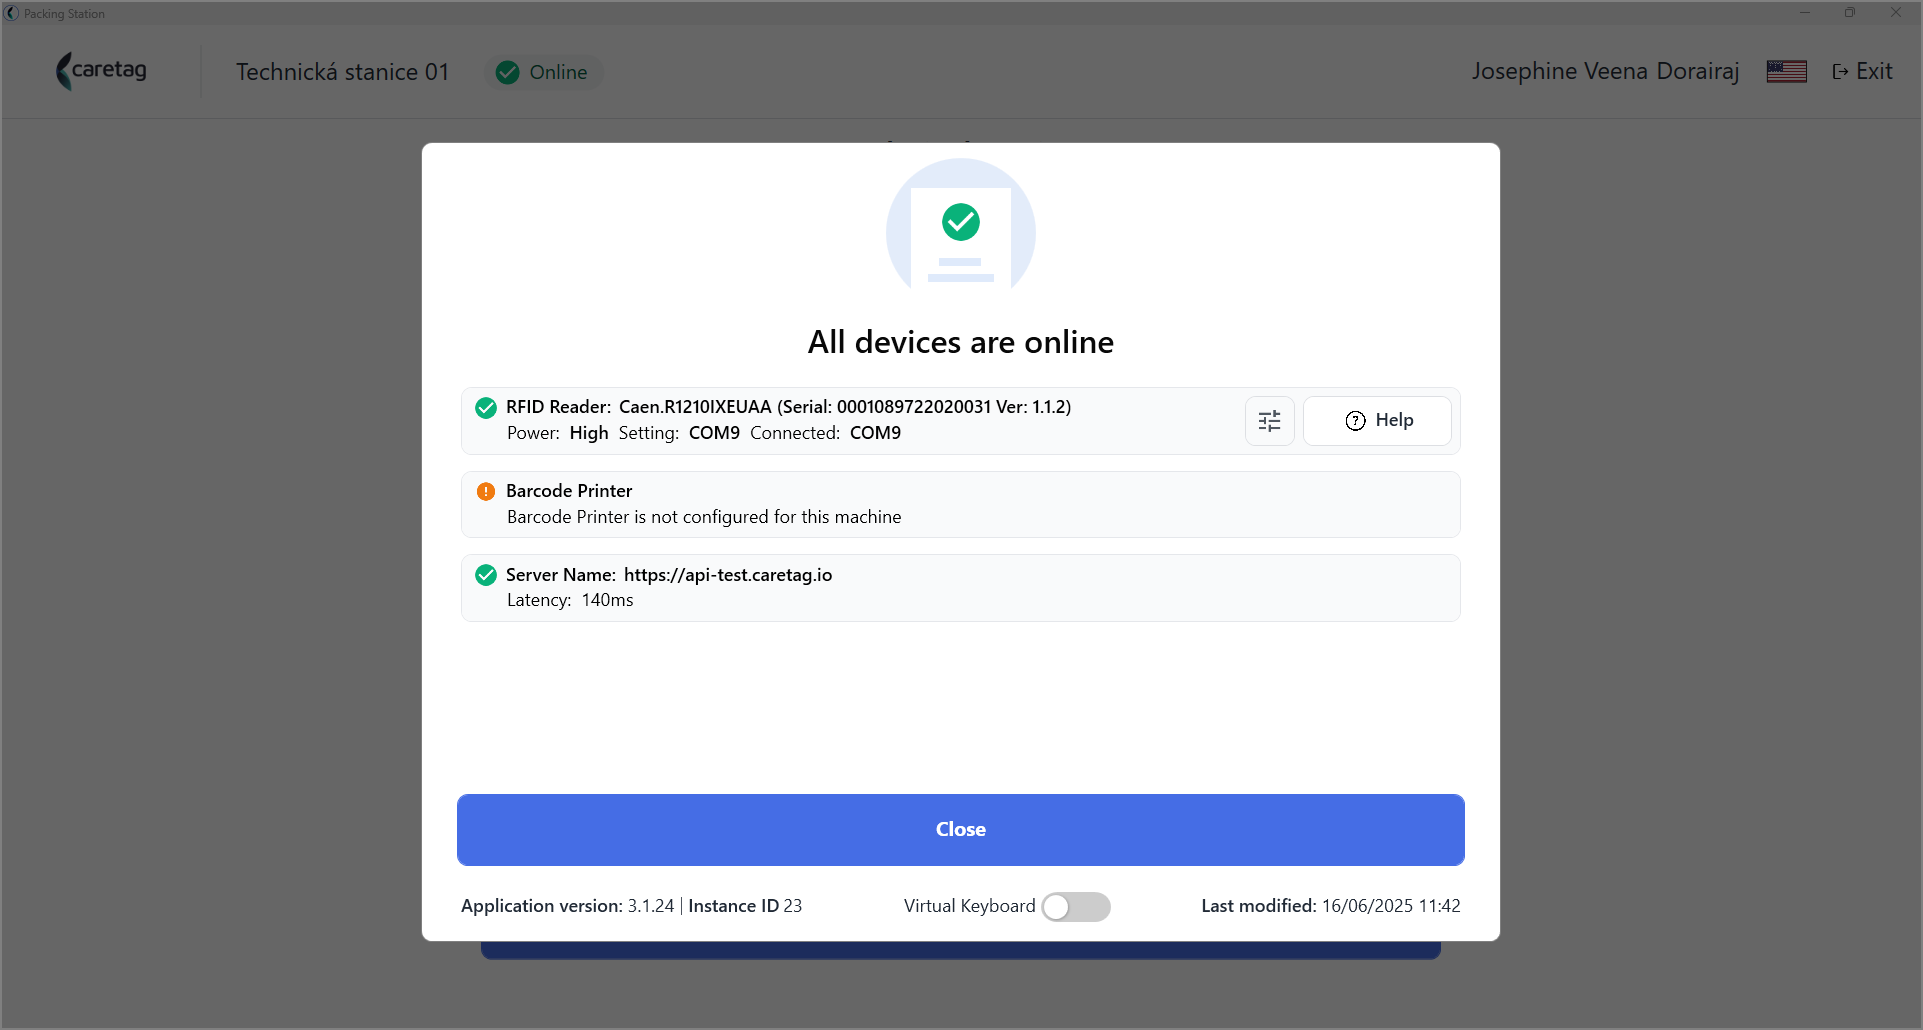
- To check the connectivity of the reader, server and the printer click on the Online button on the top.
- It displays the details of the reader, server and printer details.
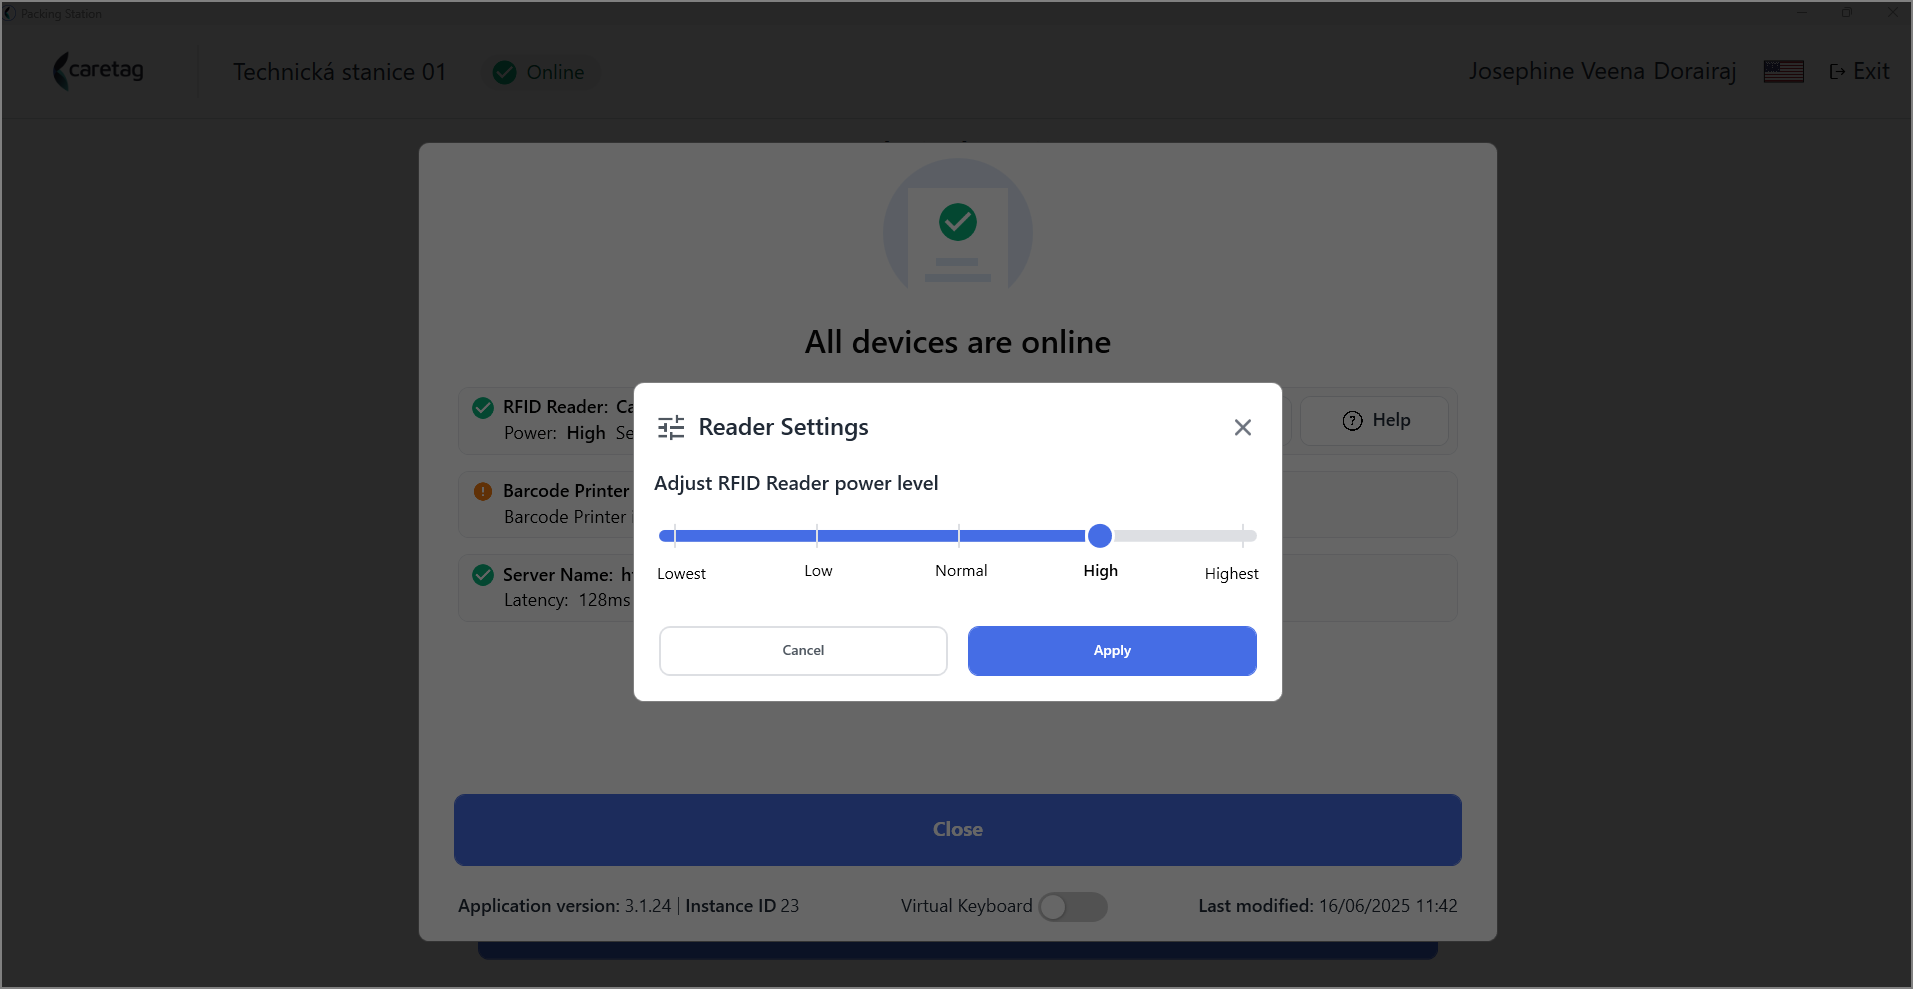
- There is an option to adjust the power levels of the reader.
- At the bottom you can see the current version of the application and the app instance ID.
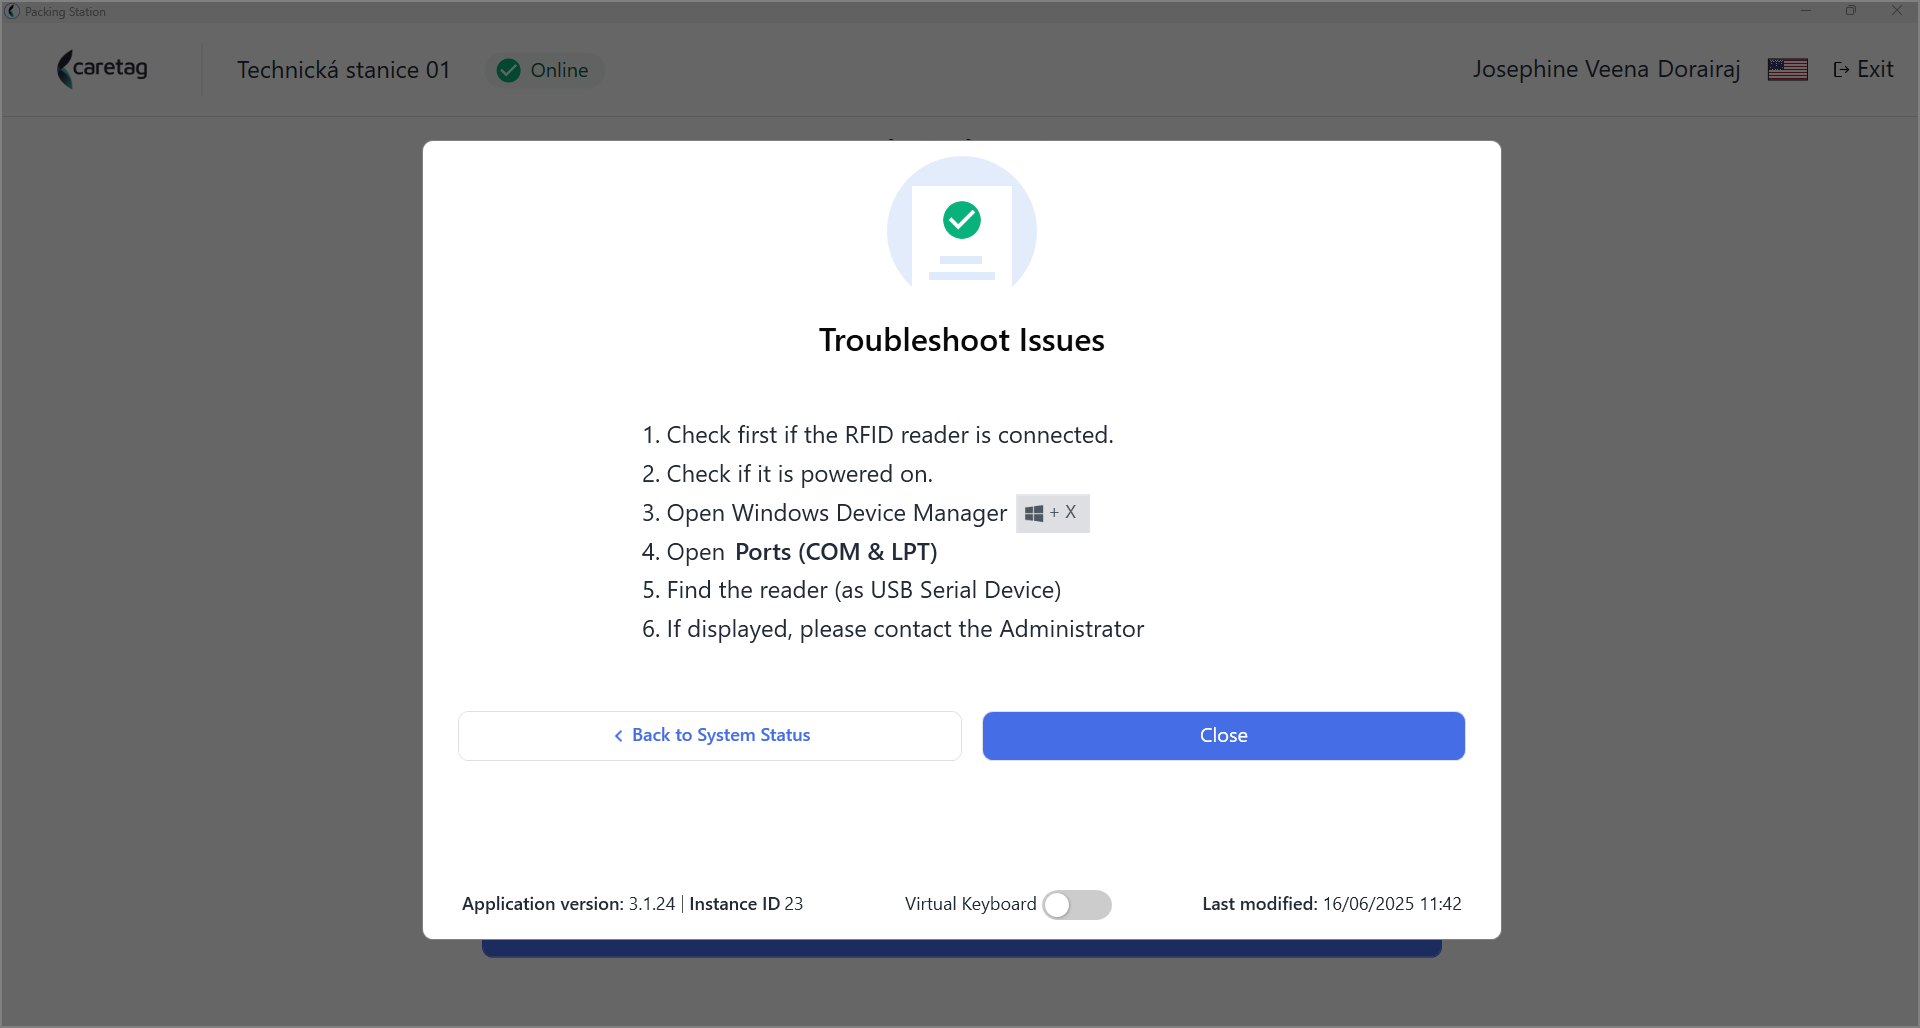
- The help button provides the basic troubleshooting steps to troubleshoot the reader connections.
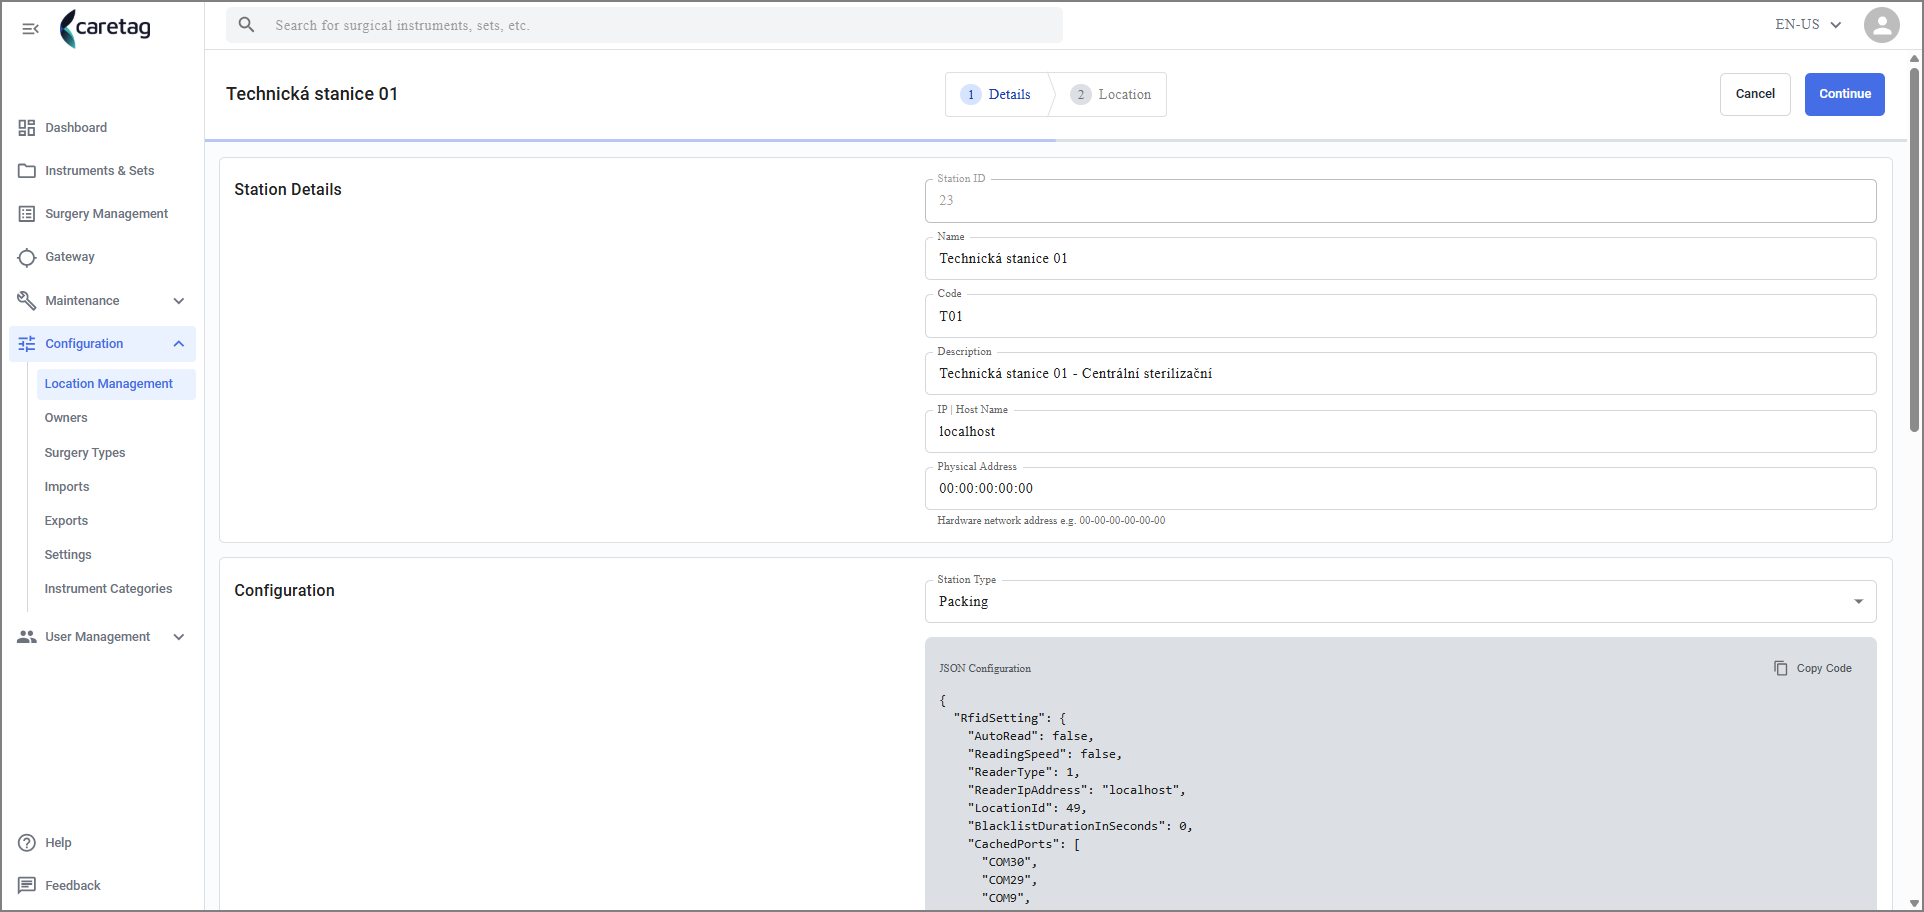
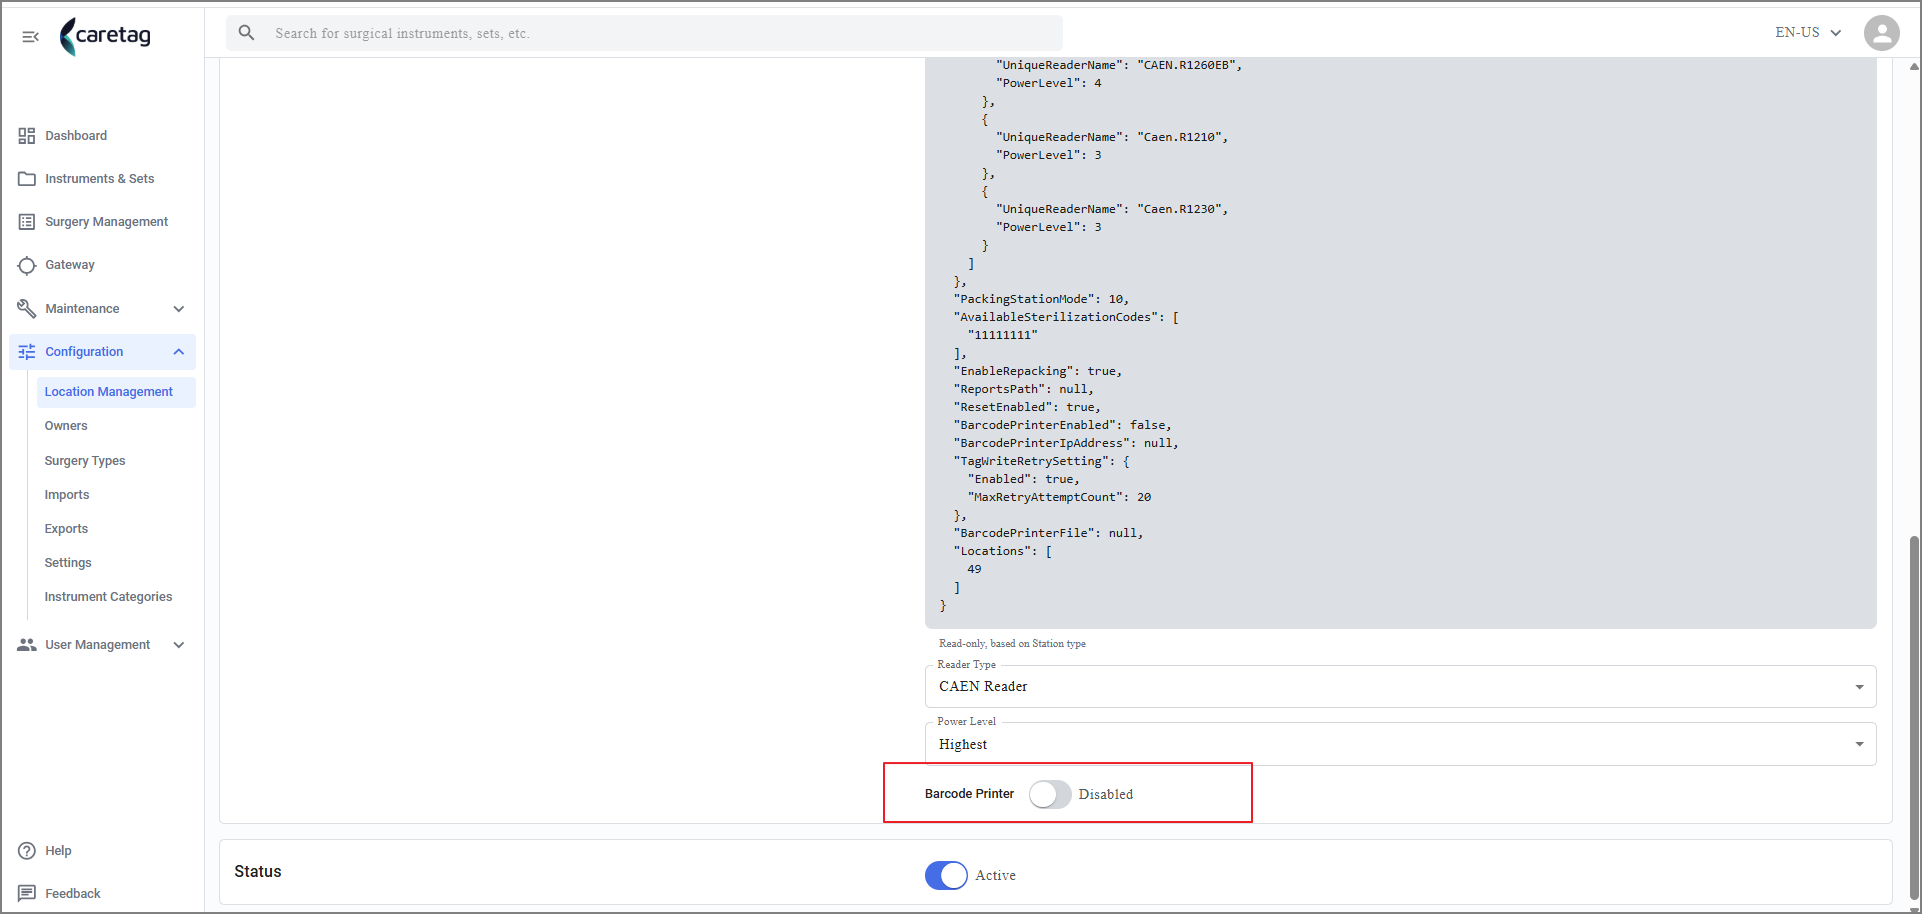
- Here the barcode printer is displayed as not configured, it is becasue the admin has not enabled the printer for this app instance.
- It can be enabled/disabled from the Adminstation- Location management.
Scan Asset
Program an instrument
- Select the scan asset option and click continue
- The app is ready to program a new asset.
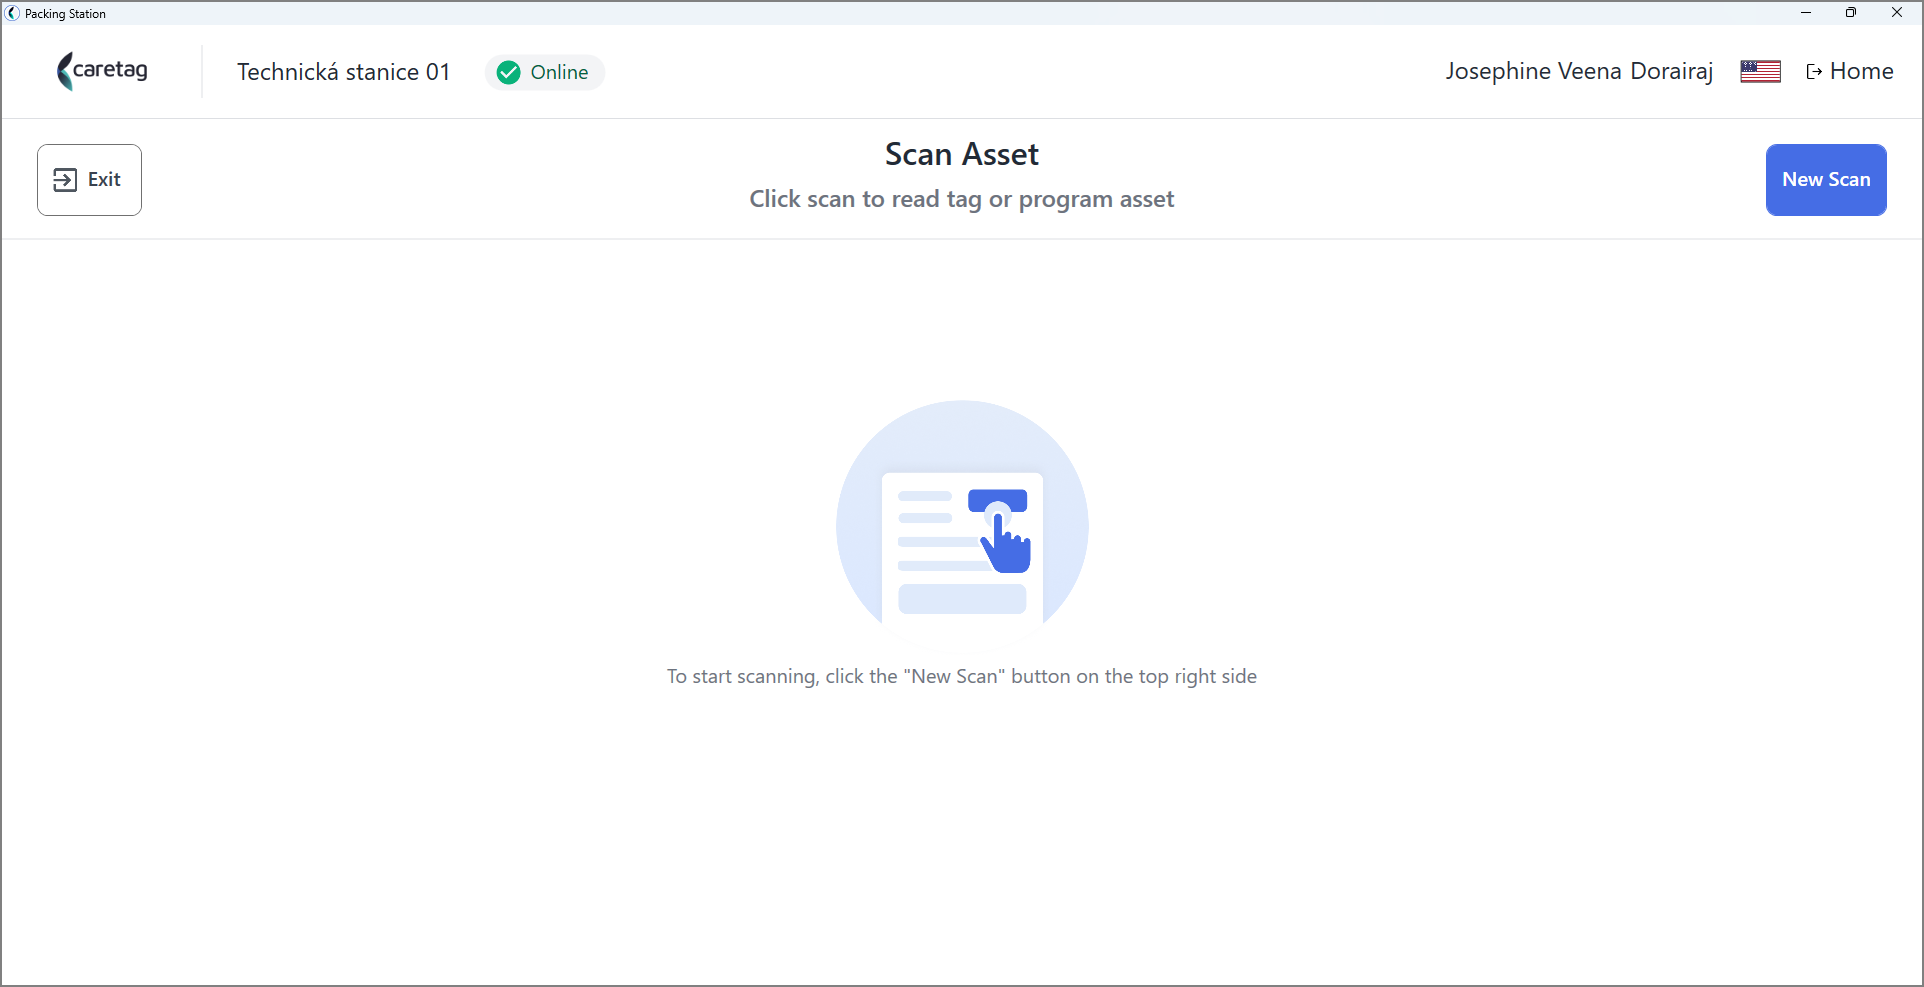
- Click the new Scan button and place the RFID tagged instrument on the RFID Reader.
- Once the tag is read, it assigns a tag ID that is displayed in the center of the screen.
- When a new asset is scanned the app will ask the user to program it.
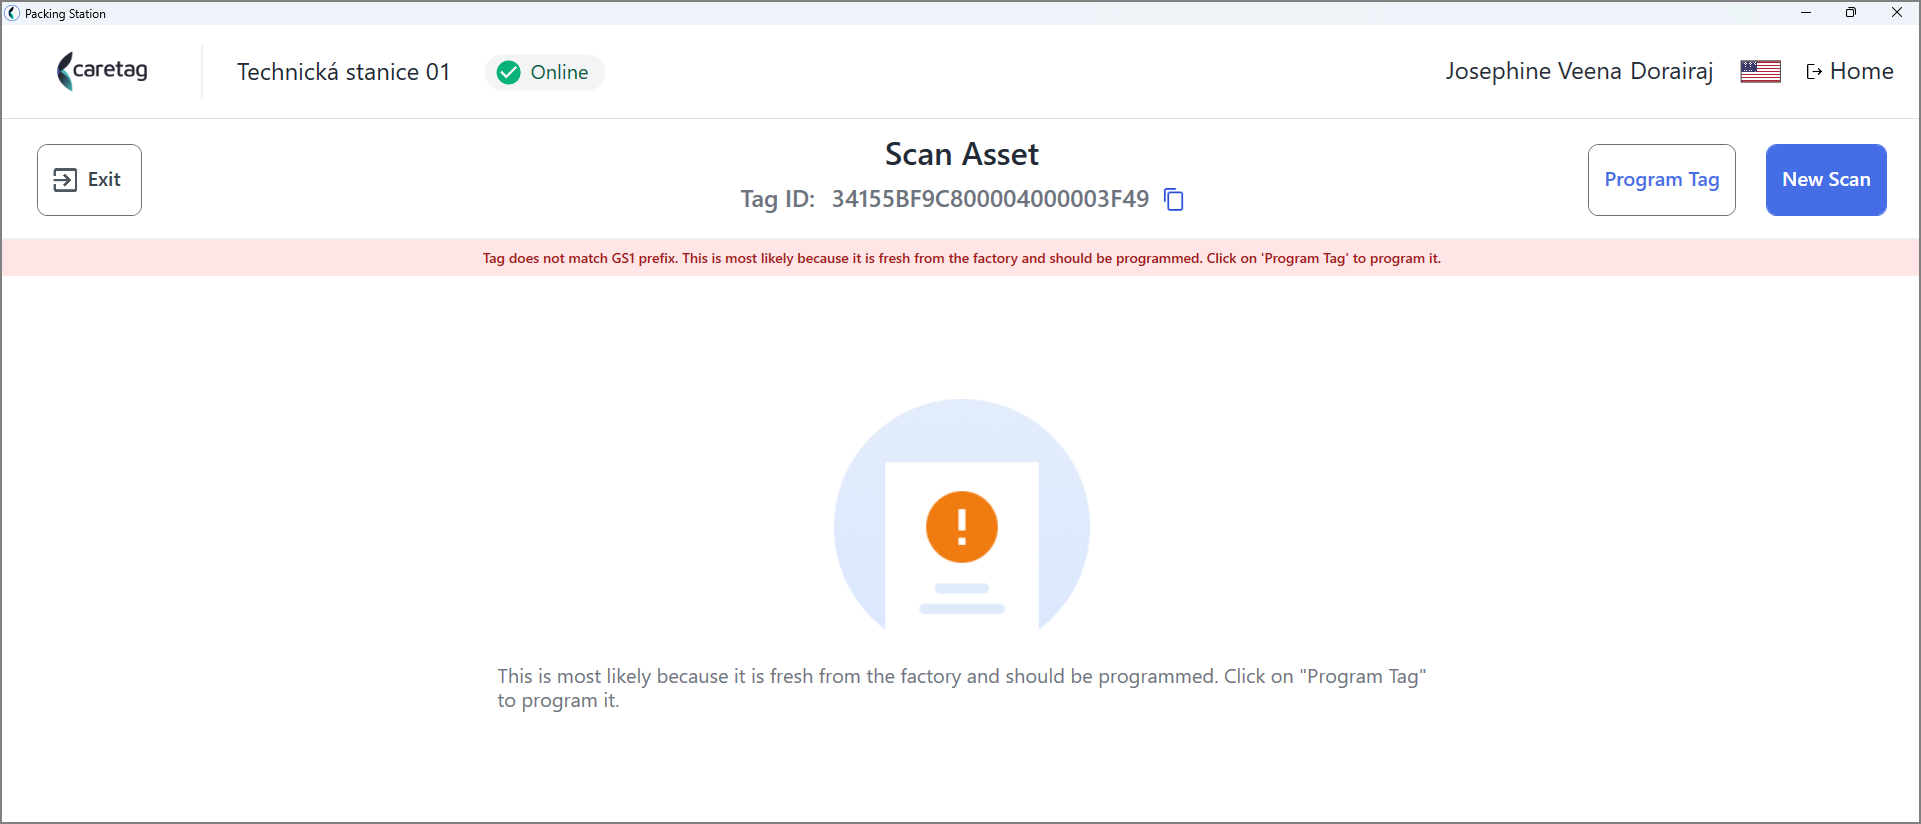
- Click on the program tag button. Once the instrument is programmed, it allocates a unique tag ID to the instrument.
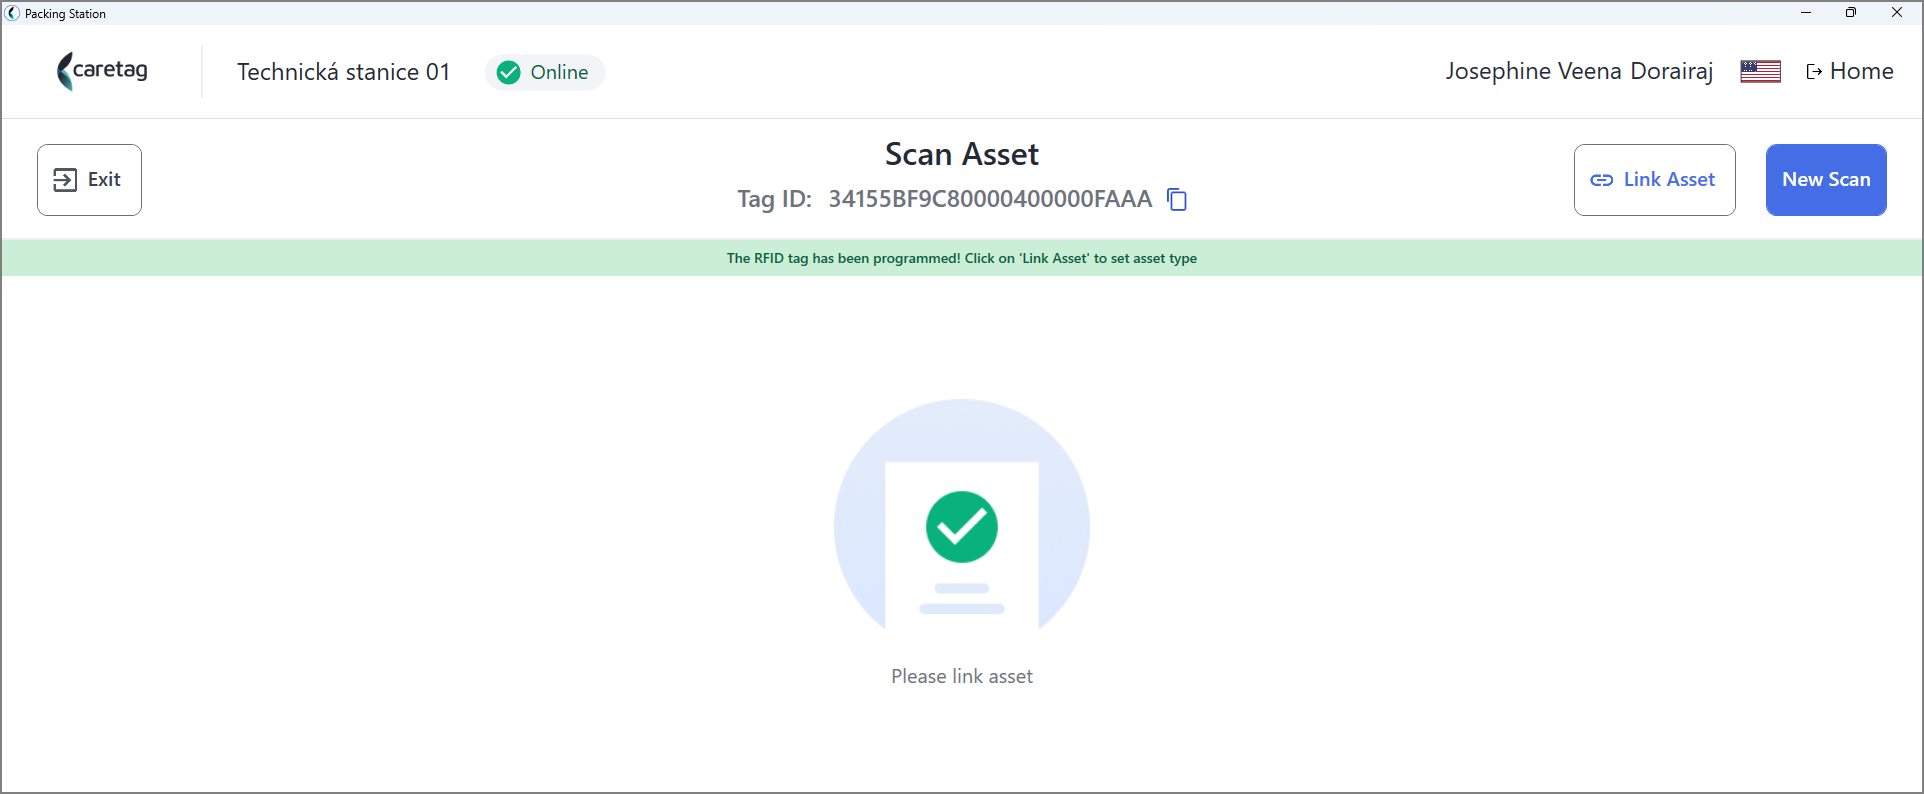
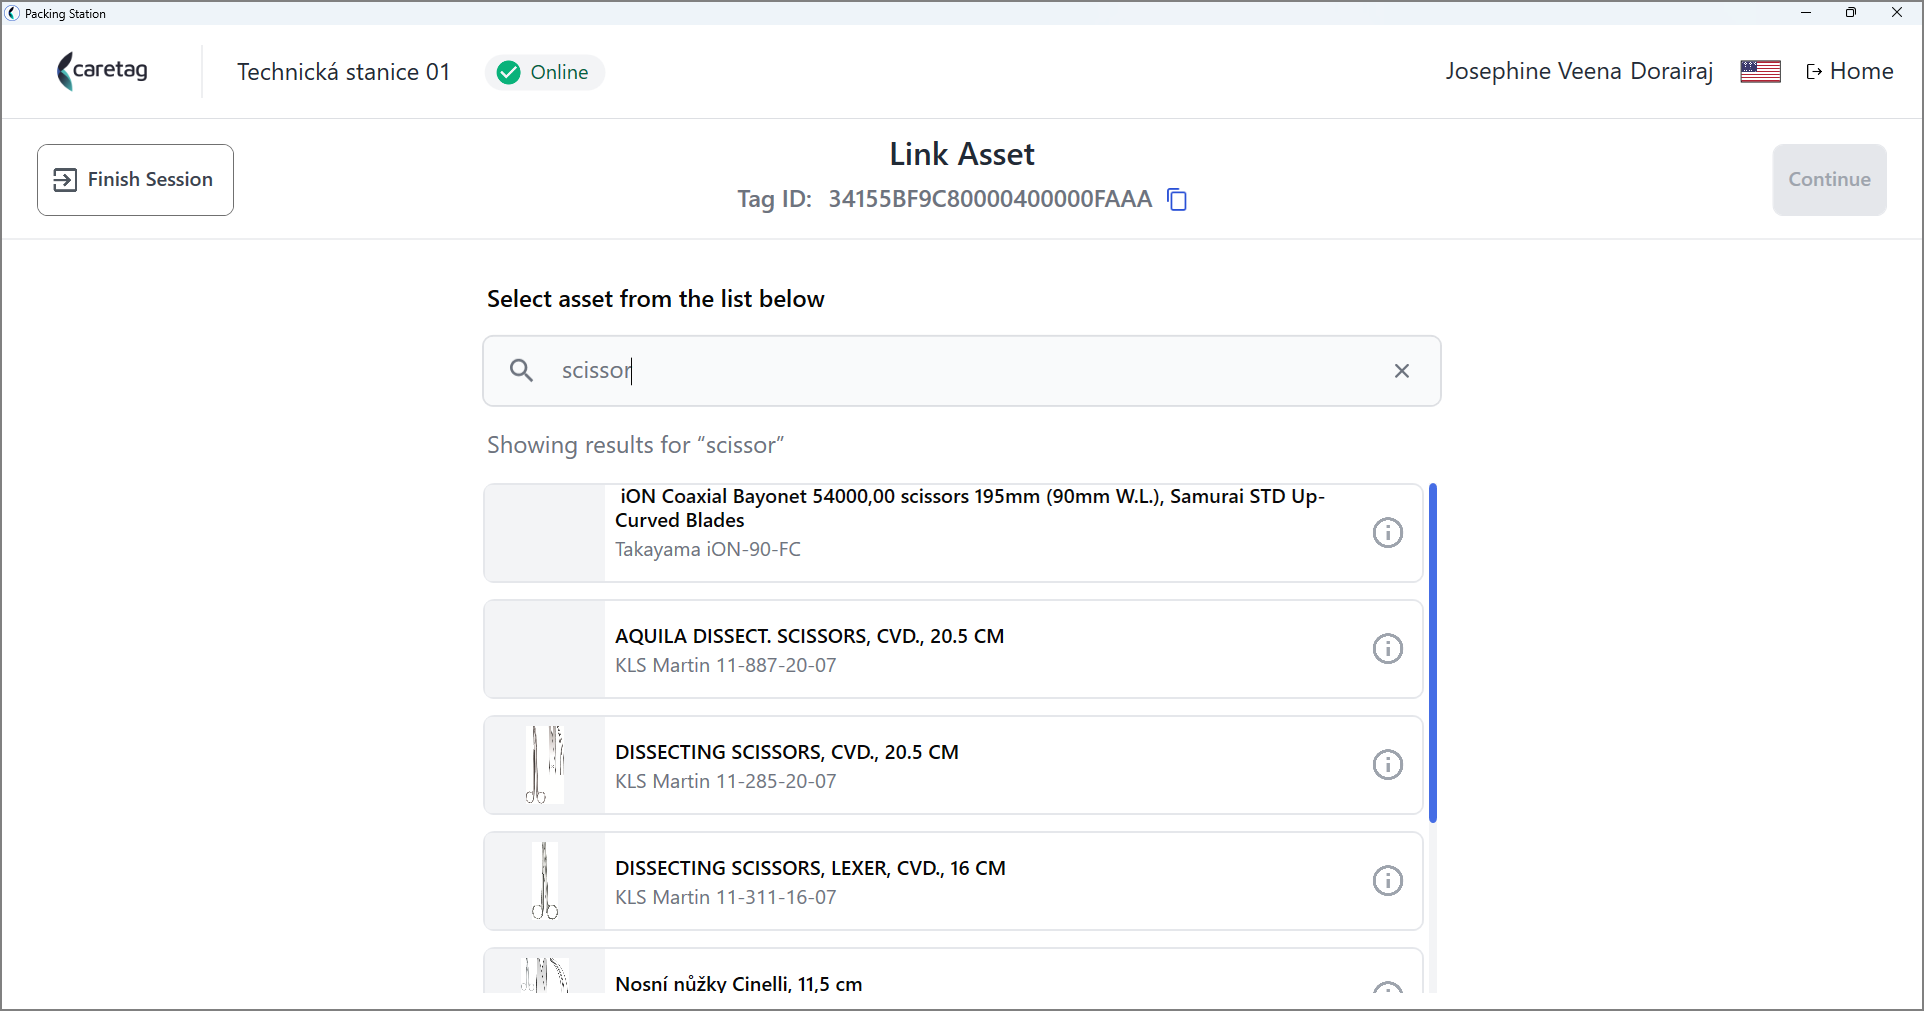
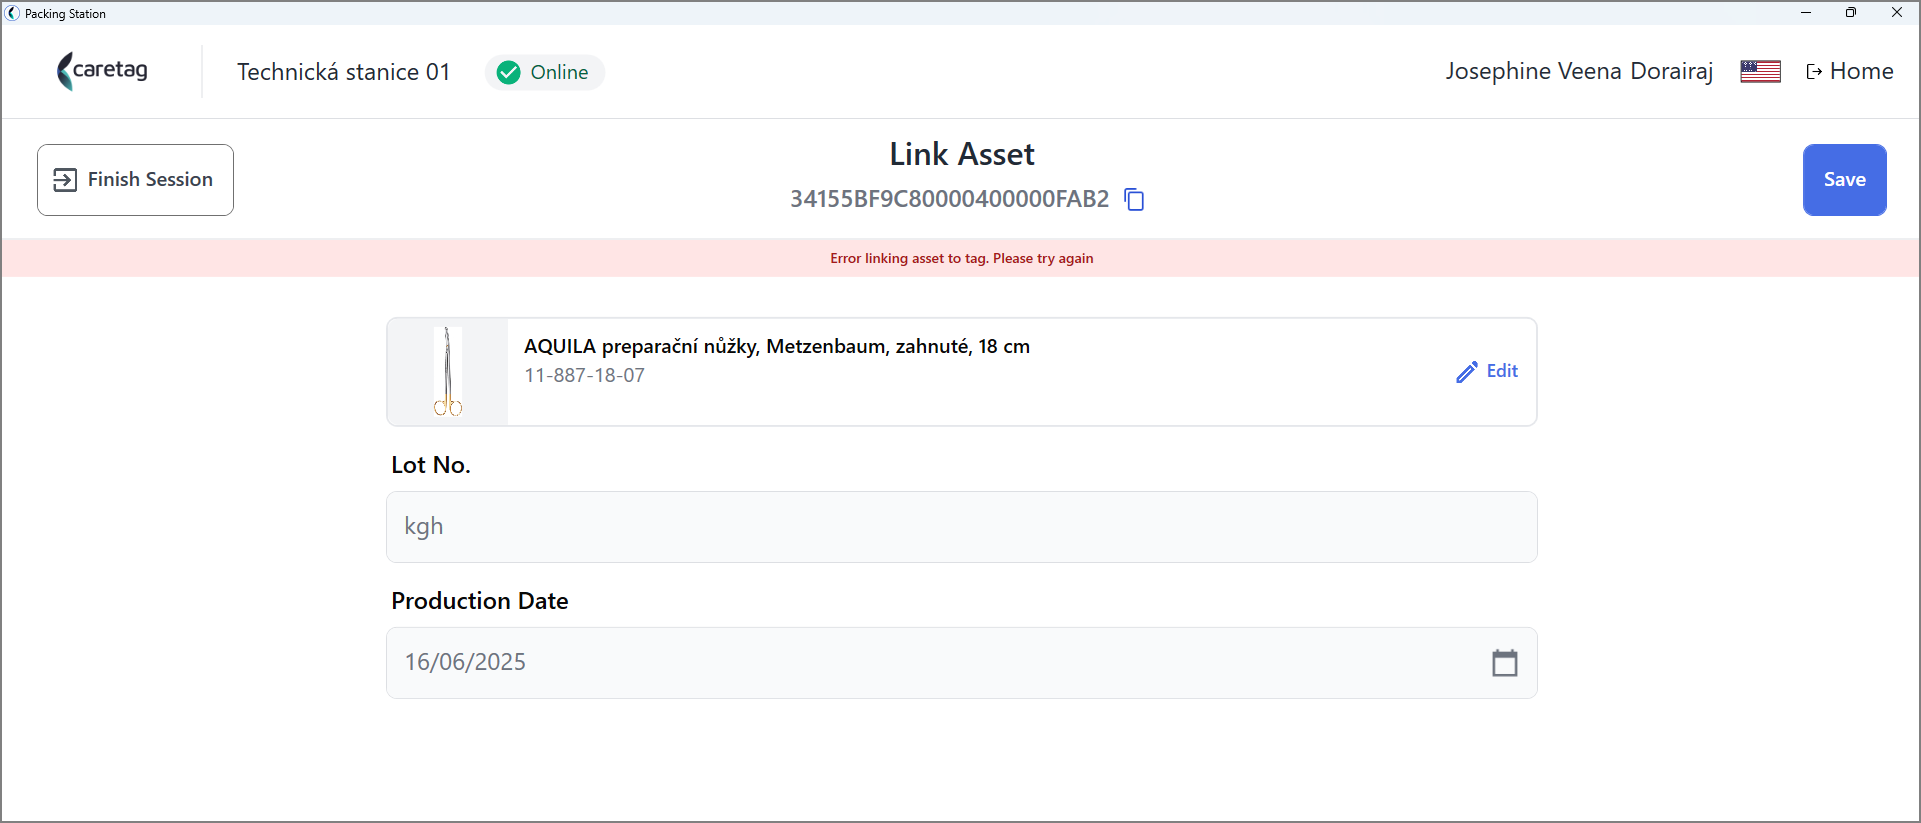
- Link an asset to the programmed instrument. You can type the instrument name or SKU to find it.
- Enter LOT and Manufacturing date and click the save button.
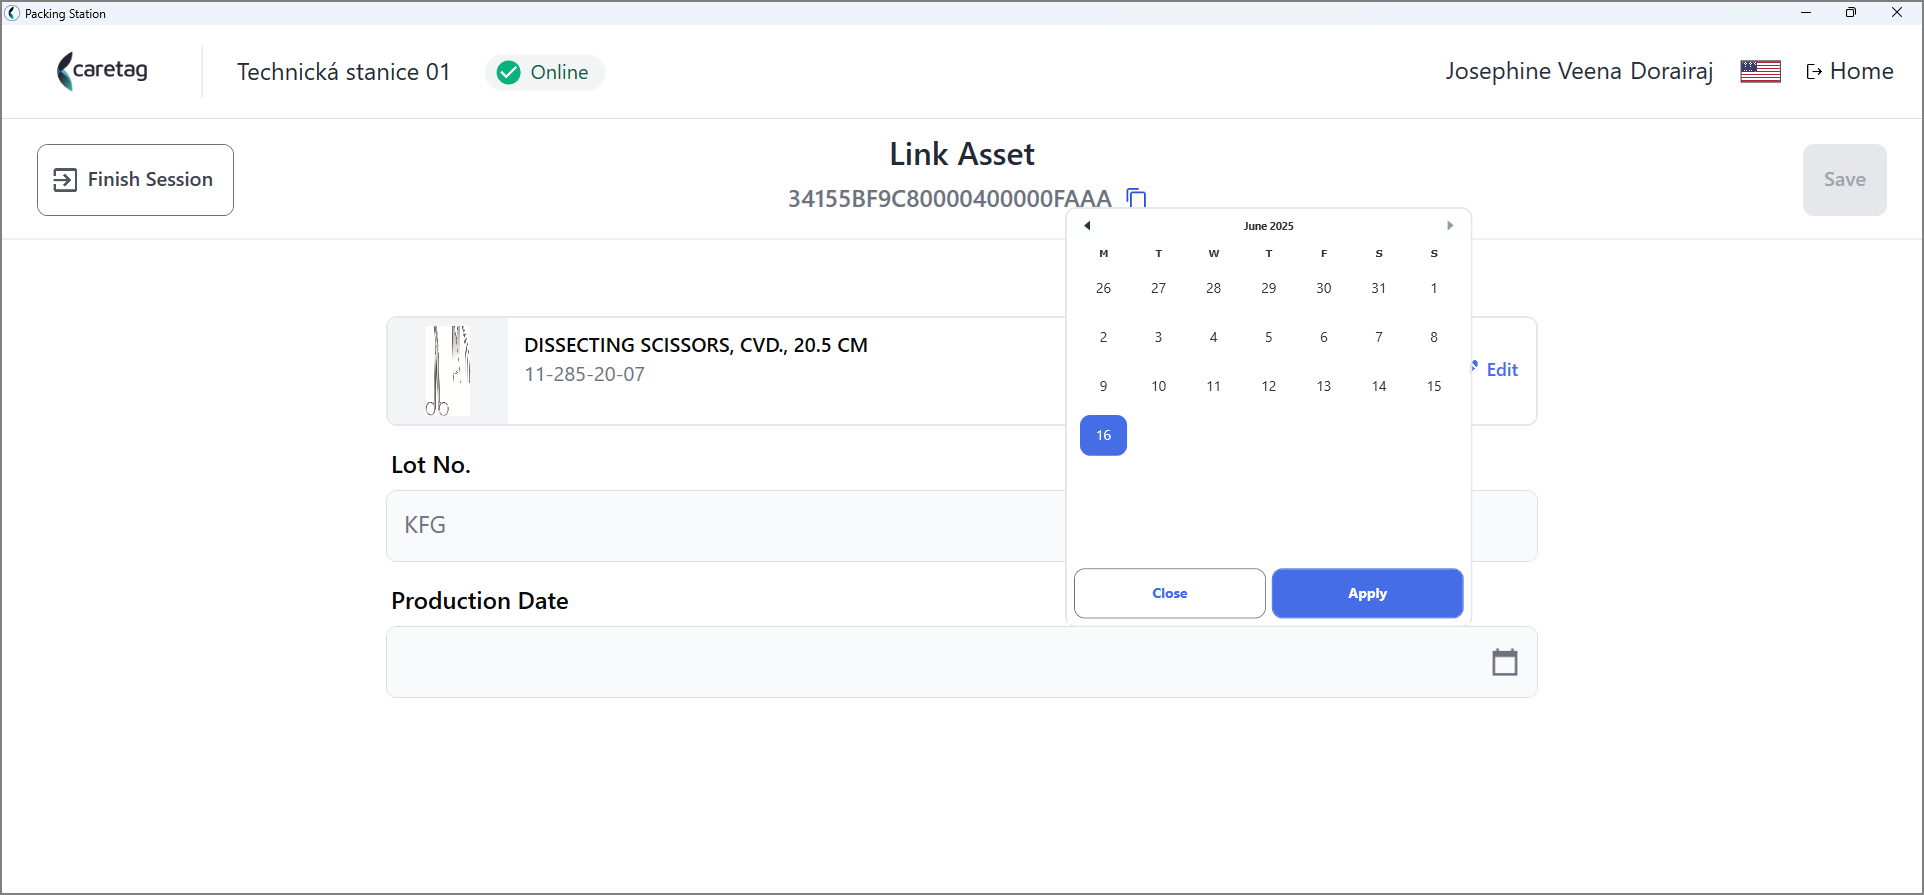
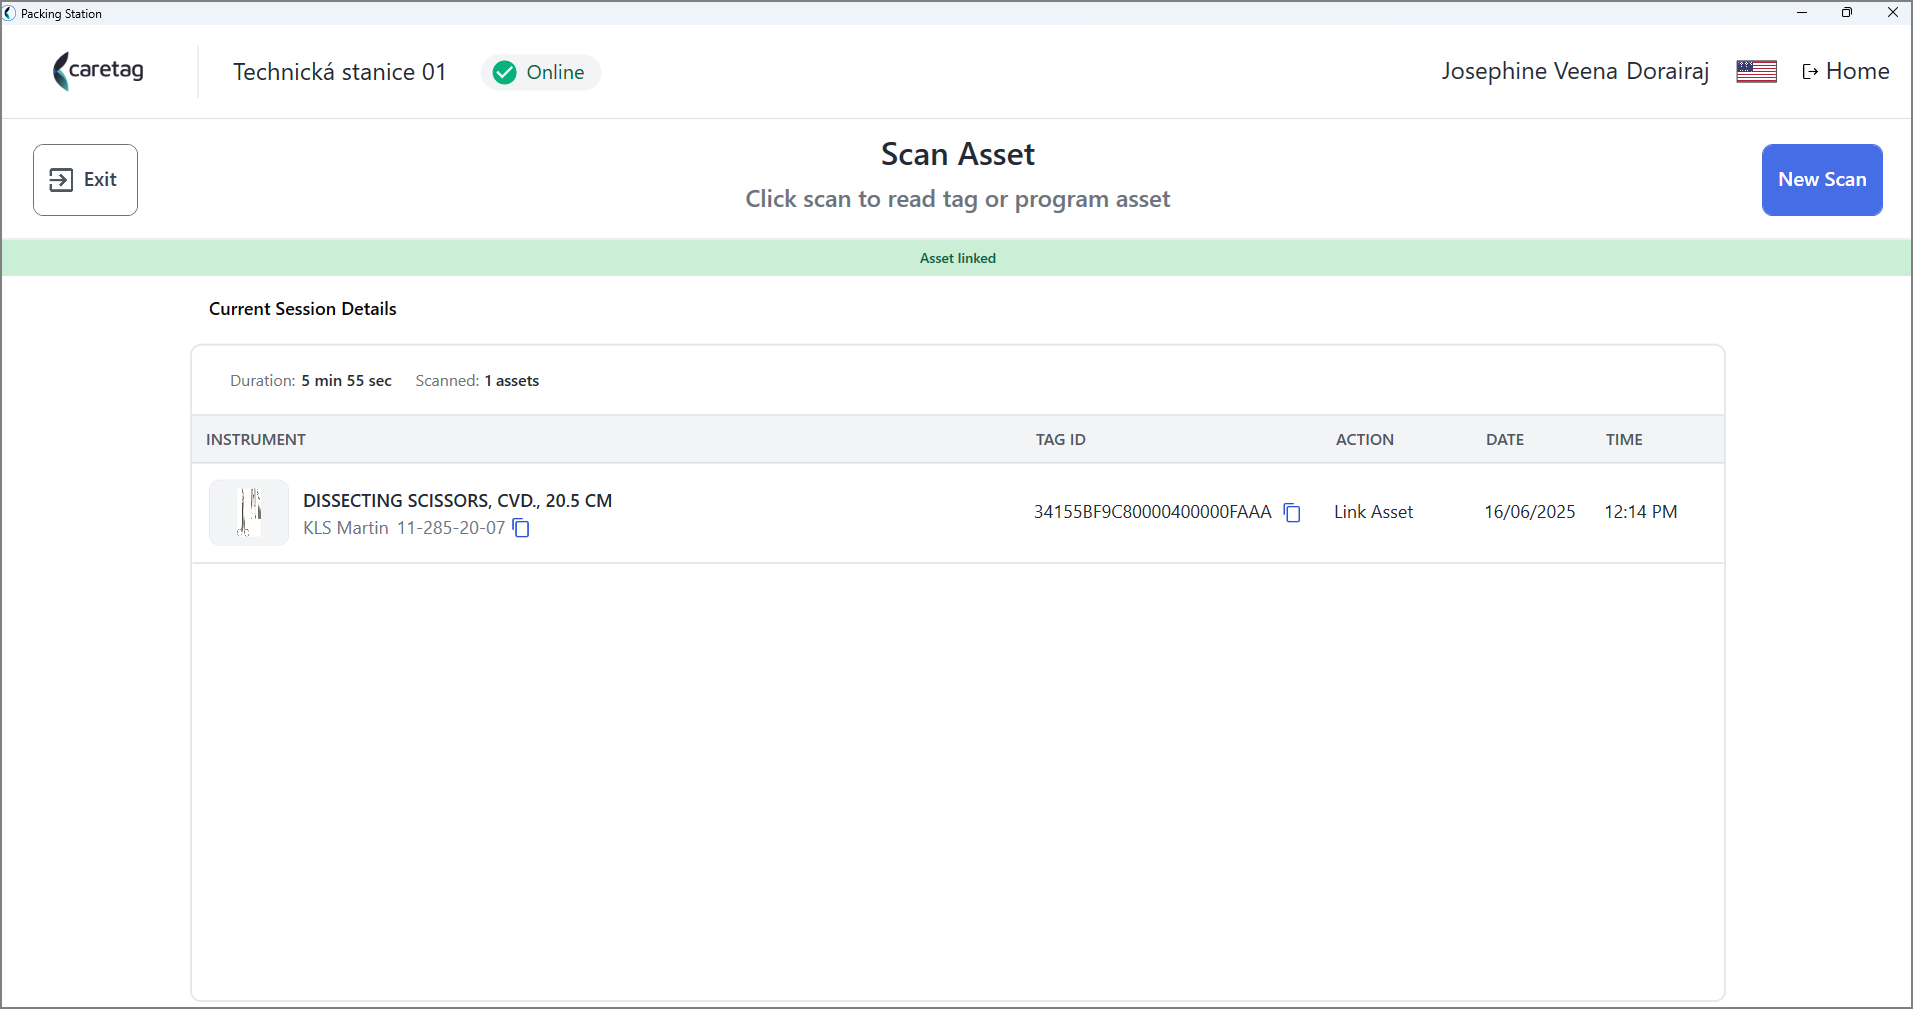
- Once it is saved, the current session details displays the instrument name, tag ID, action, date and time. Programming of a new instrument is completed.
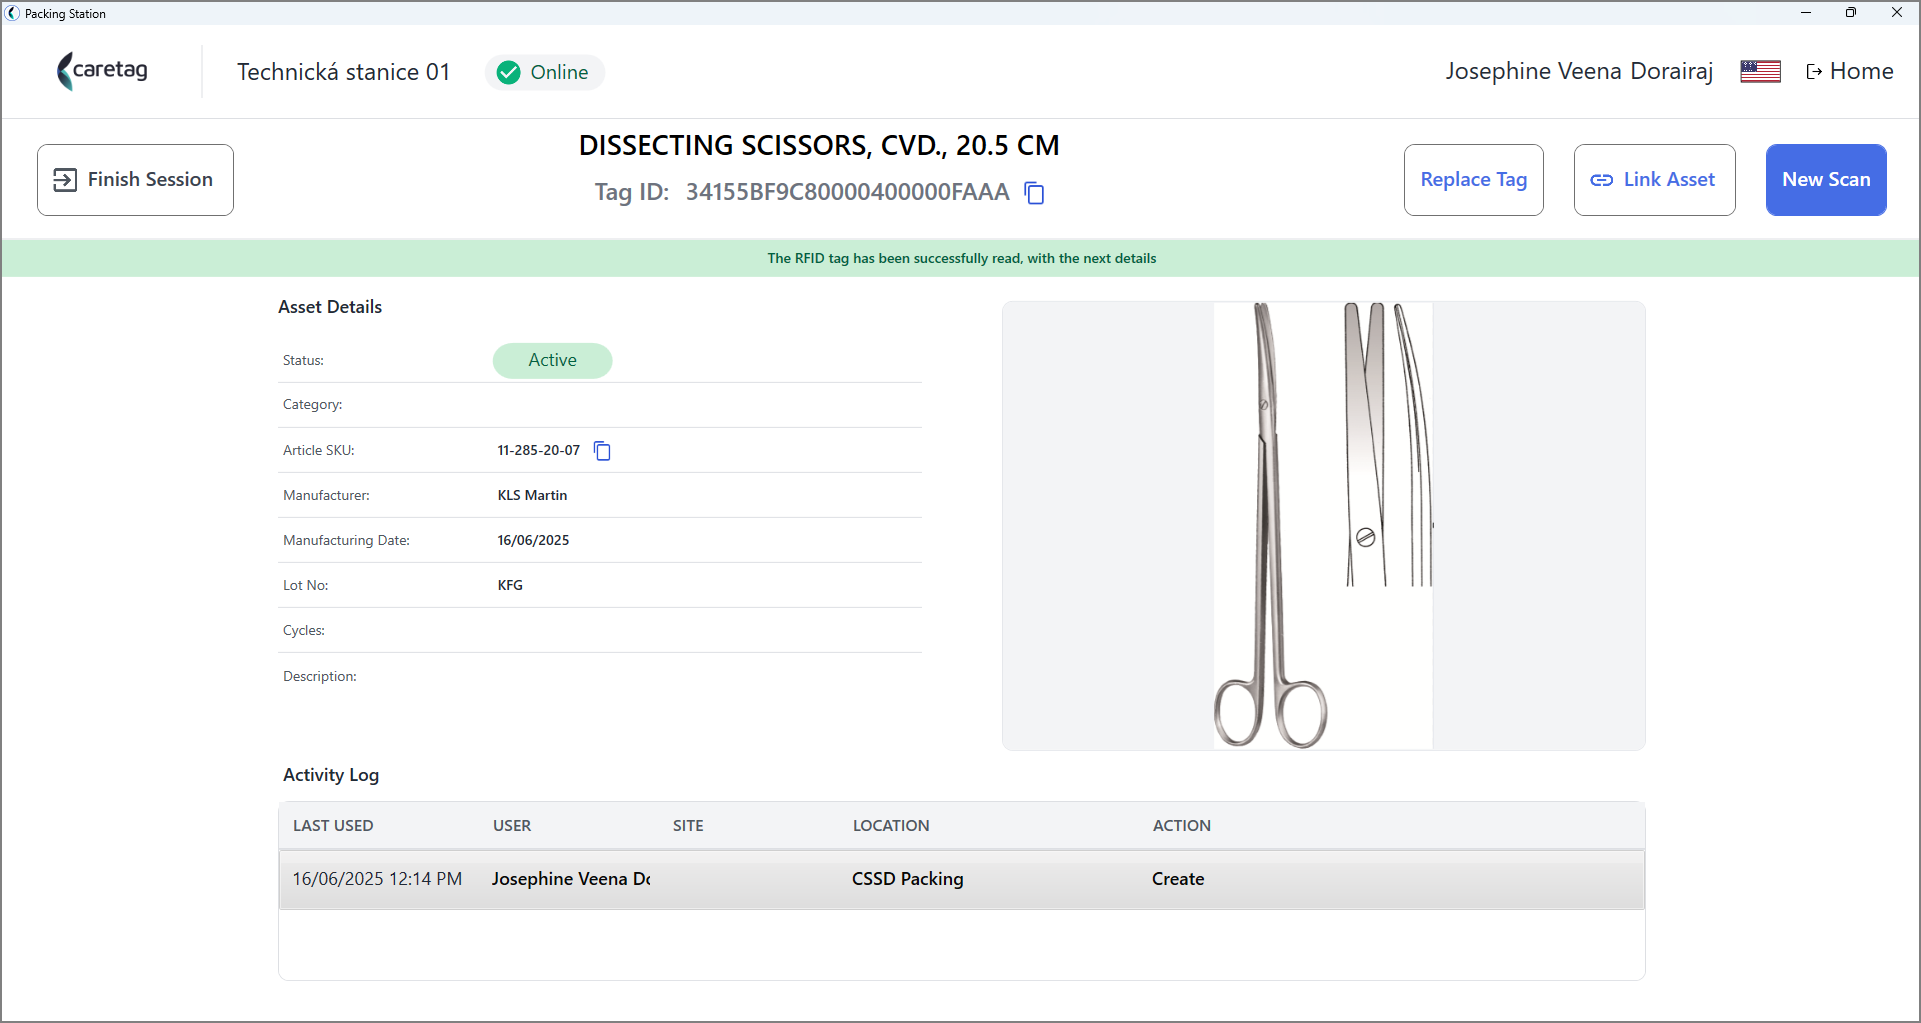
- When an already programmed instrument is scanned using the New Scan option, its details are displayed as shown in the image below.
Replace a tag ID
- To replace a tag ID, click on the New Scan button and scan the instrument.
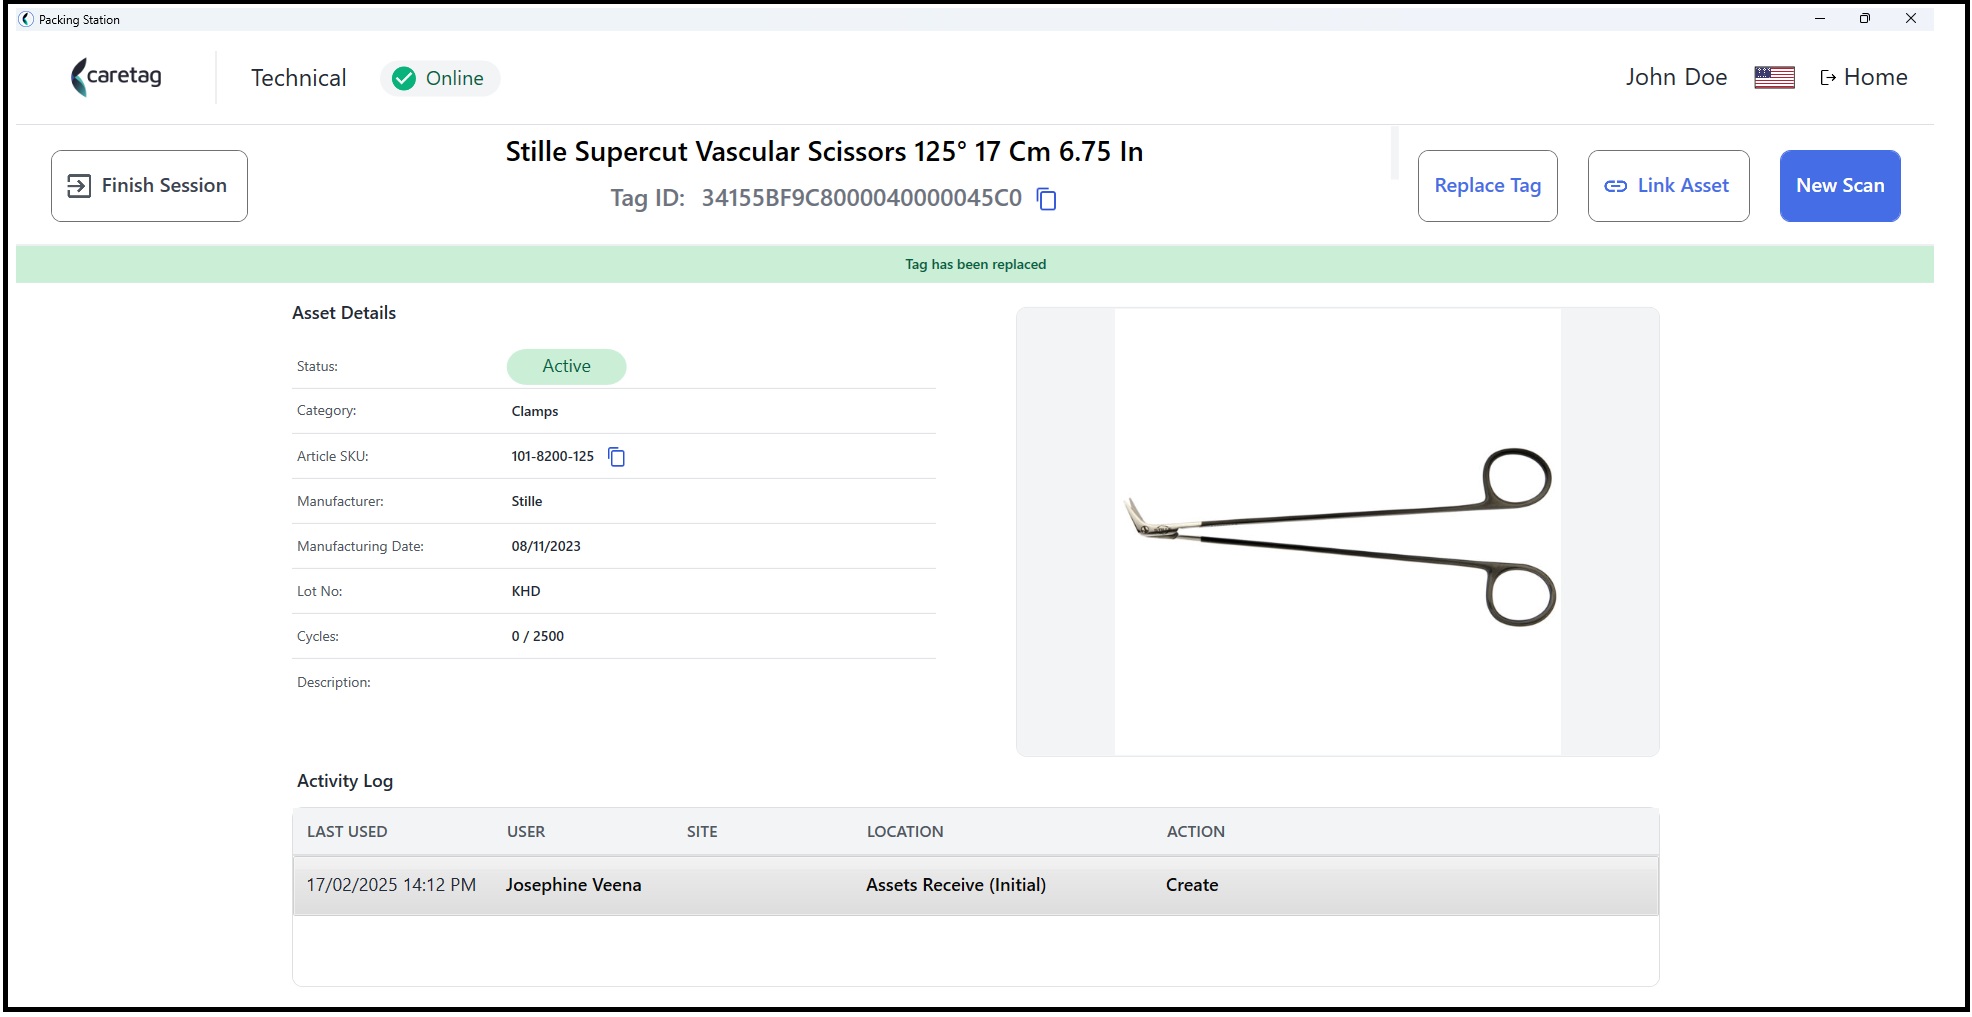
- It will display the details of the instrument such as name, article SKU, brand etc.
- The tag ID is also displayed, in this case the tag ID is 34155BF9C8000040000045AA
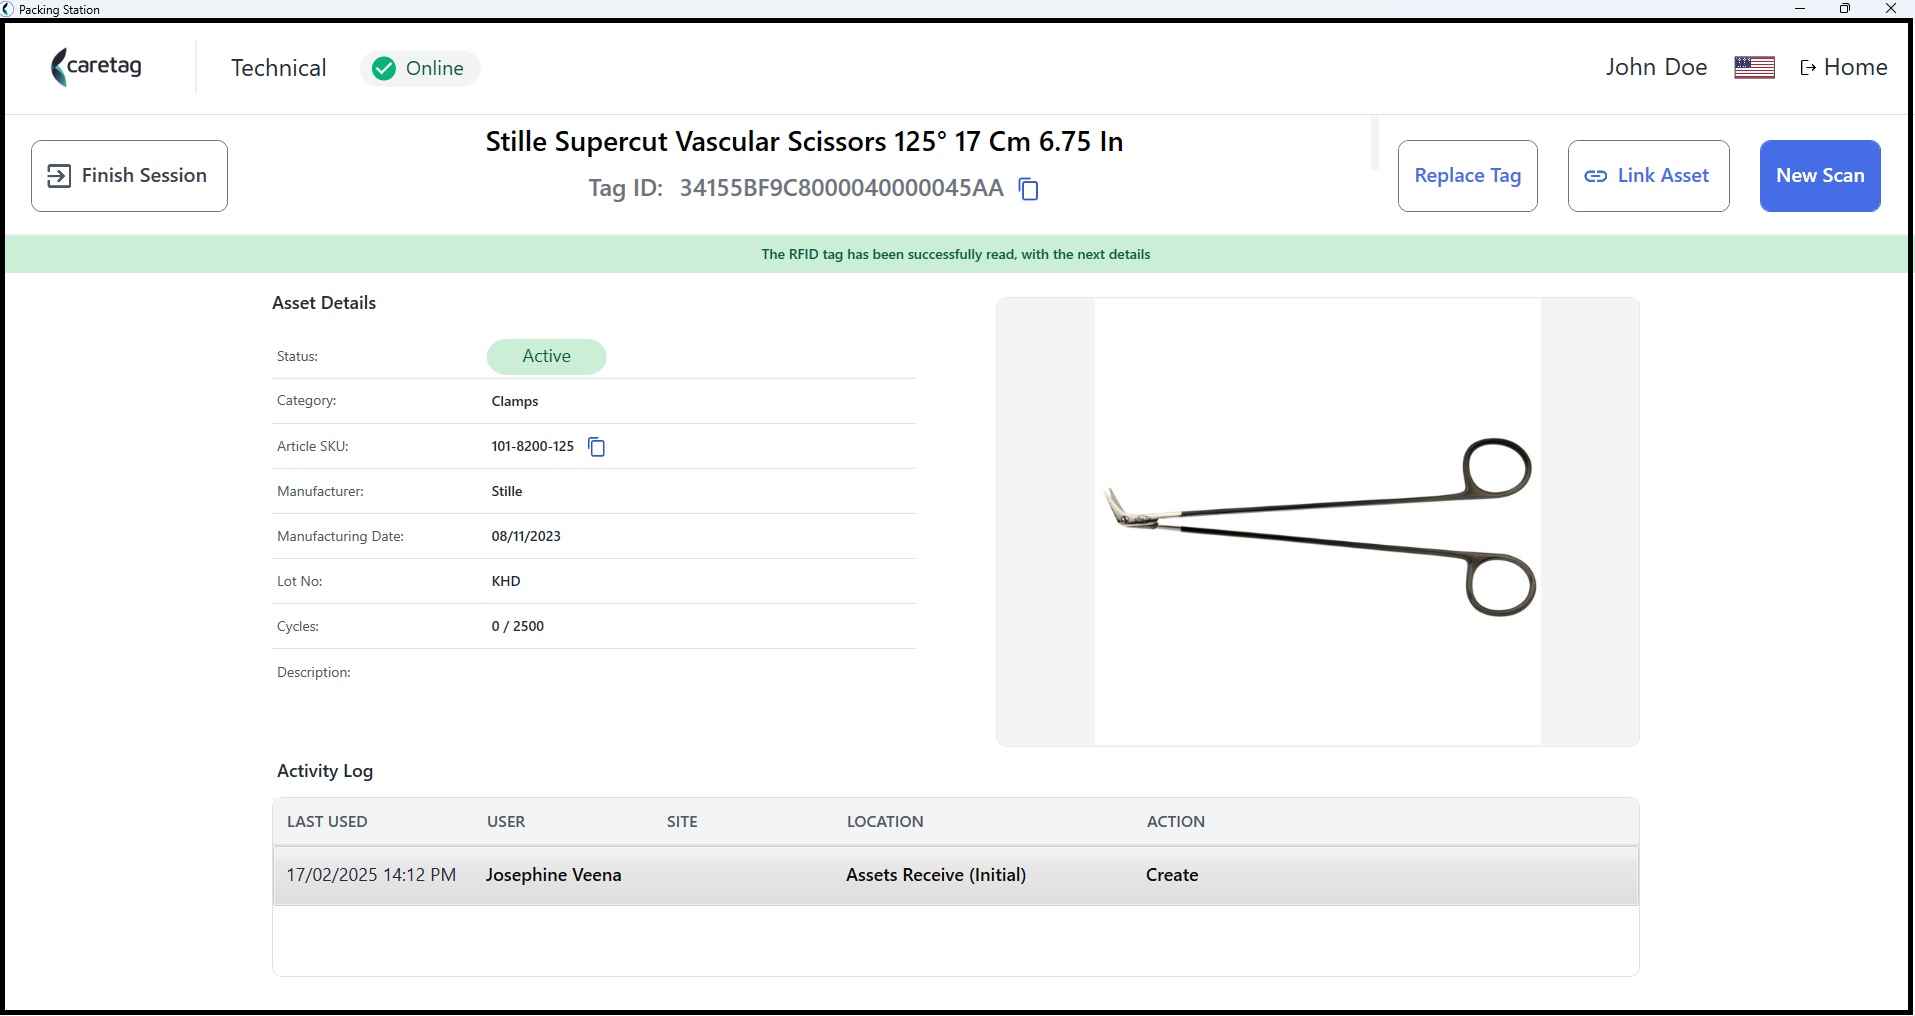
- Click the Replace tag button and you can see the tag ID is changed to 34155BF9C8000040000045C0
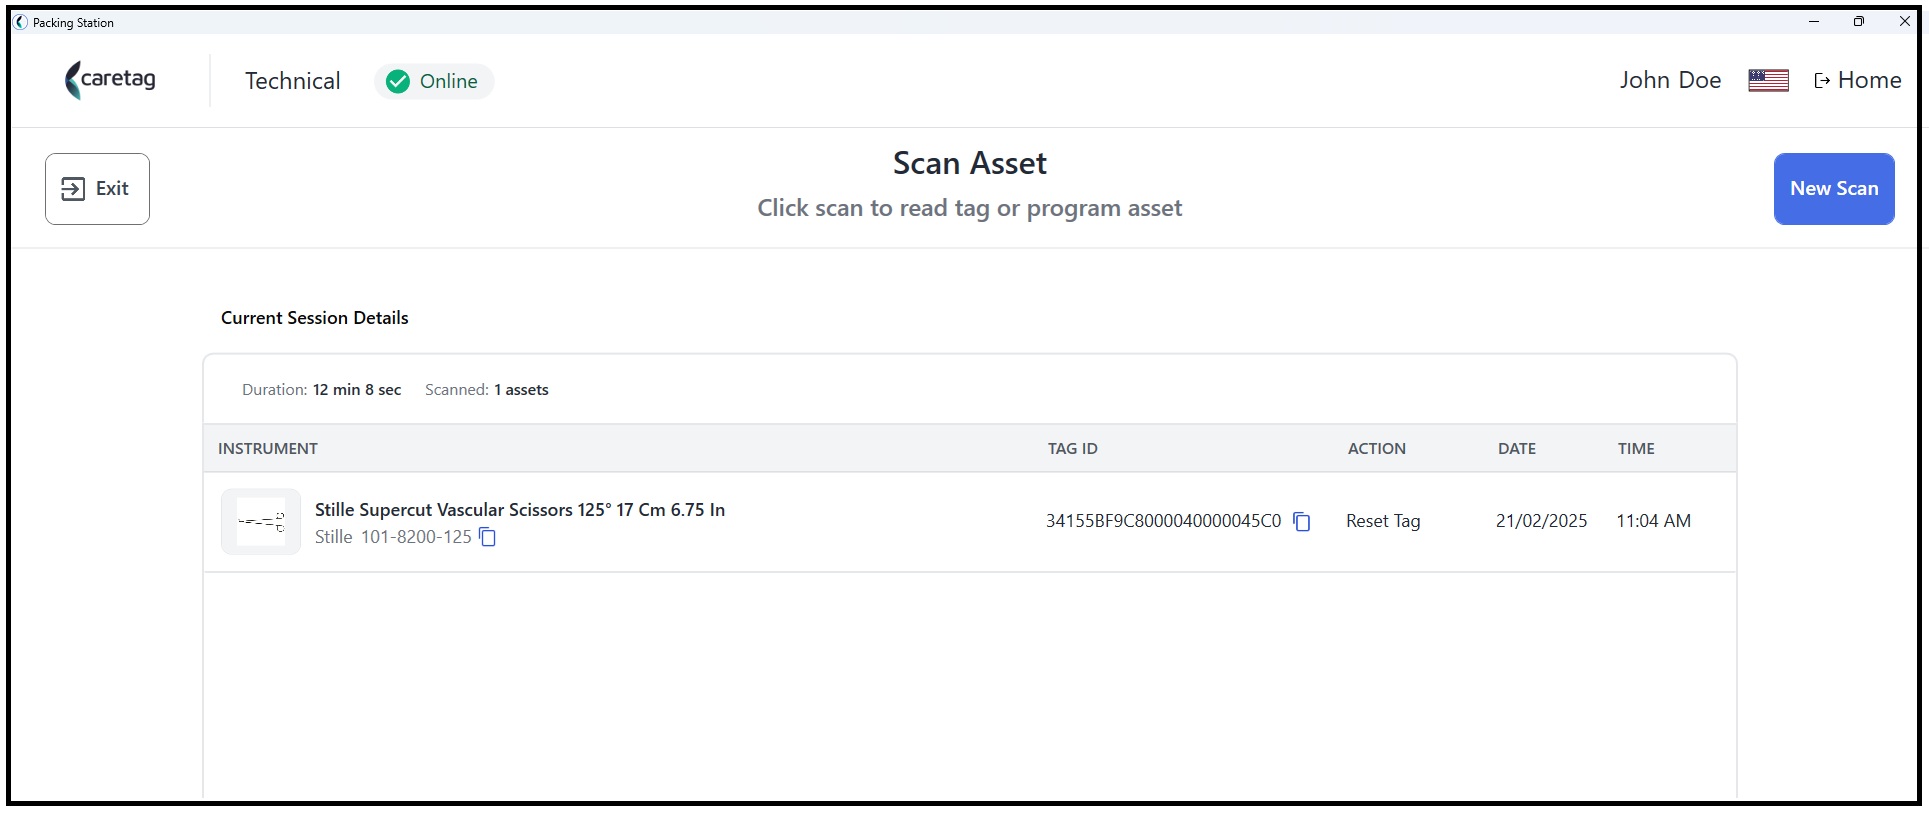
- The Current session details displays the tag ID and their related actions.
Note
Tags can be replaced and relink an asset only if it is of same type. For example, you cannot replace a tag of an instrument and relink it as a trolley.
- Here we try to replace and relink a Trolley tag to an instrument.
- Scan the Trolley tag
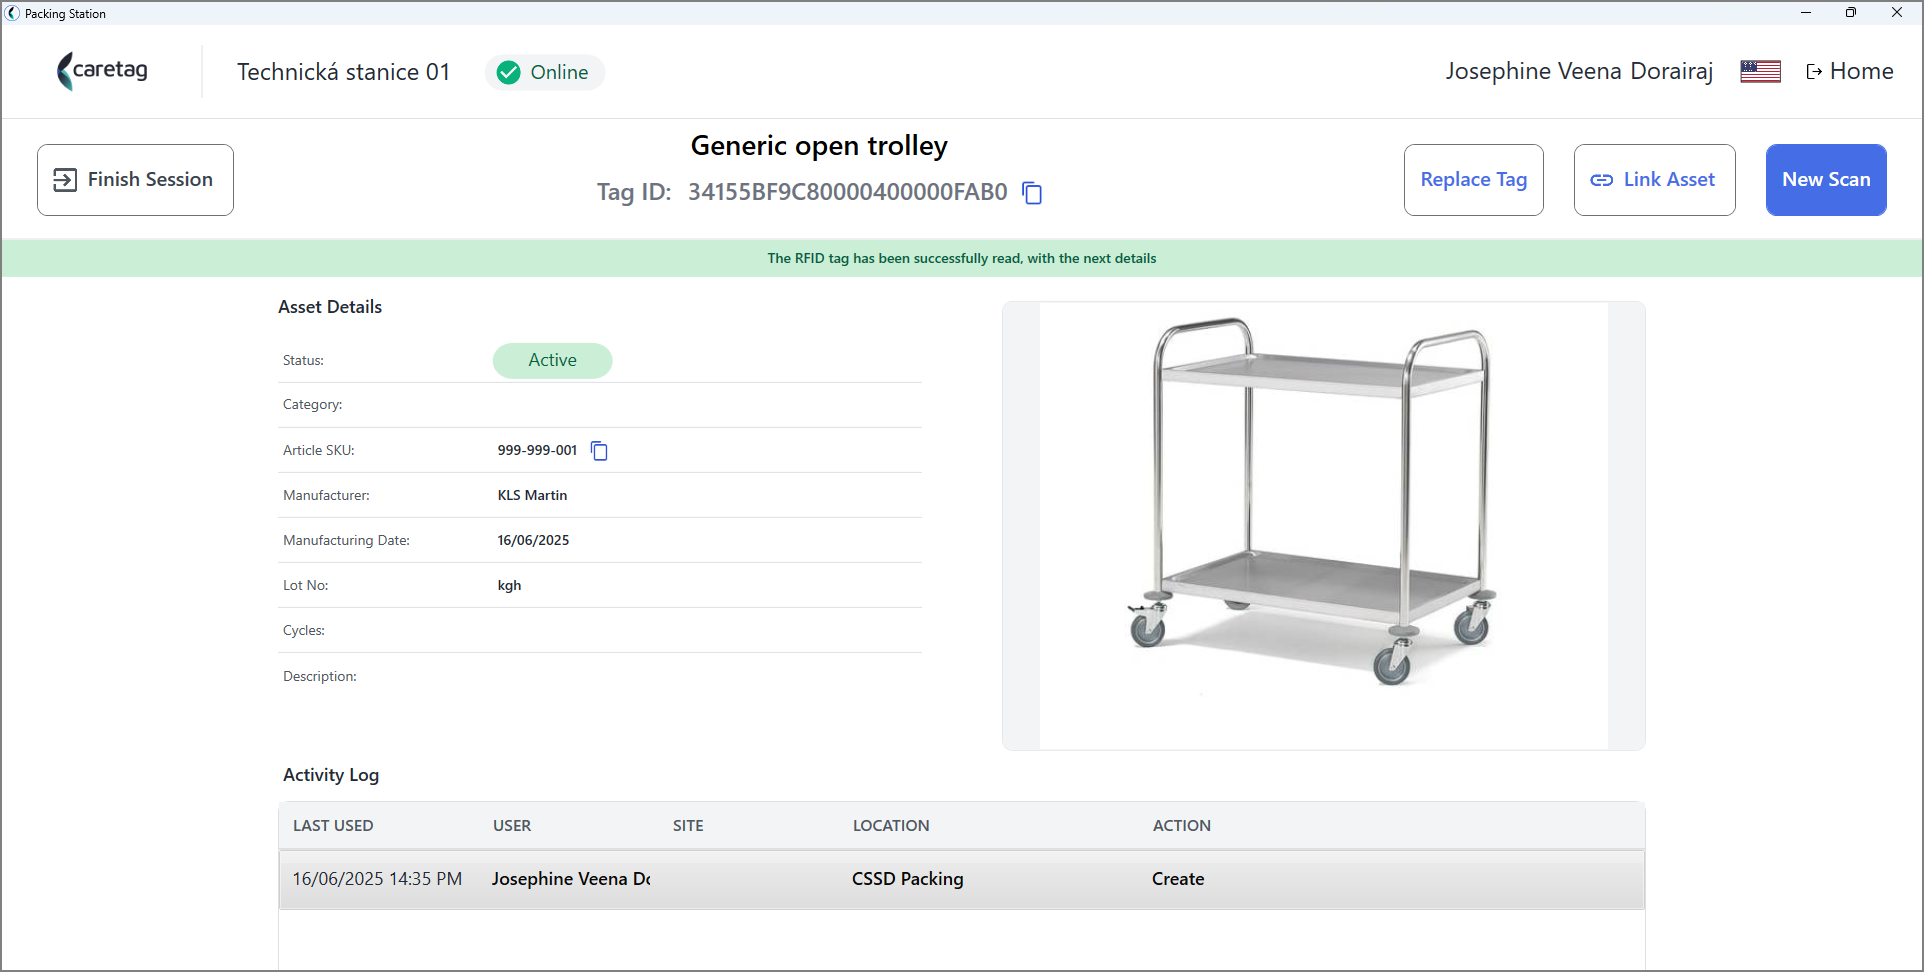
- click on Replace tag, a new tag Id is assigned.
- Click on link asset and select any instrument
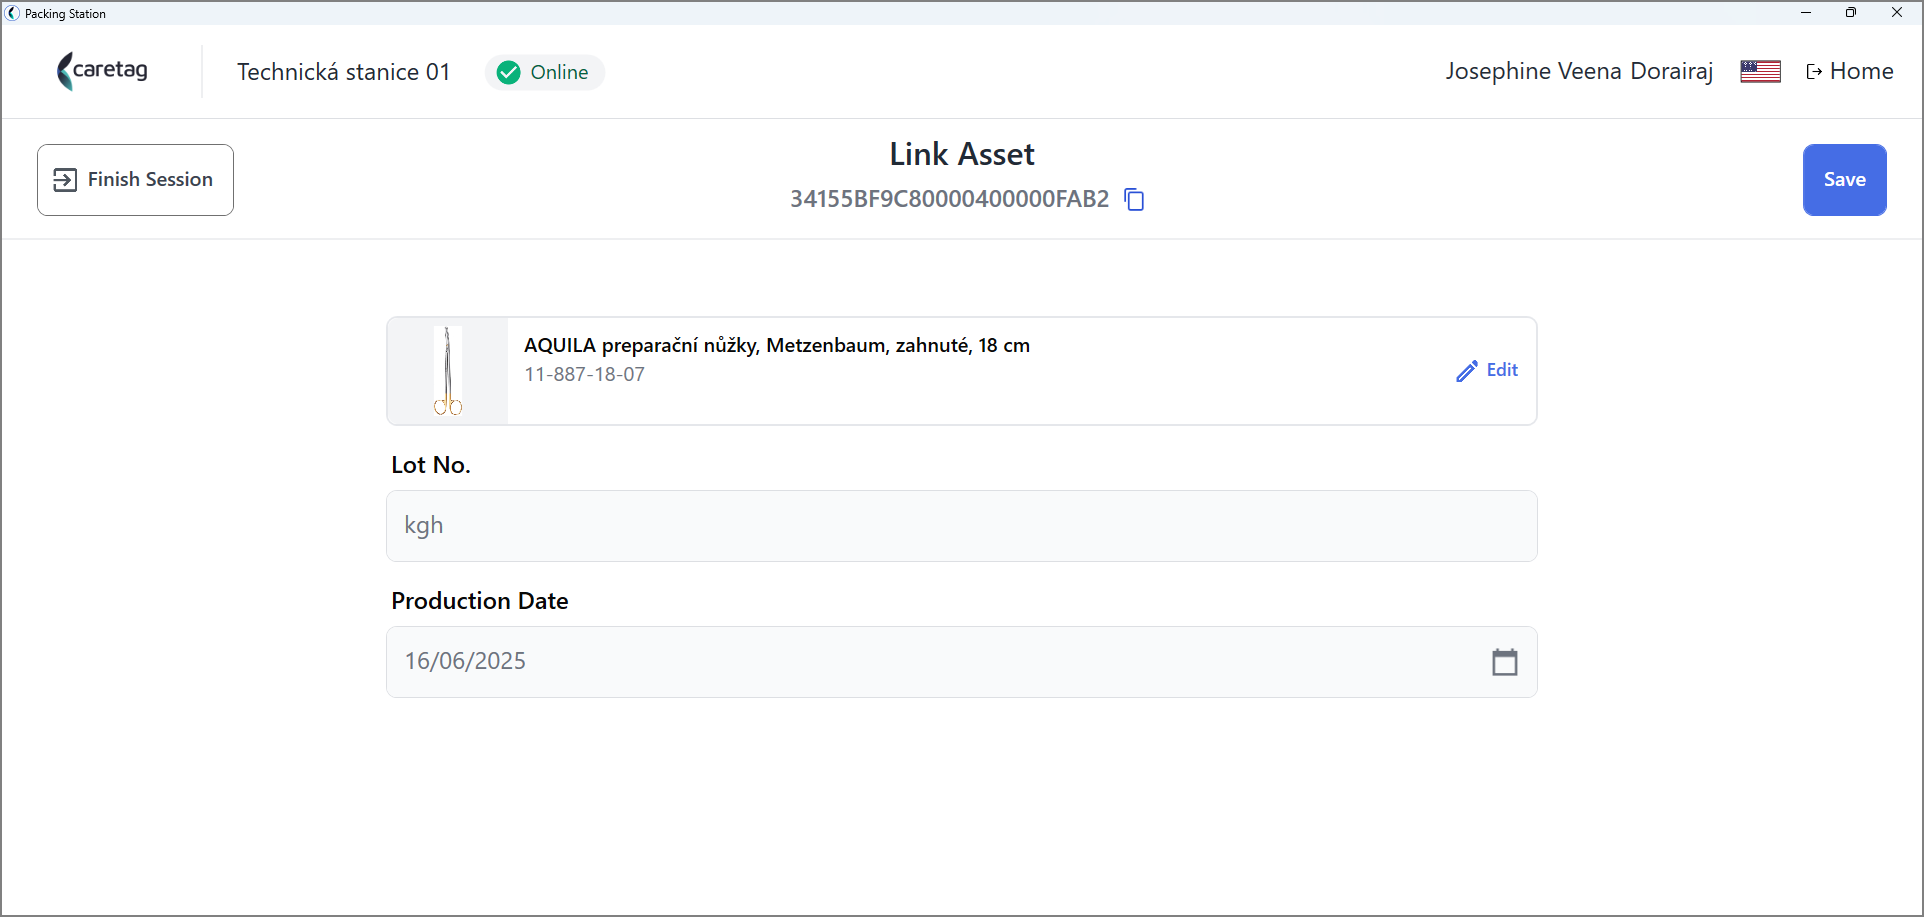
- Upon clicking save button, it will not relink as asset because it is restricted to relink a trolley tag to an instrument or any other type of assets.
Scan Tray
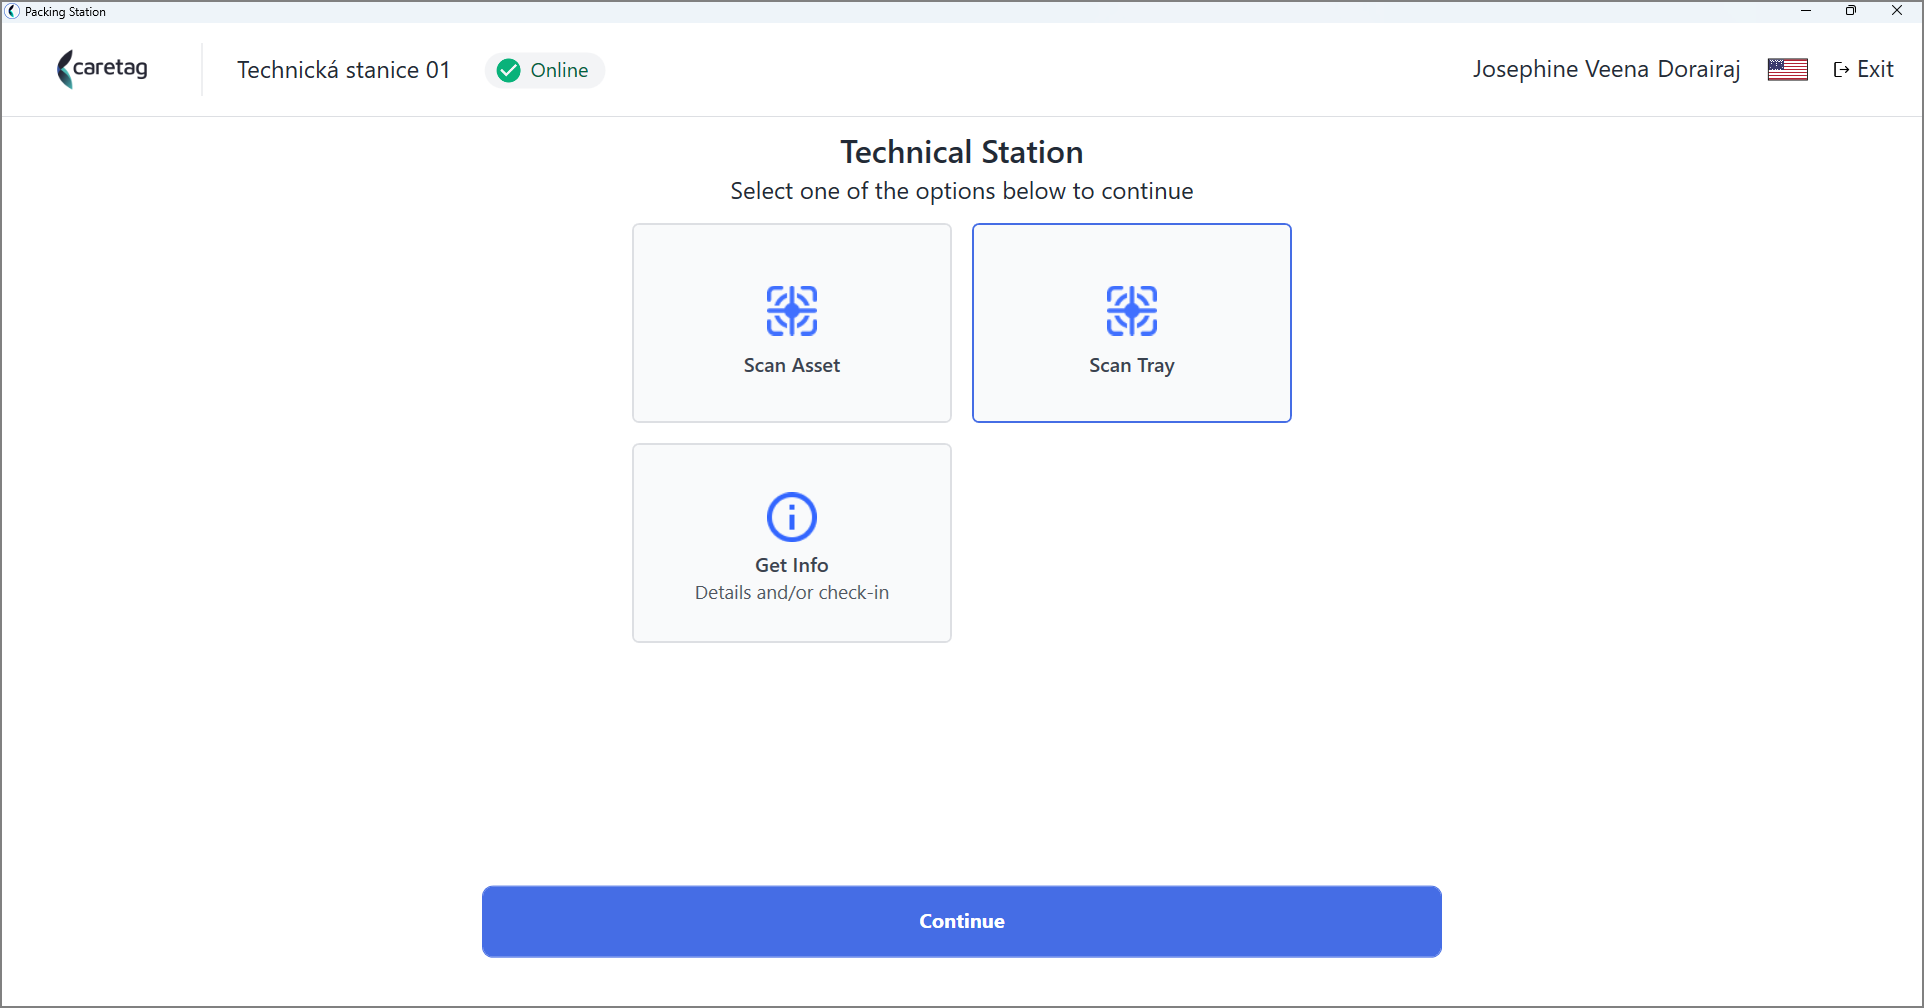
In the Scan tray option a new tray and its instruments can be programmed much faster compared to the programming instruments one by one via Scan Asset option.
- Select Scan Tray option and press continue
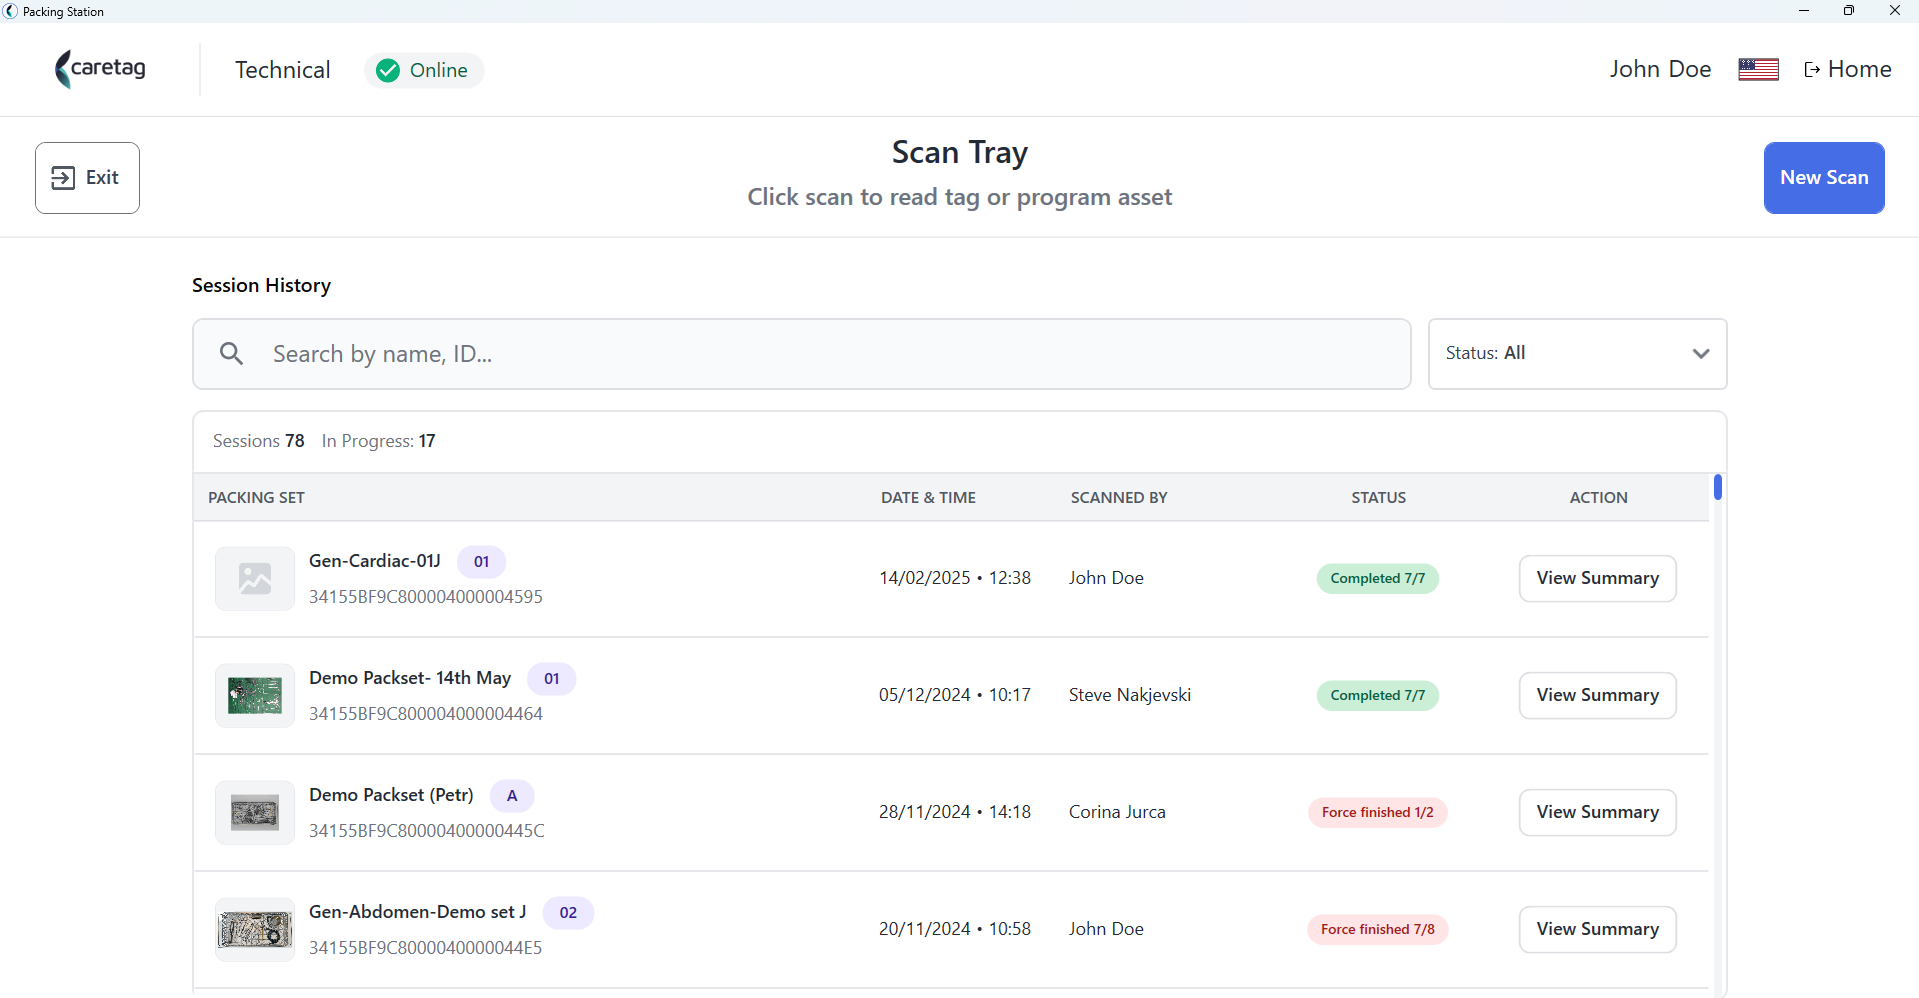
- It displays the session history
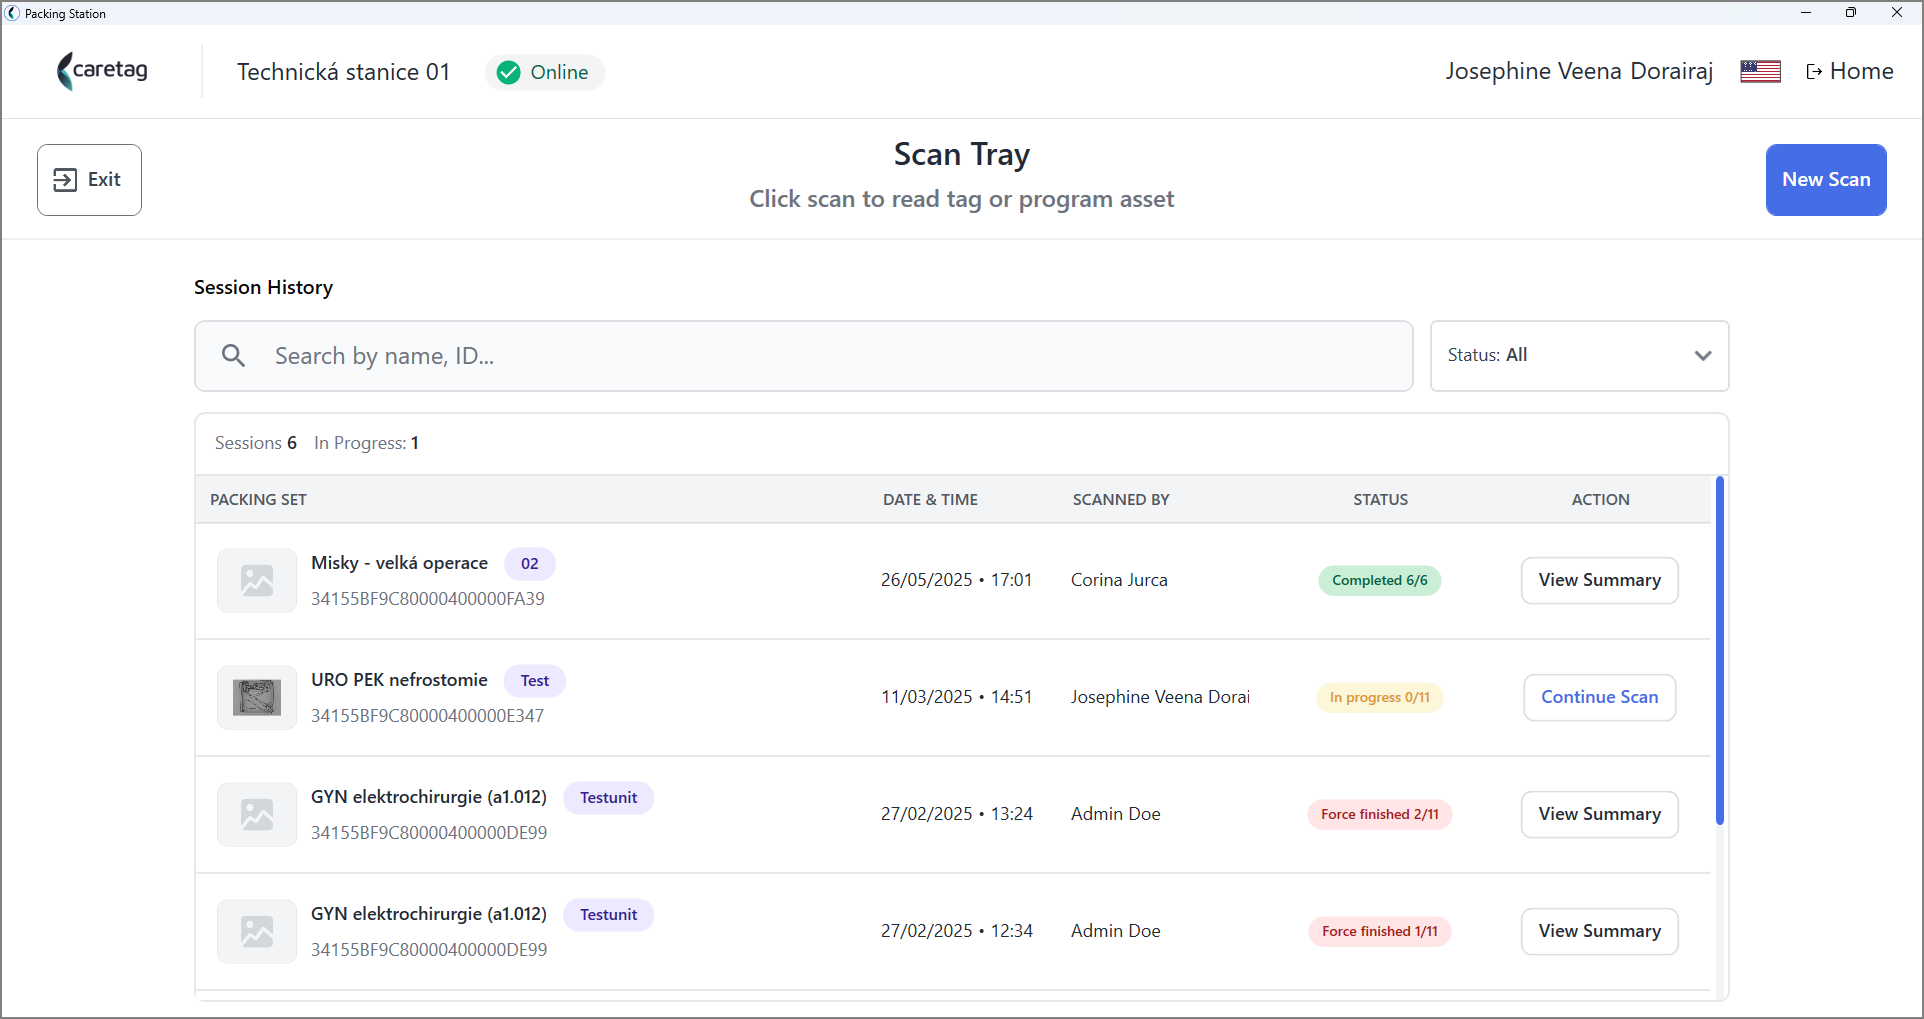
- Here details of each column is described.
| Details | Description |
|---|---|
Packingset name | Name of the packing set |
Date&time | Date and time of the scan tray session |
Scanned by | Name of the user who scanned the tray |
Status | There are 3 statuses: Completed, Inprogress and Forced finished |
Action | Summary of the scanned tray can be viewed here. |
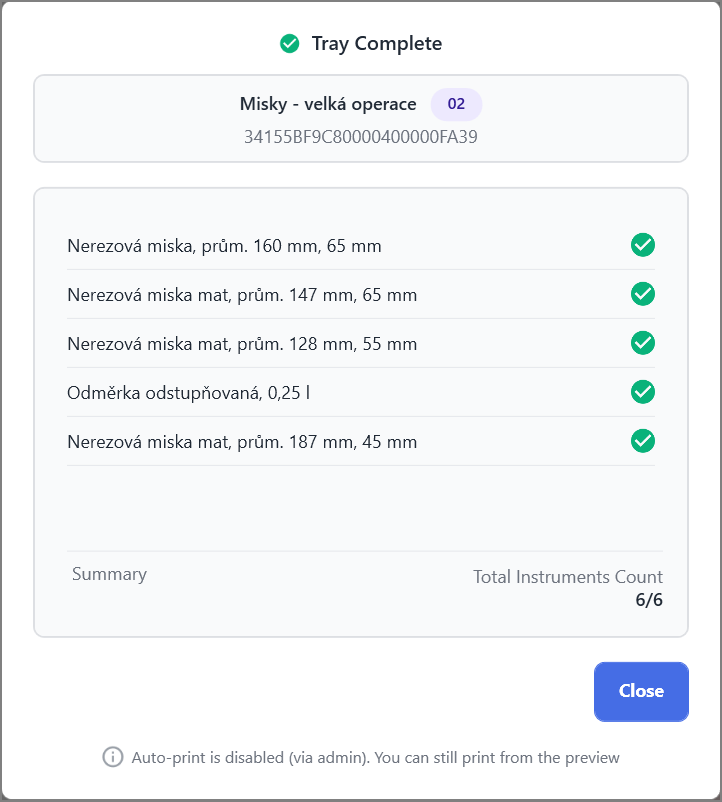
- Click the View summary button to see the details of the scanned tray.
- Click on the New Scan button and scan the tray tag.
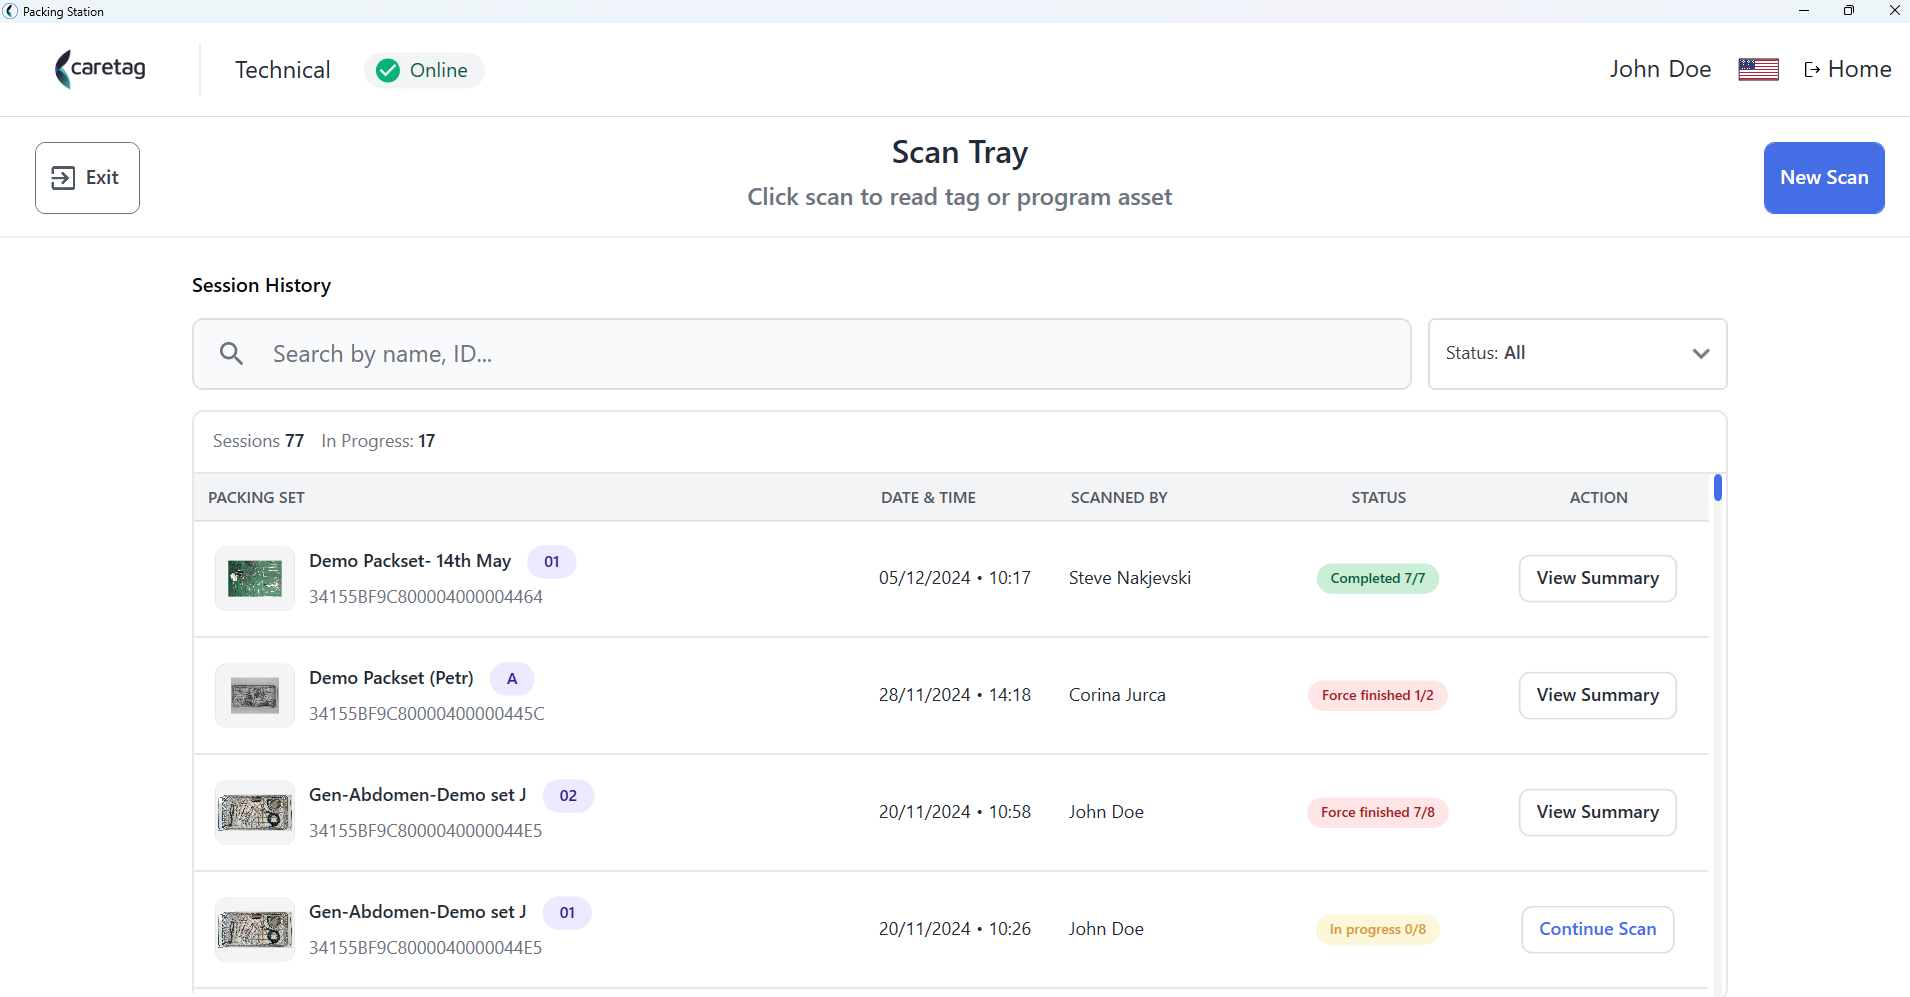
- When the tray tag is scanned for the first time, it needs to be programmed. Click on the program tag button.
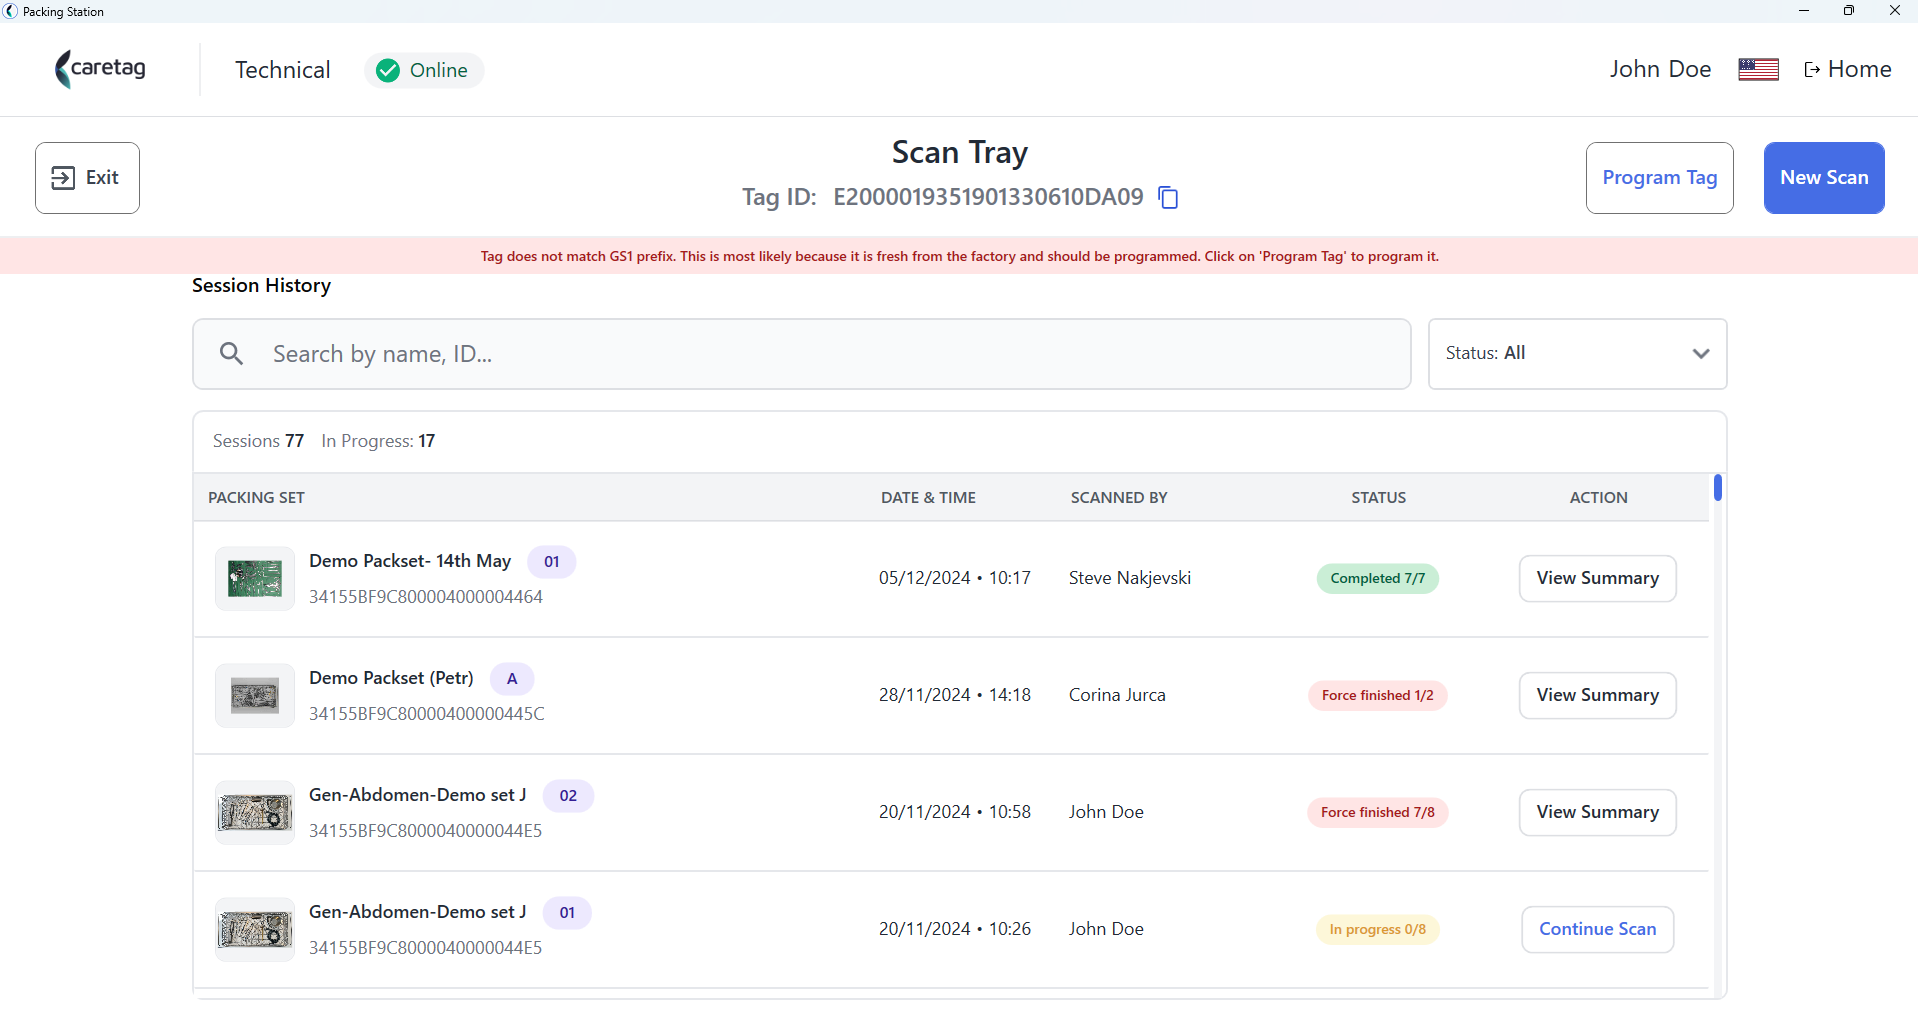
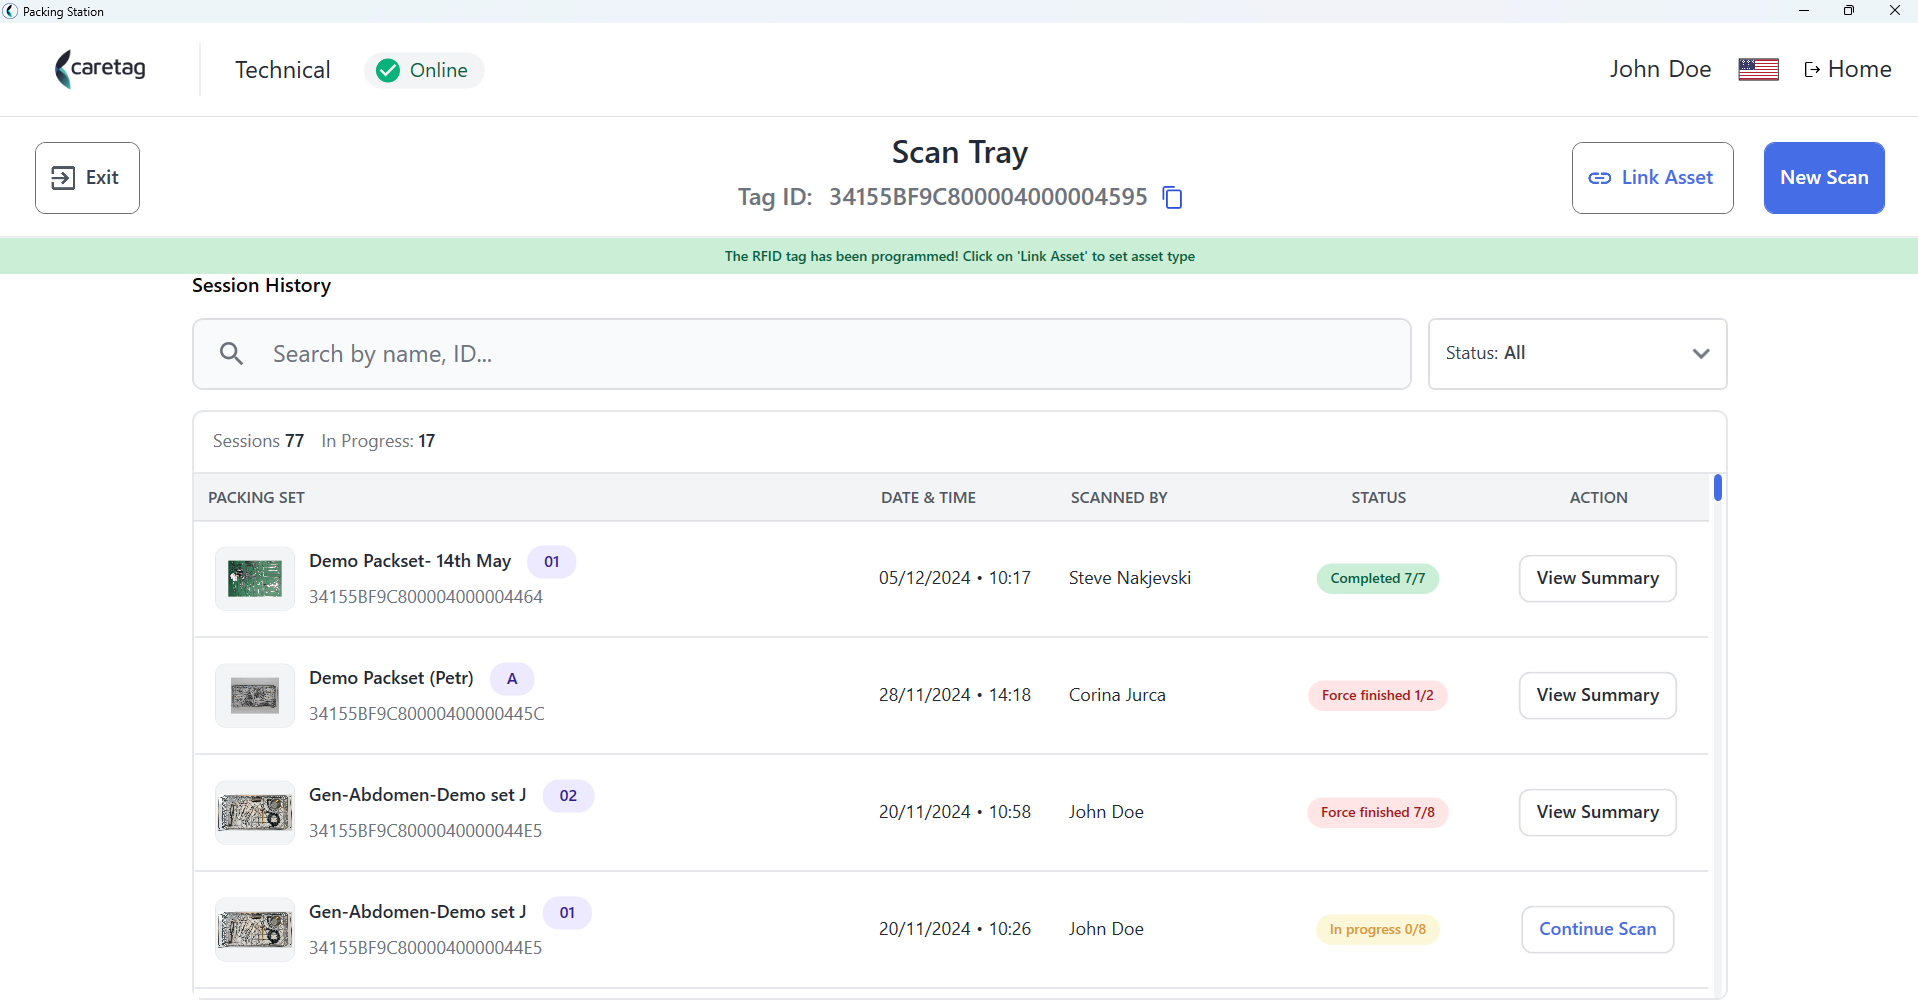
- The tray tag is programmed and now you have to link as asset (Tray type) to the tag.
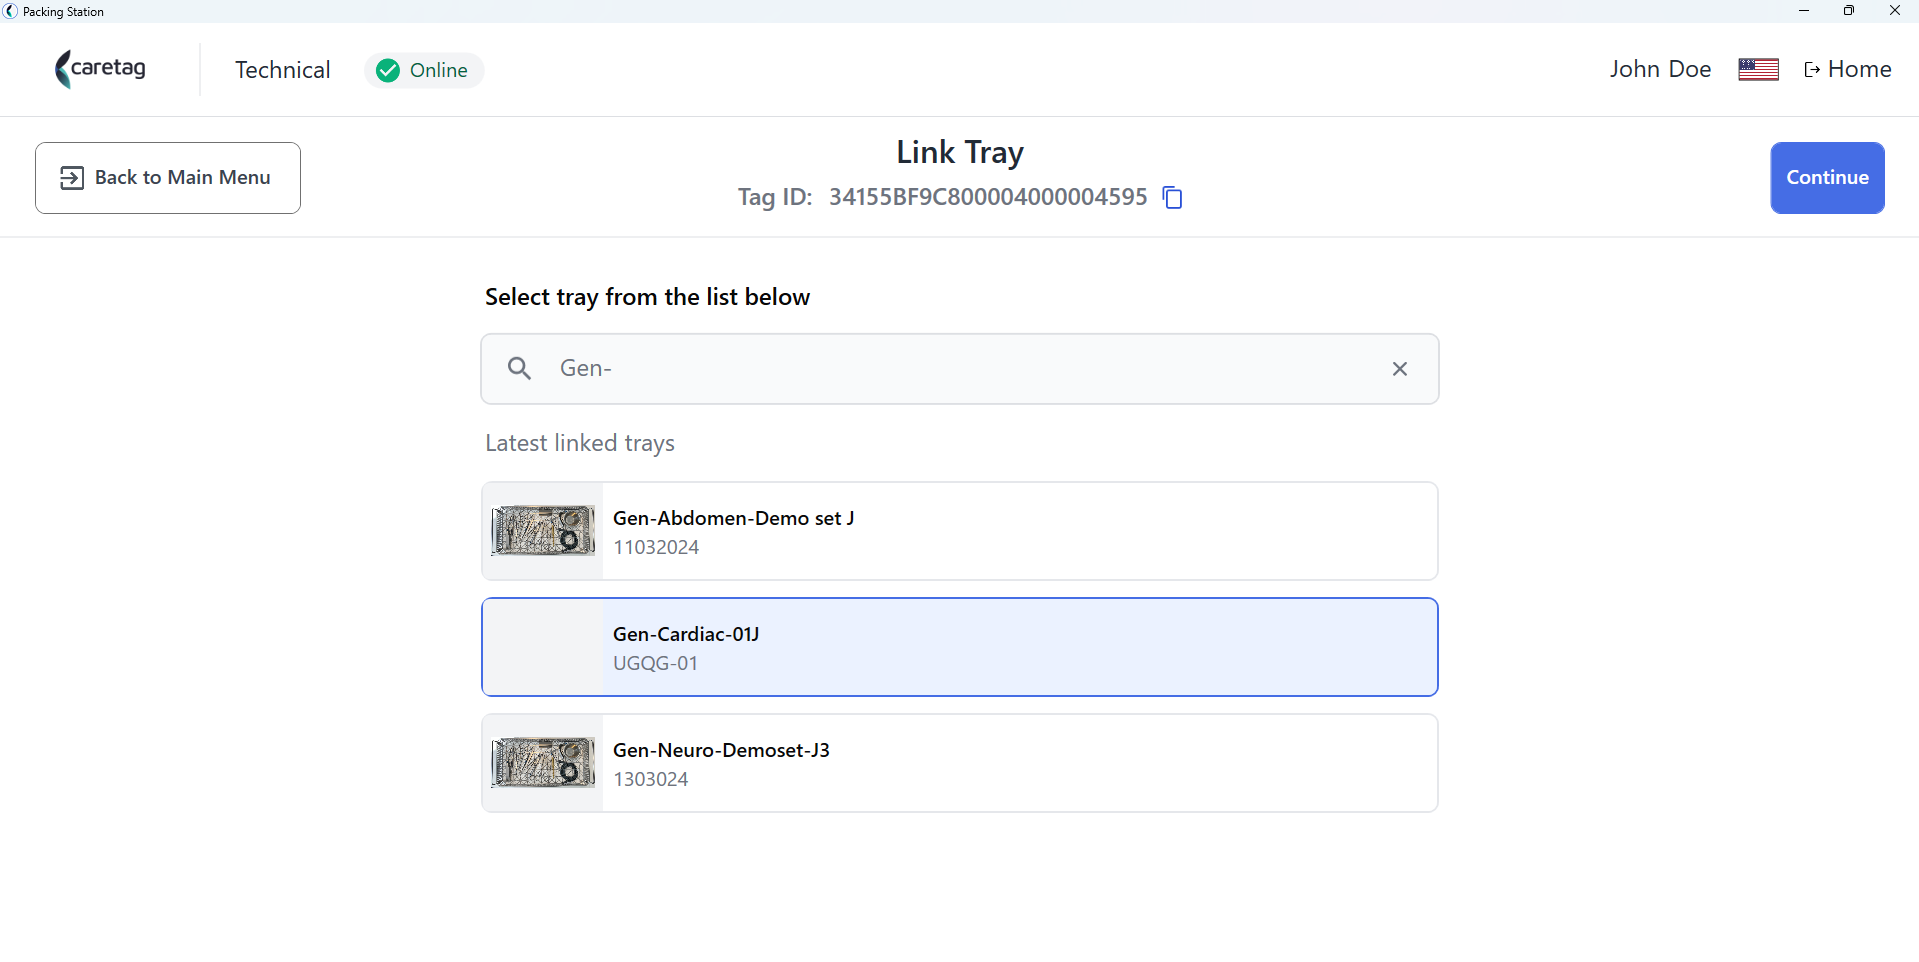
- Select the tray type (packing set name) from the list below.
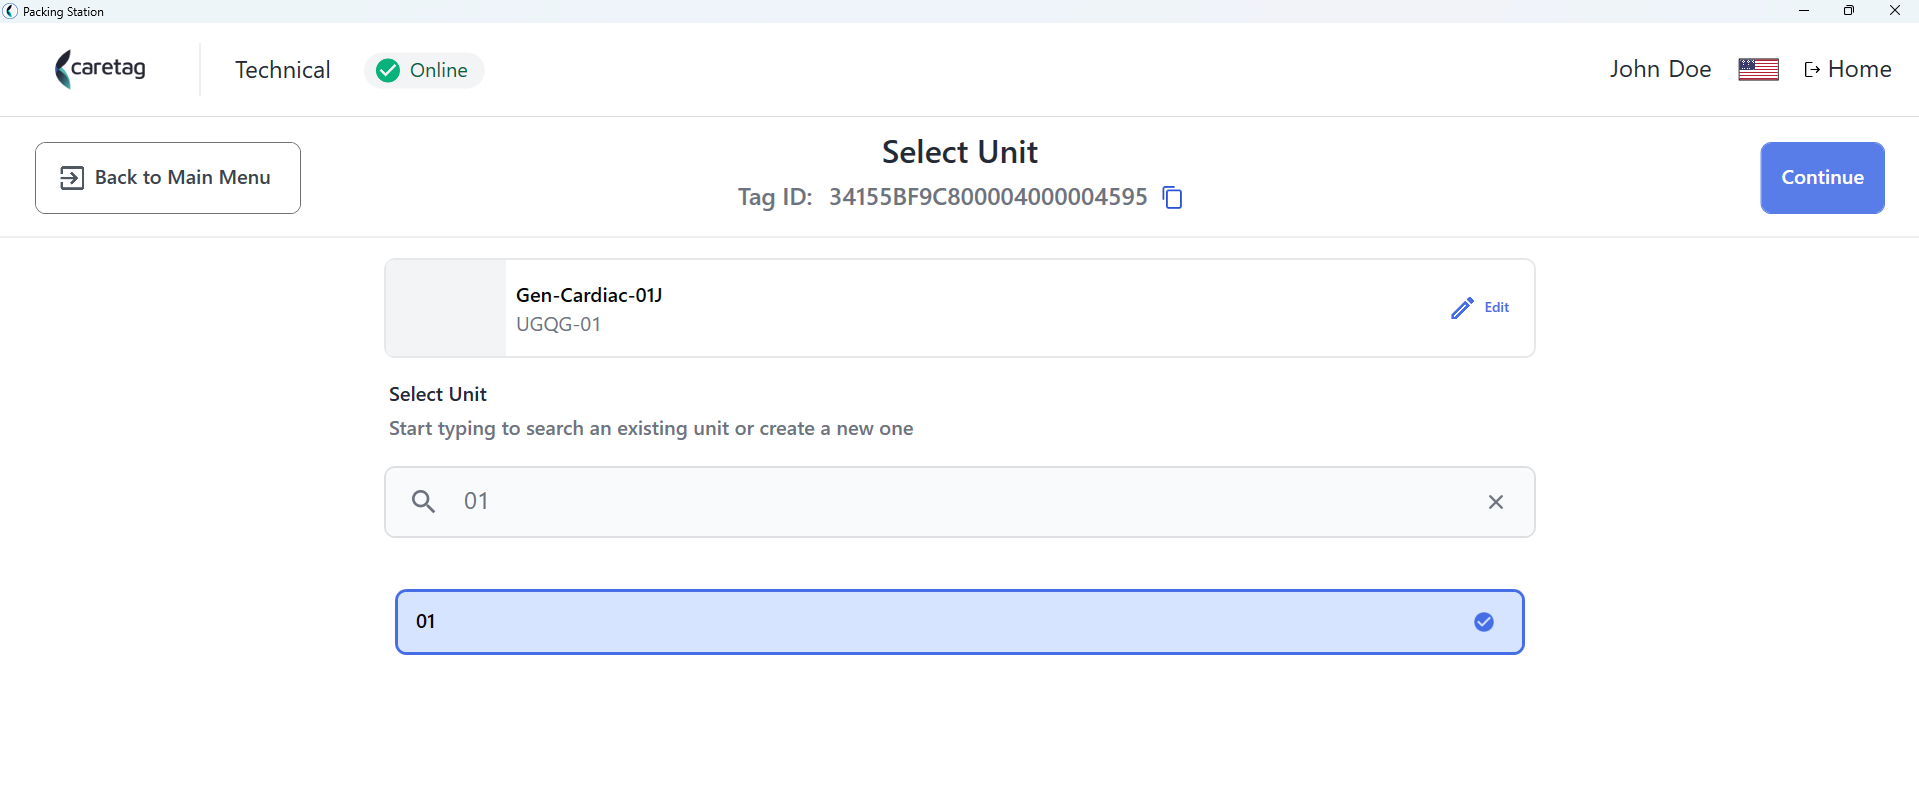
- Select an existing unit or create a new unit.
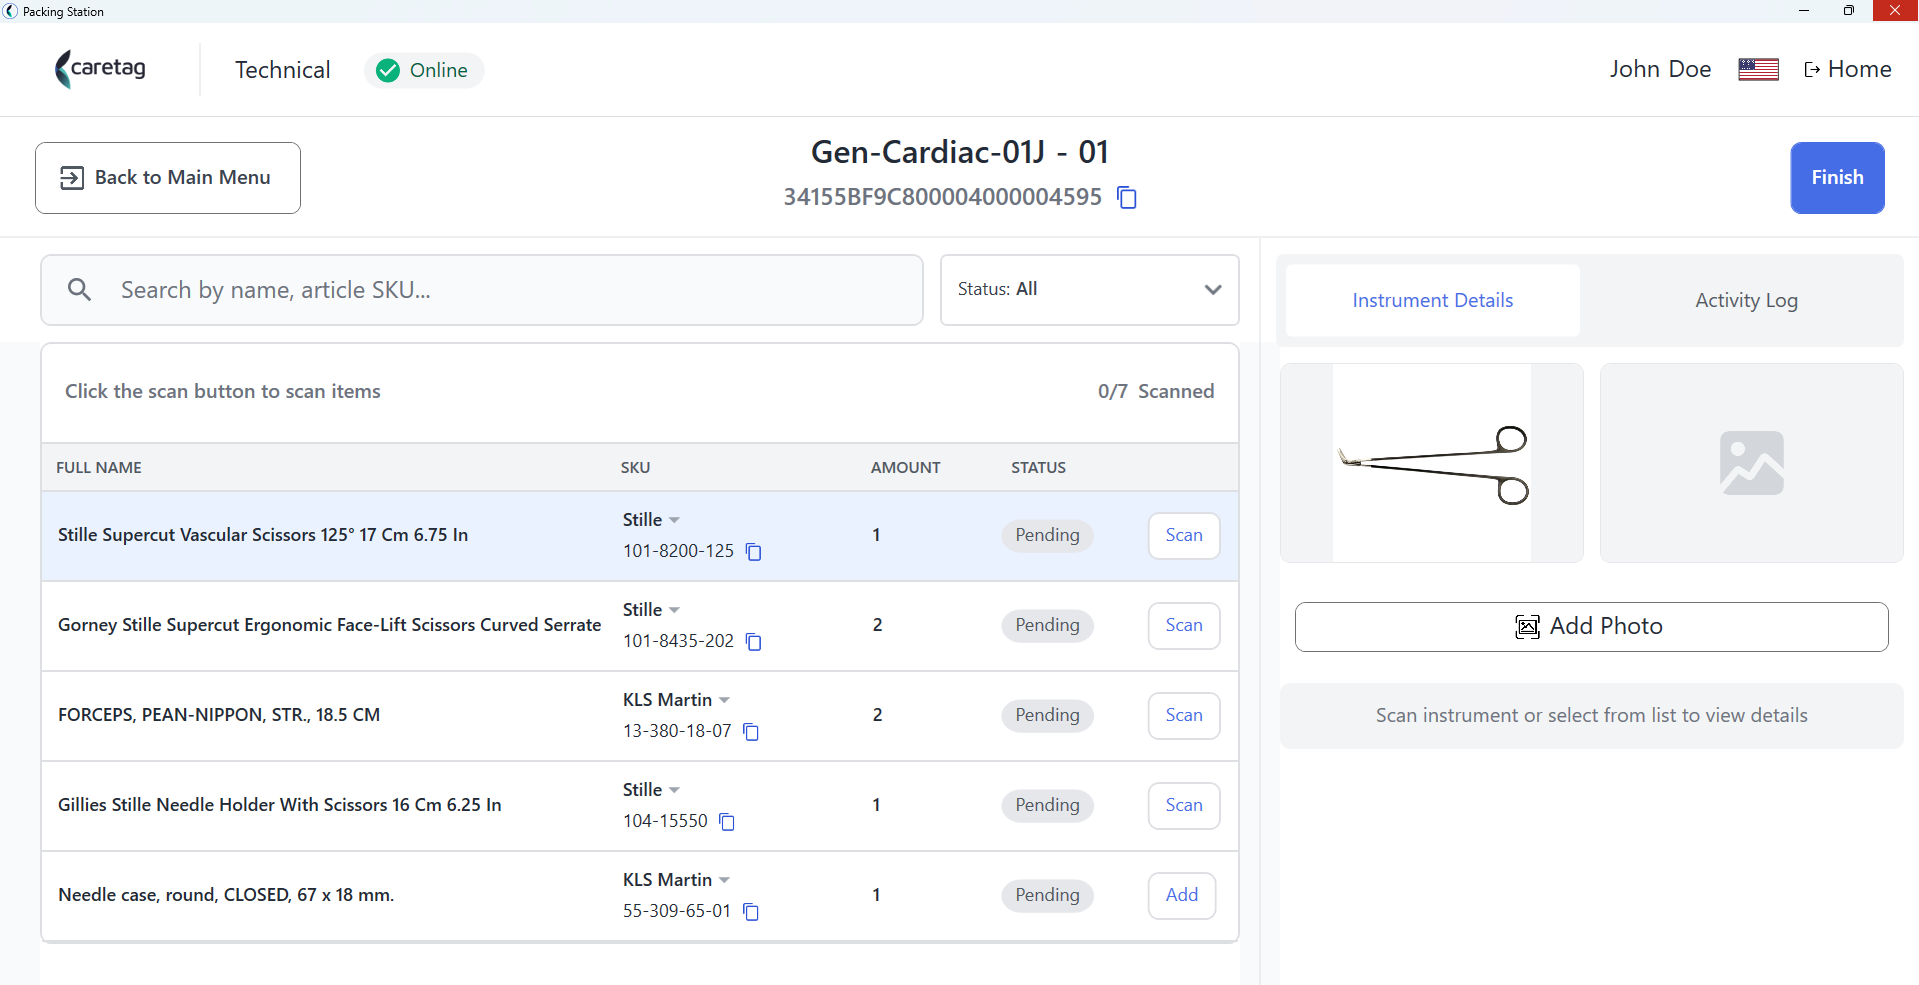
- The user can see all the instruments associated with the tray and their details like name, article SKU, amount, status. A specific status can be selected to view the instruments.
- Place the instrument on the reader and click scan button on the screen.
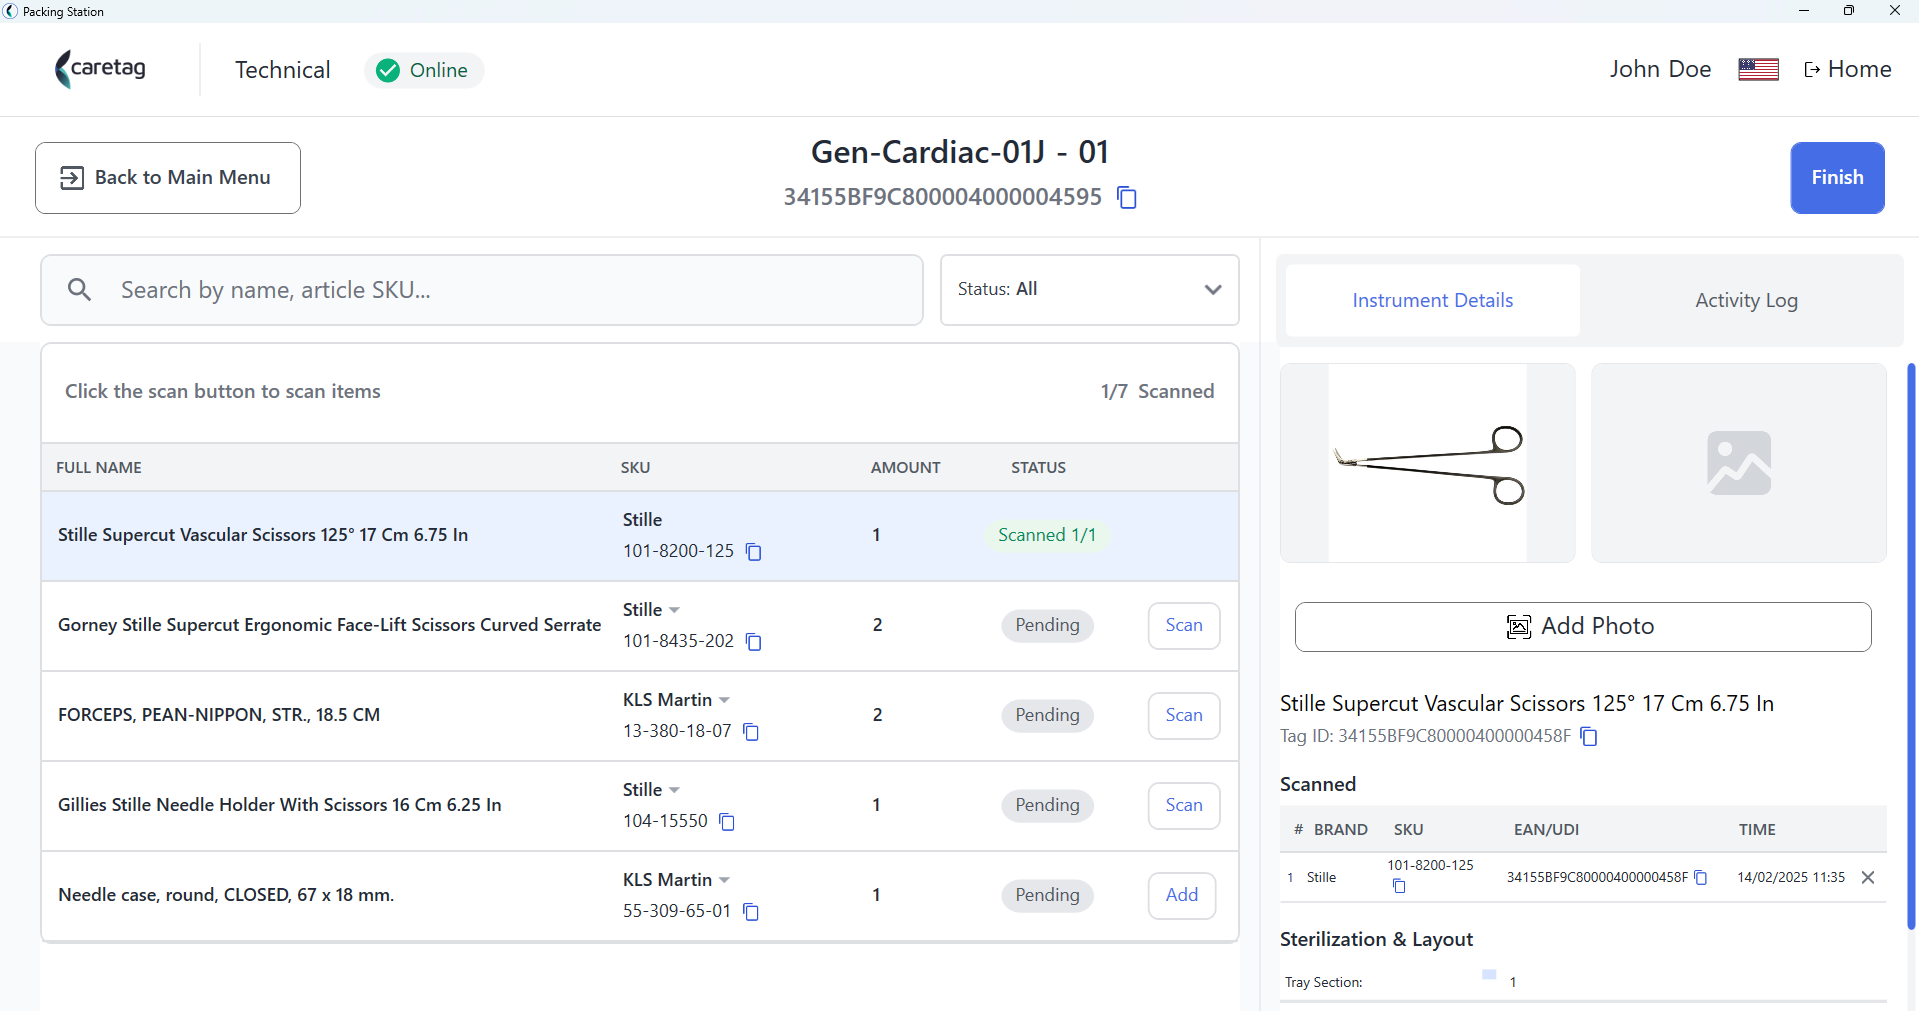
- Enter UDI details or LOT and Manufactuirg date and click on the submit button.
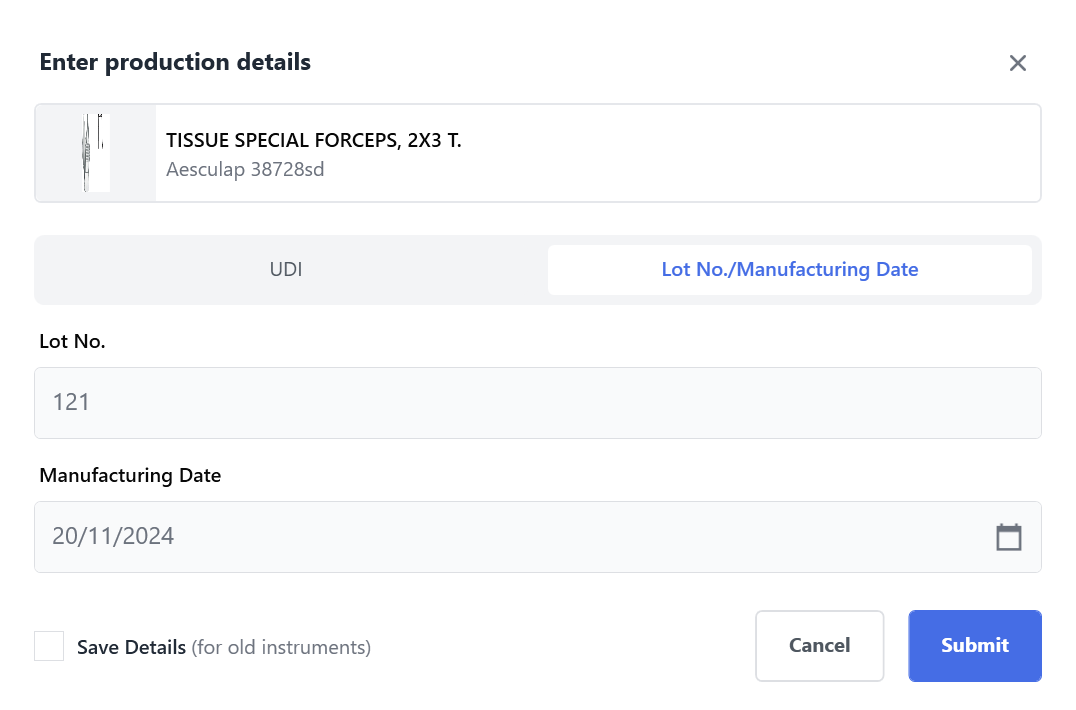
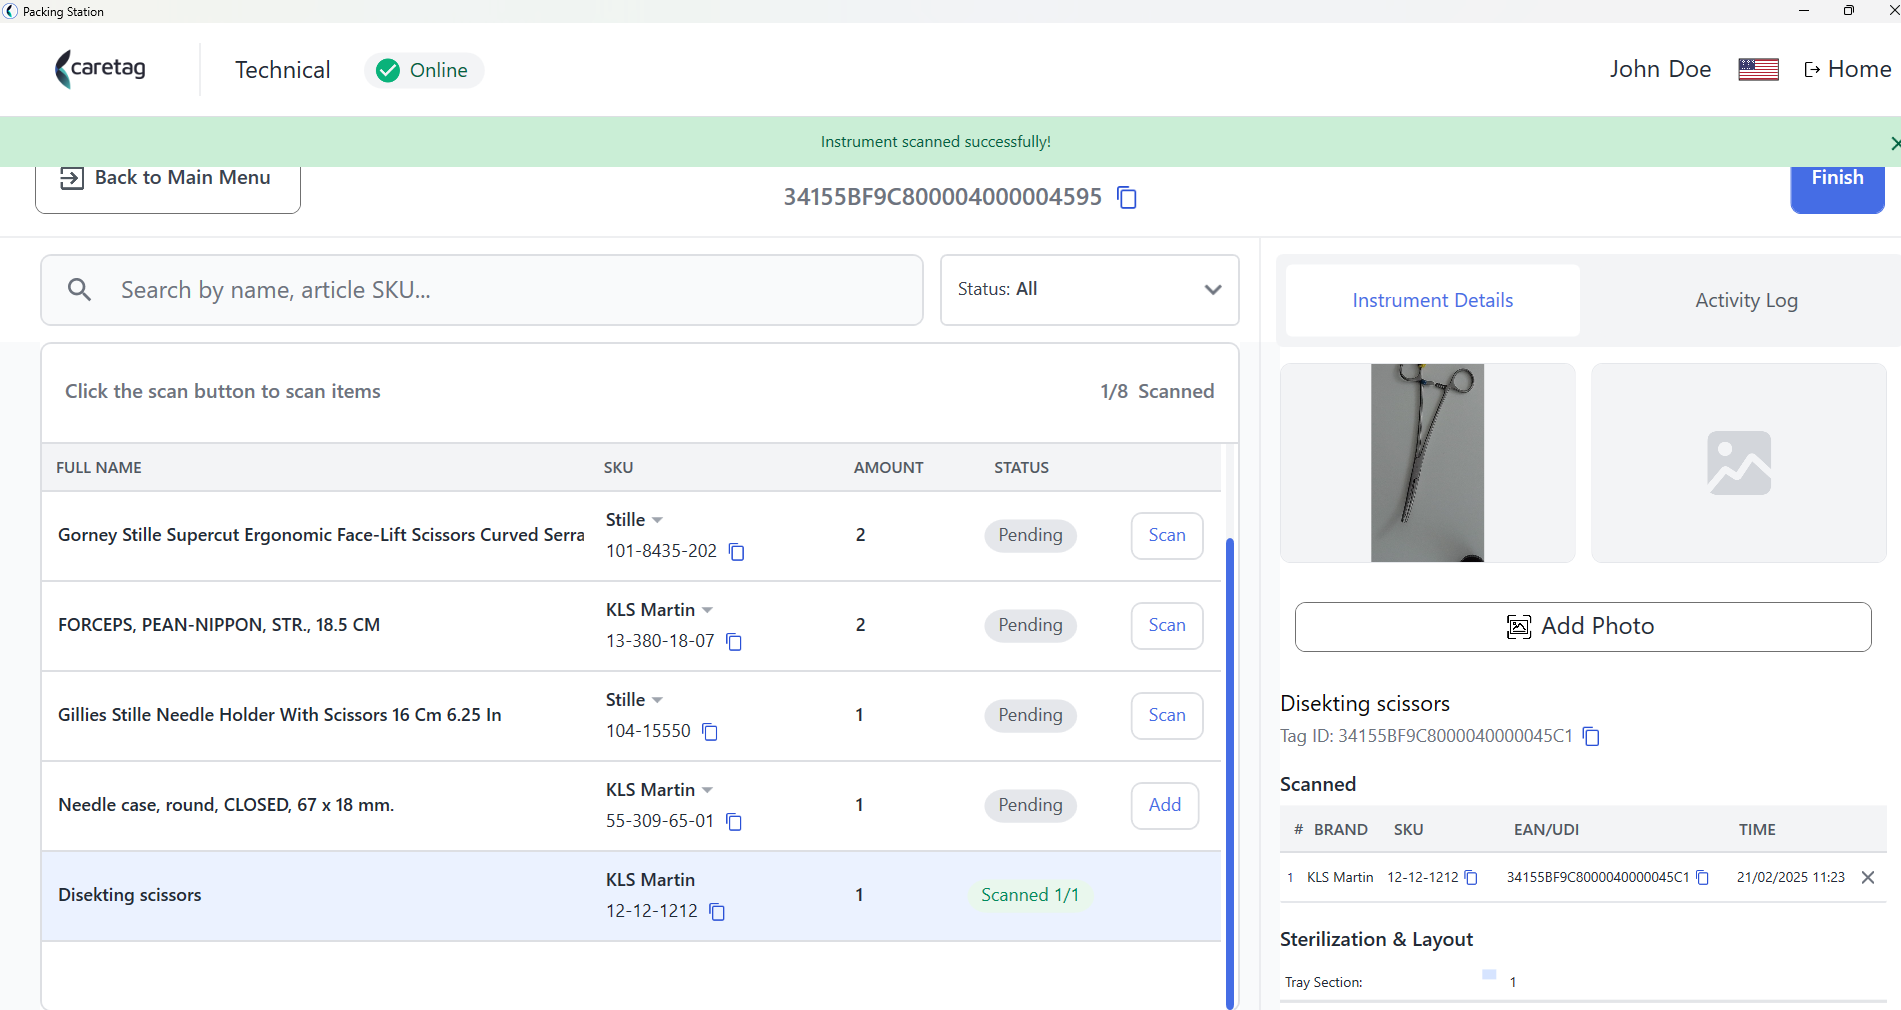
- Once an instrument is programmed, it will be shown as scanned and the user can view the details in the right side.
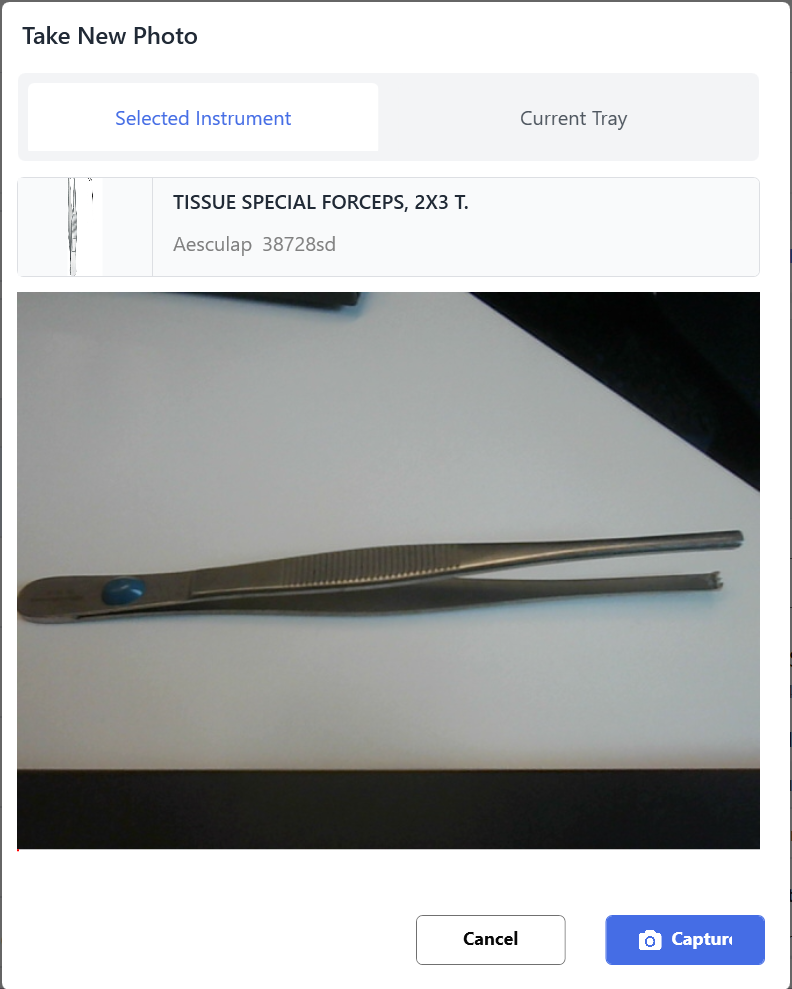
- To add photos of the instrument, click on the Add photo button. A camera will be opened in your system. (Please note an external camera with good lighting is needed to capture a good picture of an instrument.)
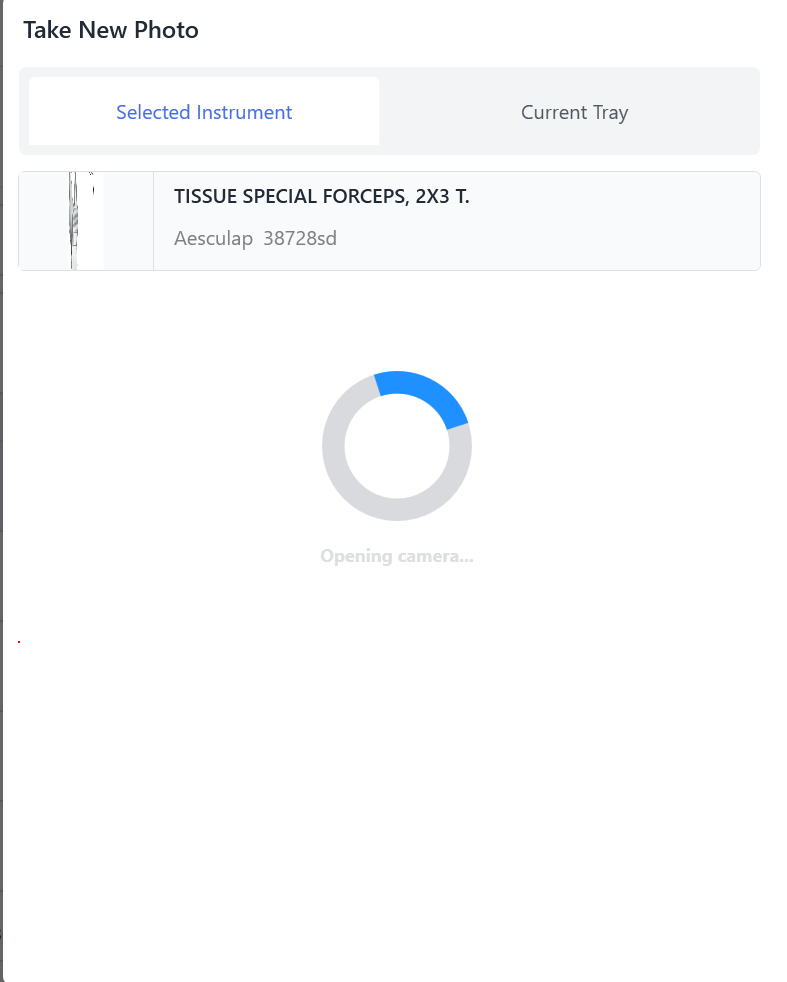
- In the below picture, we have used the inbuilt camera of the PC.
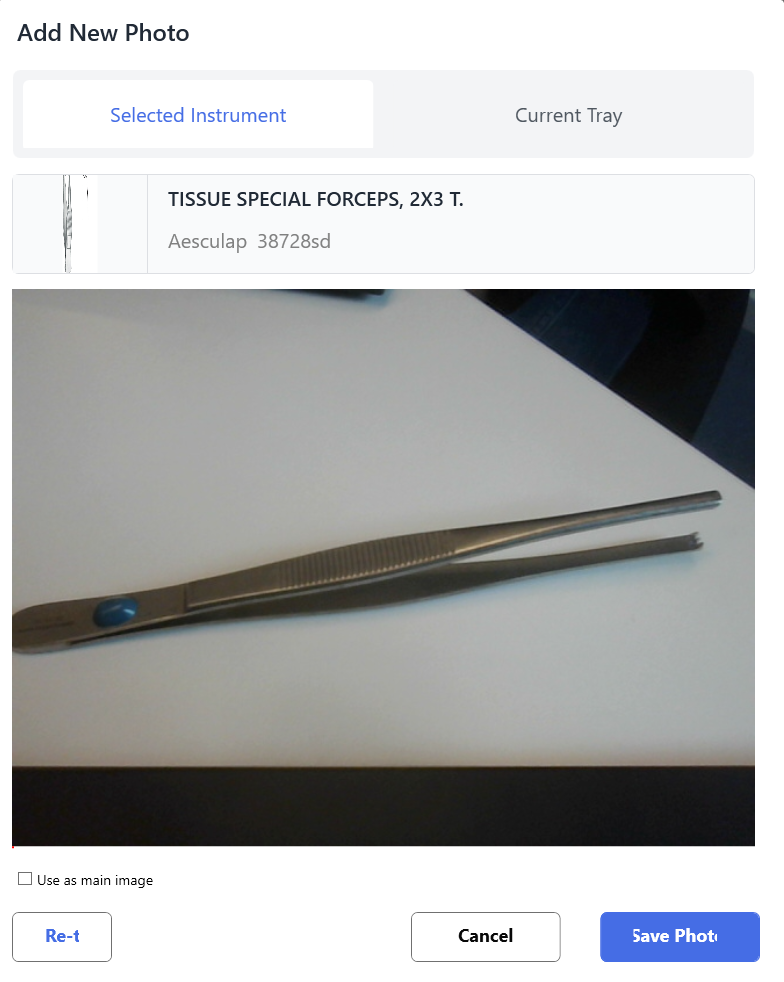
- You can add as many photos of an instrument and set one photo as a main image.
- The saved photo is displayed on the right side
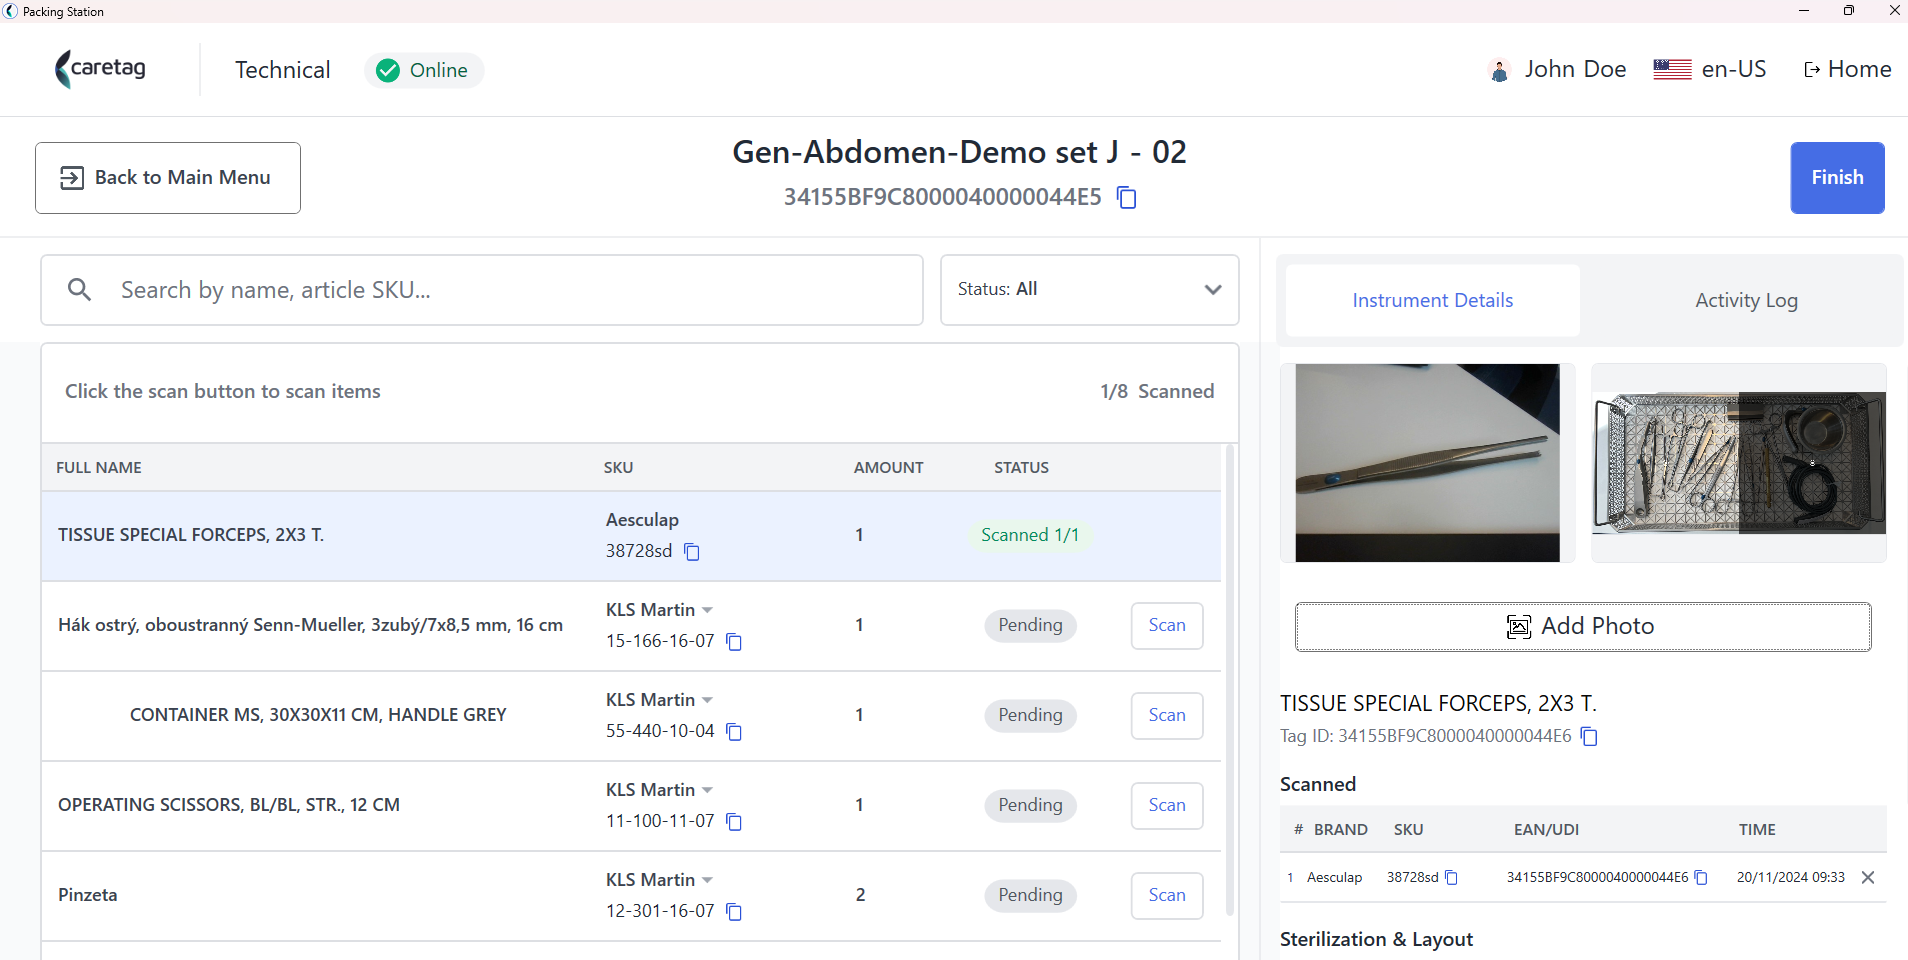
- On the right side, the user can see the instrument details
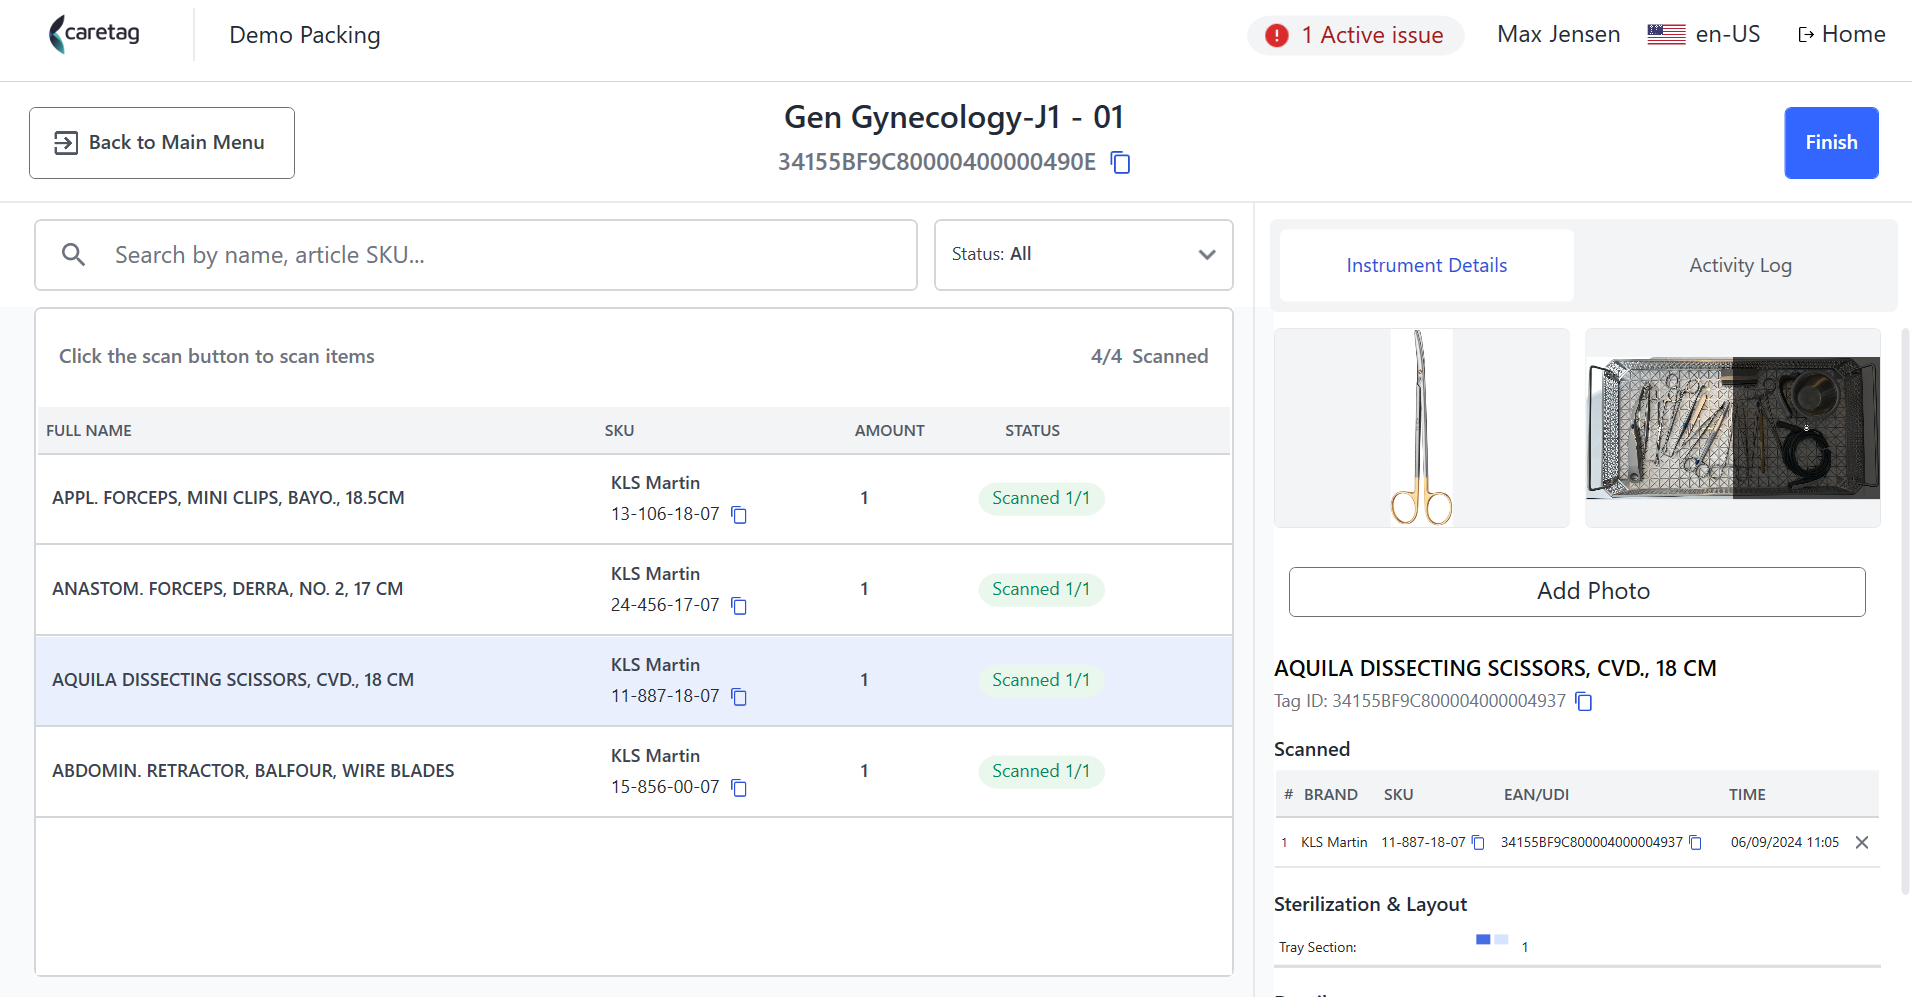
-
The user can continue to repeat the scan for the other instruments in the same way.
-
When there are more than one instrument of the same type, the scanning will continue and the user can scan the next instrument tag of the same type and program them.
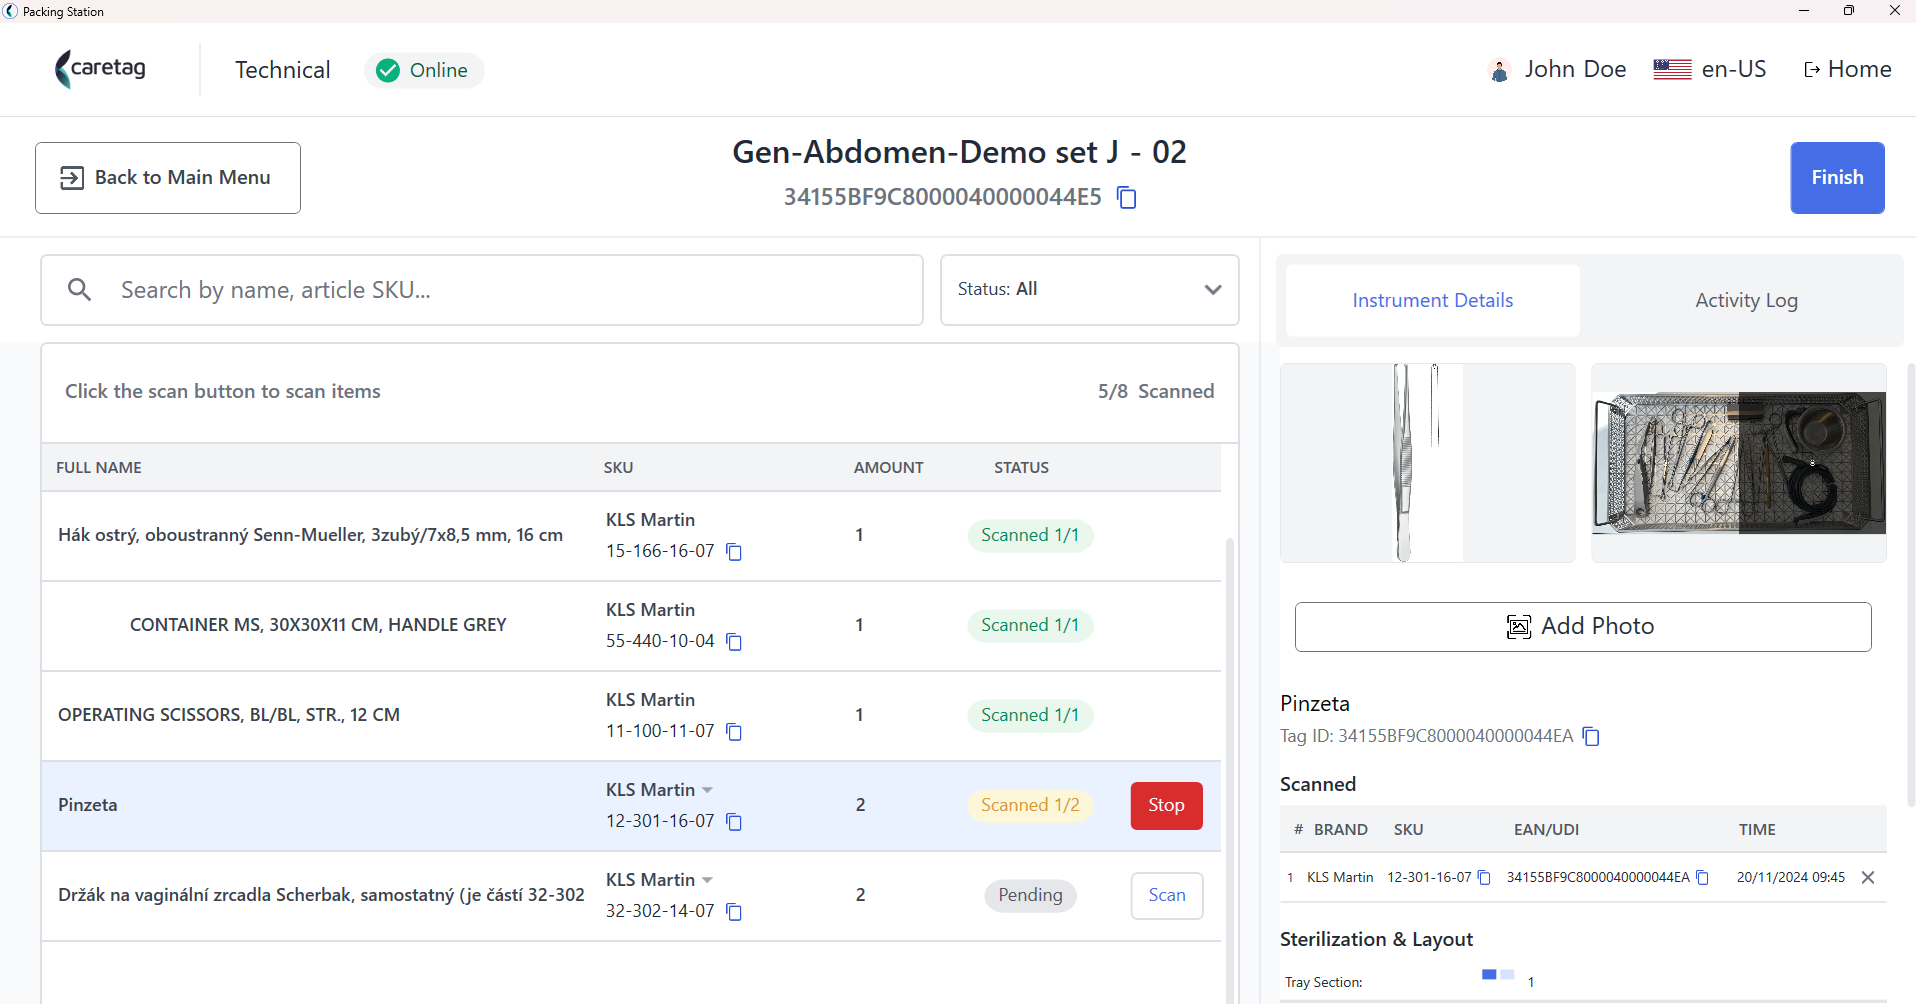
- Once all the items in the packset are scanned, click on the finish button.
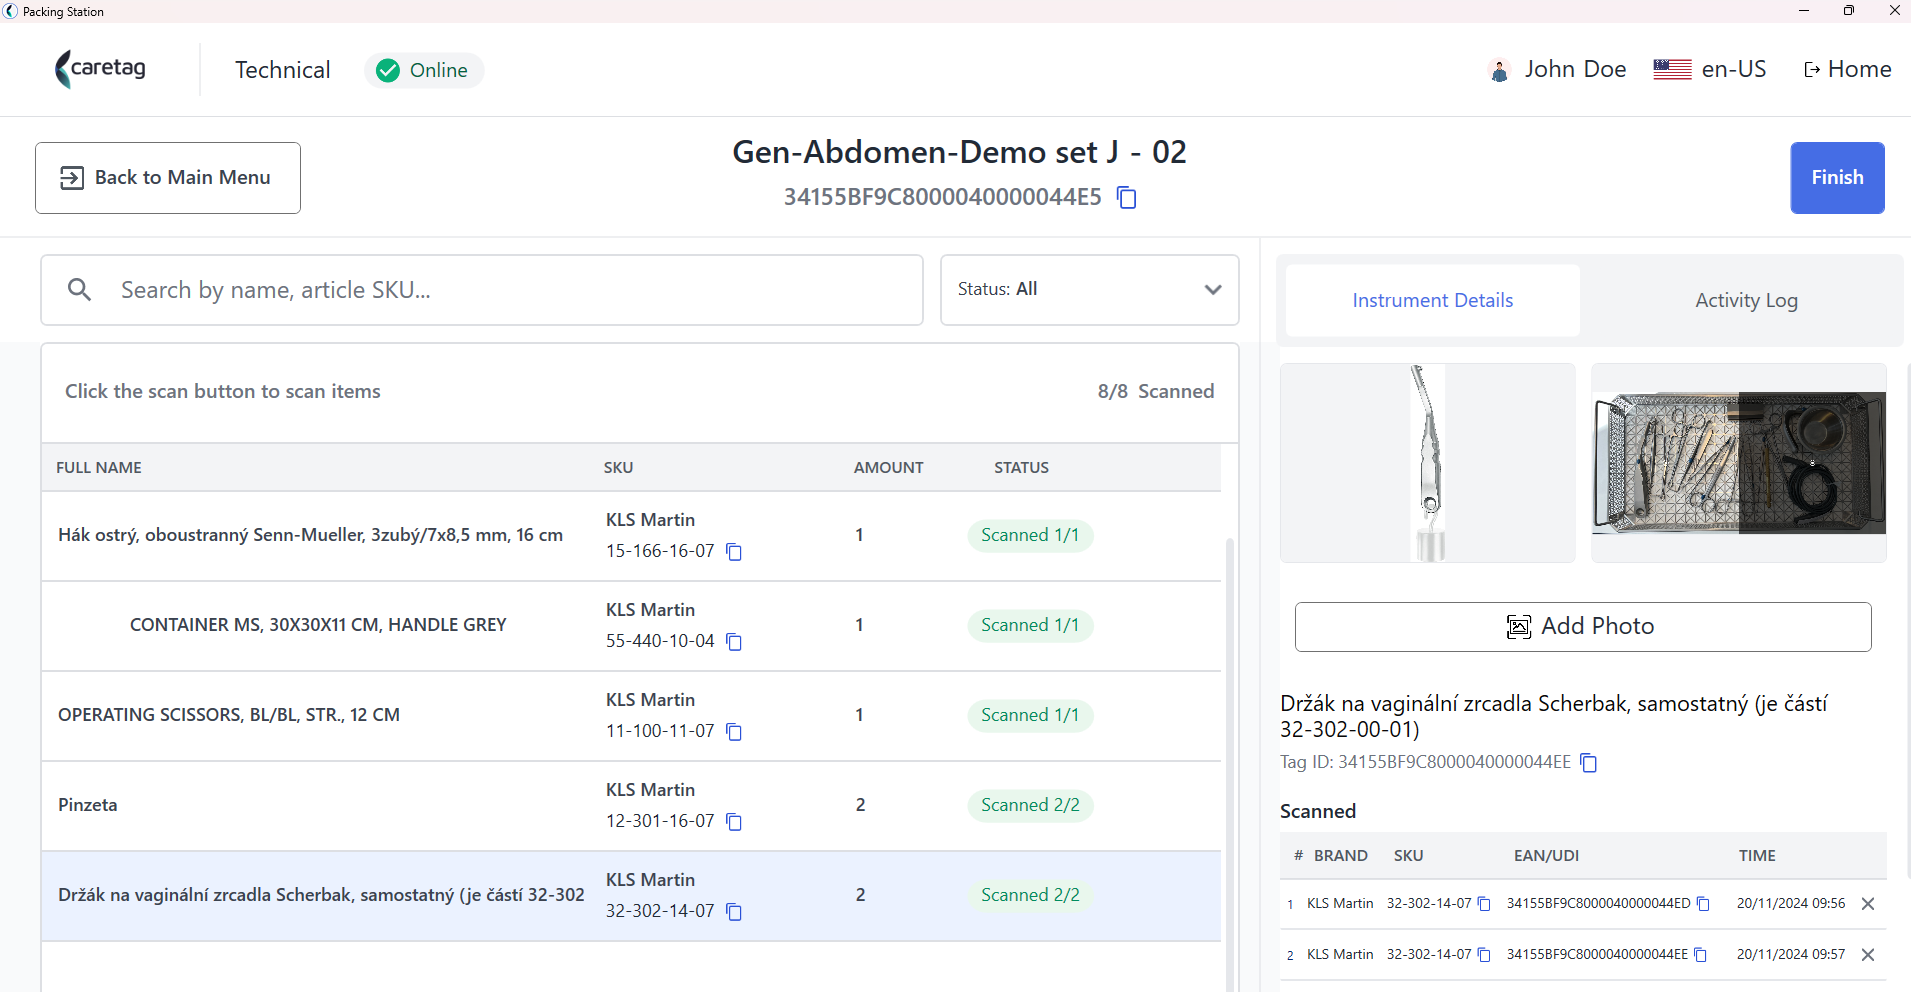
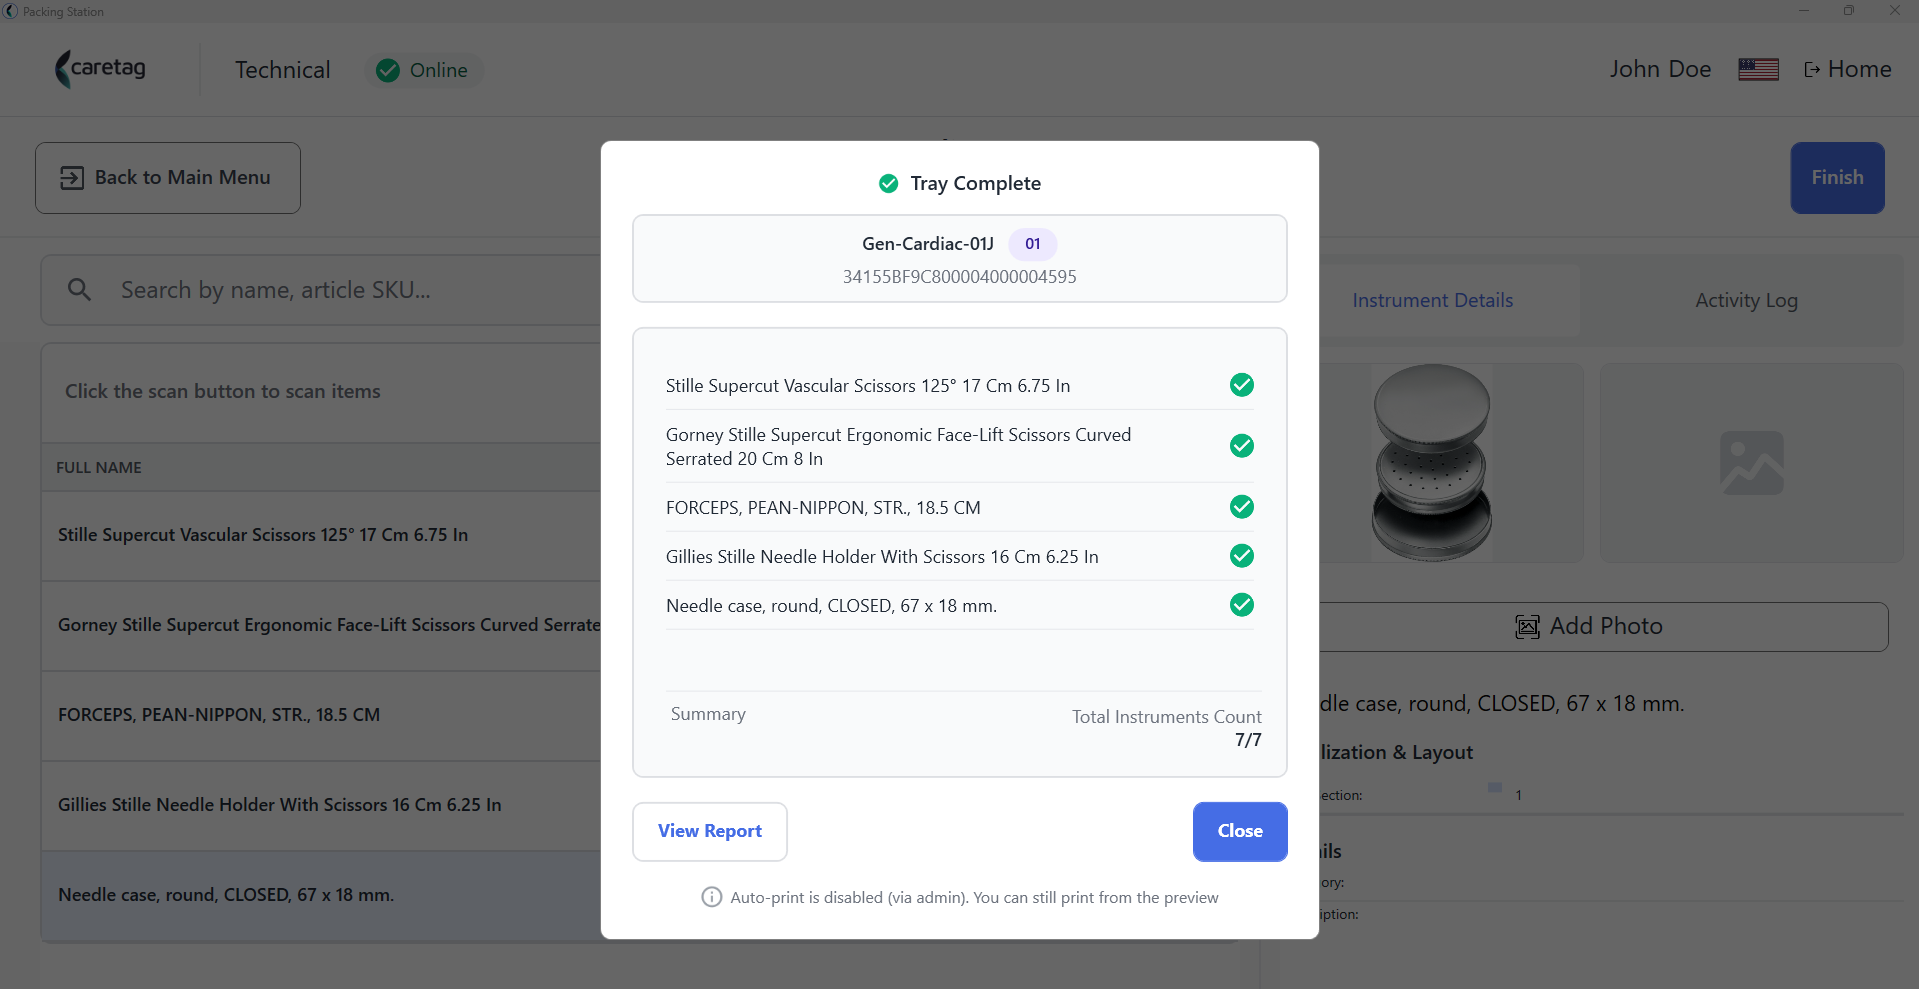
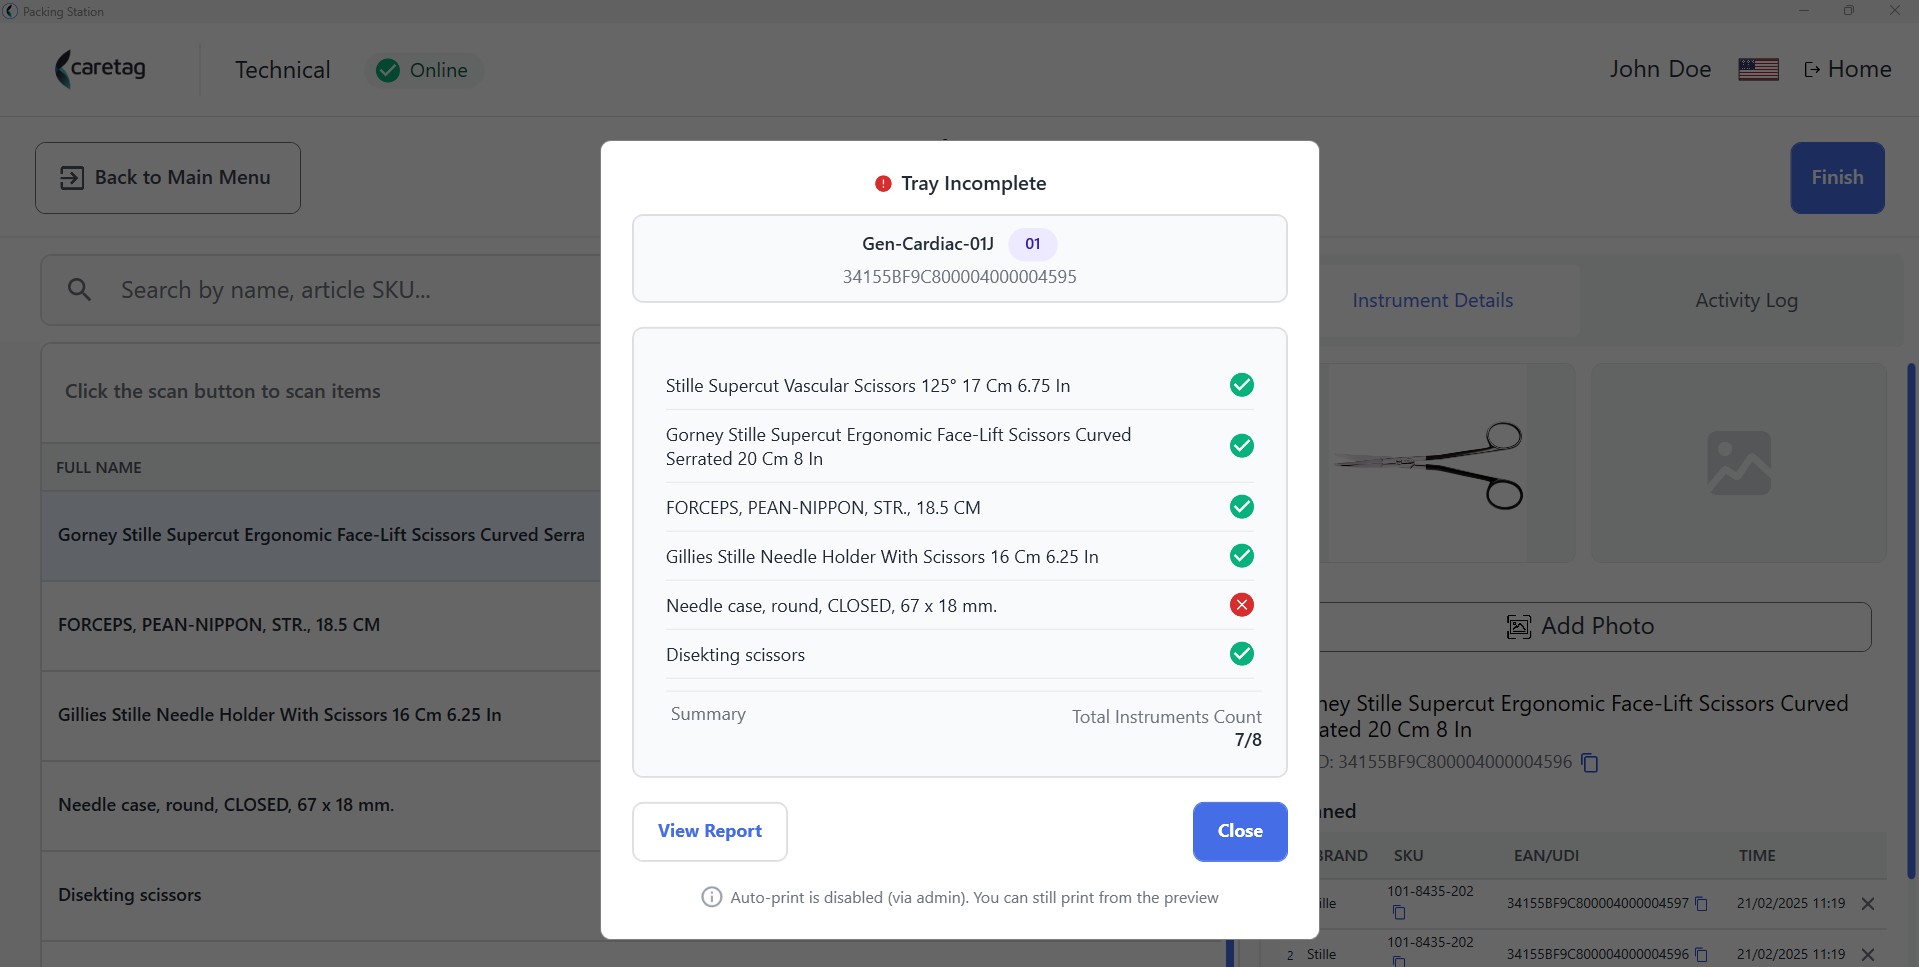
- Once the Finish button is pressed, the tray scan gets completed.
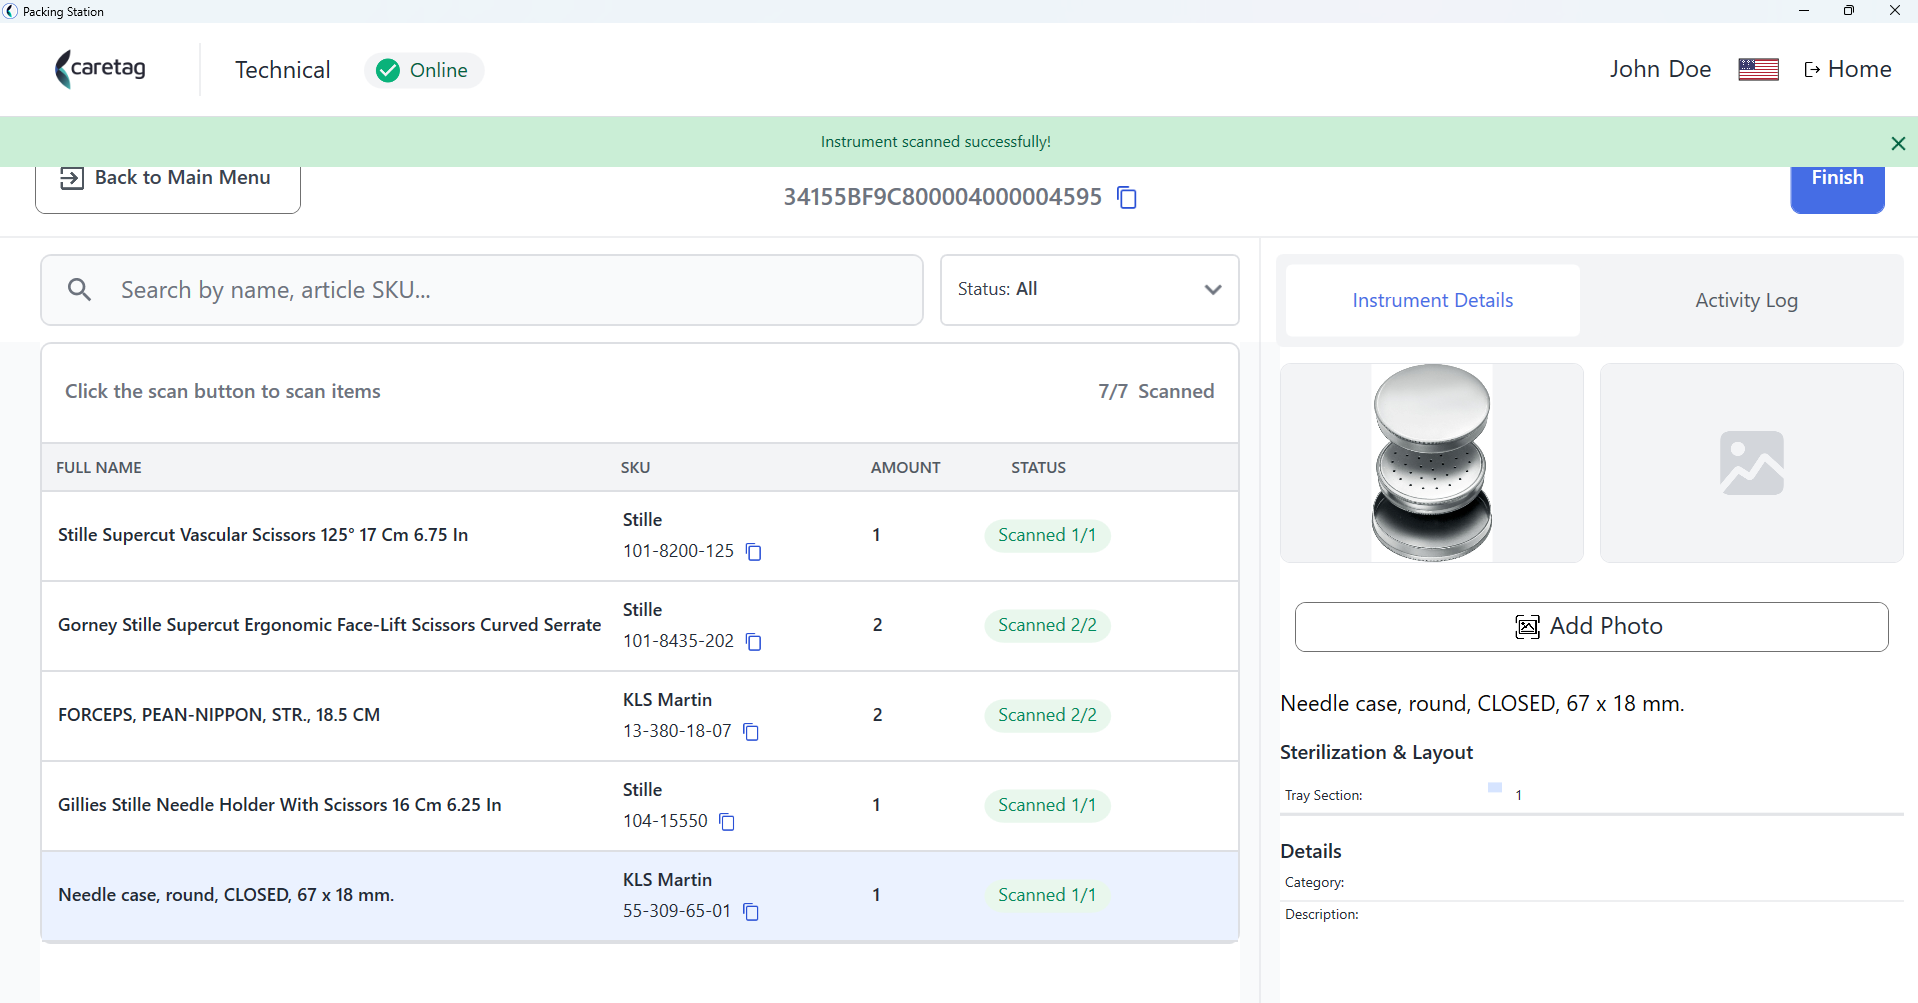
- Here it displays the summary and instrument count.
- In the Session history, the tray details, who packed the tray, date and time and summary are displayed.
Scan Similar instruments in a tray
Similar article is a section in the instrument details page where the same type of instruments but from different manufactureres can be added. Meaning while packing a tray the user can use the instrument of similar type instead of the exact same instrument from the specific brand mentioned in the packing set.
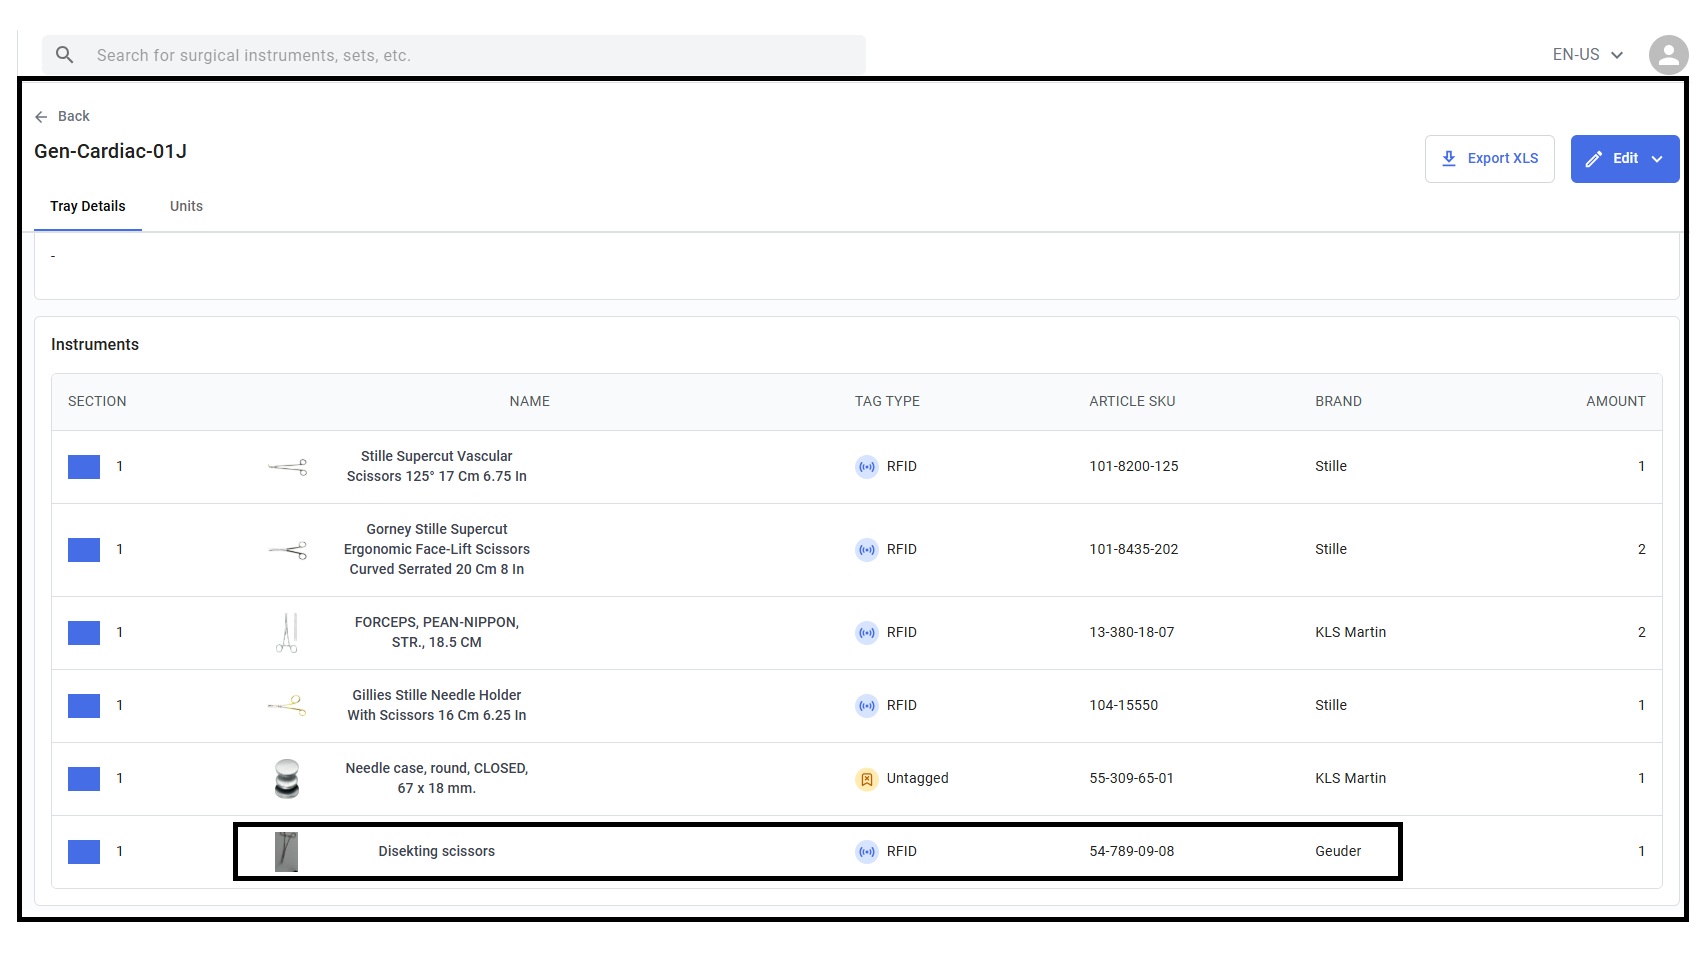
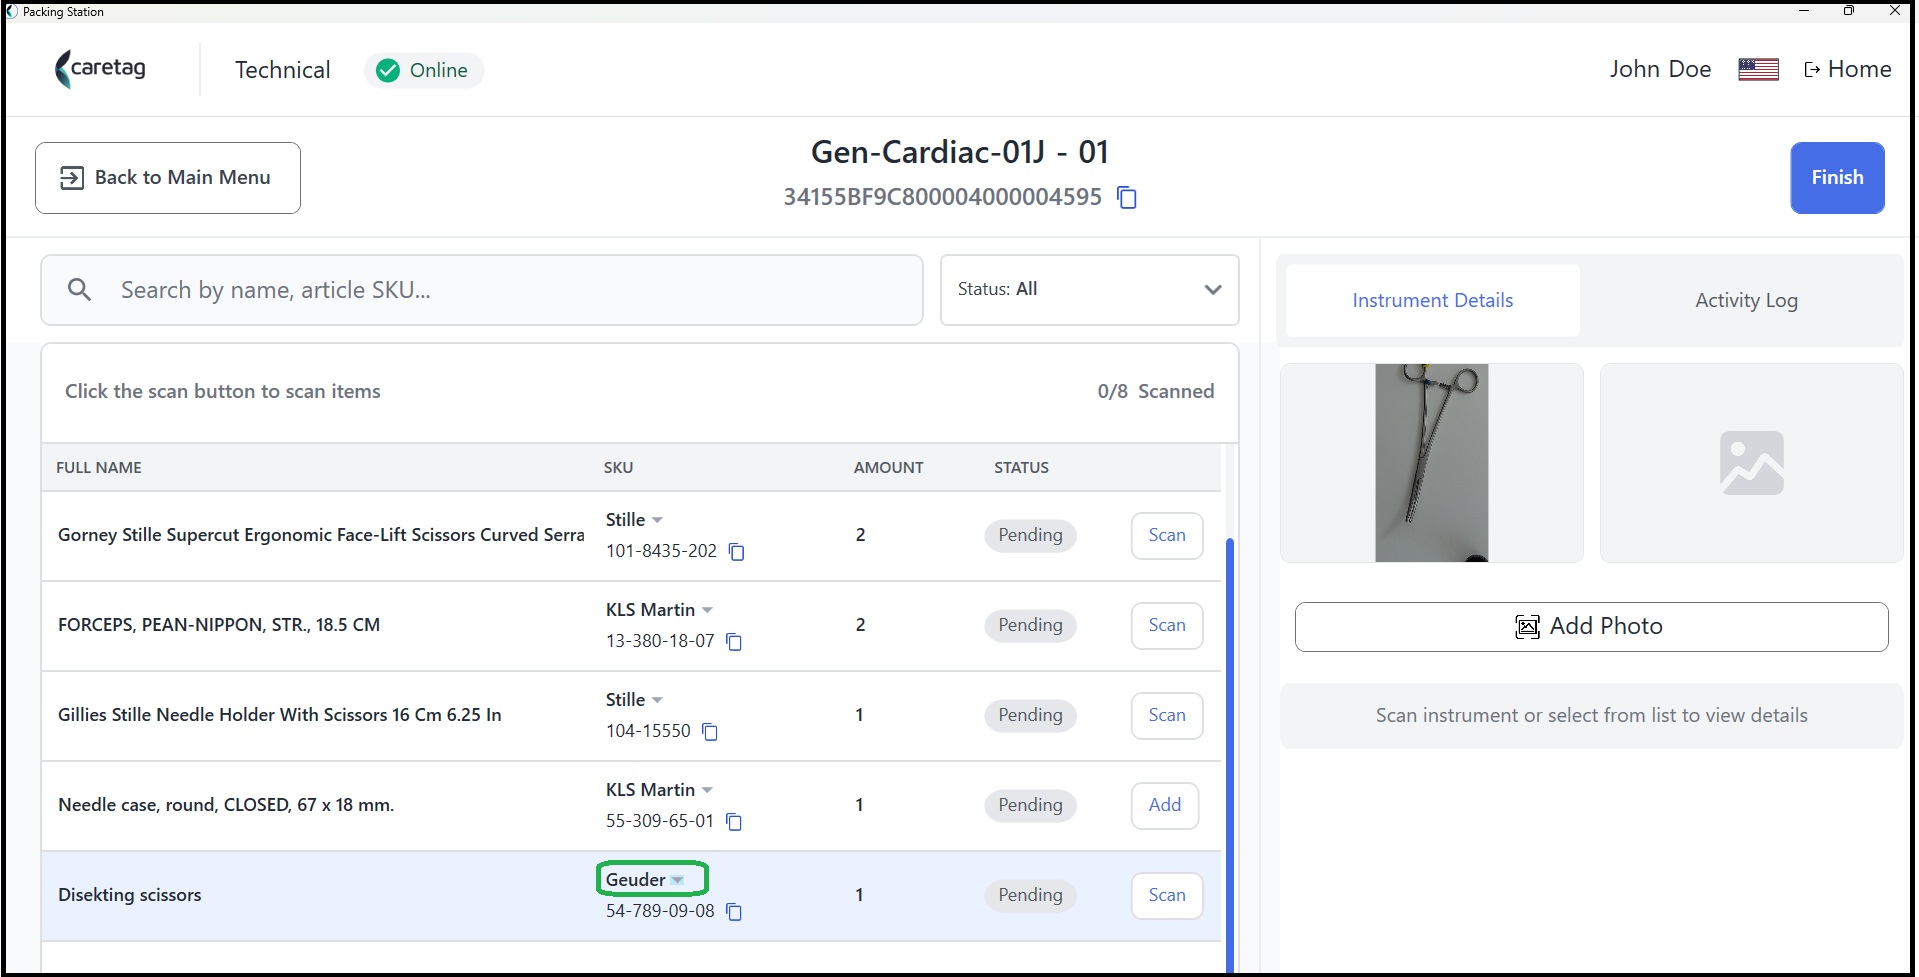
For example, in the below picture, you can see the instrument Disekting scissor from the brand Geuder is defined in the packing set.
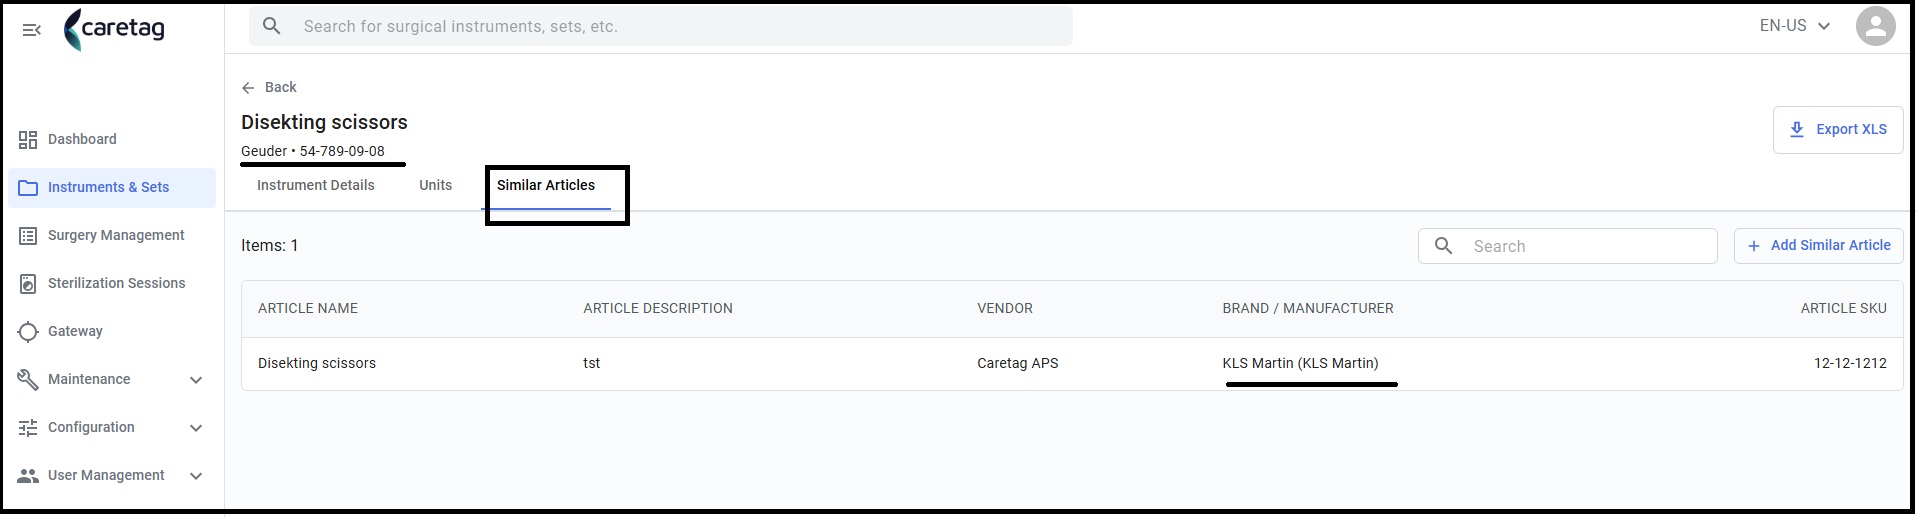
- Search for the instrument Geuder and in the instrument details page.
- In the similar instruments tab, you will see the list of similar instruments.
- In this case there is another instrument of the same type from KLS Martin brand. While packing, the user can either of the Disekting scissors.
- While initializing a new tray, if a similar instrument is scanned, the app will pop up an image (as shown below) saying the scanned one and the required instrument according to the packing set definition.
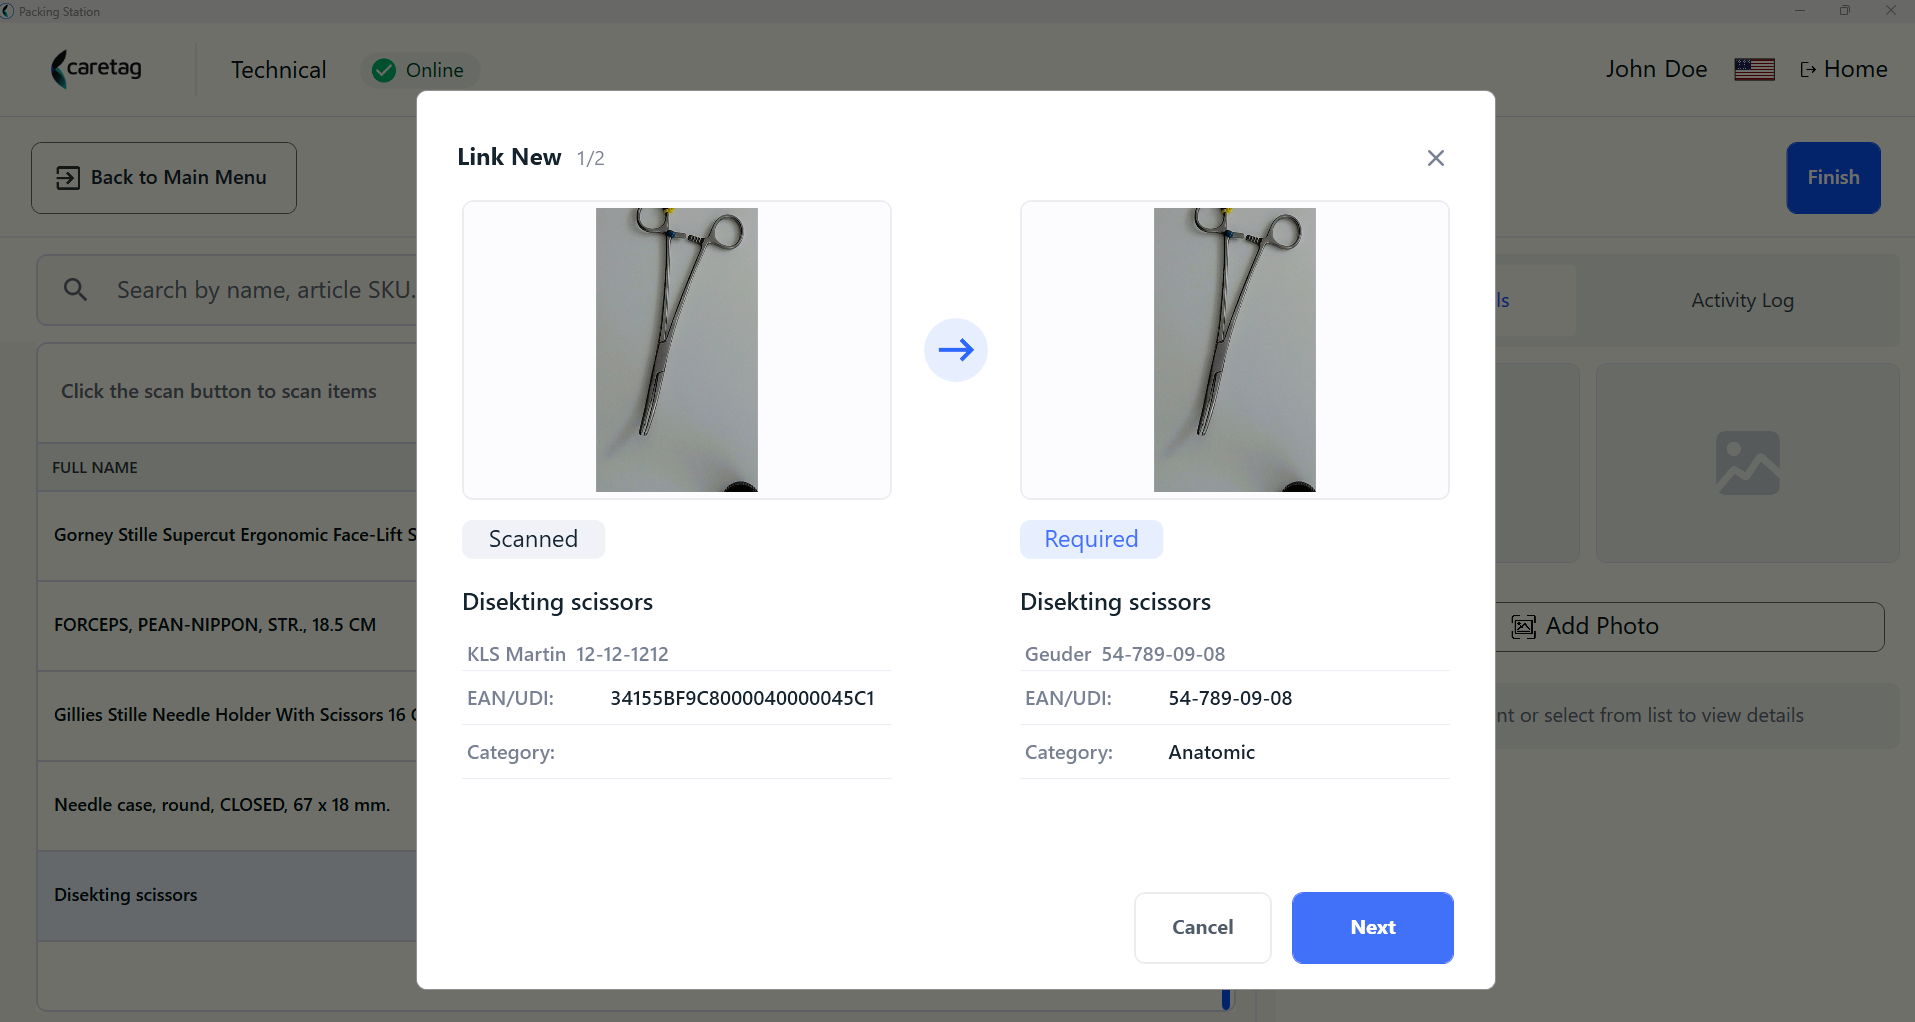
- Click the cancel button. Click on the small down arrow next to brand name.
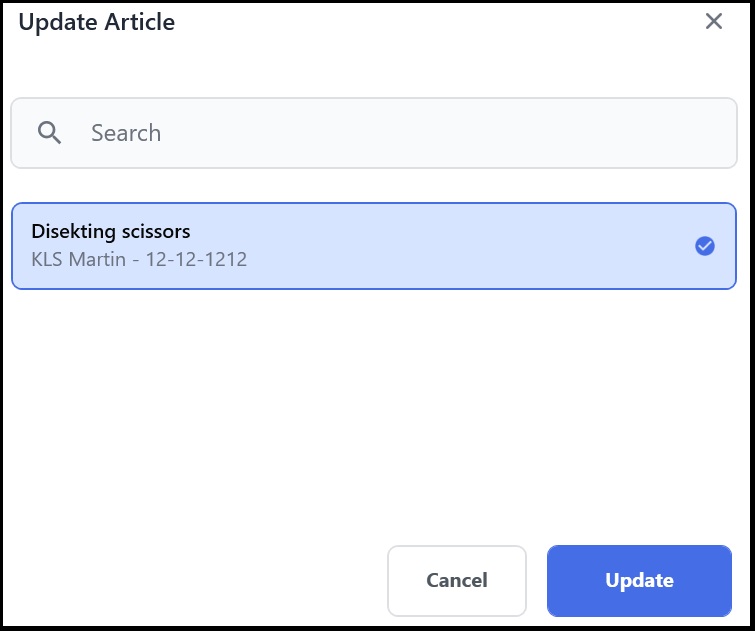
- Select the similar instrument brand from the list and click upate.
- In the instrument details page, the instrument is changed from Geuder to KLS Martin.
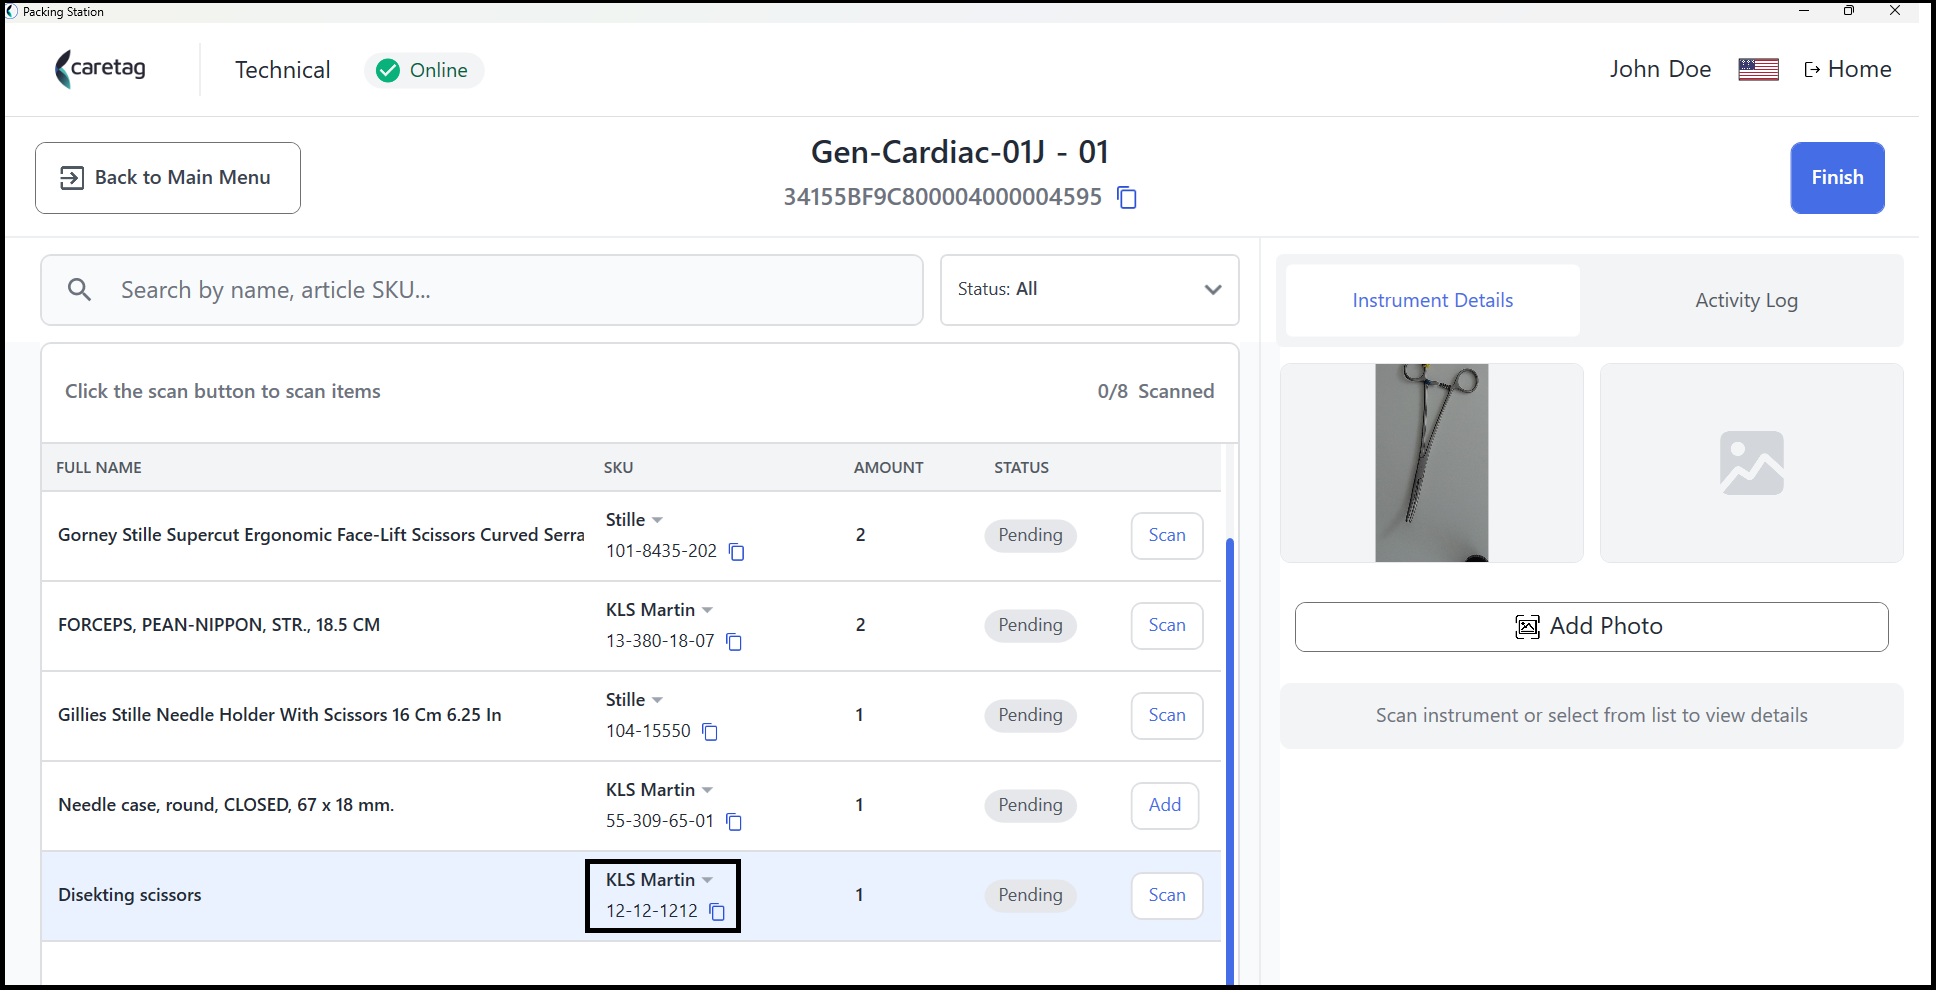
- Now scan the similar instrument successfully.
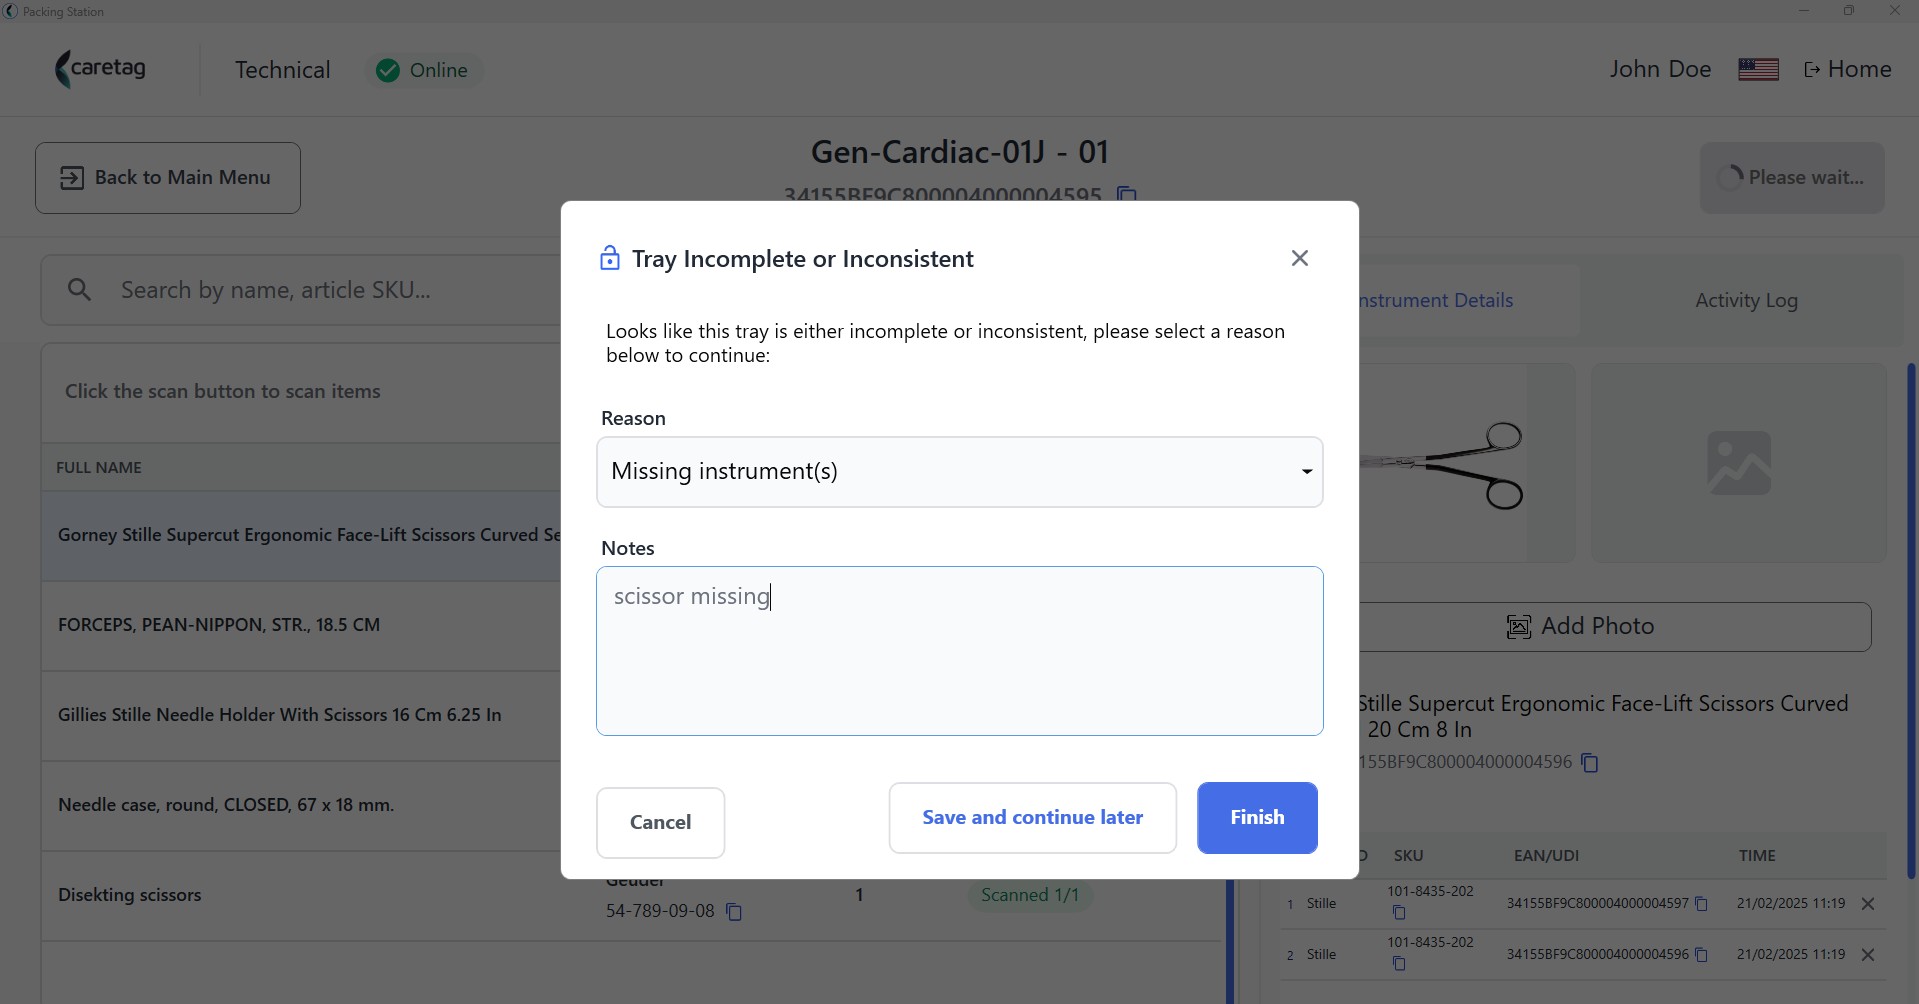
Tray Incomplete or Inconsistent
- The scanning process can be paused at any point, if any instruments are missing or for other reasons.
- Click the Finish button. The app will ask either to complete the scanning process as an incomplete tray or save and continue later.
- This allows the user to resume scanning the remaining instruments without restarting from the beginning, enabling them to finish the tray at a later time.
- Select the reason, why the tray is incomplete or inconsistent
Note
Get-Info module is explanined detaily in the Get-Info section.