Install and configure checkbox
In this page we assists users on how to use the Checkbox machine and its applications.
Initial setup
Power On the Checkbox Machine
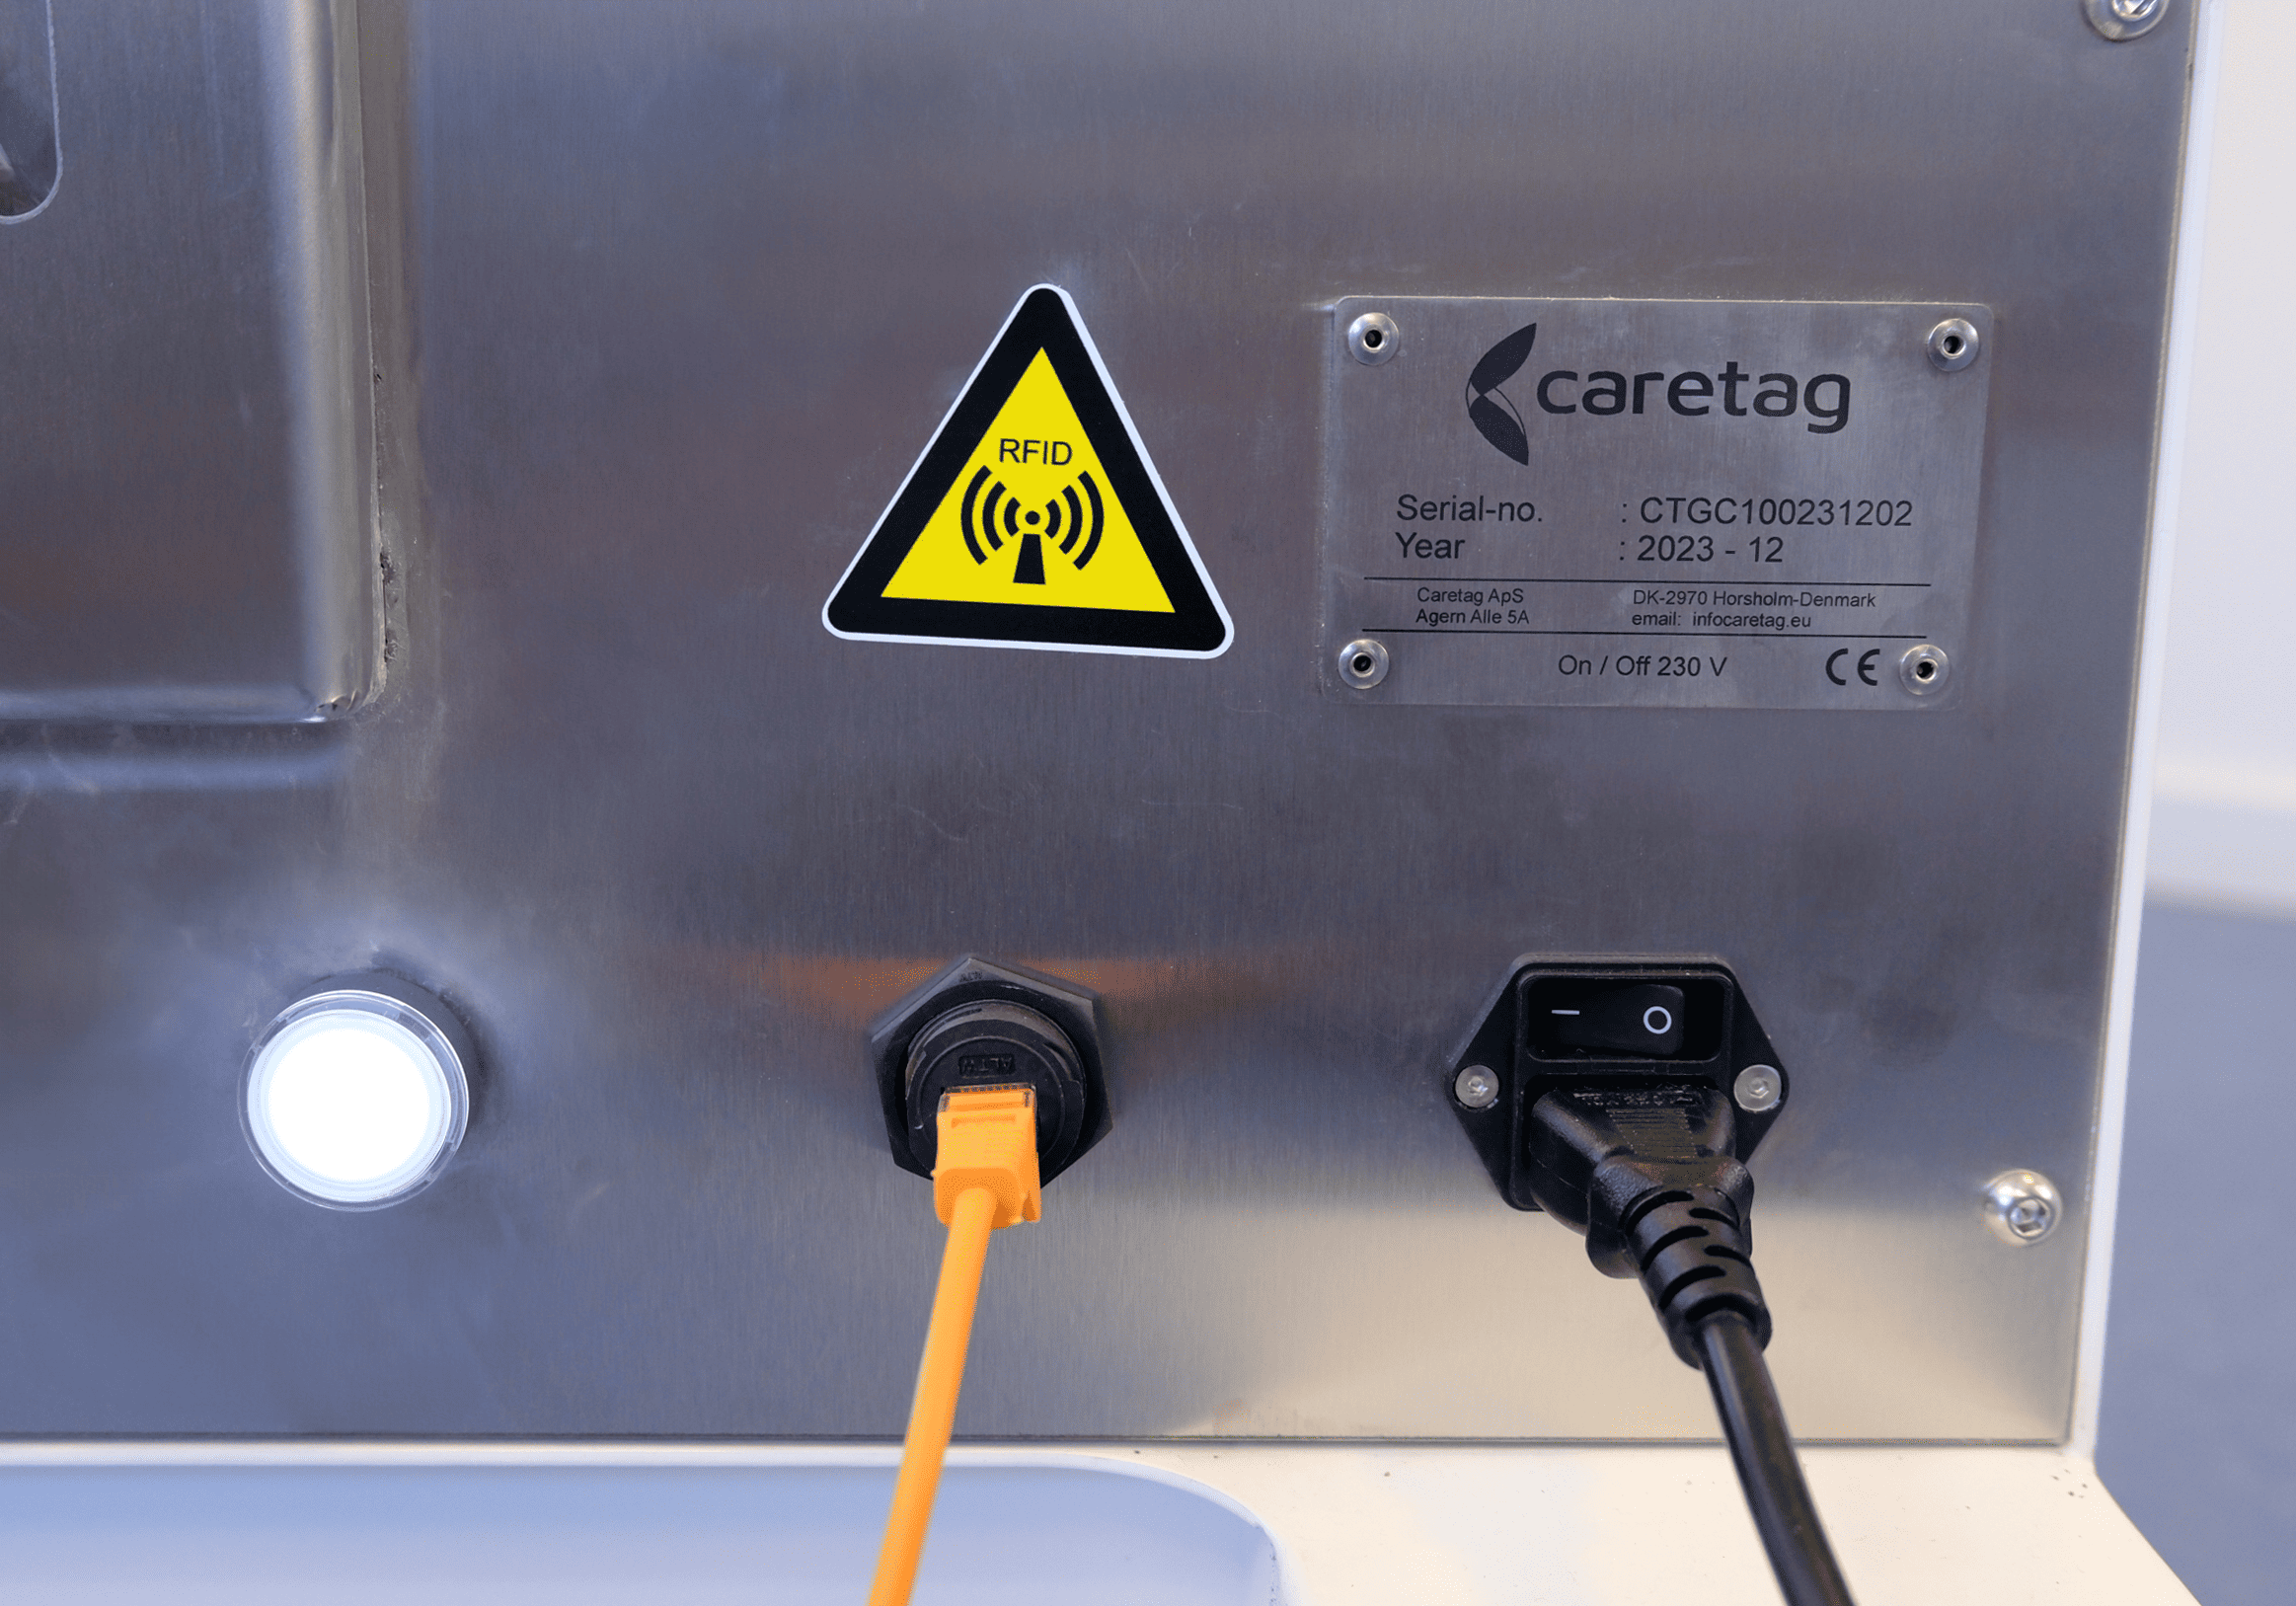
- Connect the power cable to the checkbox machine and plug it into a power socket.
- Insert the LAN cable into the appropriate port.
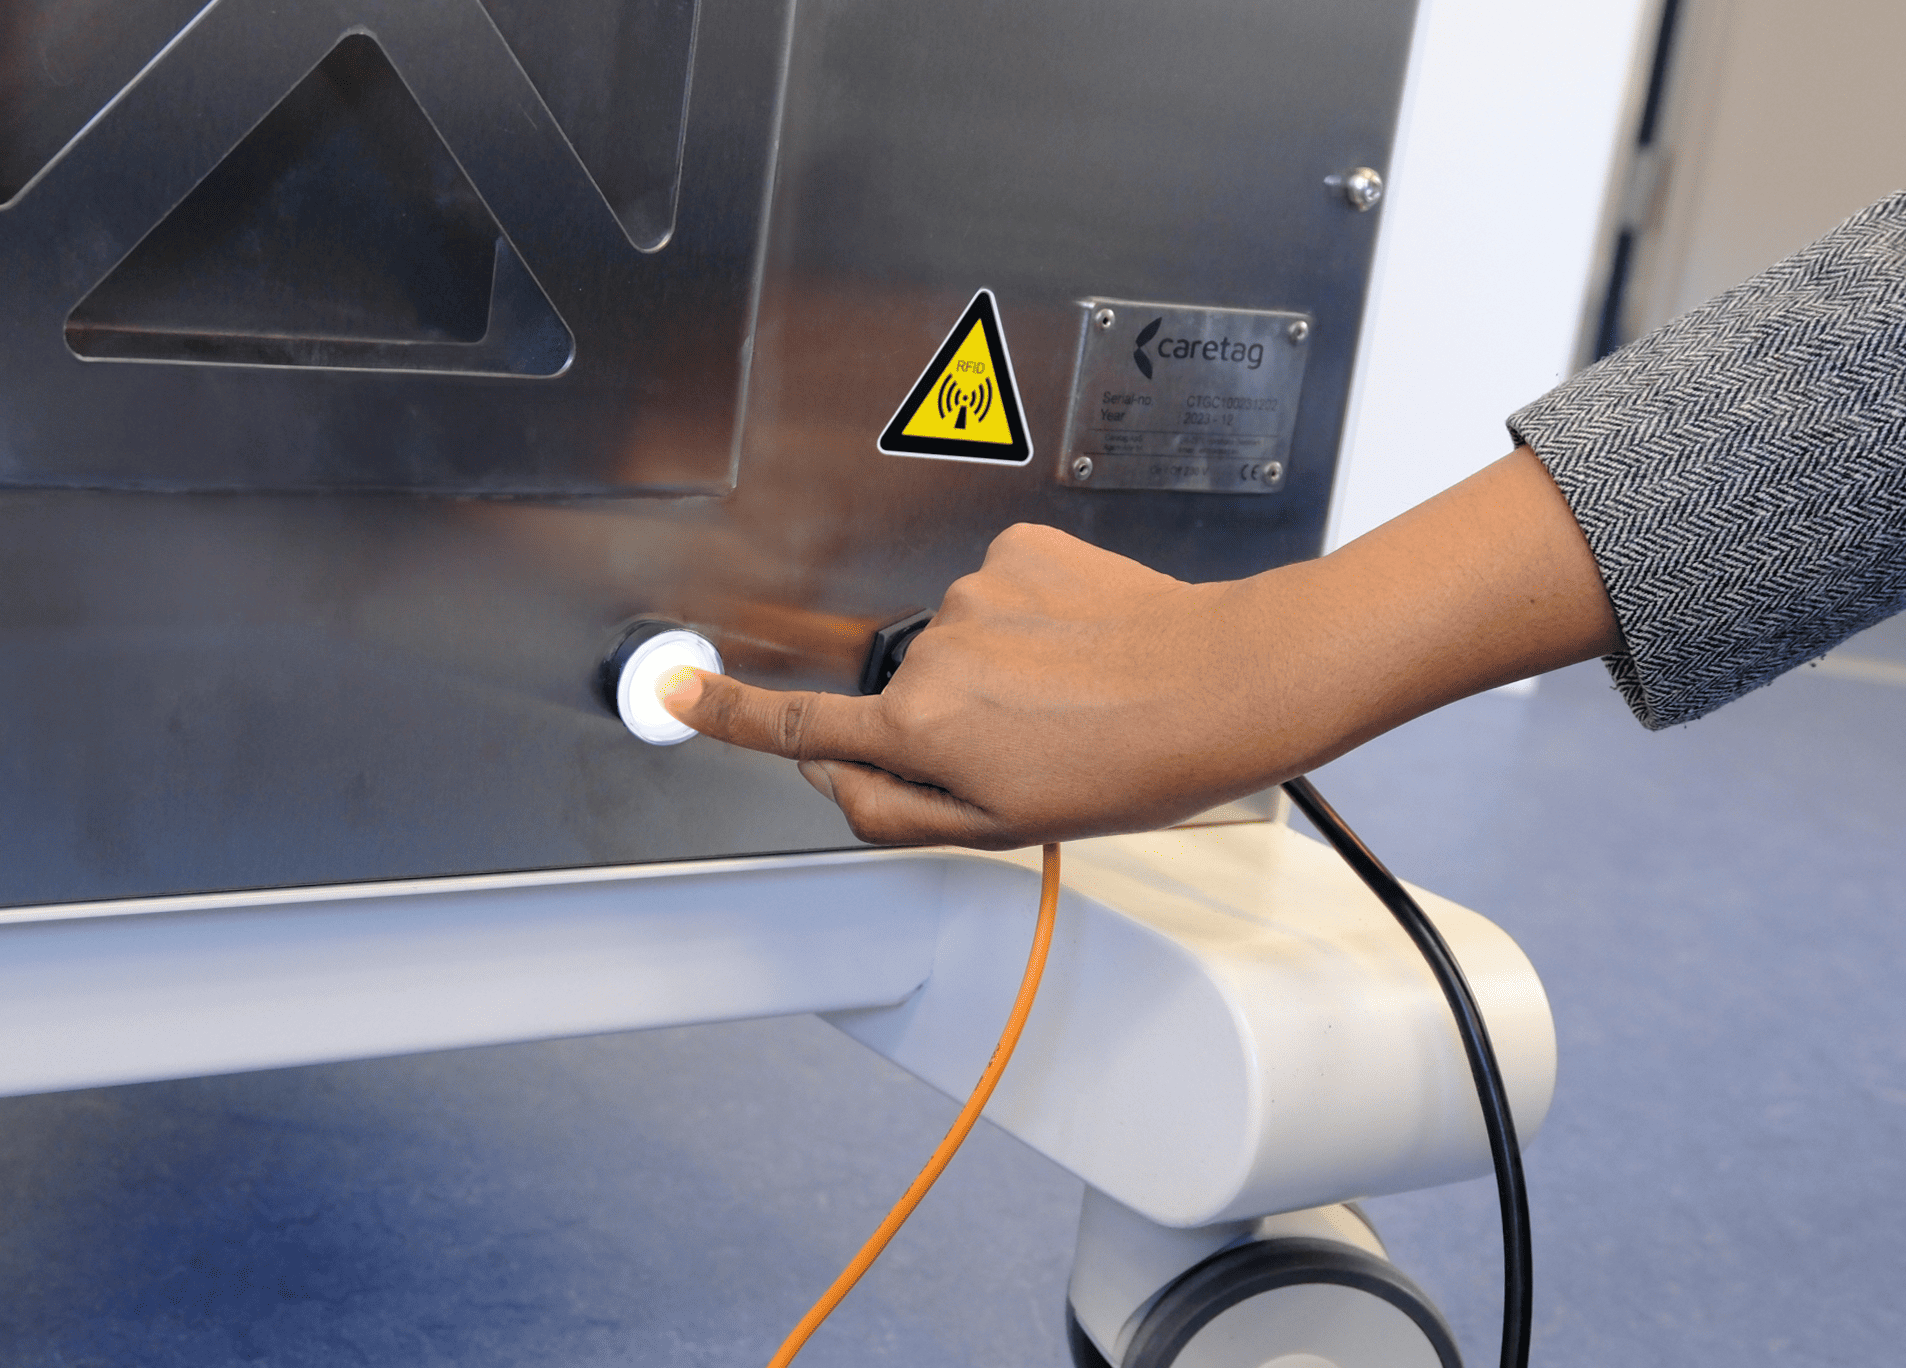
- Press the black power button to turn the machine ON.
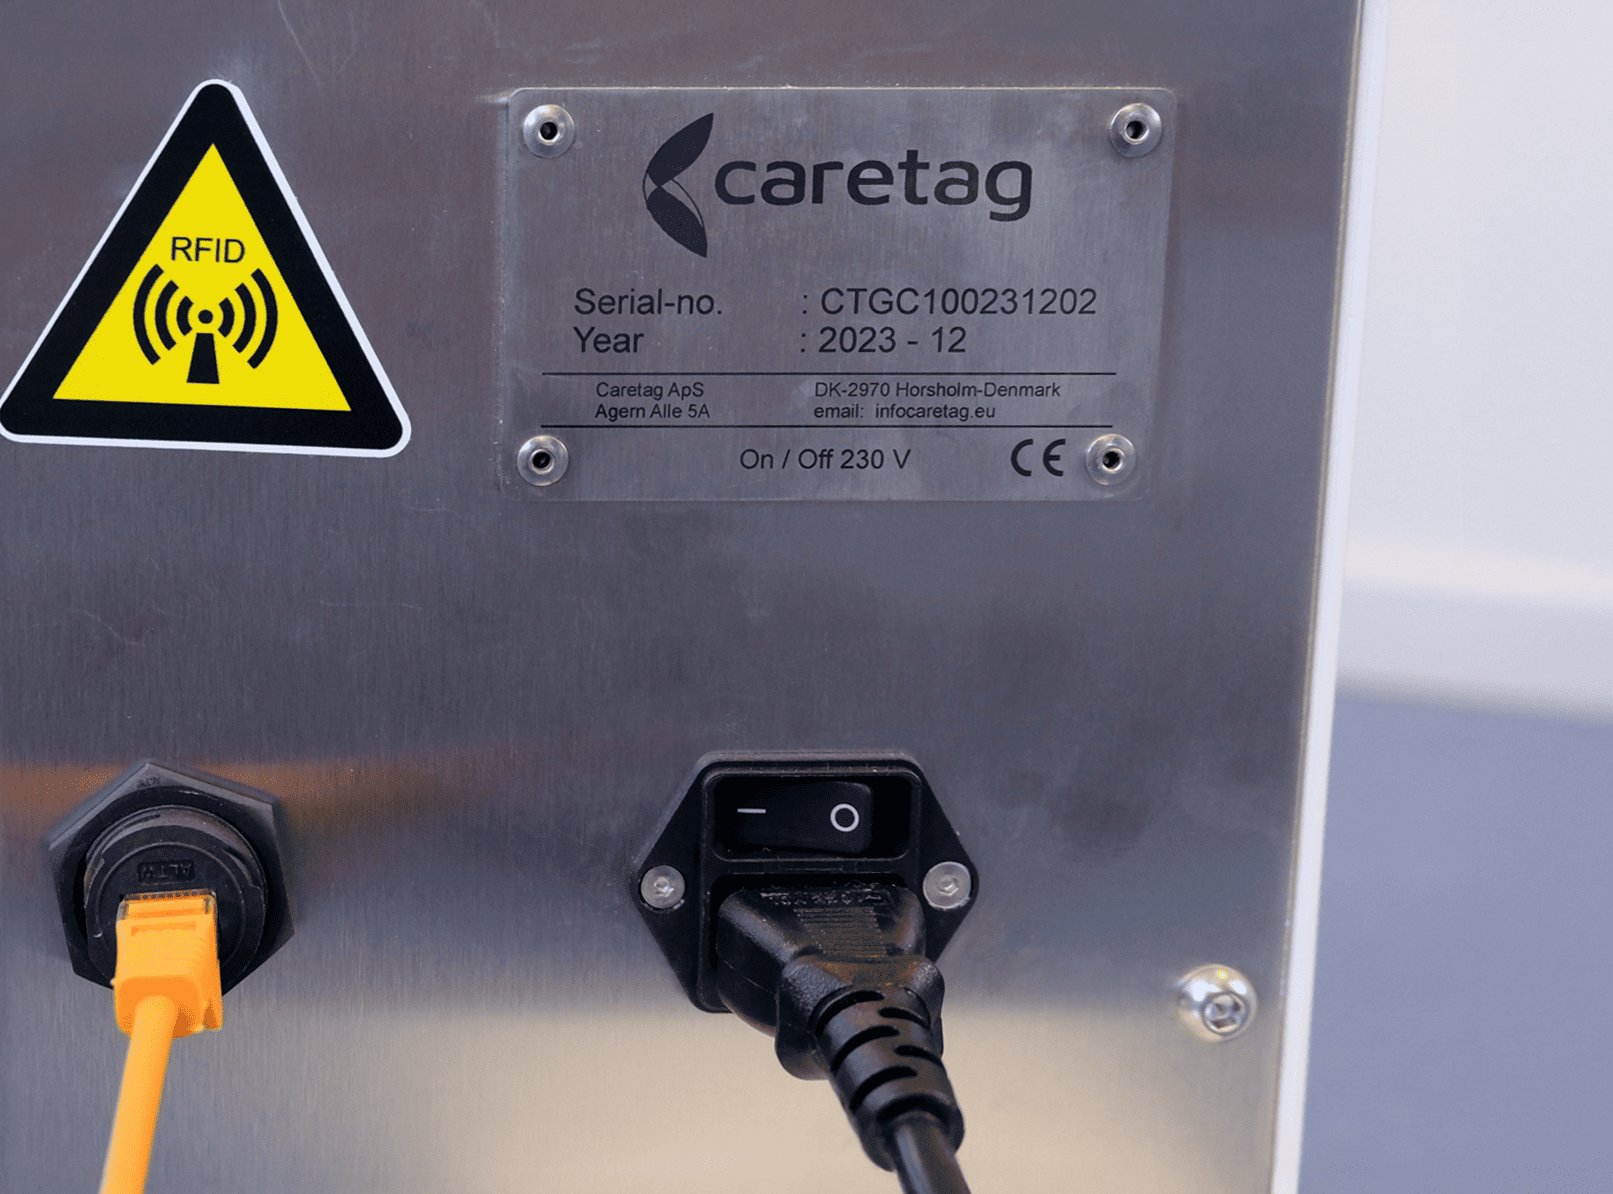
- A beep sound will indicate that the machine has been powered on and the white button will lighten up.
How to use the Checkbox station Applications
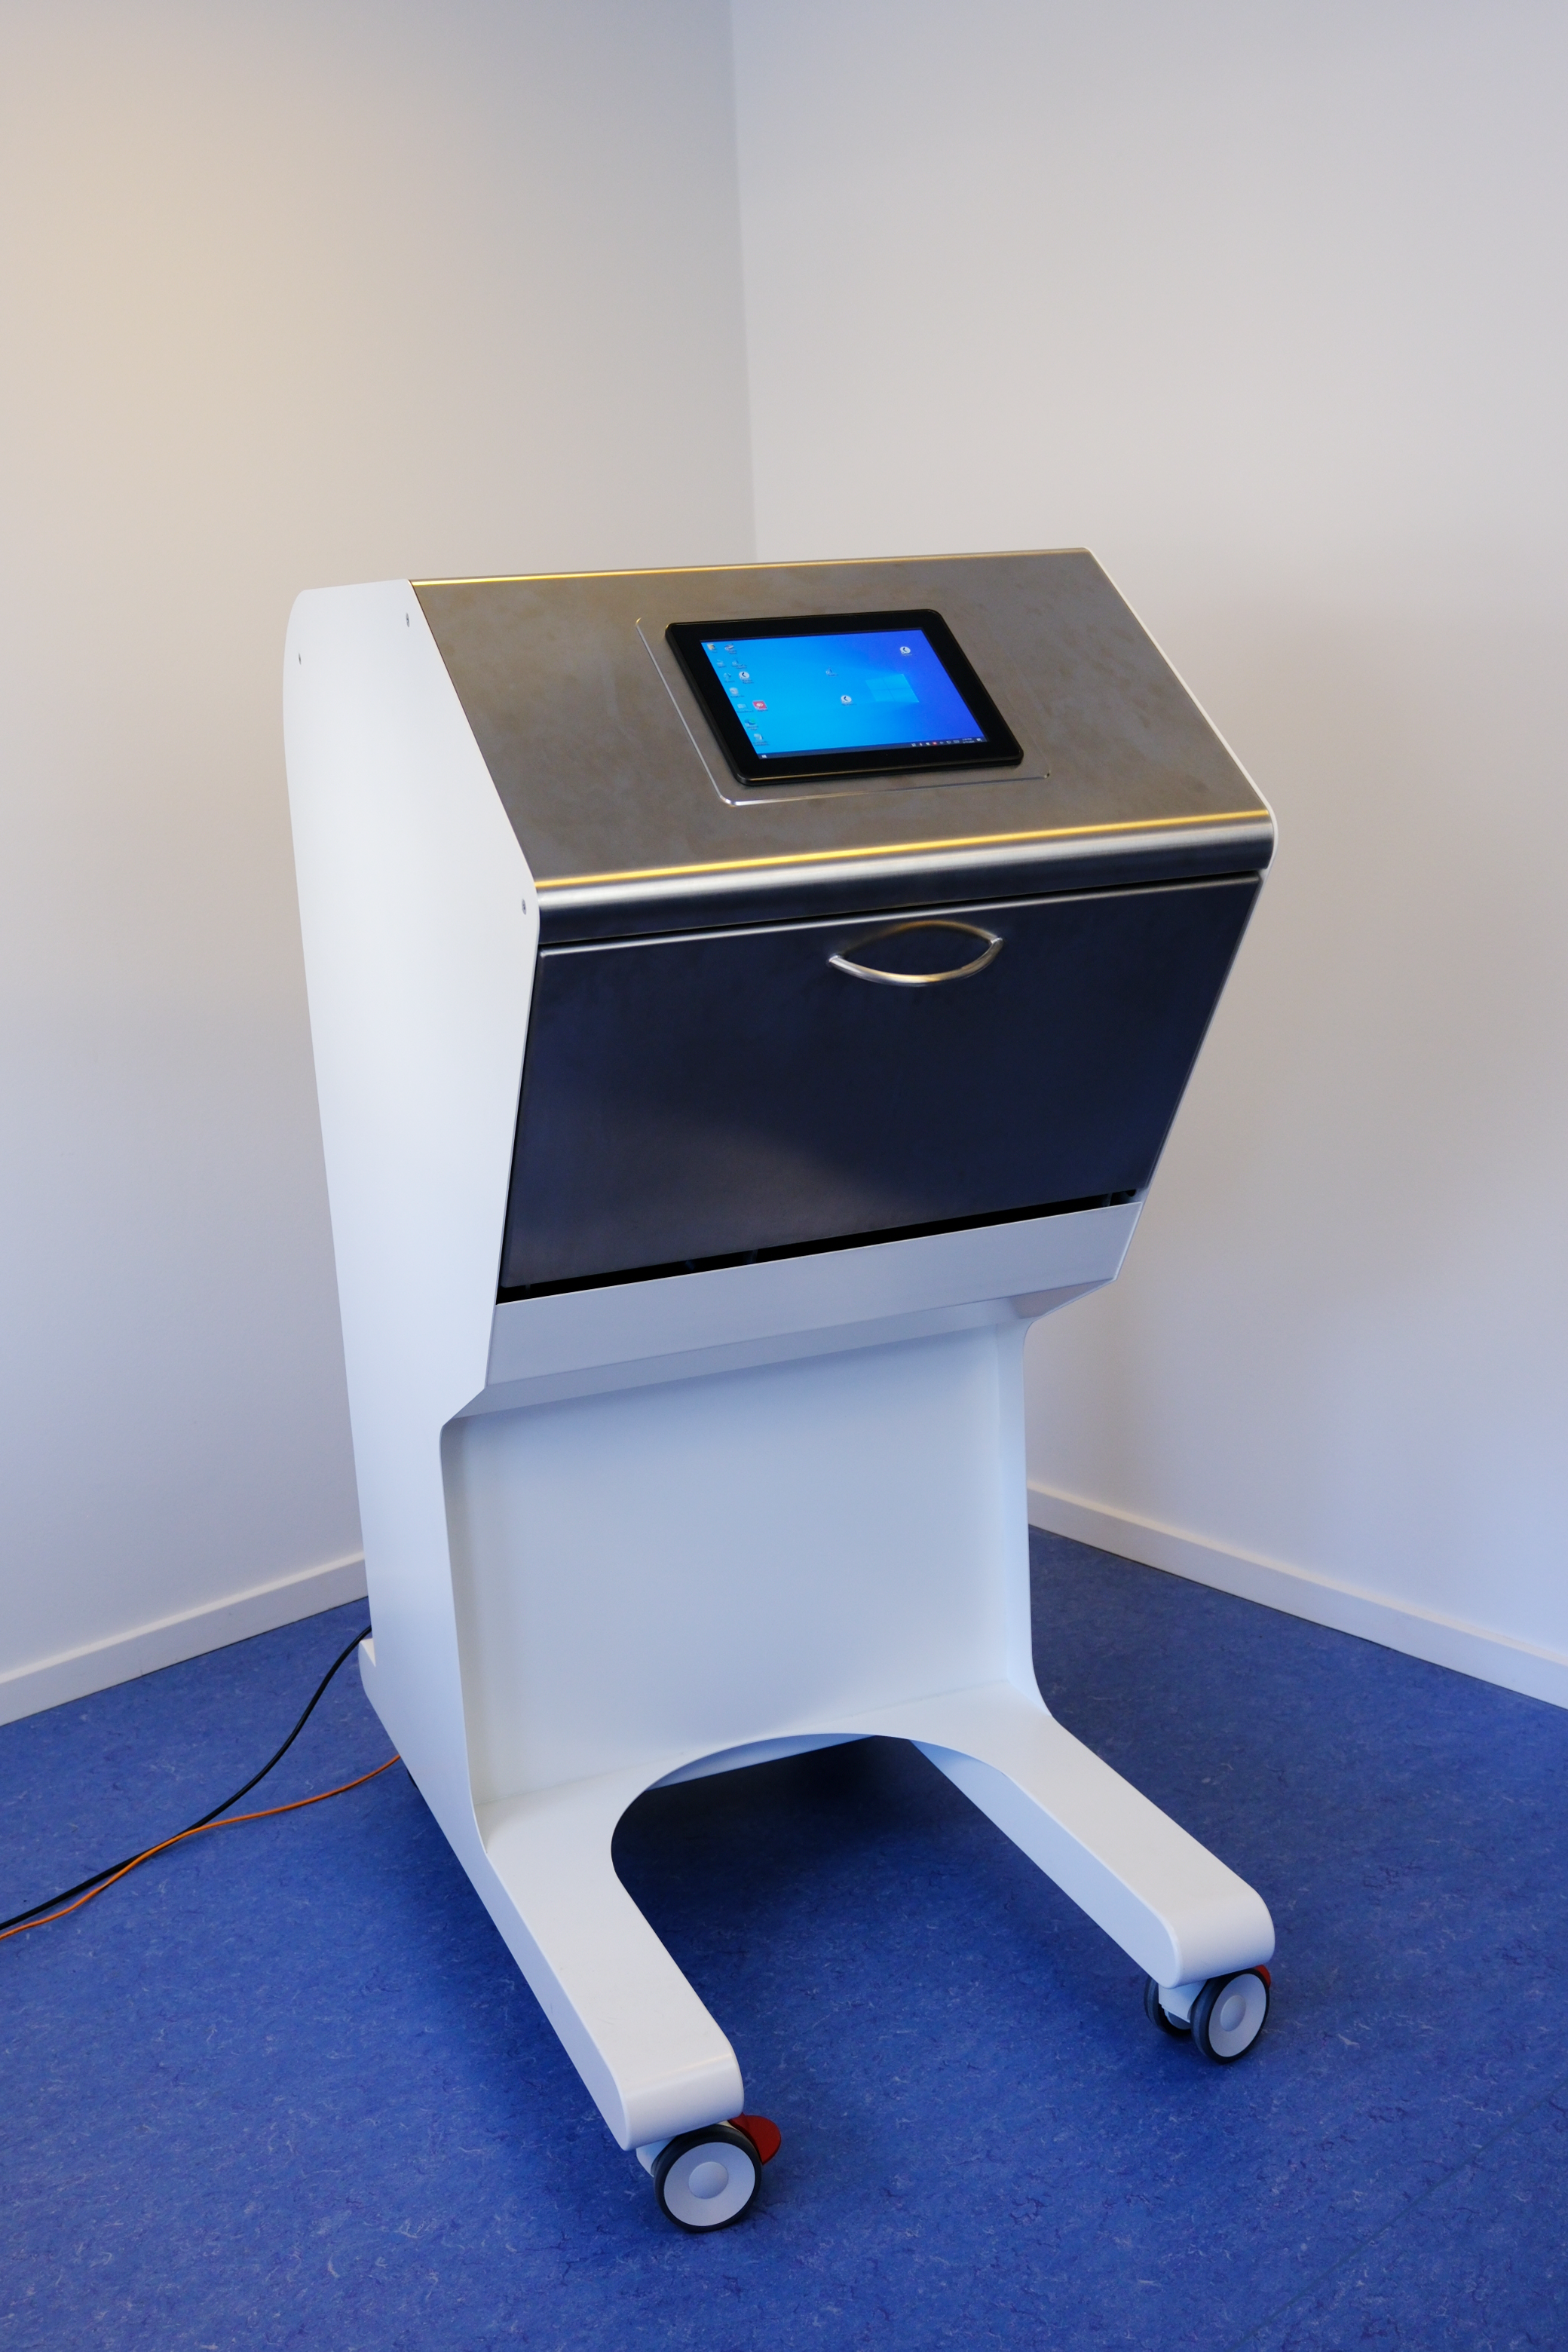
- Once the checkbox machine is powered on, the screen will display the Windows interface. From there, the user can launch and use the Verification/Check-Out application.
Note
For detailed, step-by-step instructions, on using the Checkbox in one of two modes, please refer to Quick Guide (see the links: Checkbox Station (Verification) or Checkbox Station (Check-Out) or User Guide (see the links: Checkbox Station (Verification) or Checkbox Station (Check-Out)).
- Here we briefly show the verification mode in the checkbox machine.
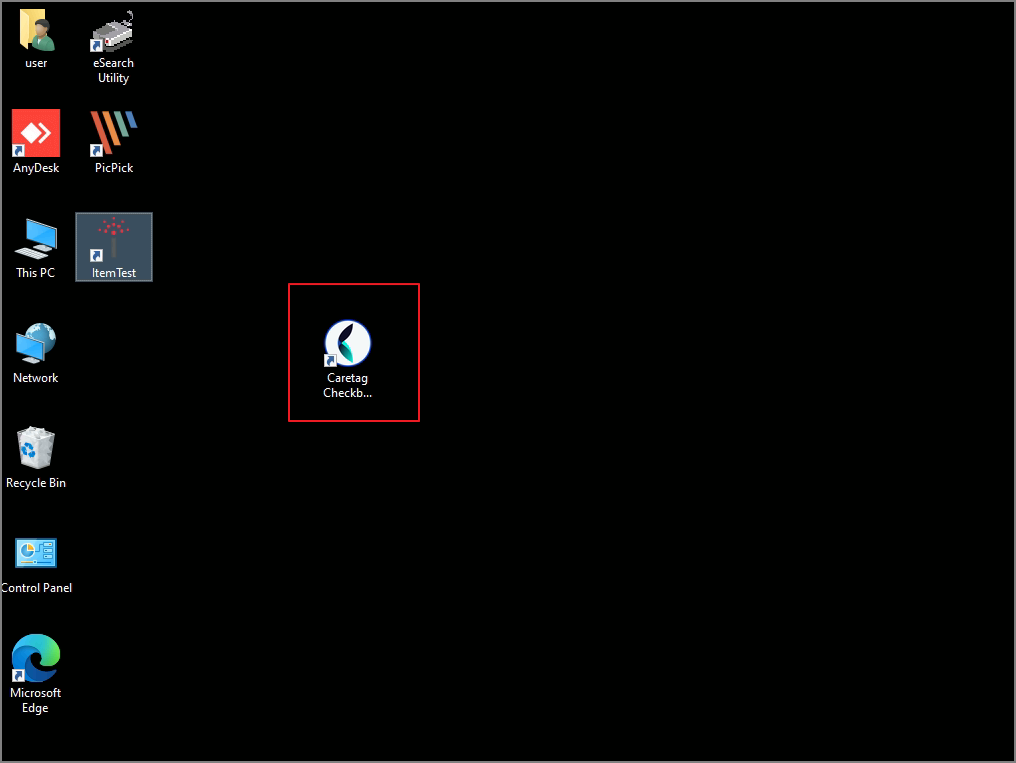
- Launch the application by double clikcing on the checbox station icon
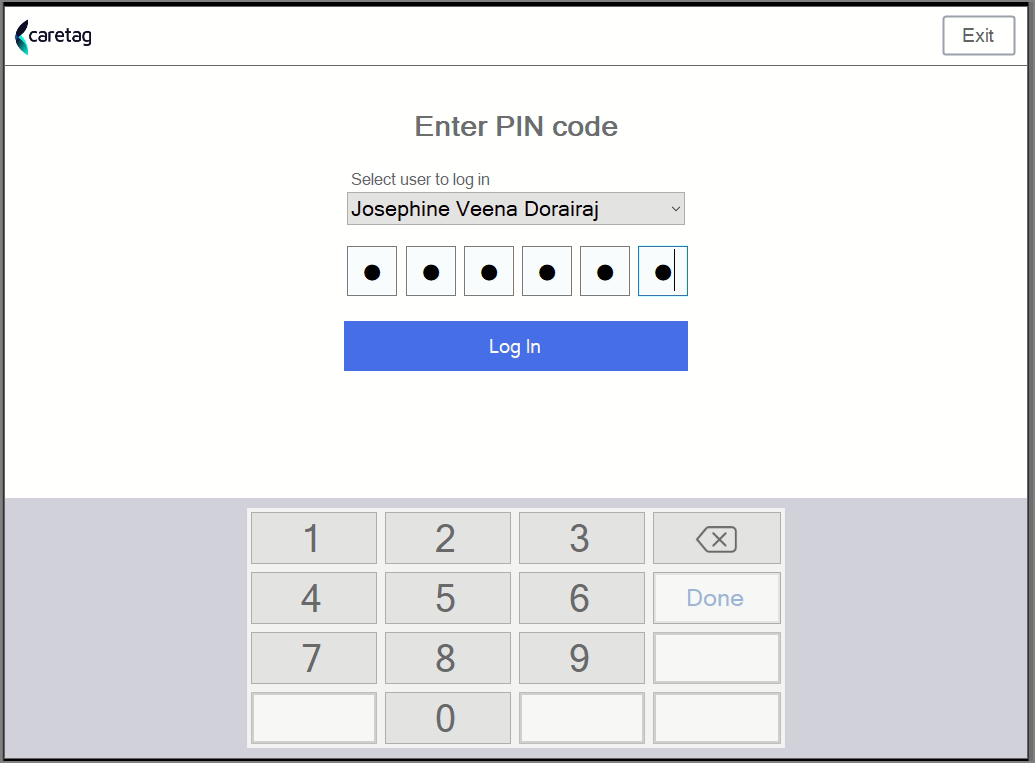
- Login using your credentials
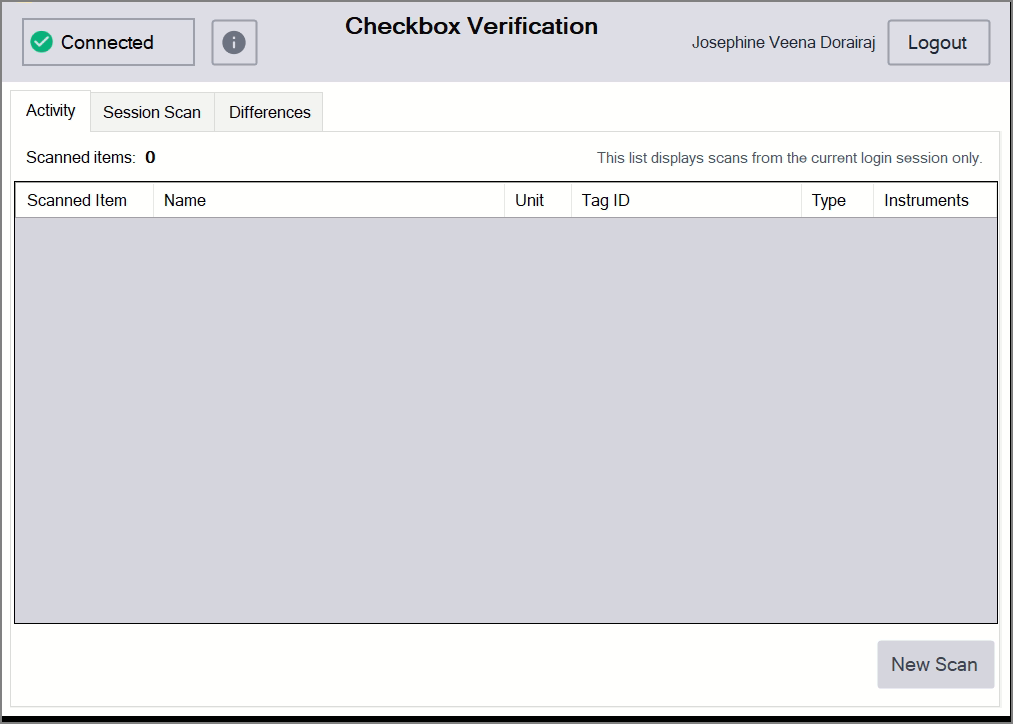
- The home screen of the Verification applications.
- Please be noted that sets(tray/containers/pouches) has to be packed in the packing station before using the verification app.
-
If the set/instruments are not packed it cannot be used in the verification mode of the checkbox station. Please refer to the quick guide to see how to pack items. (Packing Station-Quick guide ), (Packing Station-User guide )
-
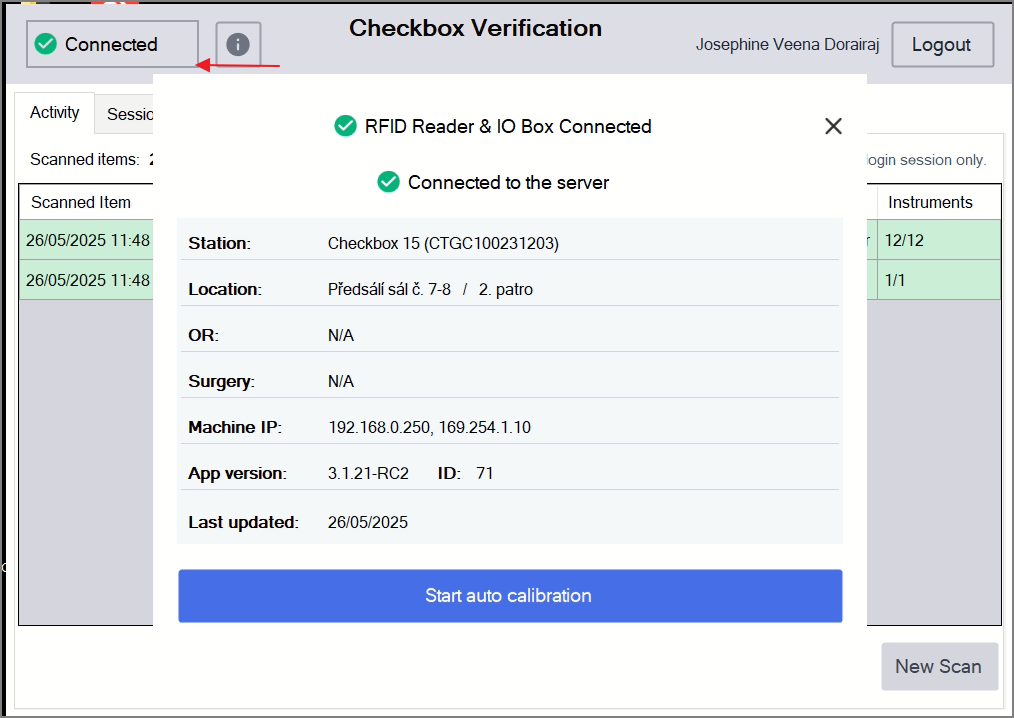
Once the Verification app is launched, click on the connected button to check if the Reader and IOBox are connected and the suer can also see the details of the version, IP address, machine name etc.
Calibration
Note
The calibration steps should only be performed if the turntable is not in the correct position—either at the beginning of a scan or after the scan has completed.
If there is no message at the bottom of the home screen indicating that the rotation table is in an incorrect position (as shown in the image below), then no calibration is required.
- Calibration of the checkbox machine can be done in 2 ways: Auto Calibration from the application and By using the physical button on the checkbox.
Auto-Calibration
- Click the connected button on the top left corner.
- It displays the details of the application
- Click the start auto calibration button, the turn table will rotate and stop in the right position.
White button
- Press and hold the white round button
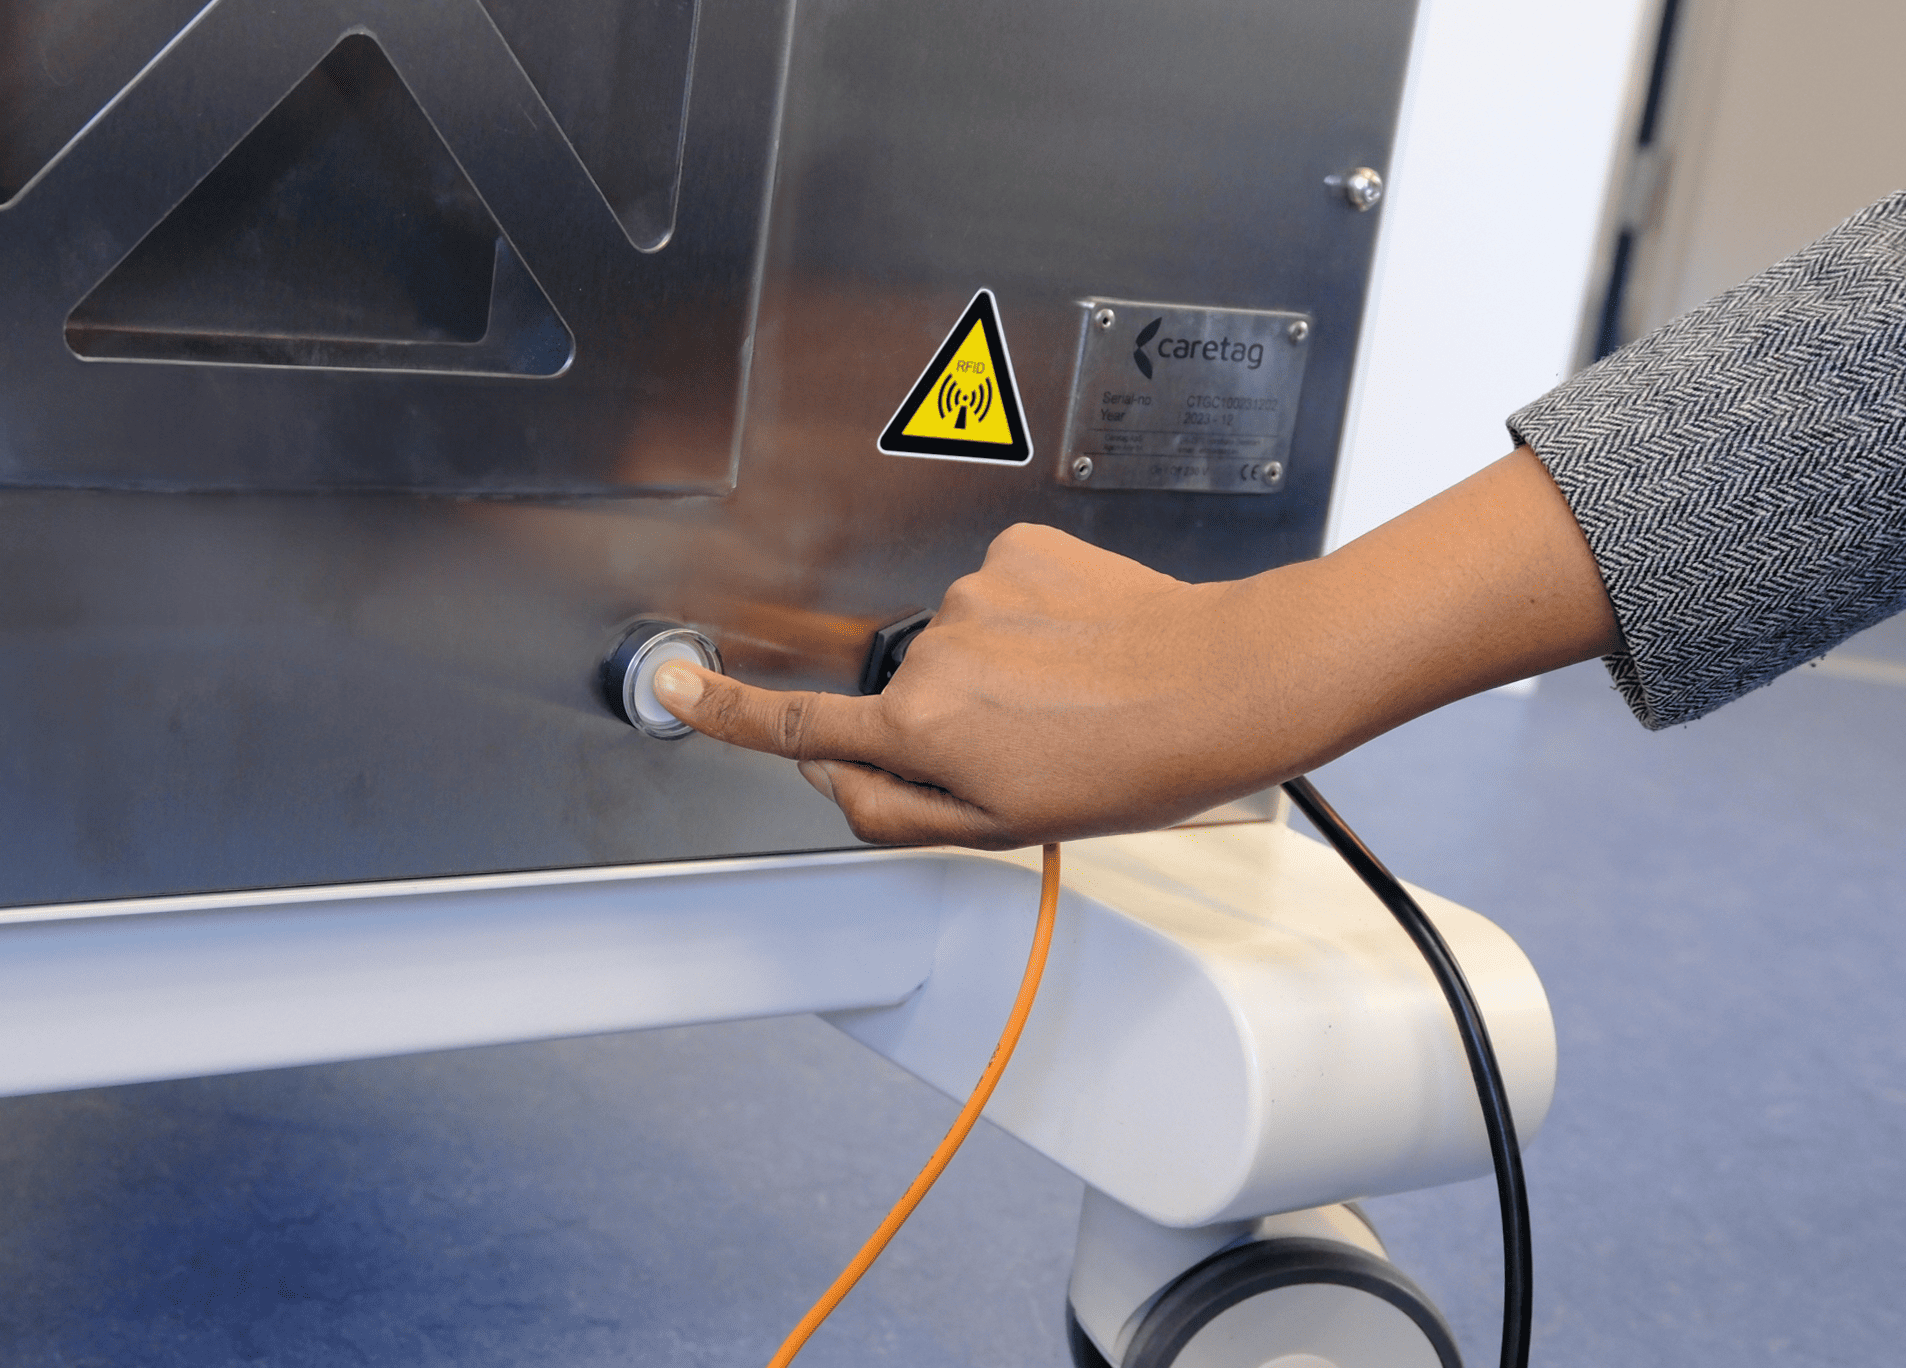
- Release once the white button lights up