Zebra Printer Setup
The user should connect the printer to their system before scanning the items and configure the printer
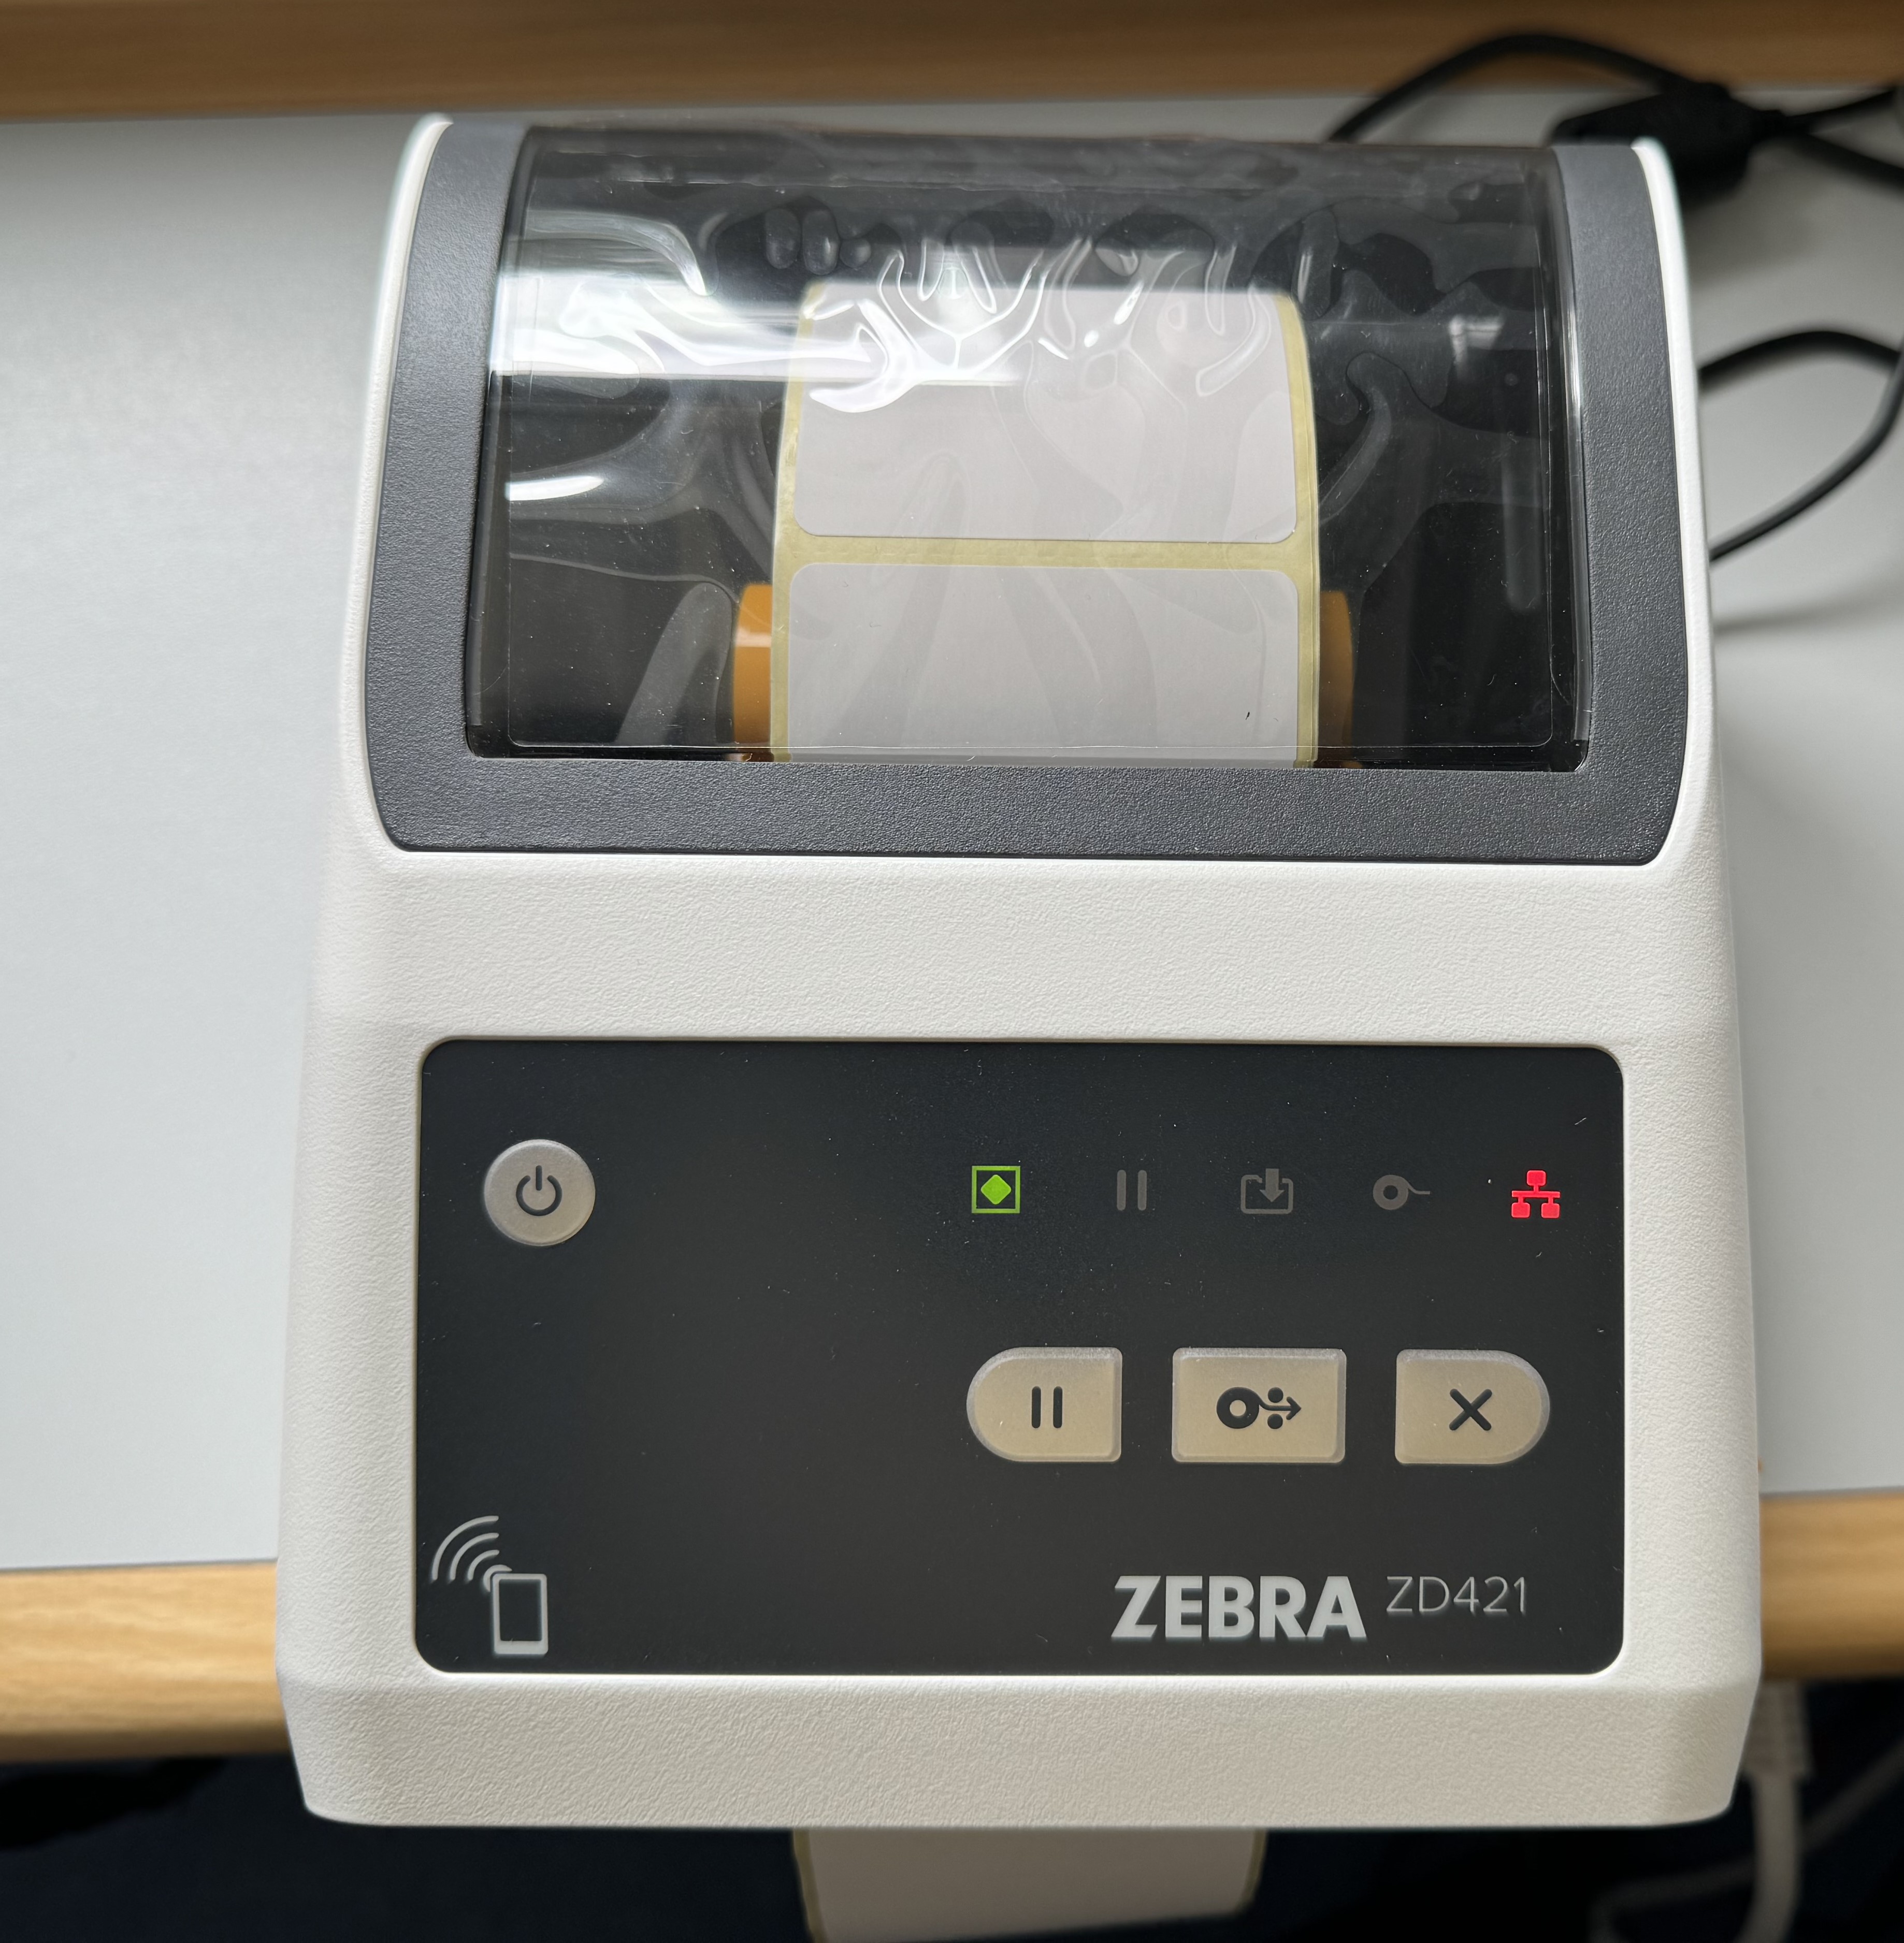
Here we have used Zebra ZD421 printer.
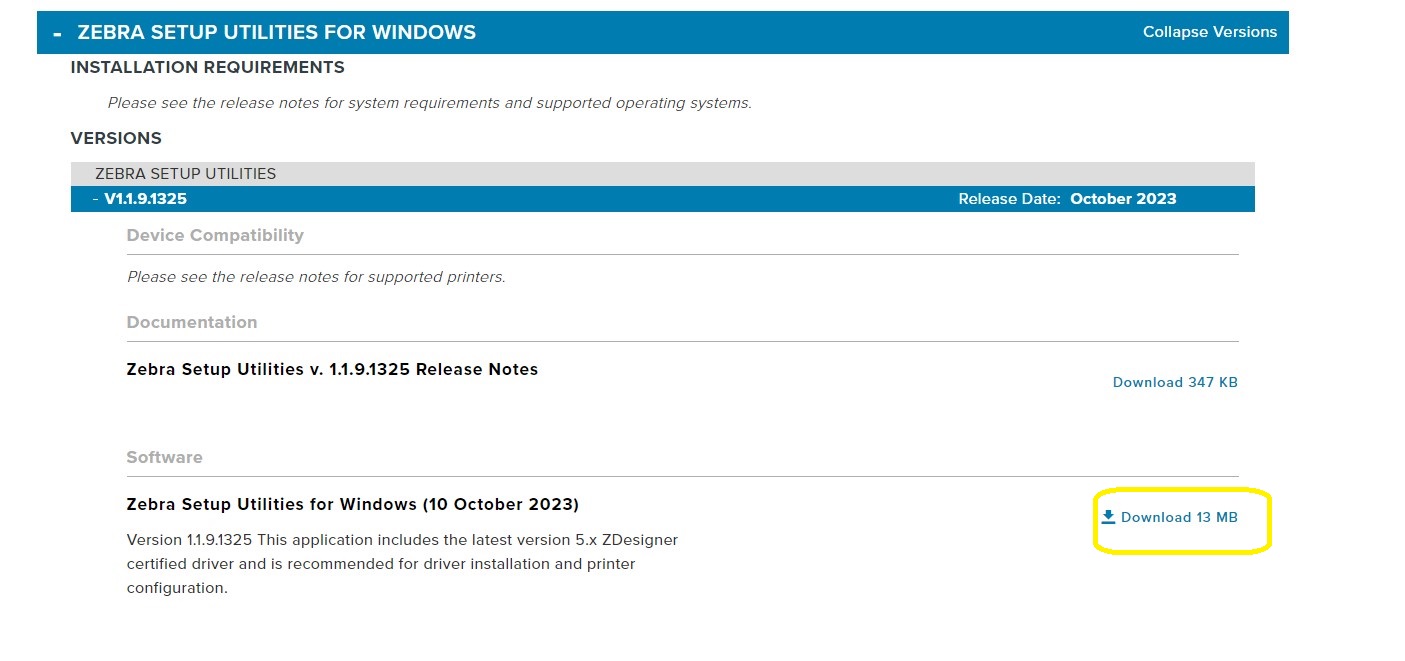
First the user has to install the printer software, in this case we have installed Zebrautilities, version v. 1.1.9.1325. The software can be downloaded from the below link
https://www.zebra.com/us/en/support-downloads/printer-software/printer-setup-utilities.html
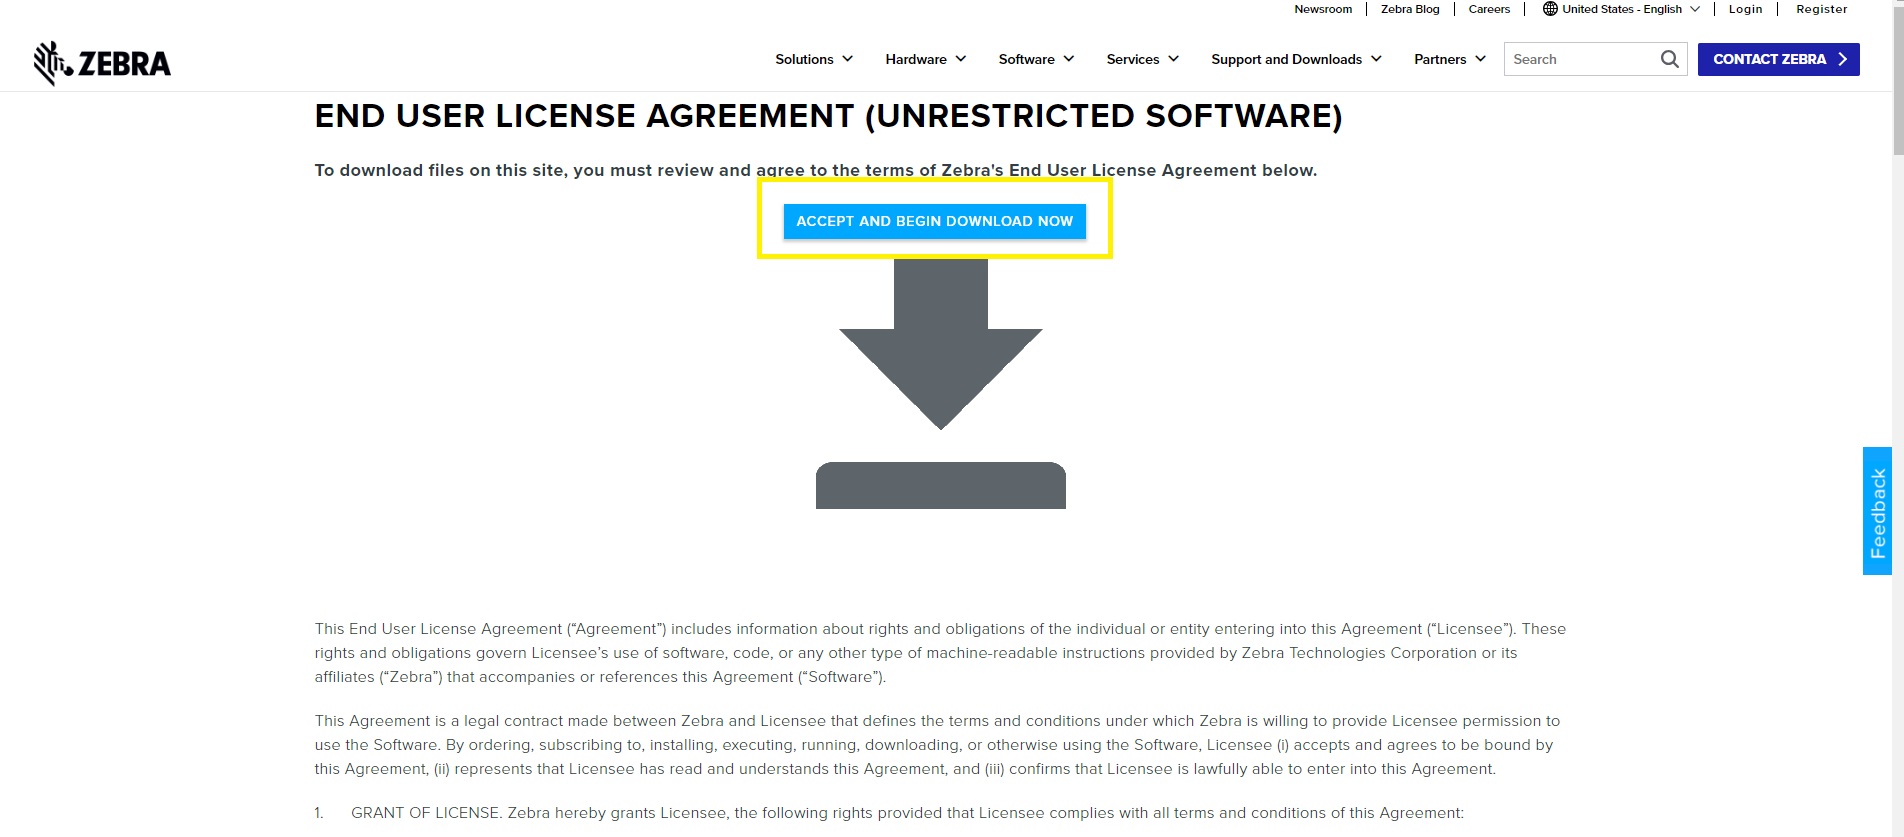
Click on Accept and Download
Open the installation file and follow the prompts.

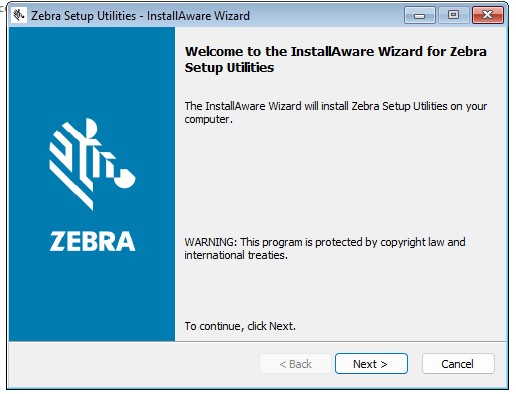
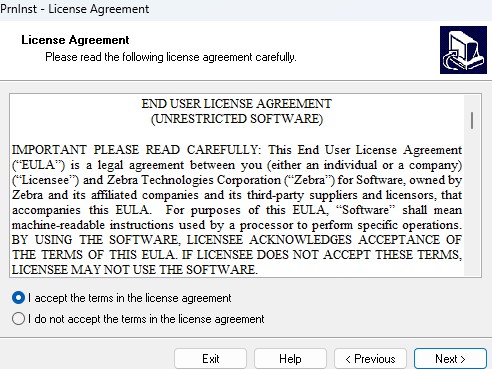
Click on the check box” I accept the terms of the license agreement” and click next.
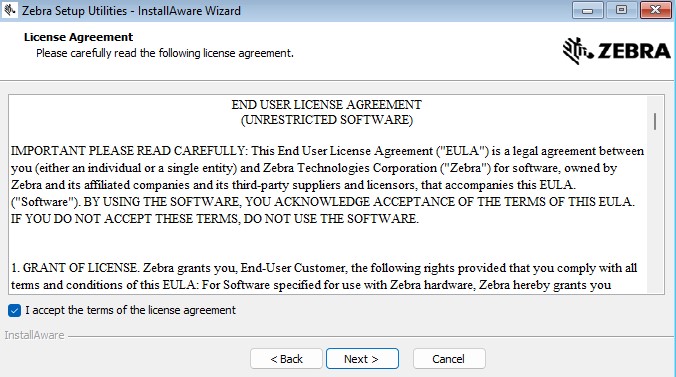
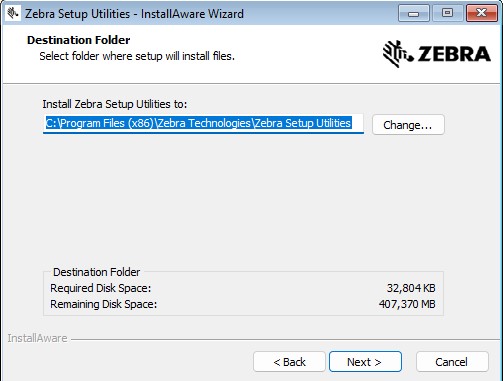
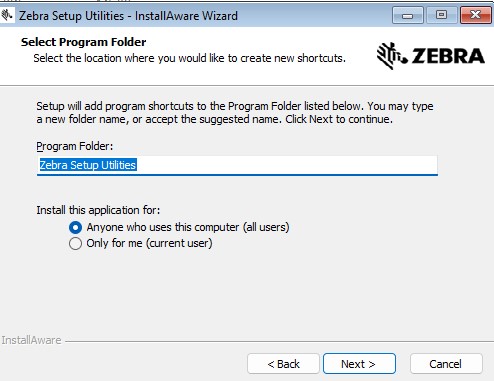
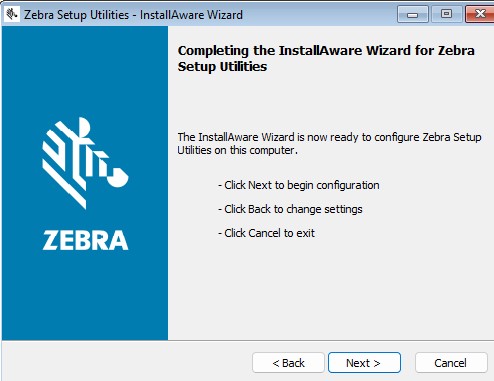
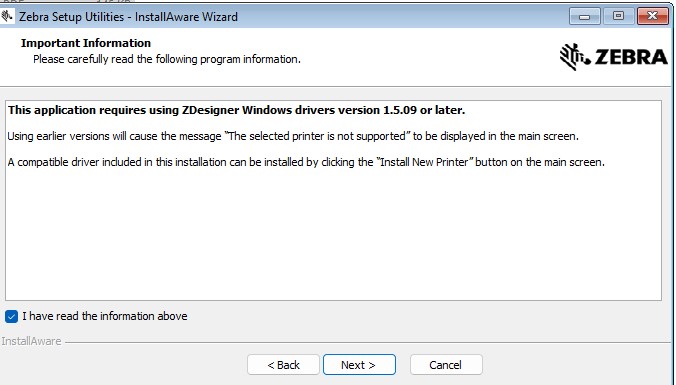
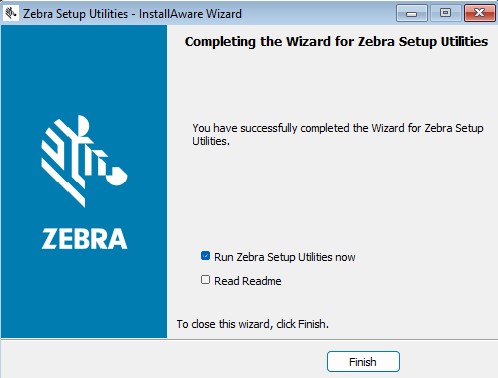
Click on the Checkbox-Run Zebra Setup Utilities now and click Finish.
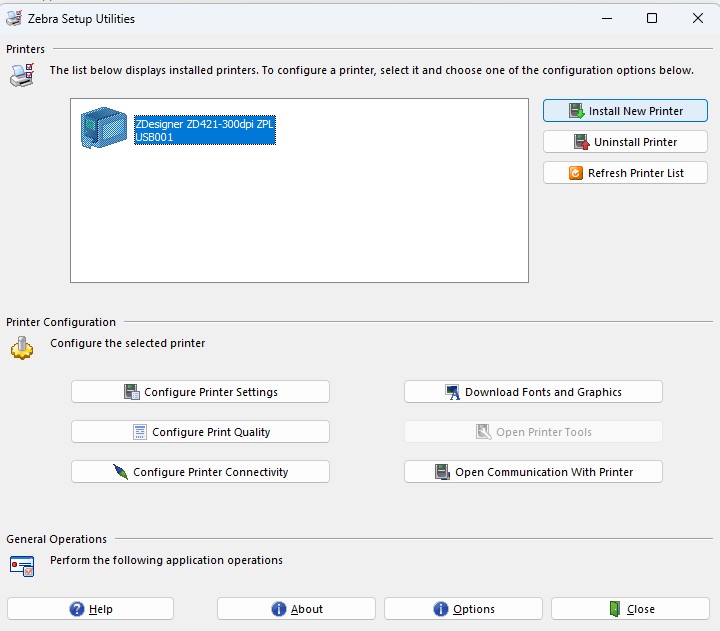
The Zebra Utilities desktop app opens, if not click on the app icon.
Click on the Install New Printer
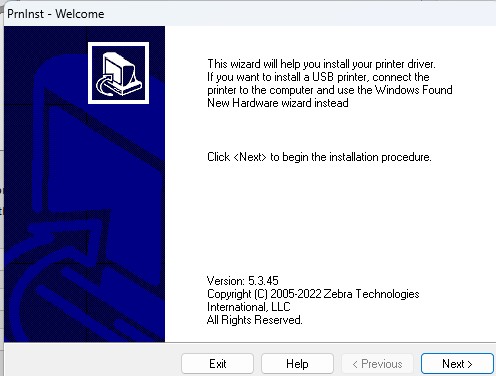
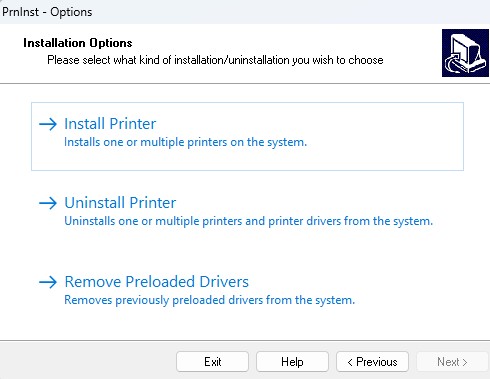
Select Install Printer and click Next
Accept the licence agreement!
Select the Printer
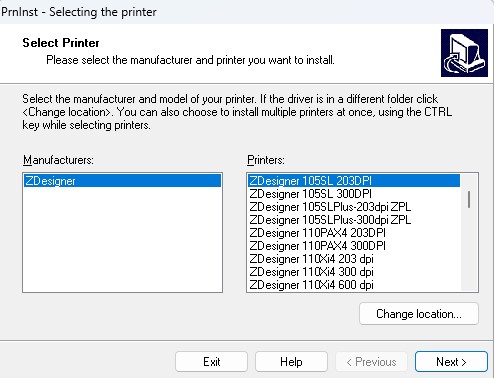
Here, we are using Zebra Zdesigner ZD421-300dpiZPL
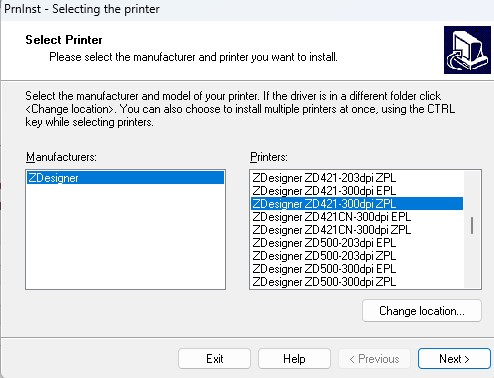
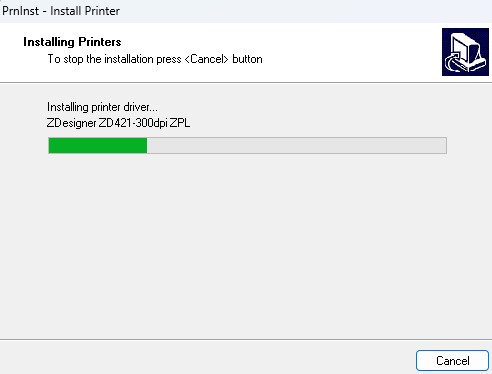
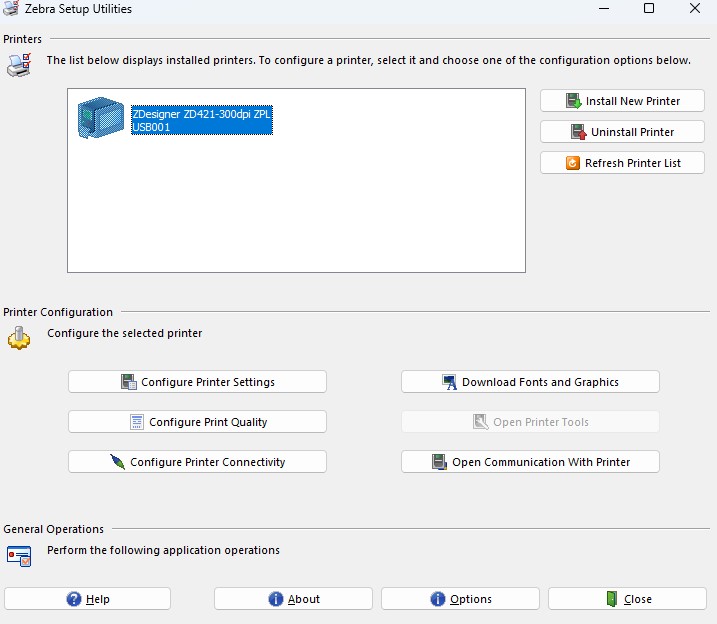
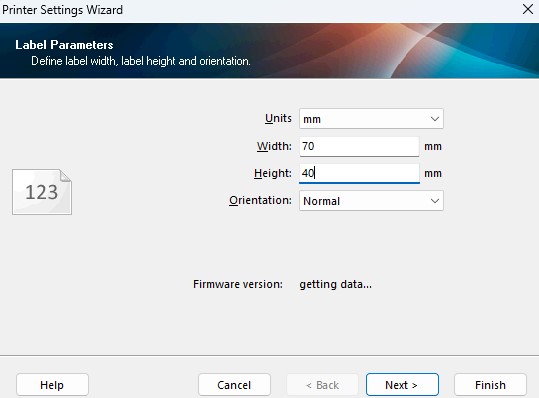
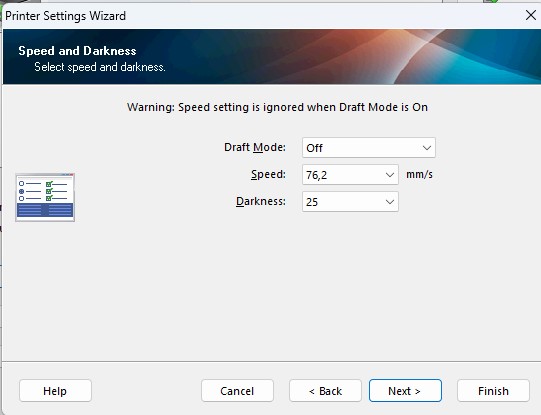
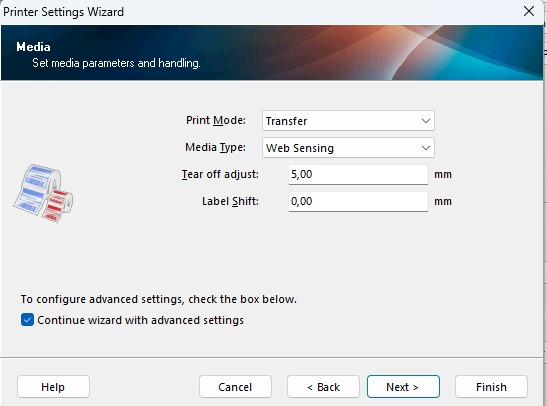
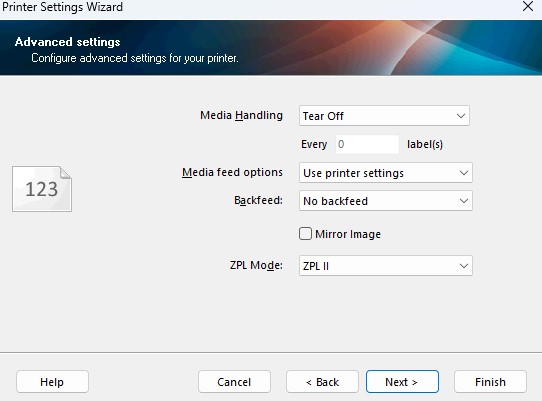
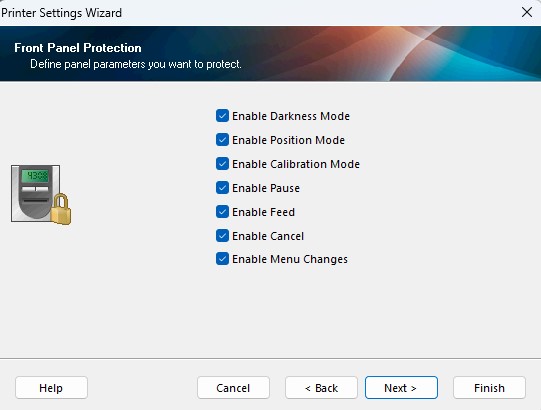
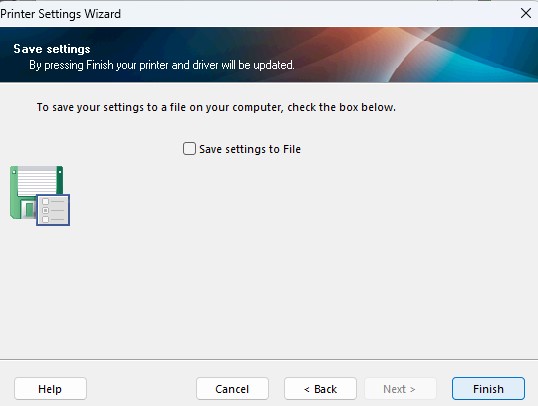
Once the Printer is installed, click on the Configure printer settings.
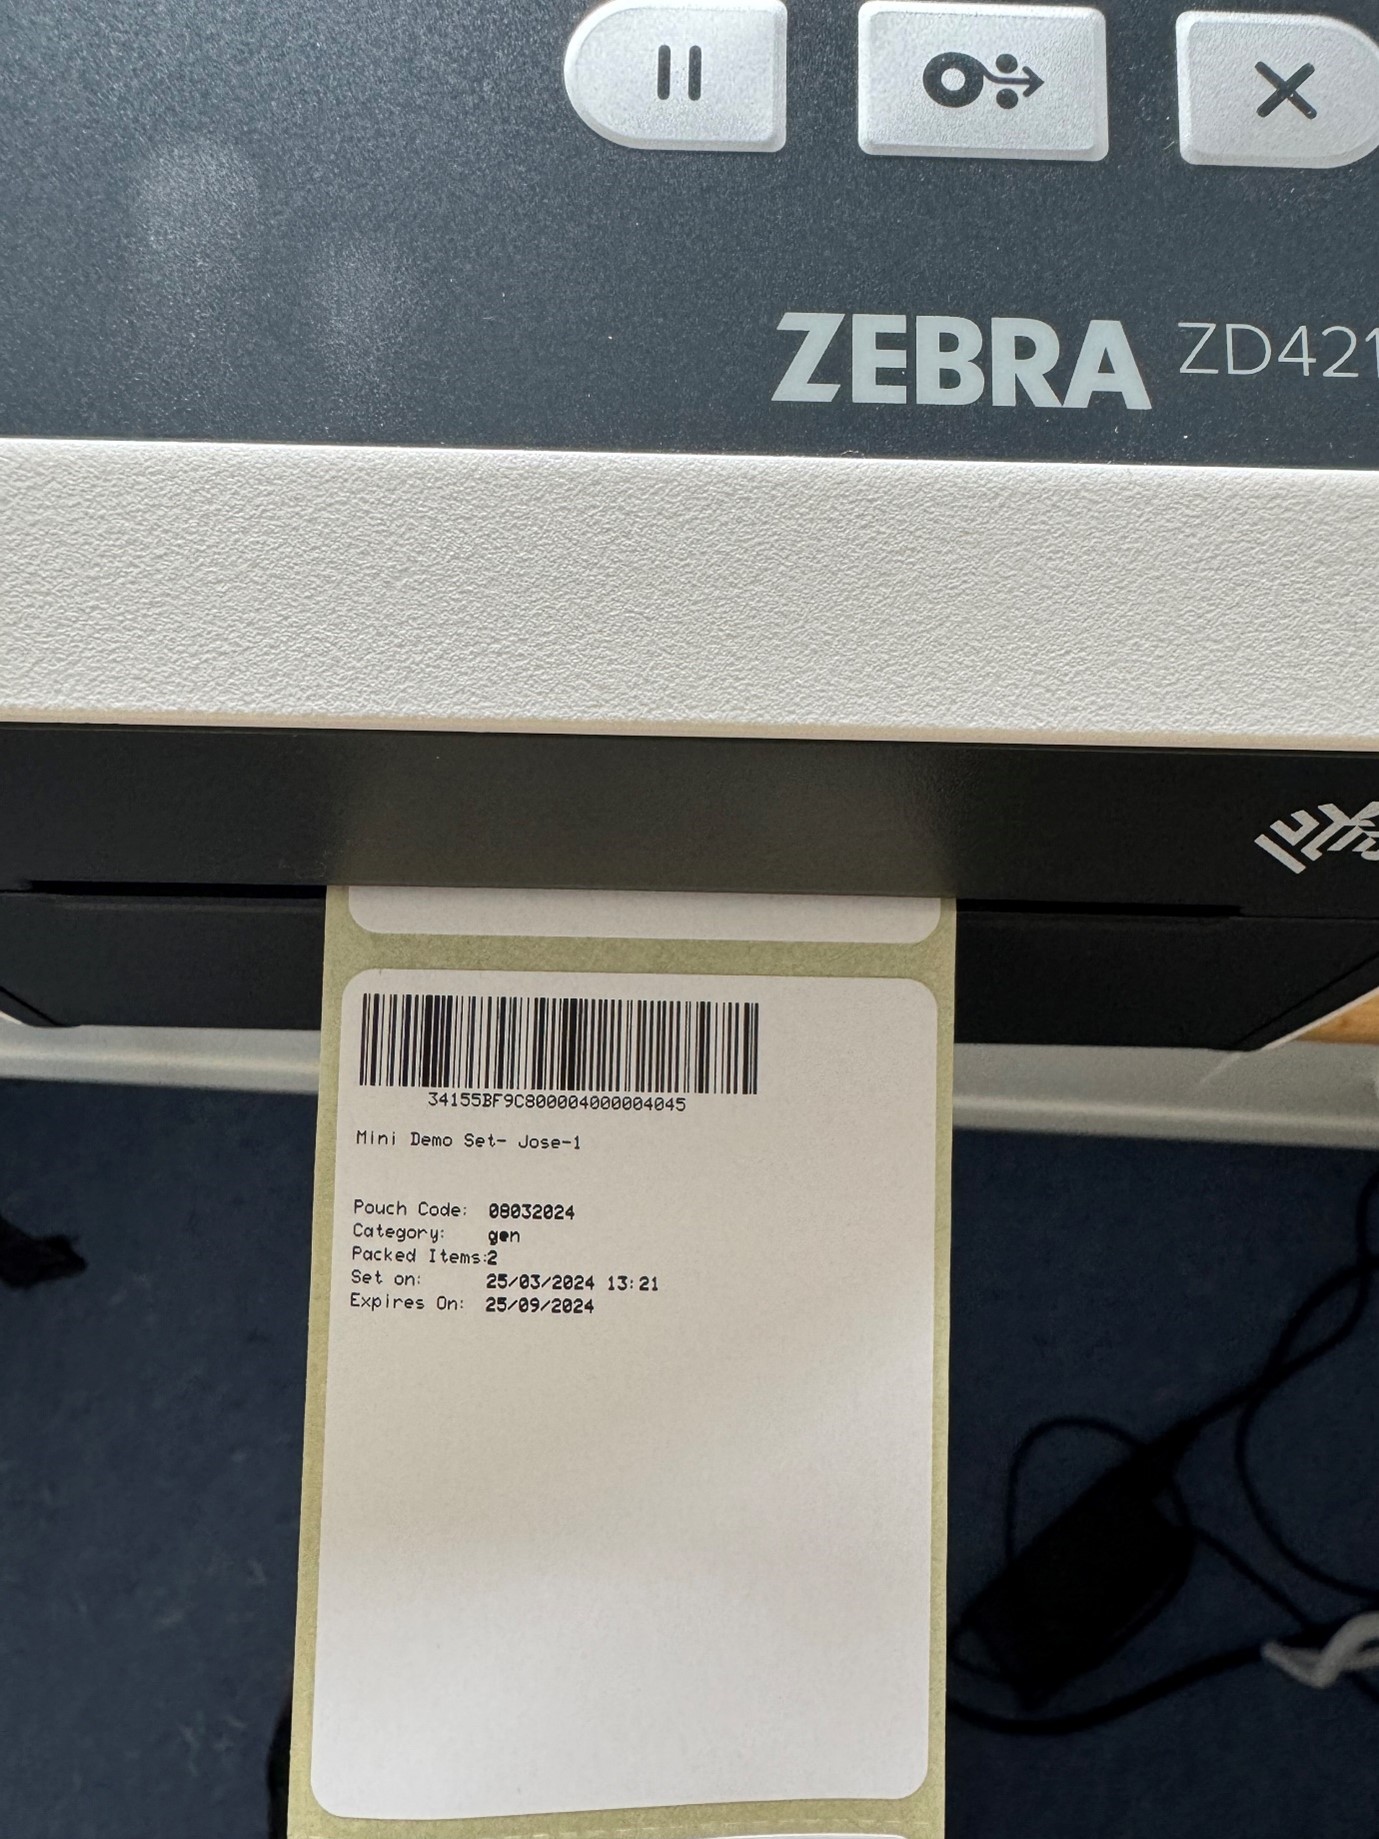
When the packing is completed, the label will be automatically generated and printed.
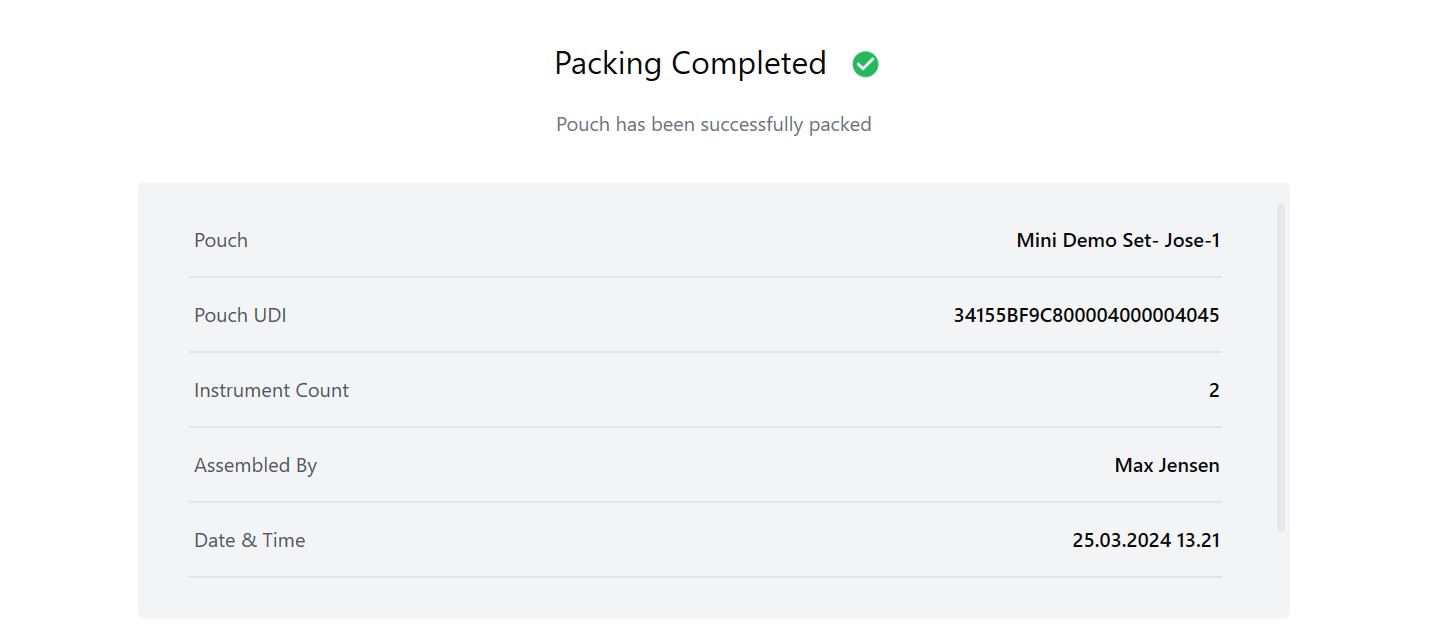
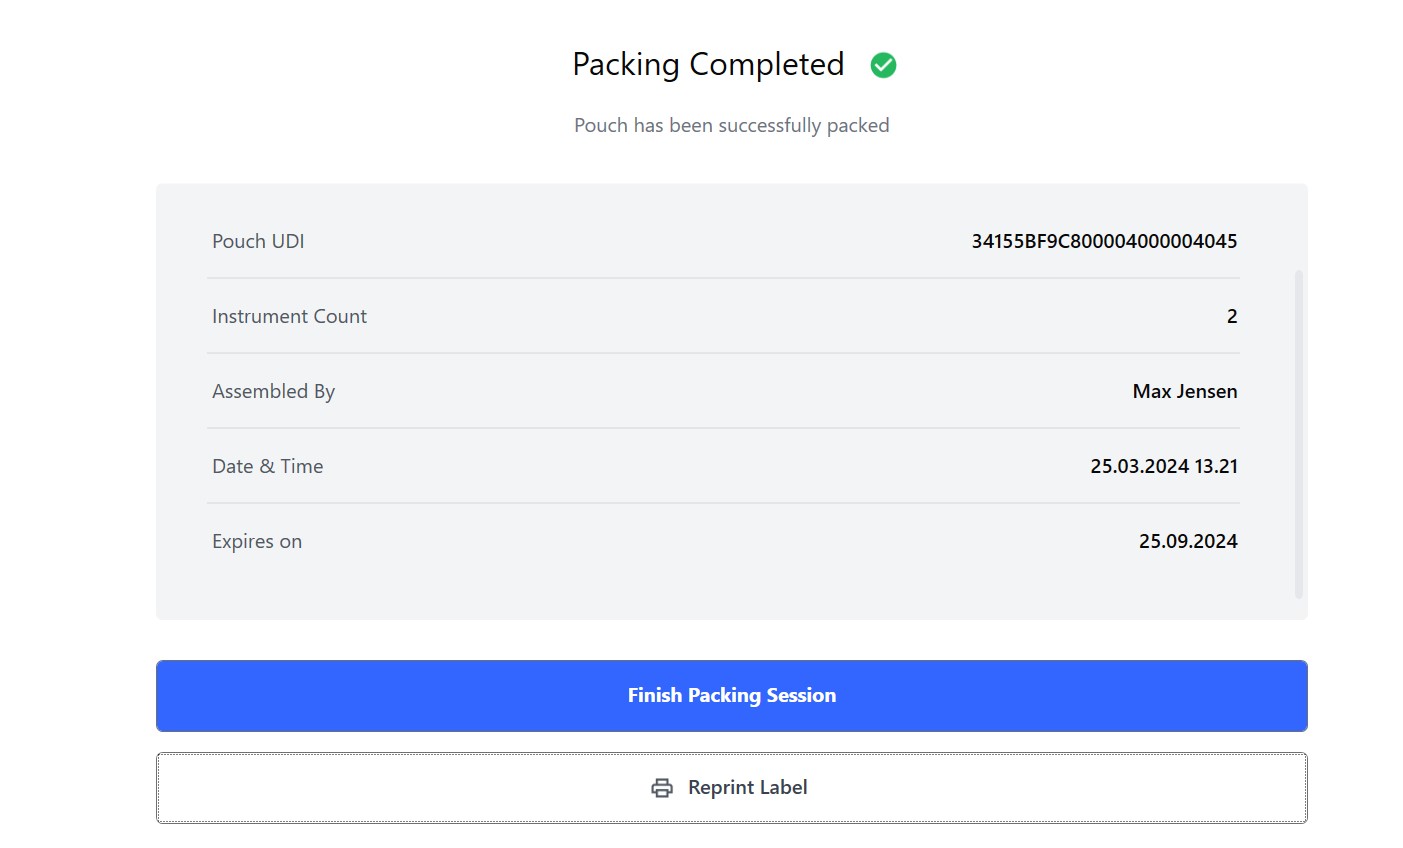
The printed label consists of barcode, UDI, name of the packed set, tray/pouch/trolley code, Category of the surgery, number of items packed, when the label was printed and the expiry date.