Smart OR Info - User Manual
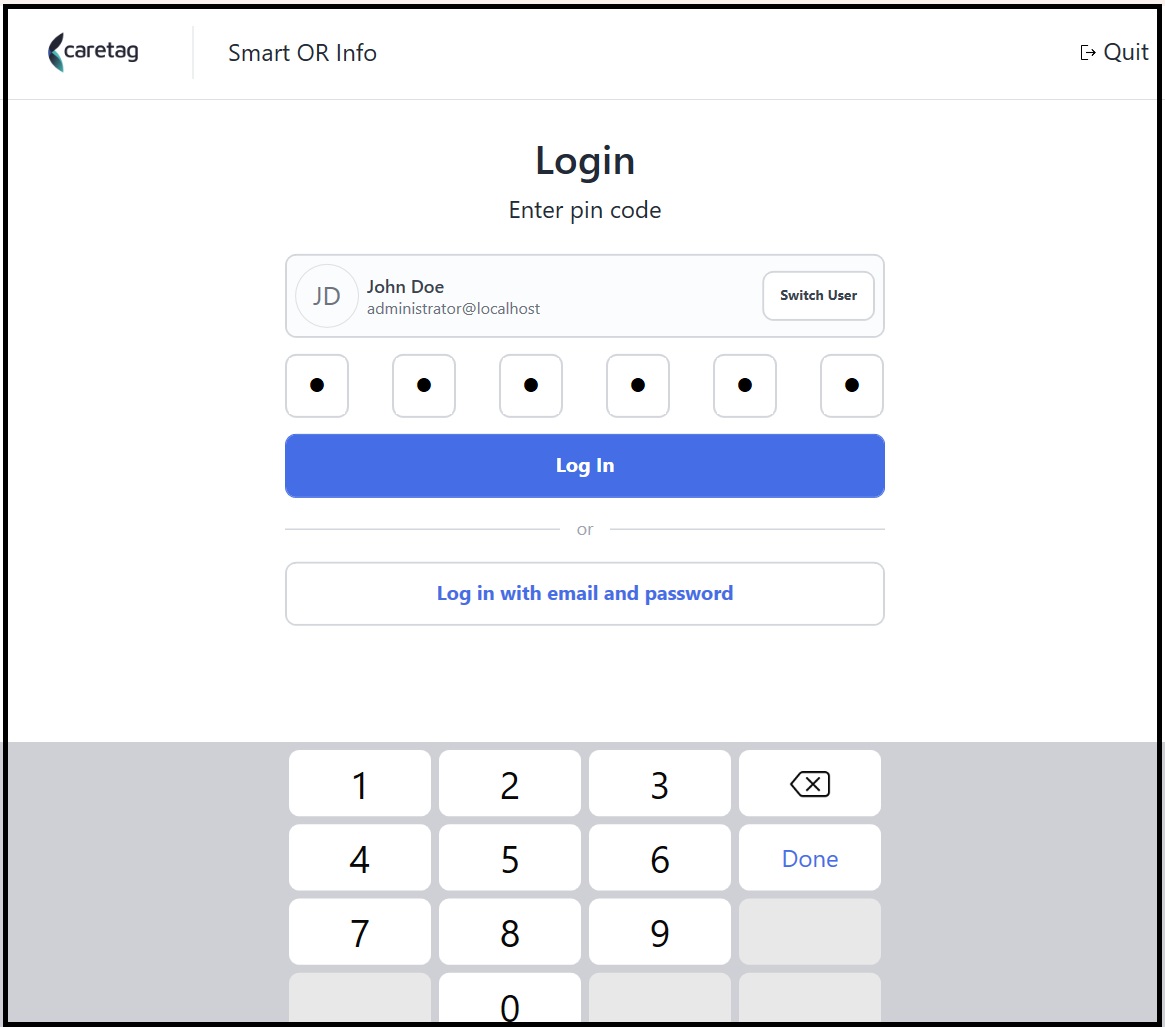
Launch the application and login either using the pin code or email and password.
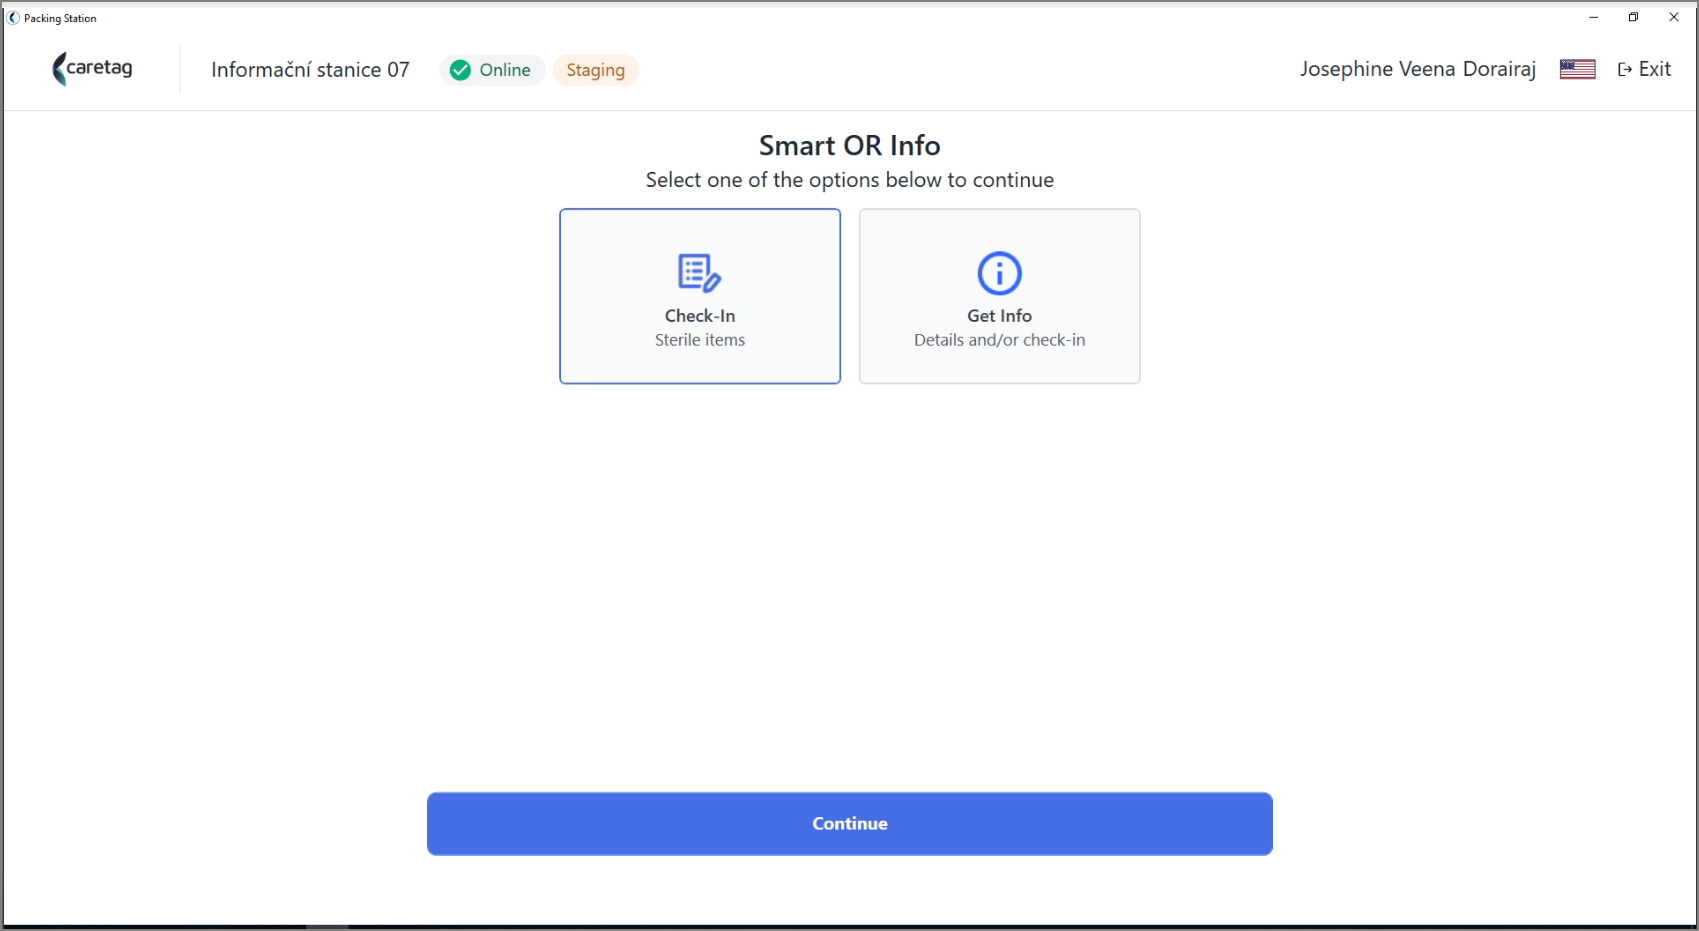
The Smart OR Info station has 2 options: Check-In, Get Info
Connectivity
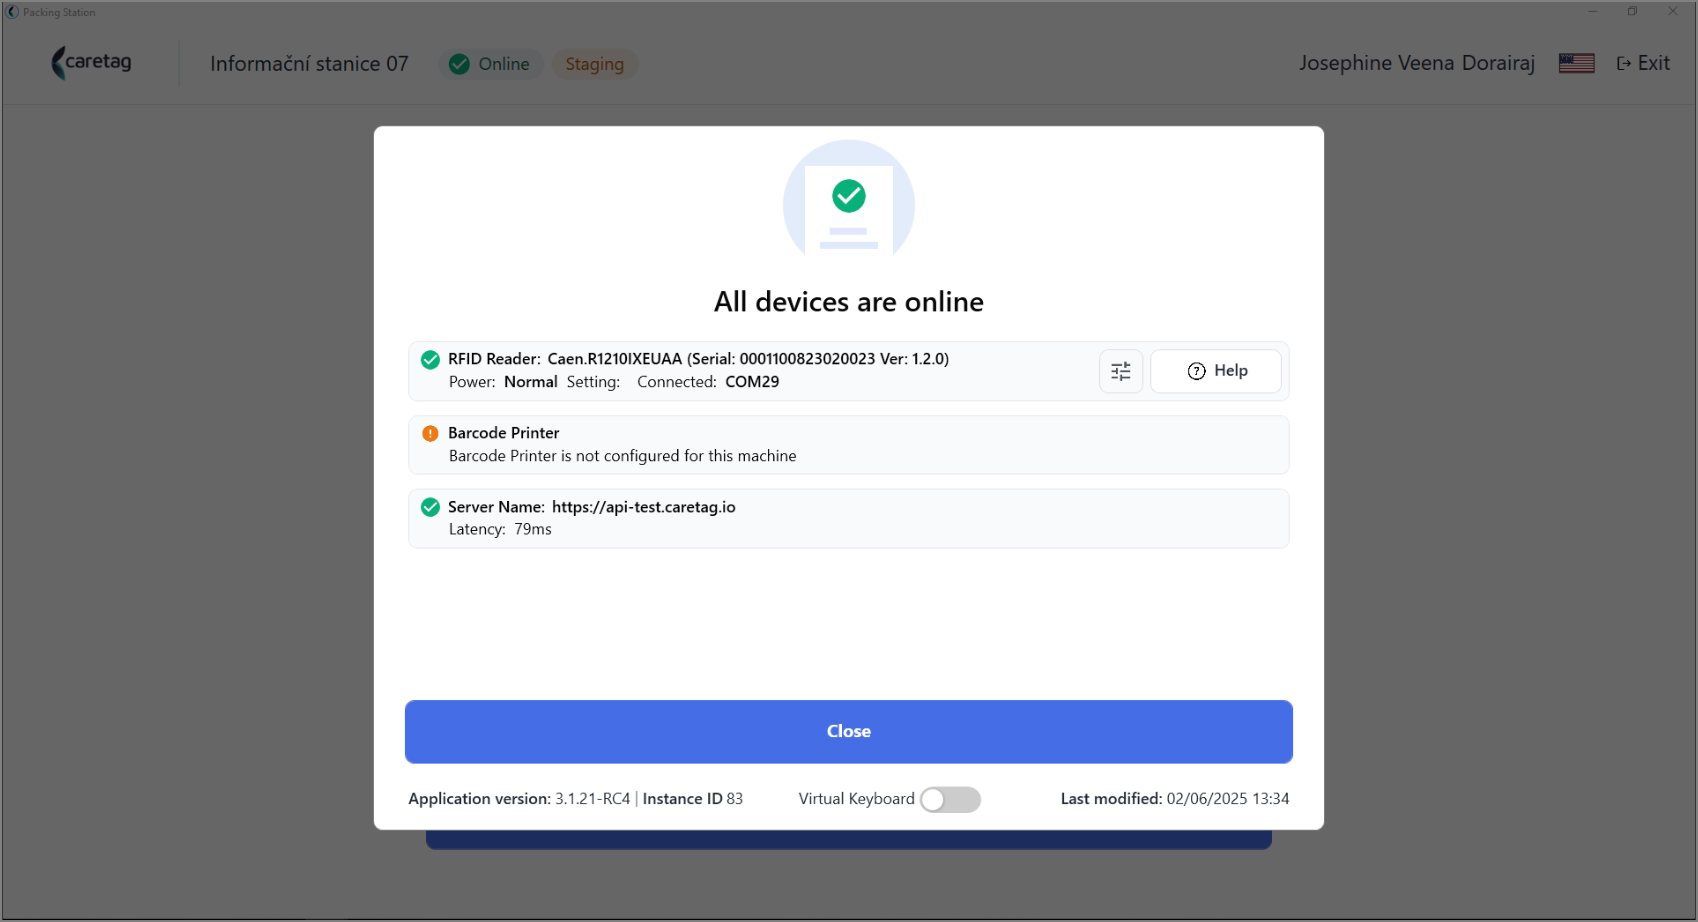
- At the top of the screen, you’ll find the Online button with a green checkmark.
- This indicates the connectivity status. By clicking it, users can view whether the reader is connected, the current power level, the server the app is connected to, and the internet connection’s latency.
- At the bottom of the screen, the app displays its current version along with the date it was last updated.
Check-In
- Select Check-In and press continue.
Check-In Screen Behavior Based on OR Linkage
-
The screen that appears after selecting Check-In varies depending on how the Smart OR Info Station is configured:
-
If the station is linked to a single Operating Room, it will immediately display the list of surgeries scheduled for that OR.
- Surgeries are listed in ascending order by date and time, with the surgery currently in progress always displayed at the top.
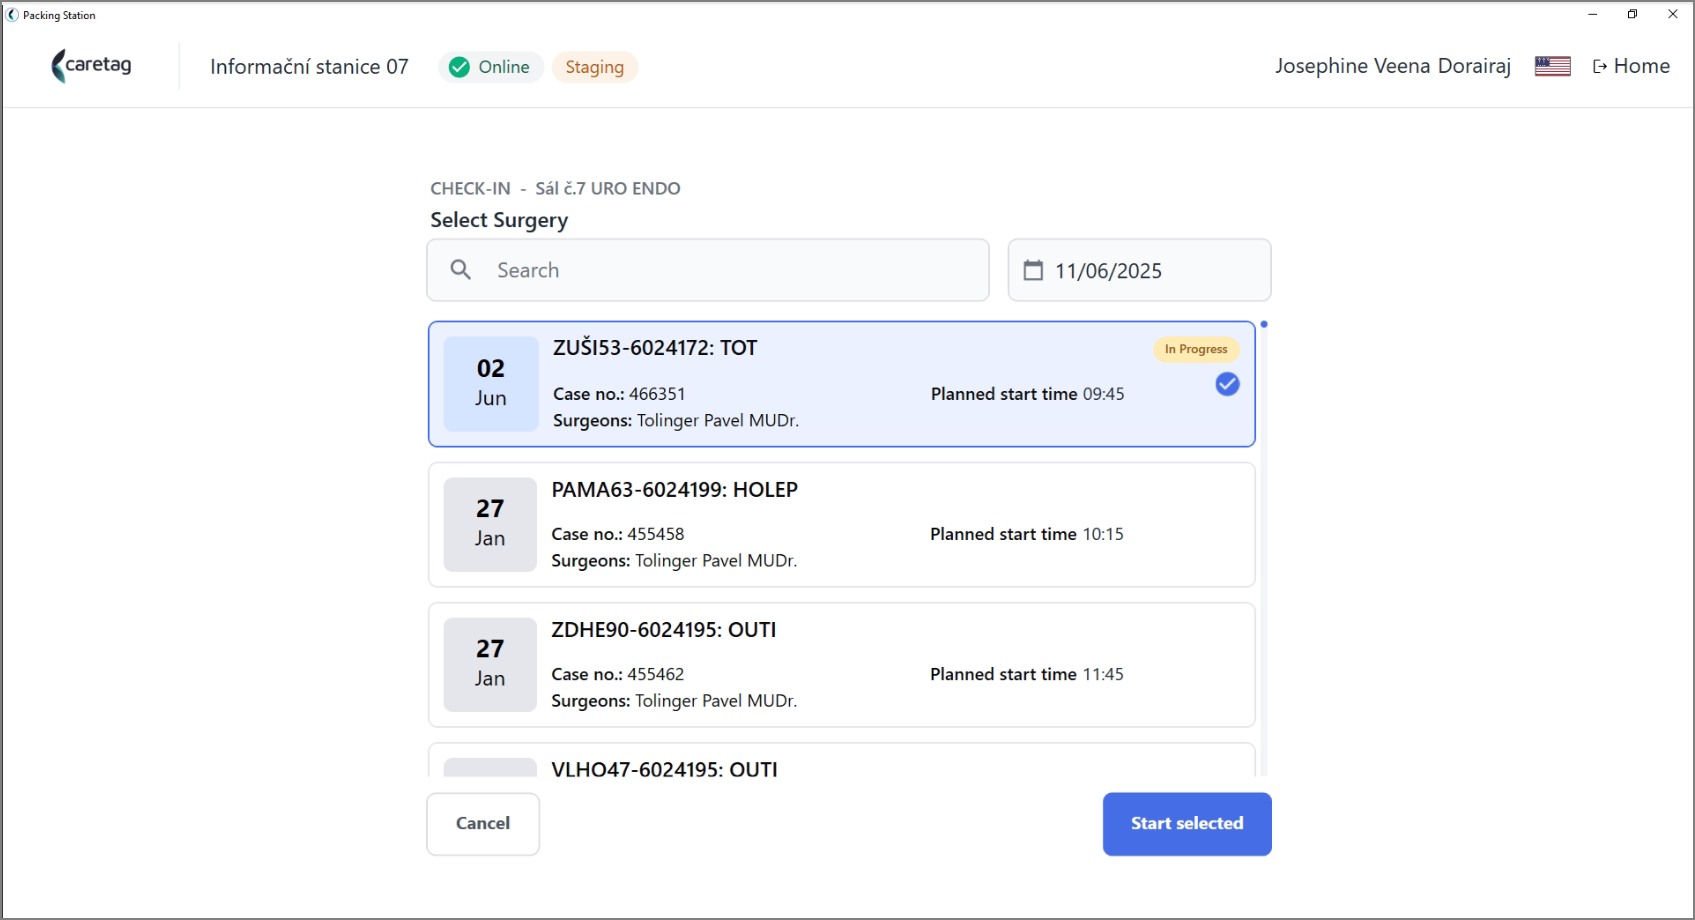
- If the station is linked to multiple Operating Rooms, the user will first be prompted to select the OR number. After selecting, the list of surgeries planned for that specific OR will be shown.
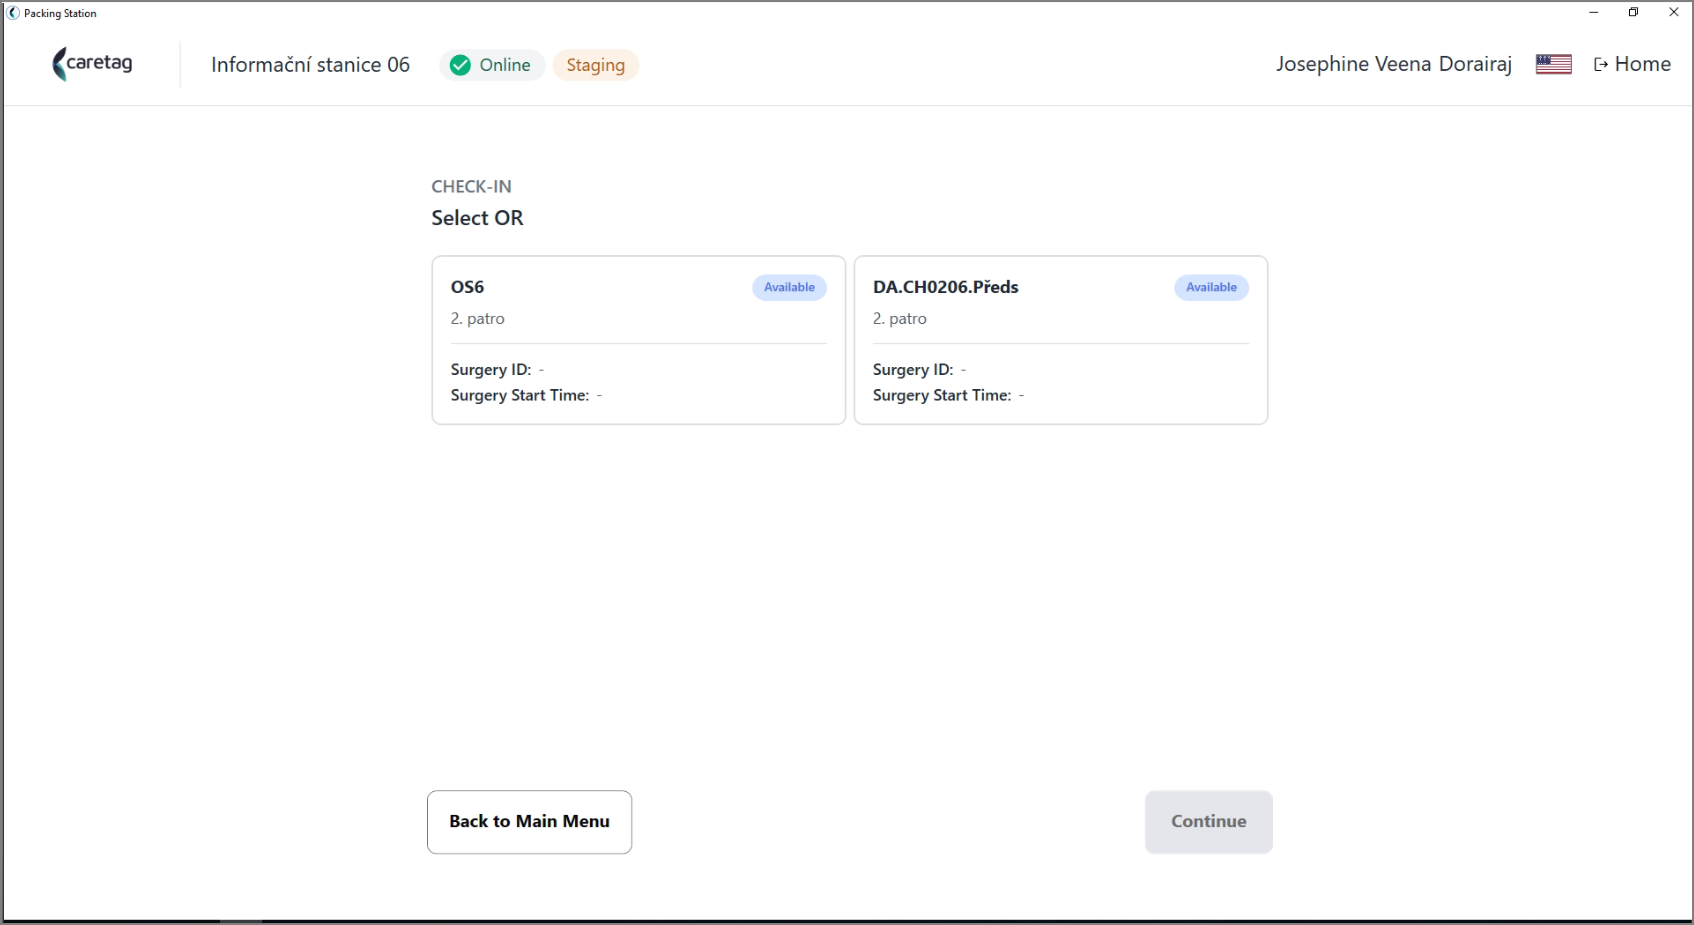
This behavior is illustrated in the section below.
Linked Locations for Specific Operating Rooms (ORs)
- This section explains how specific Operating Rooms (ORs) are linked to app instances.
-
When you click the Online Connectivity button, you’ll see the App Instance ID, —each app instance has a unique name, such as Information Station 07. One or more ORs can be associated with each instance.
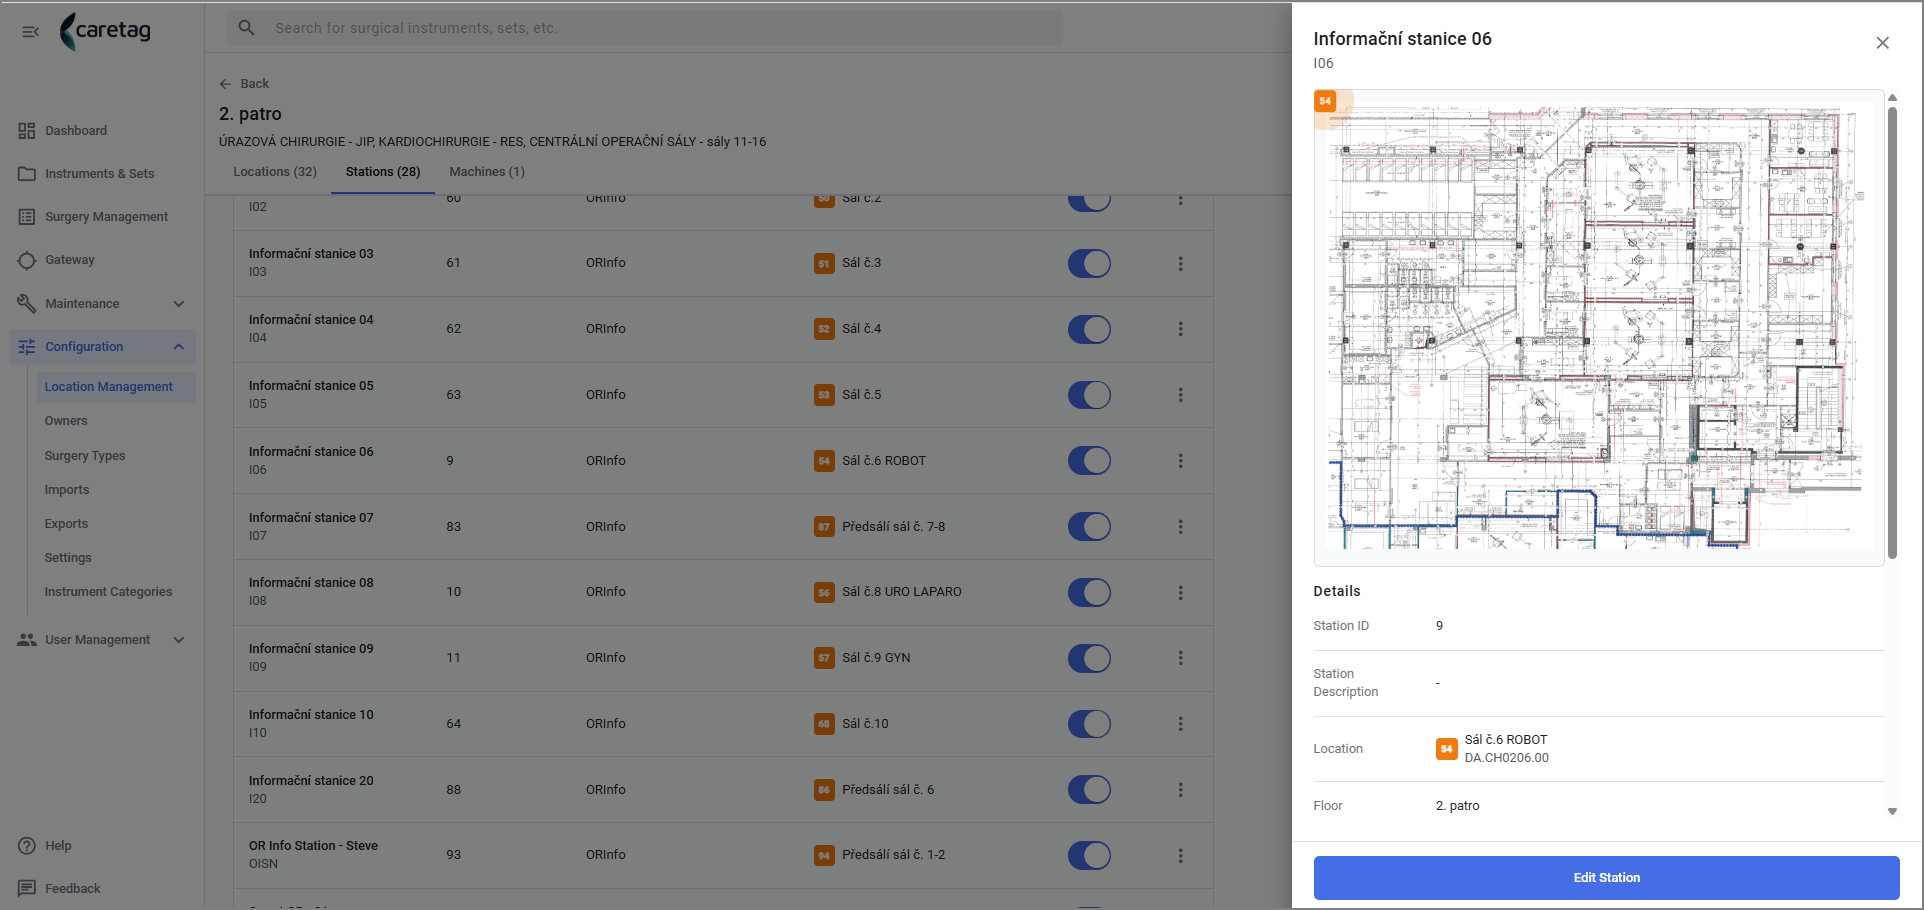
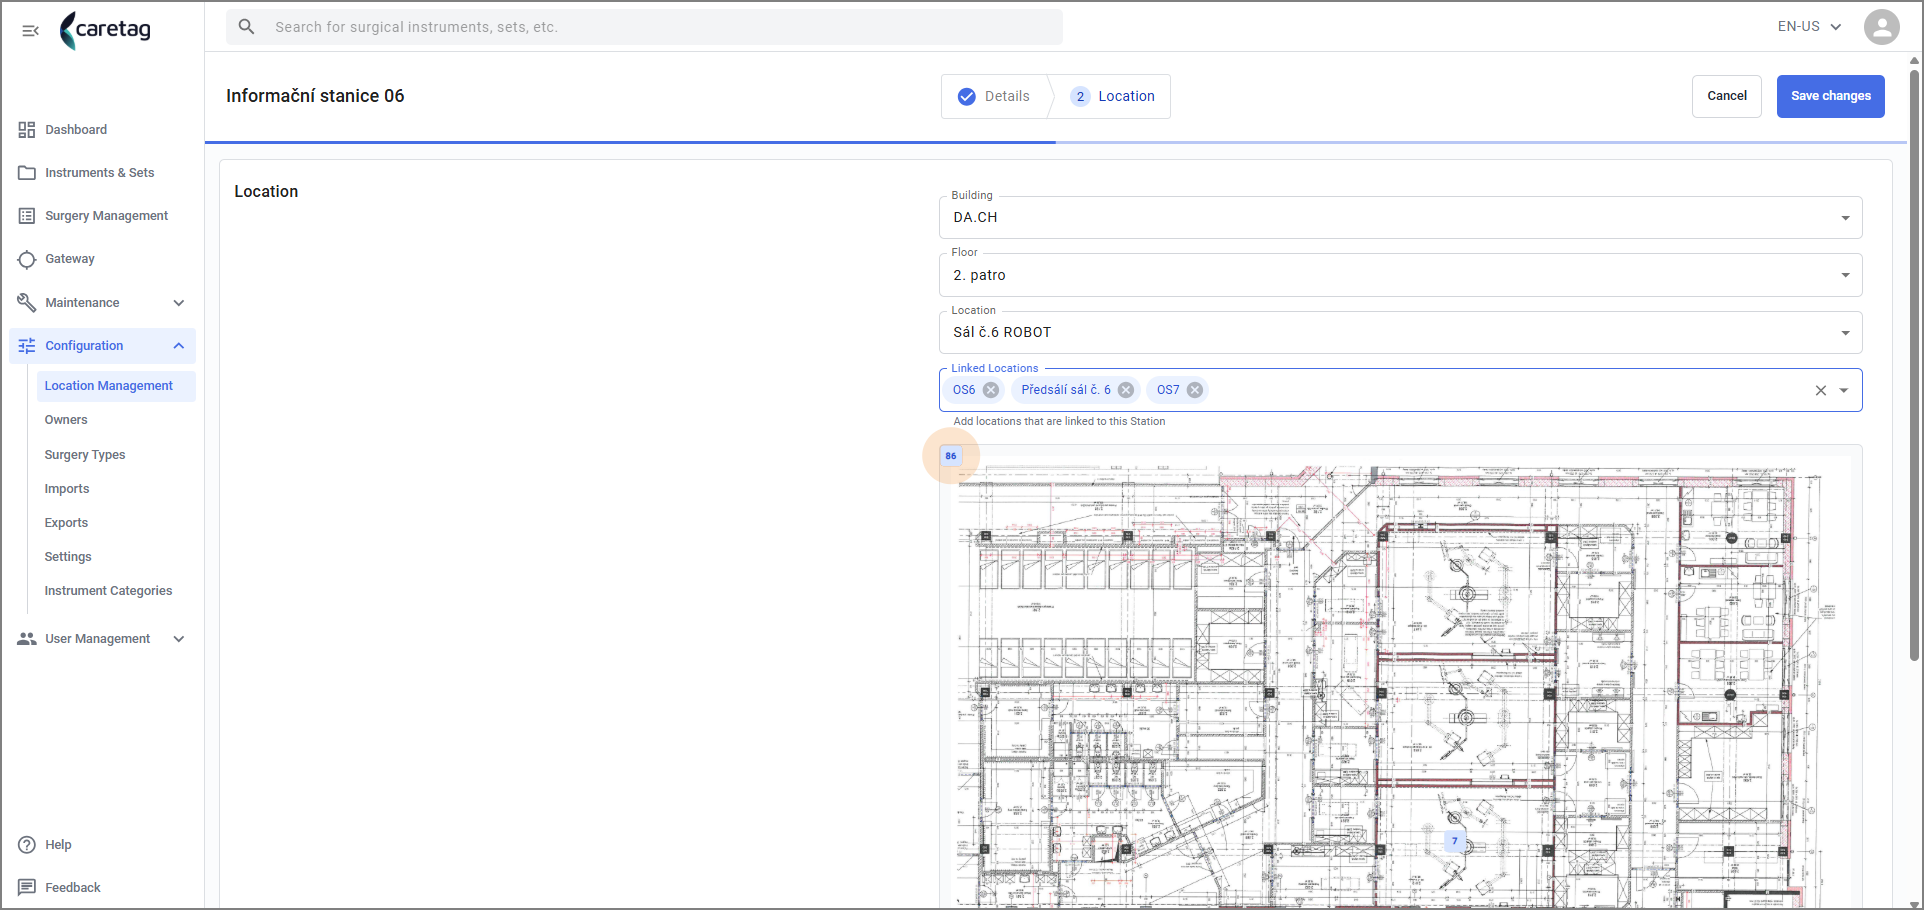
- In this image from the Admin Station configuration-Location Management, you can see that App Instance 83 is linked to a single Operating Room.
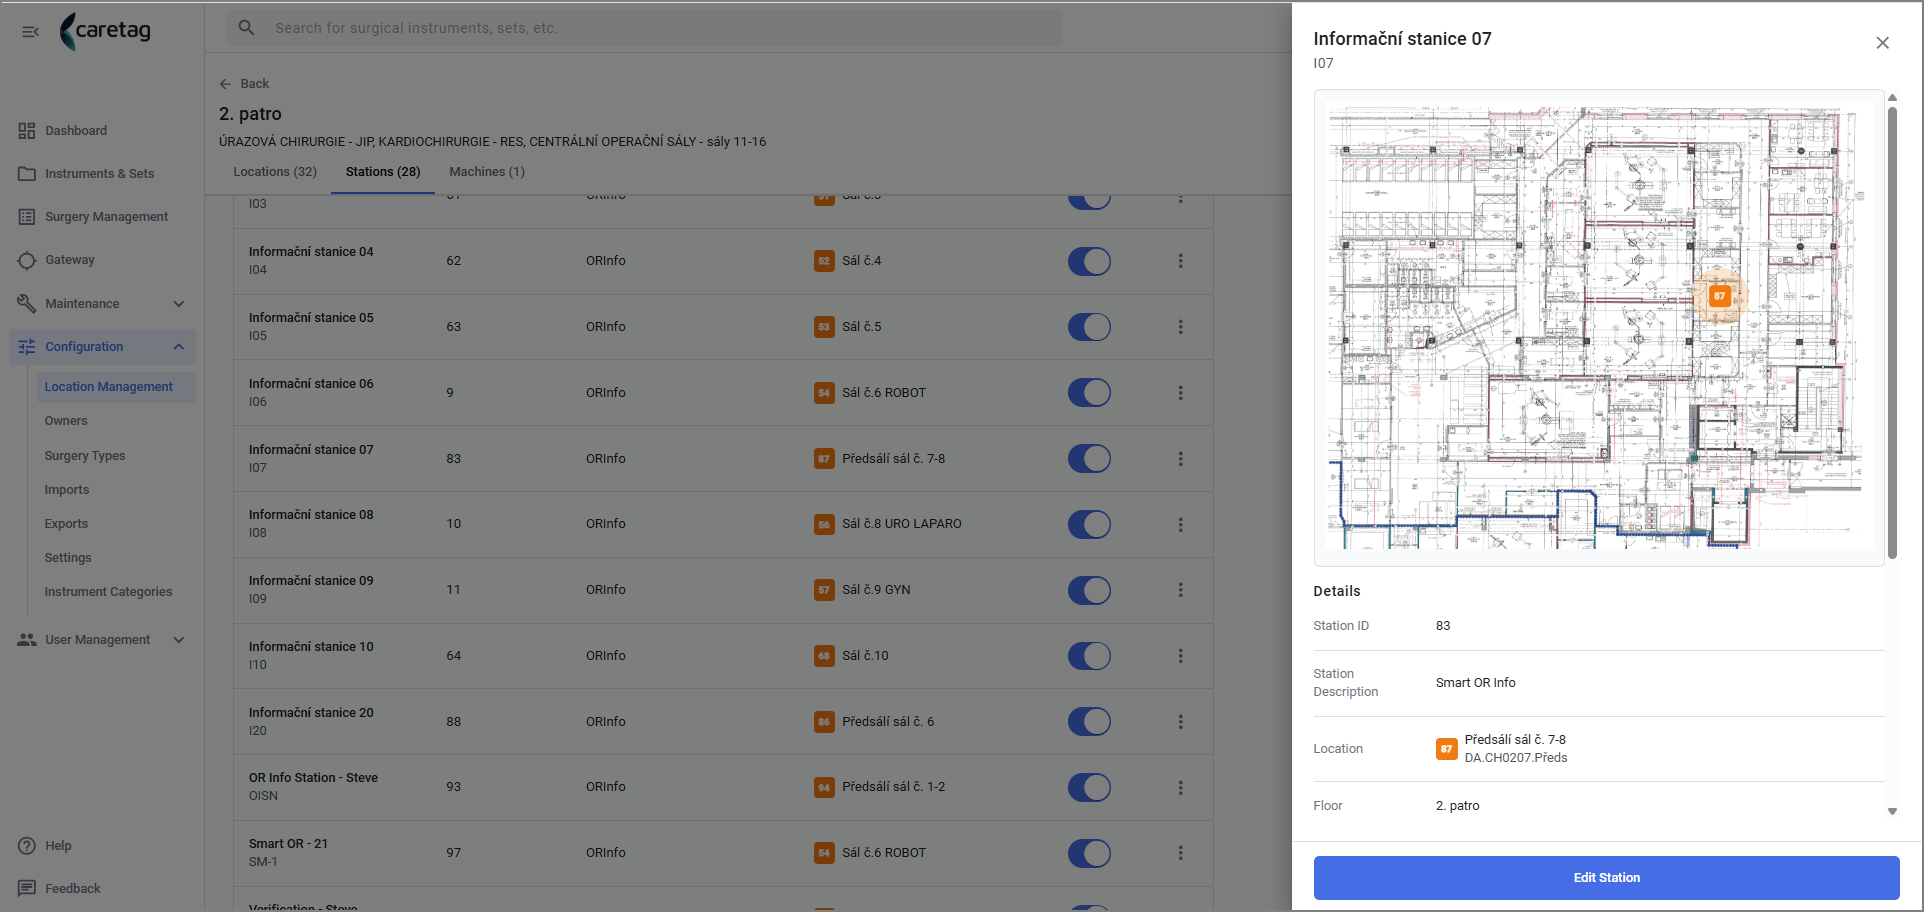
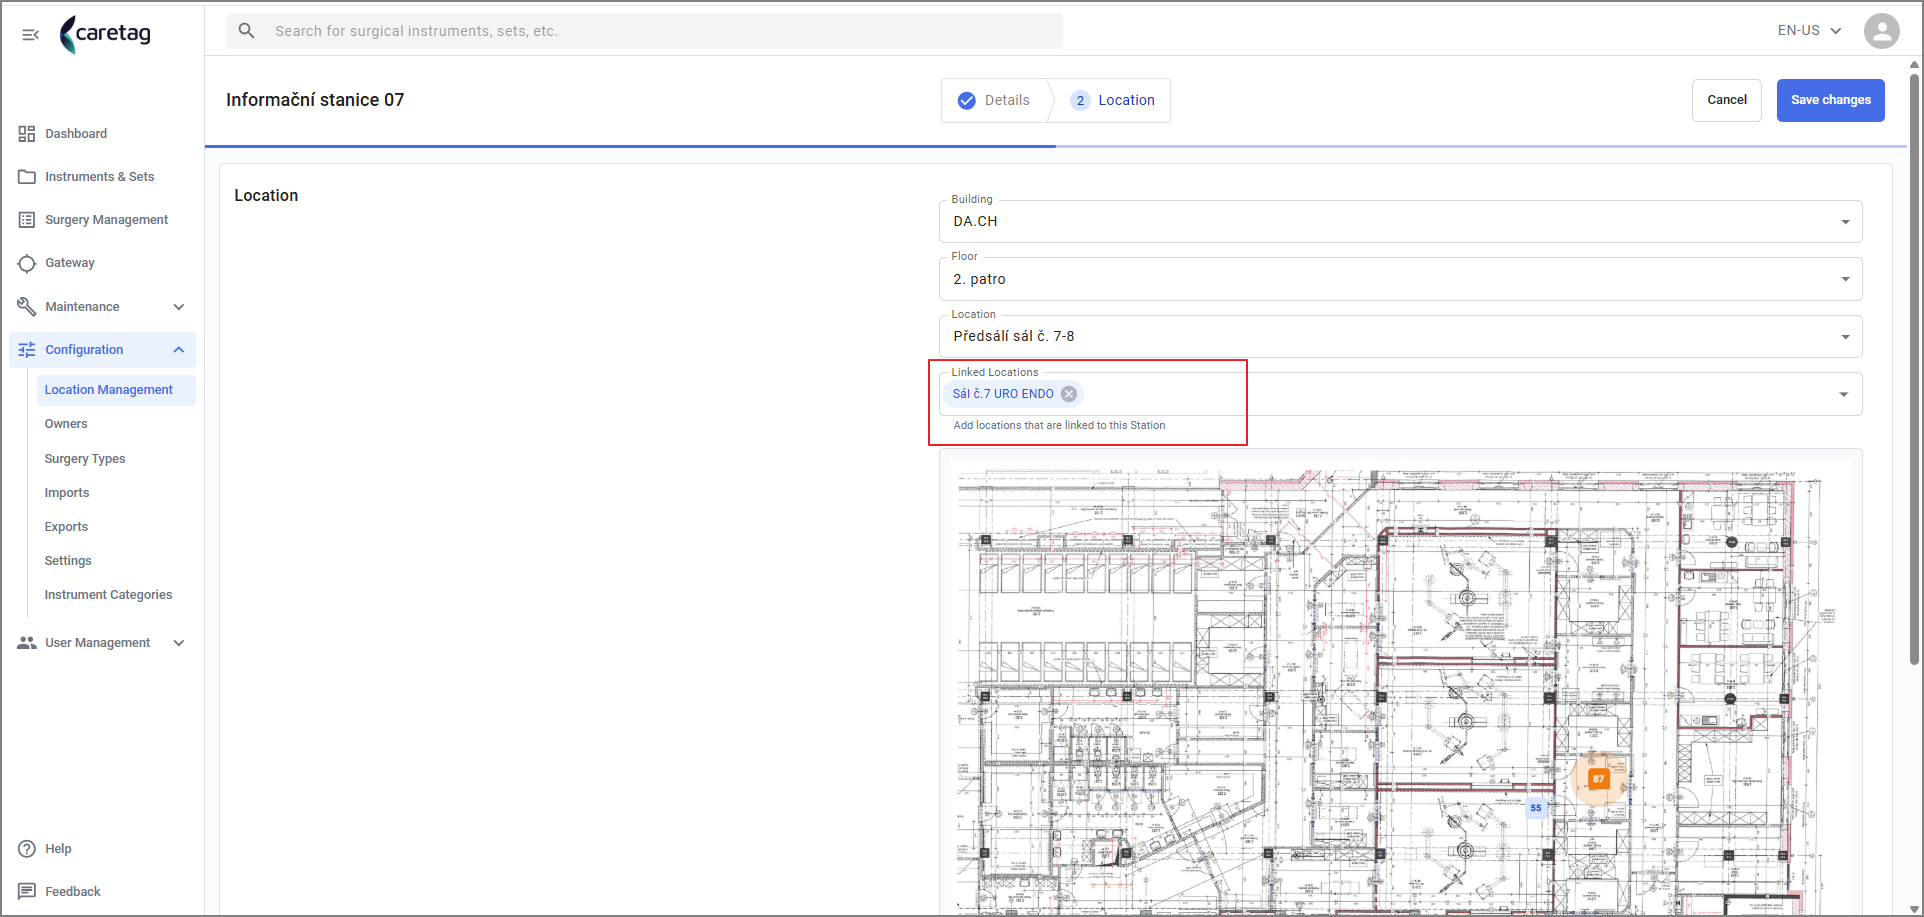
- For App instance 9, multiple ORs are linked to it.
Check-IN Flow
- Once you are in the surgery list page.
- Select the Surgery from the list and click start selected.
- You can serach the surgery ID in the search bar or use Date and OR filters.
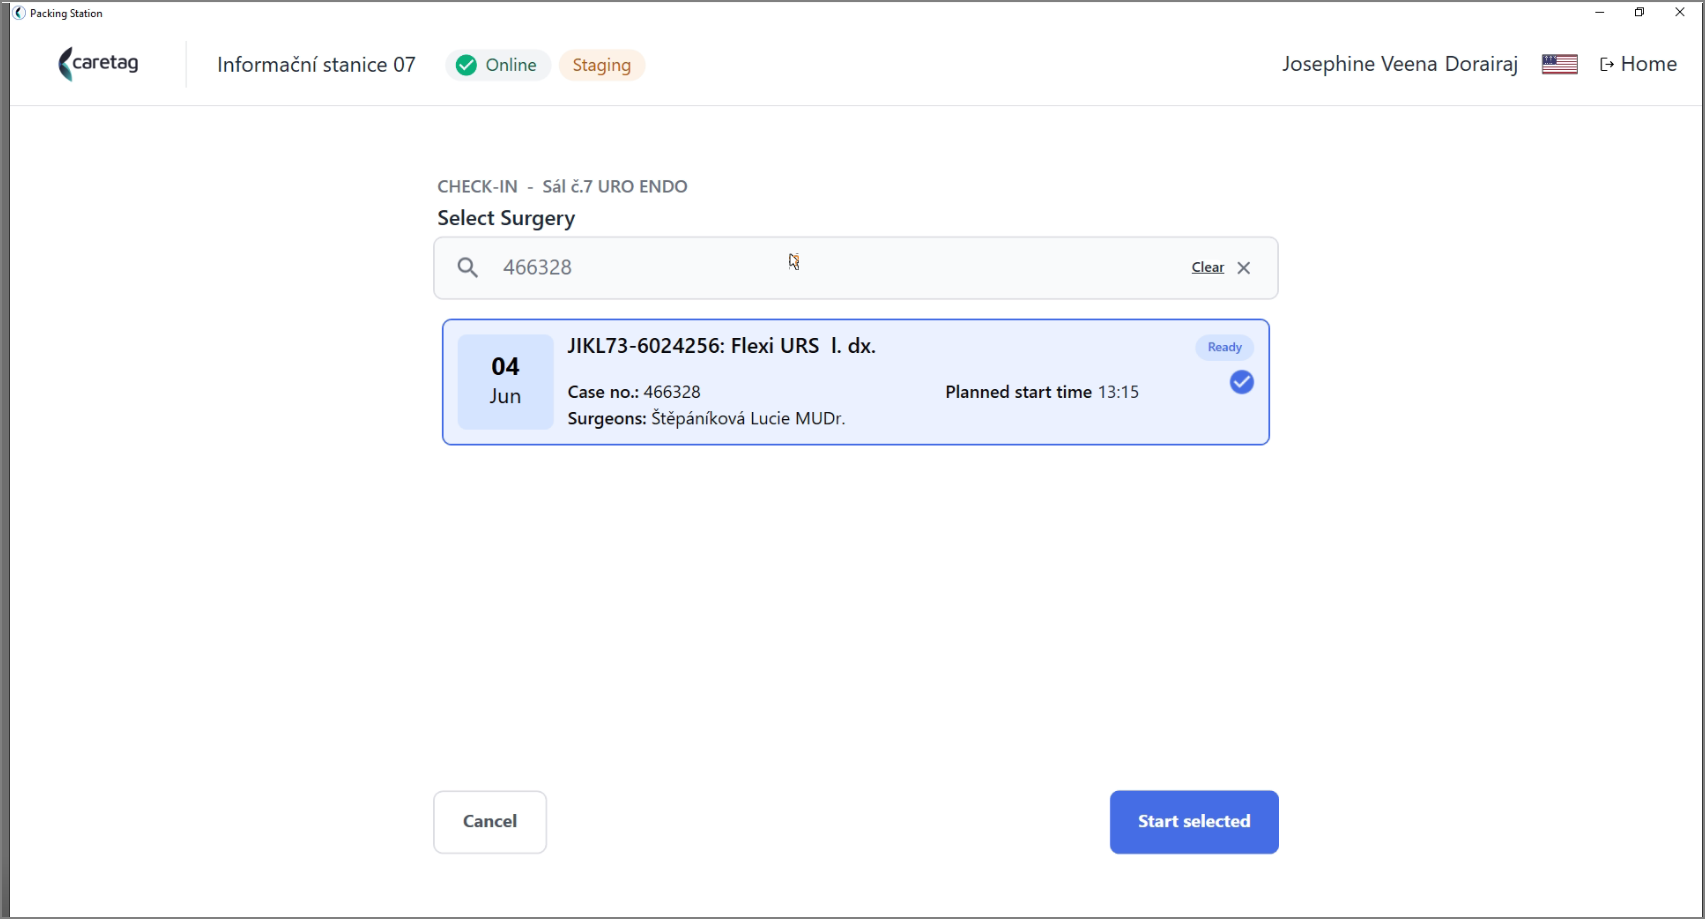
- Surgery details and items picked for this surgery are displayed.
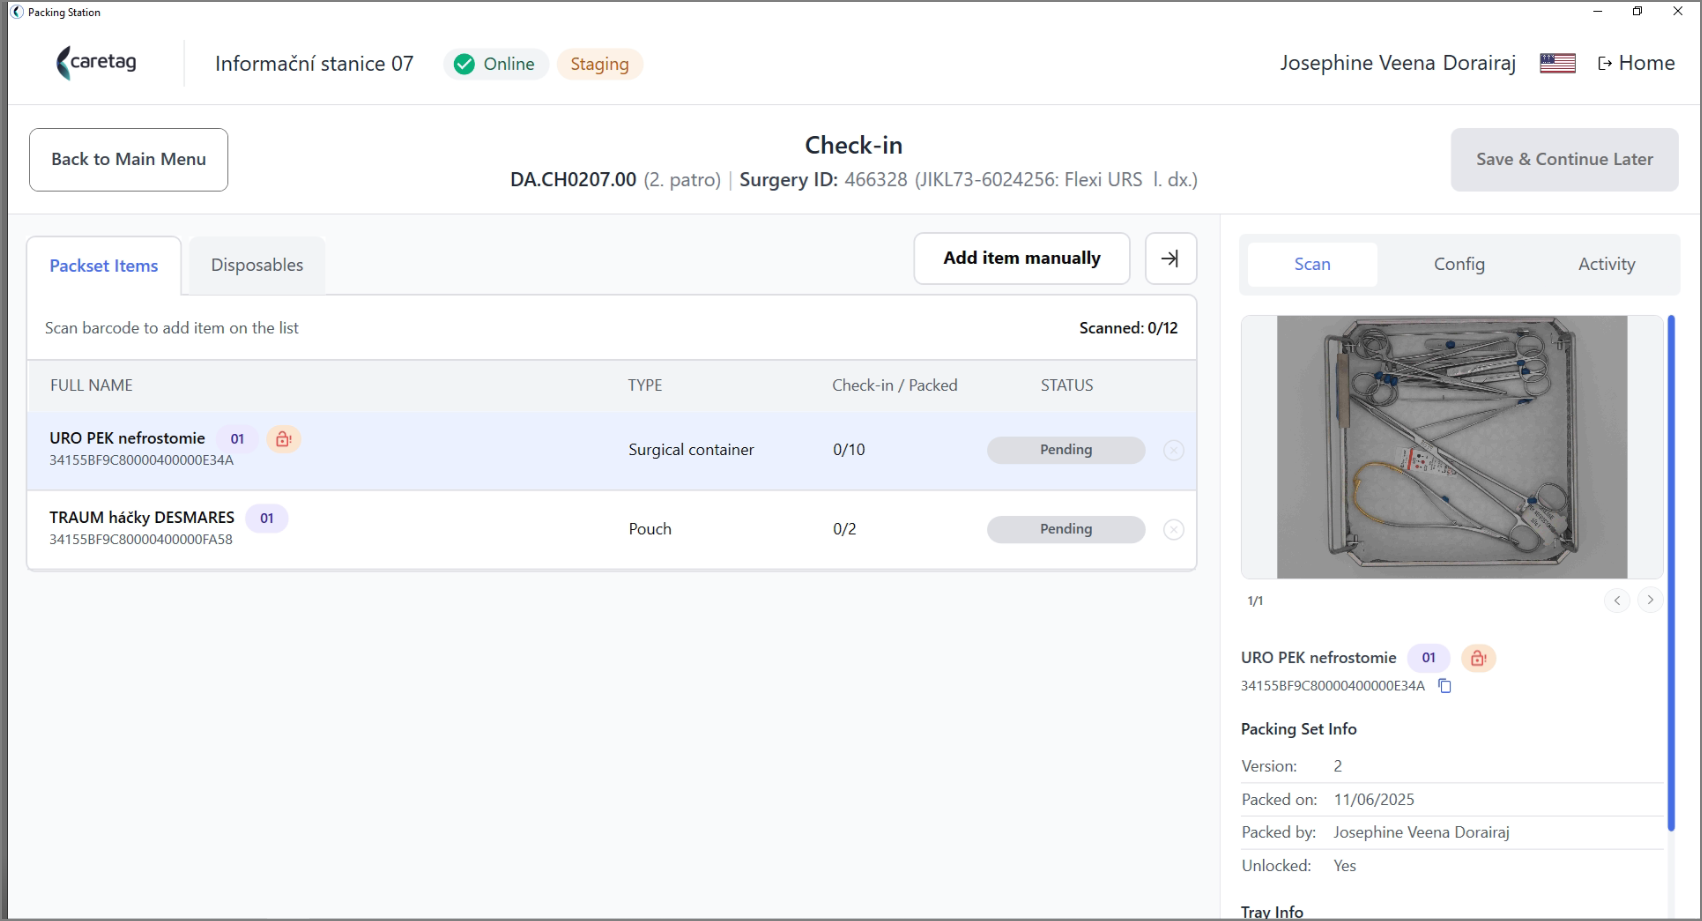
- In the center of the page, Operating Room, floor, Surgery Id and Name are displayed.
- Packed items, disposables are displayed below with the Packset name and count.
- On the right side there are 3 tabs: Scan, Config and Activity.
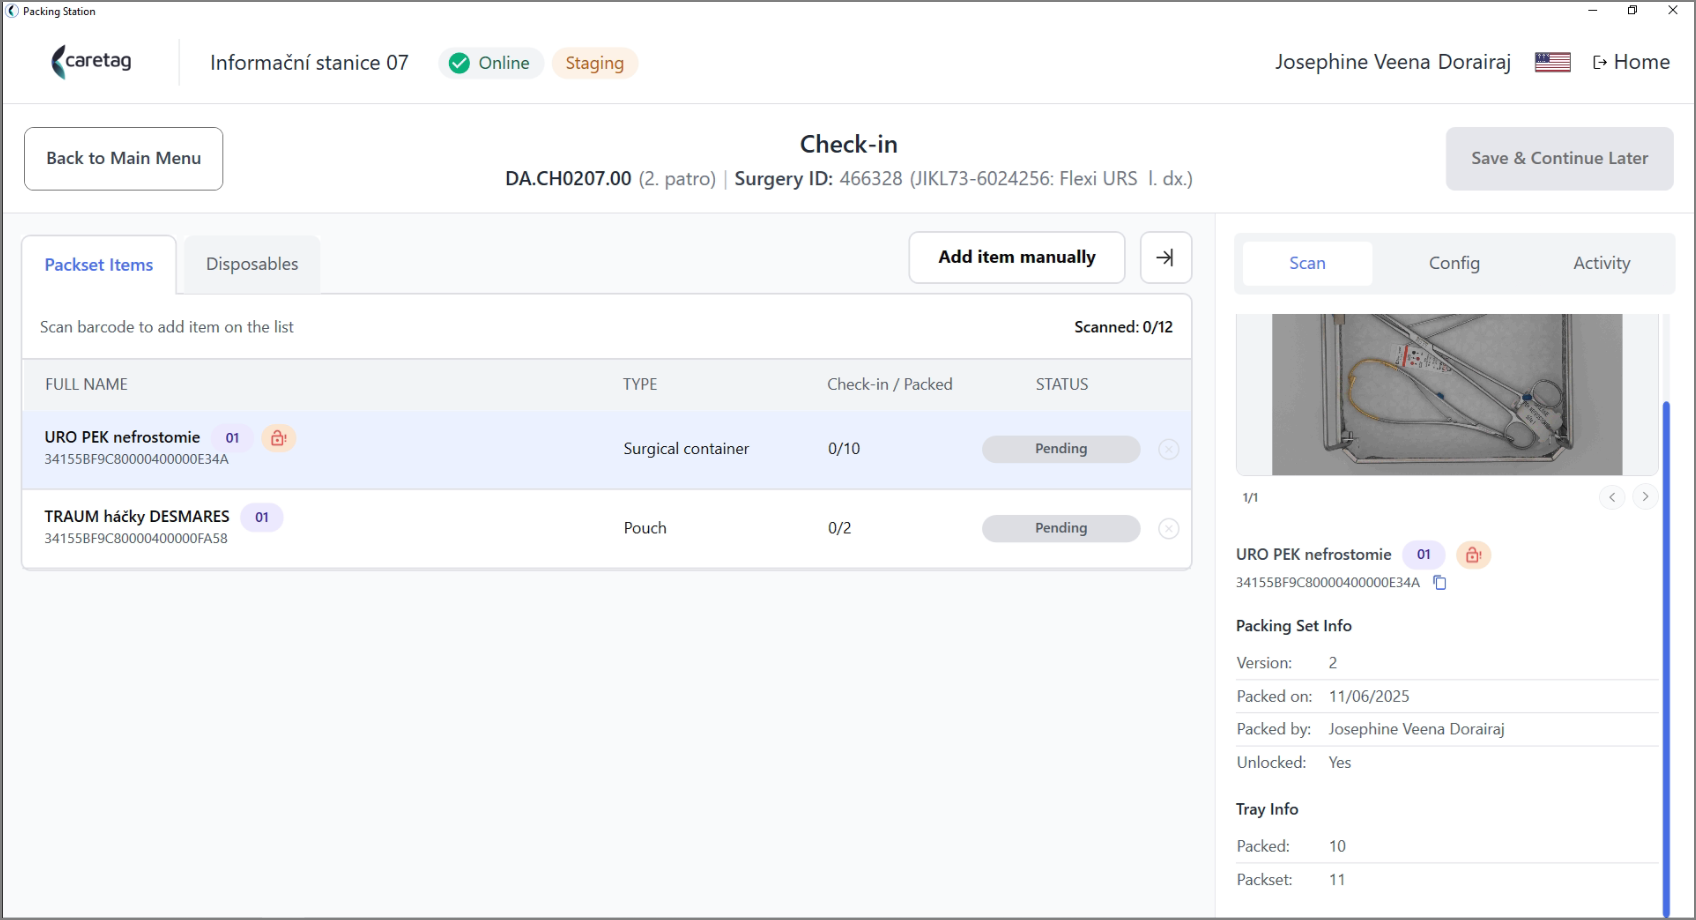
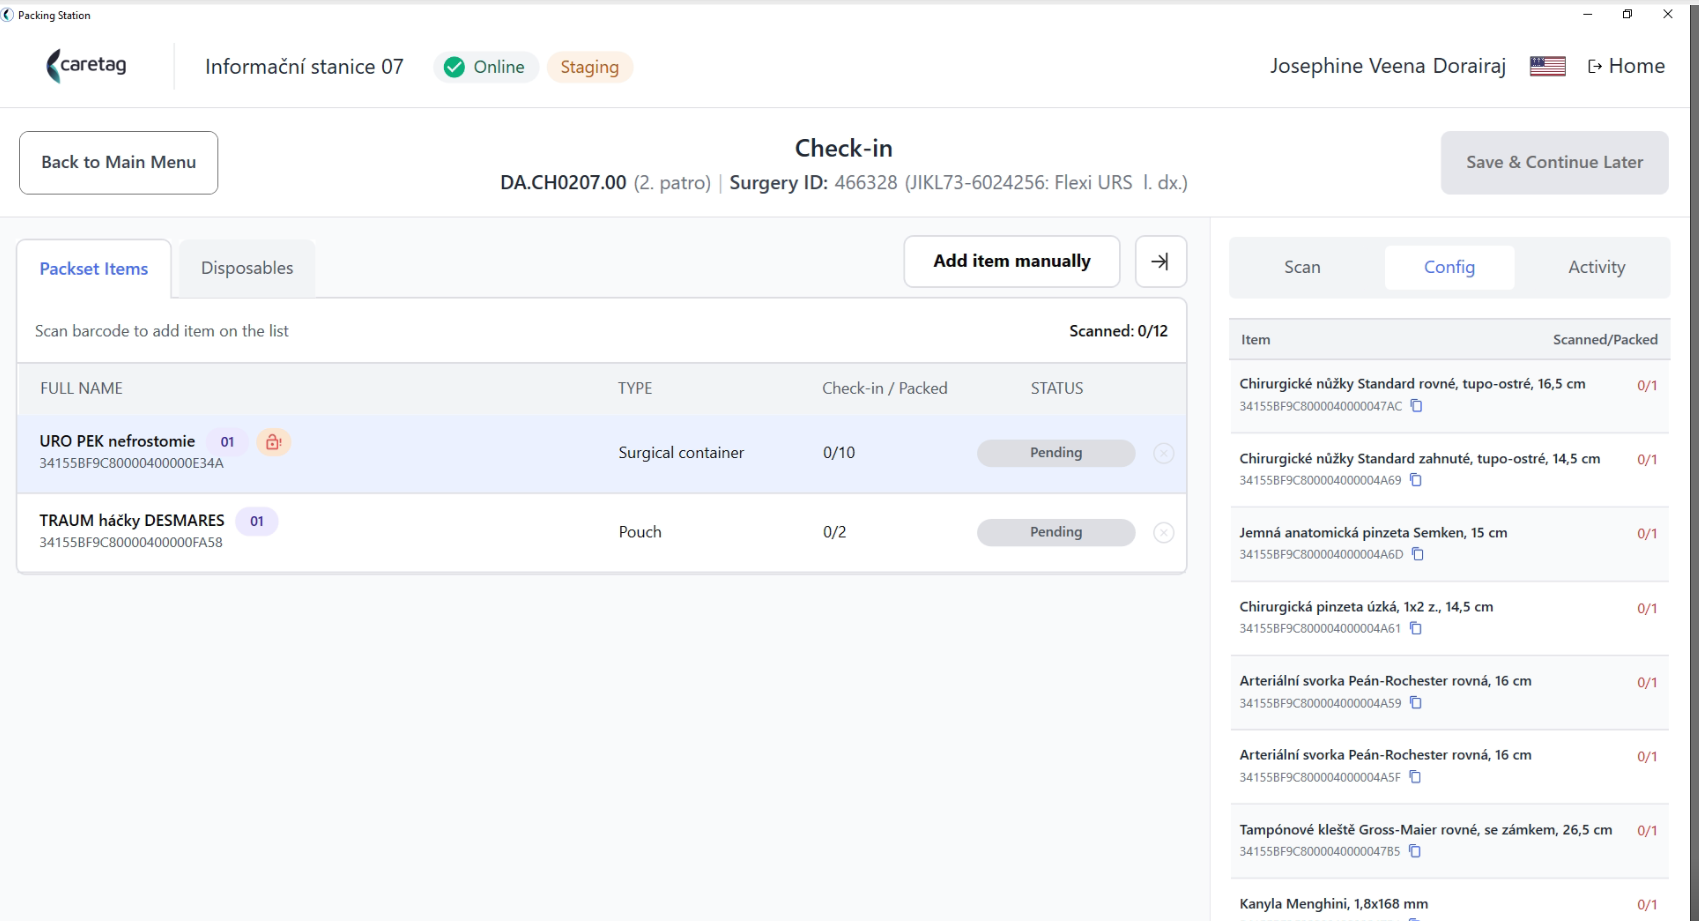
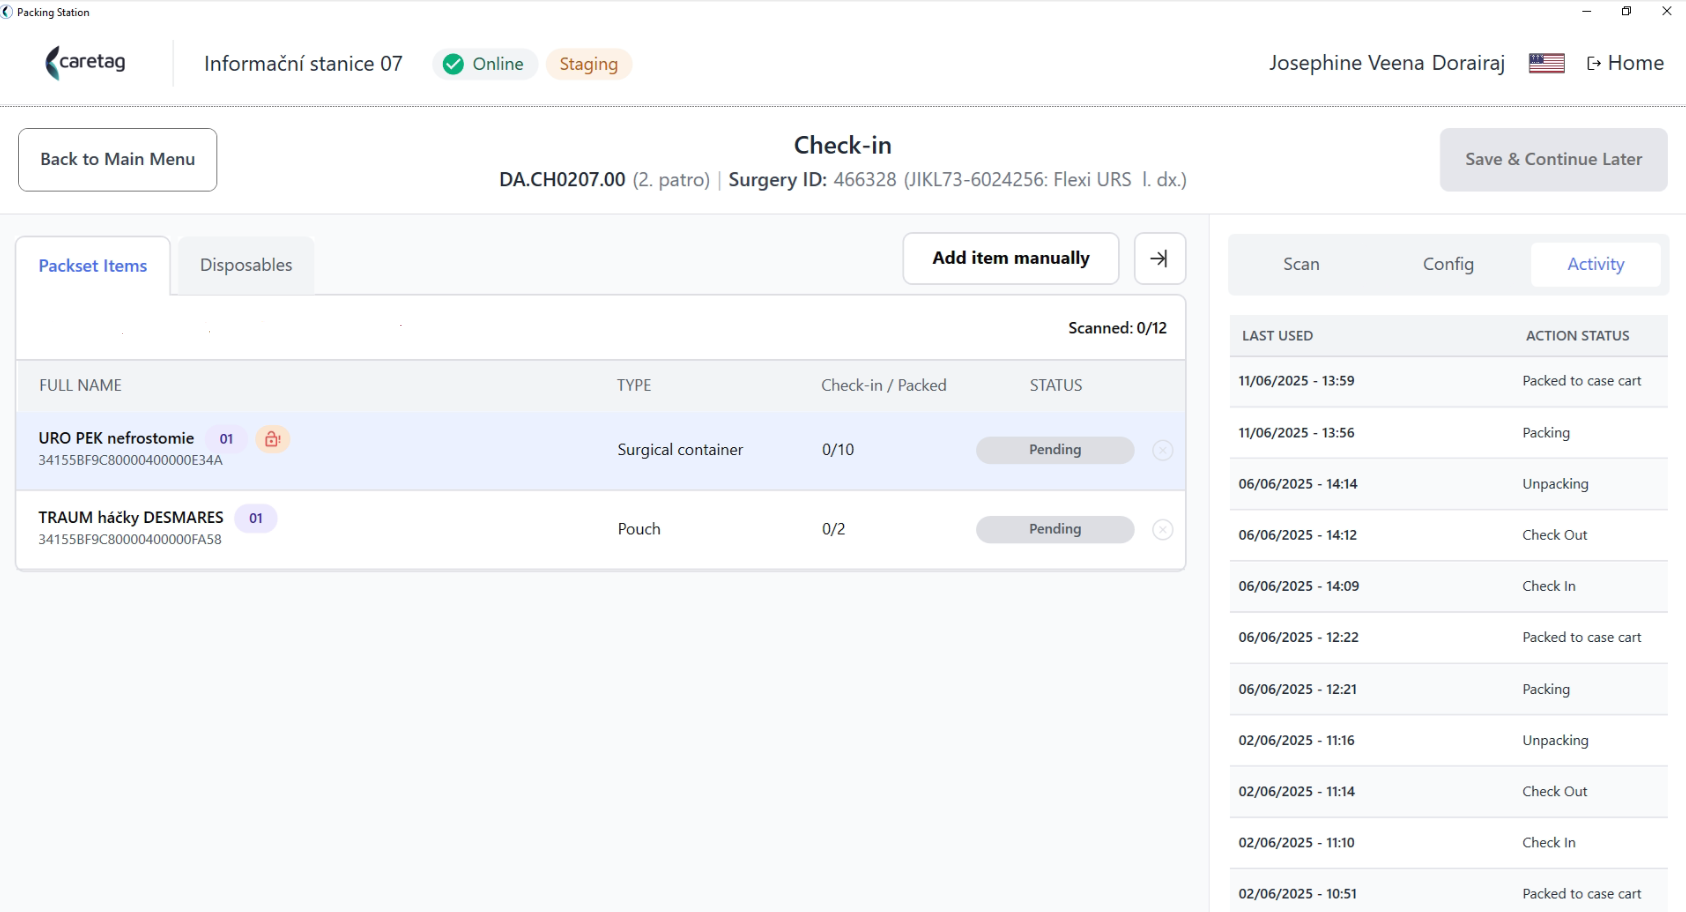
- Scan the container/Tray tags and pouch
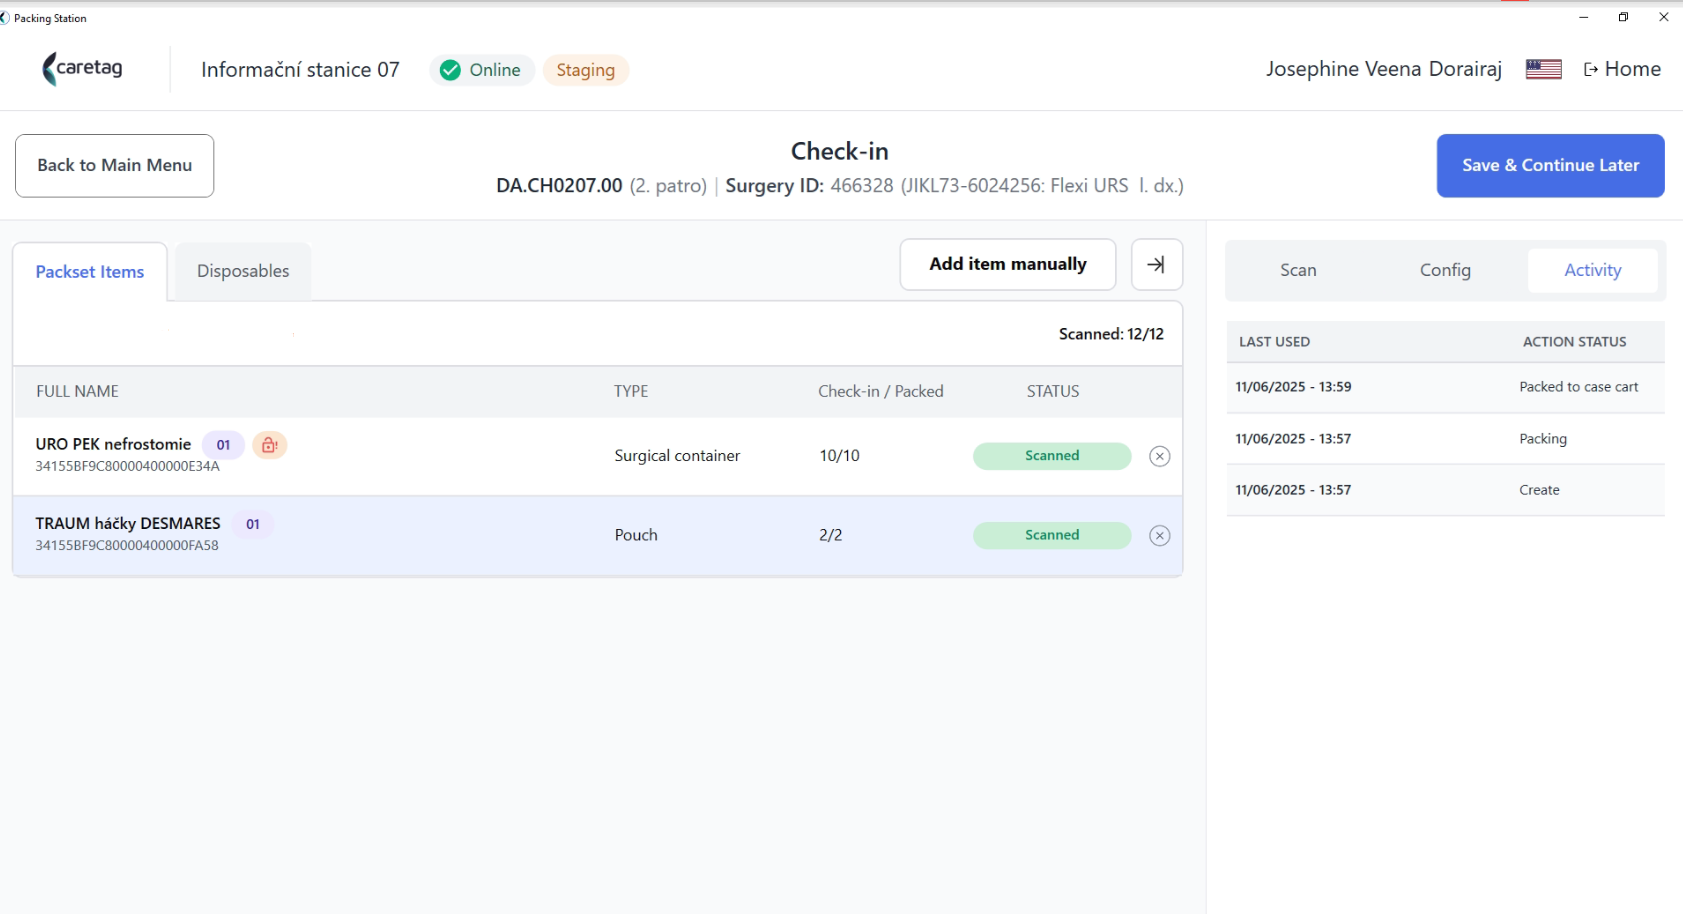
- When the pouch is scanned it will ask if all the items in the pouch are to be checked-in, click on confirm.
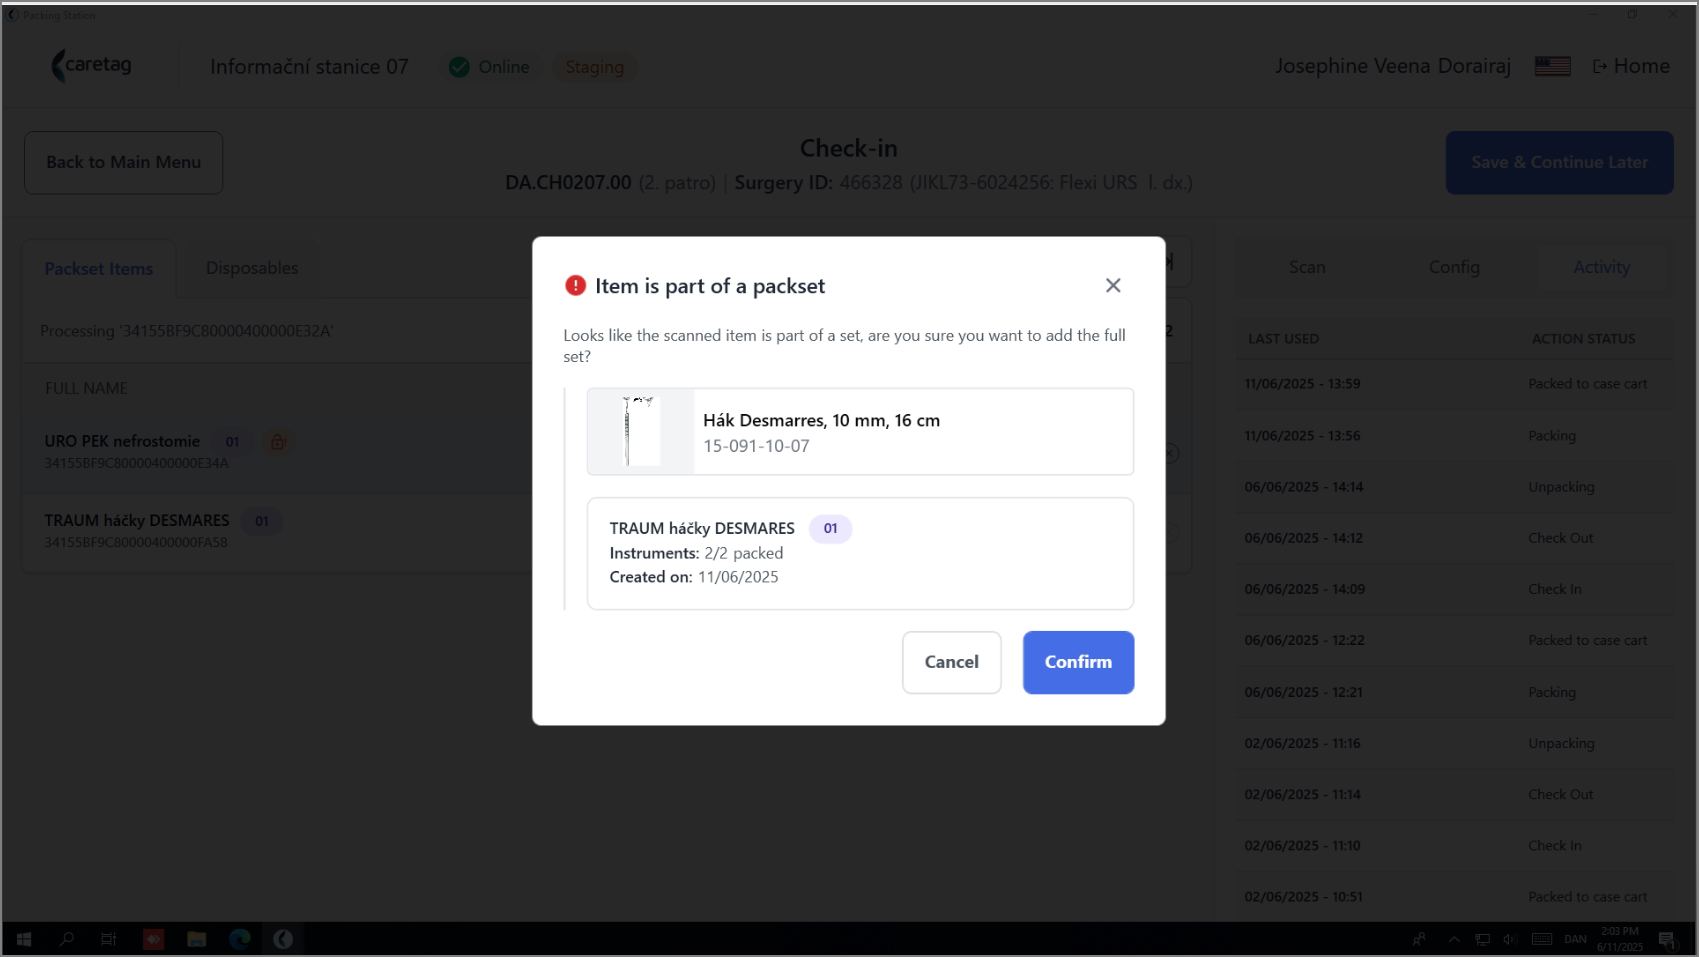
- Once all the items are scanned click on save and continue.
- A message will appear in green that new items are checked- in in the Operating Room.
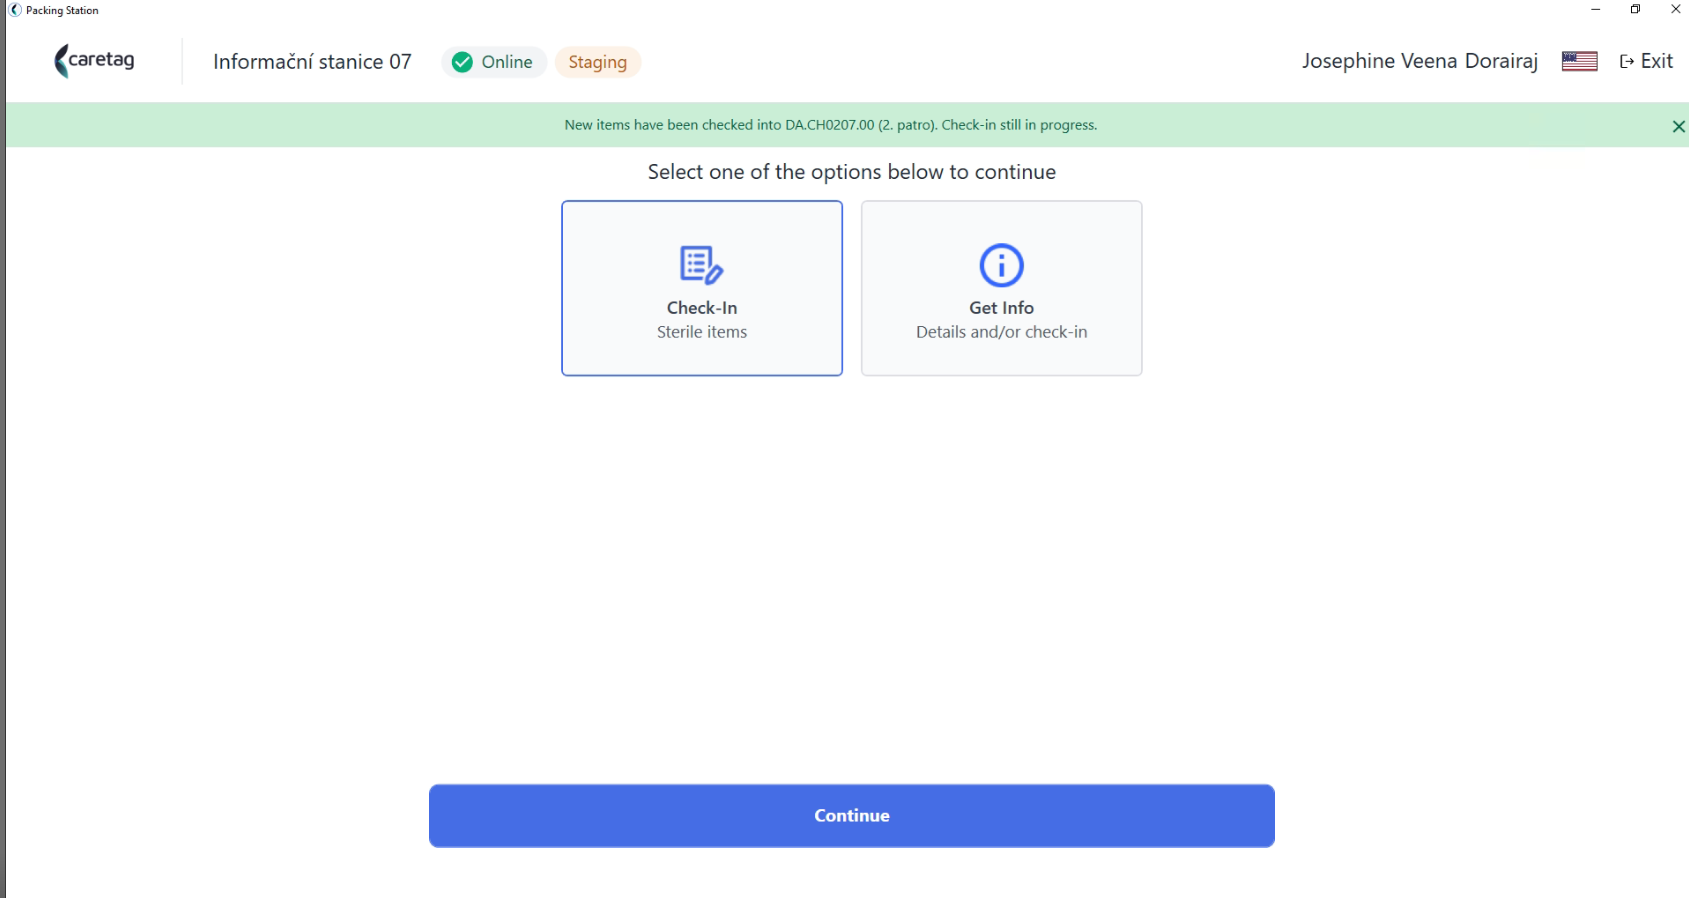
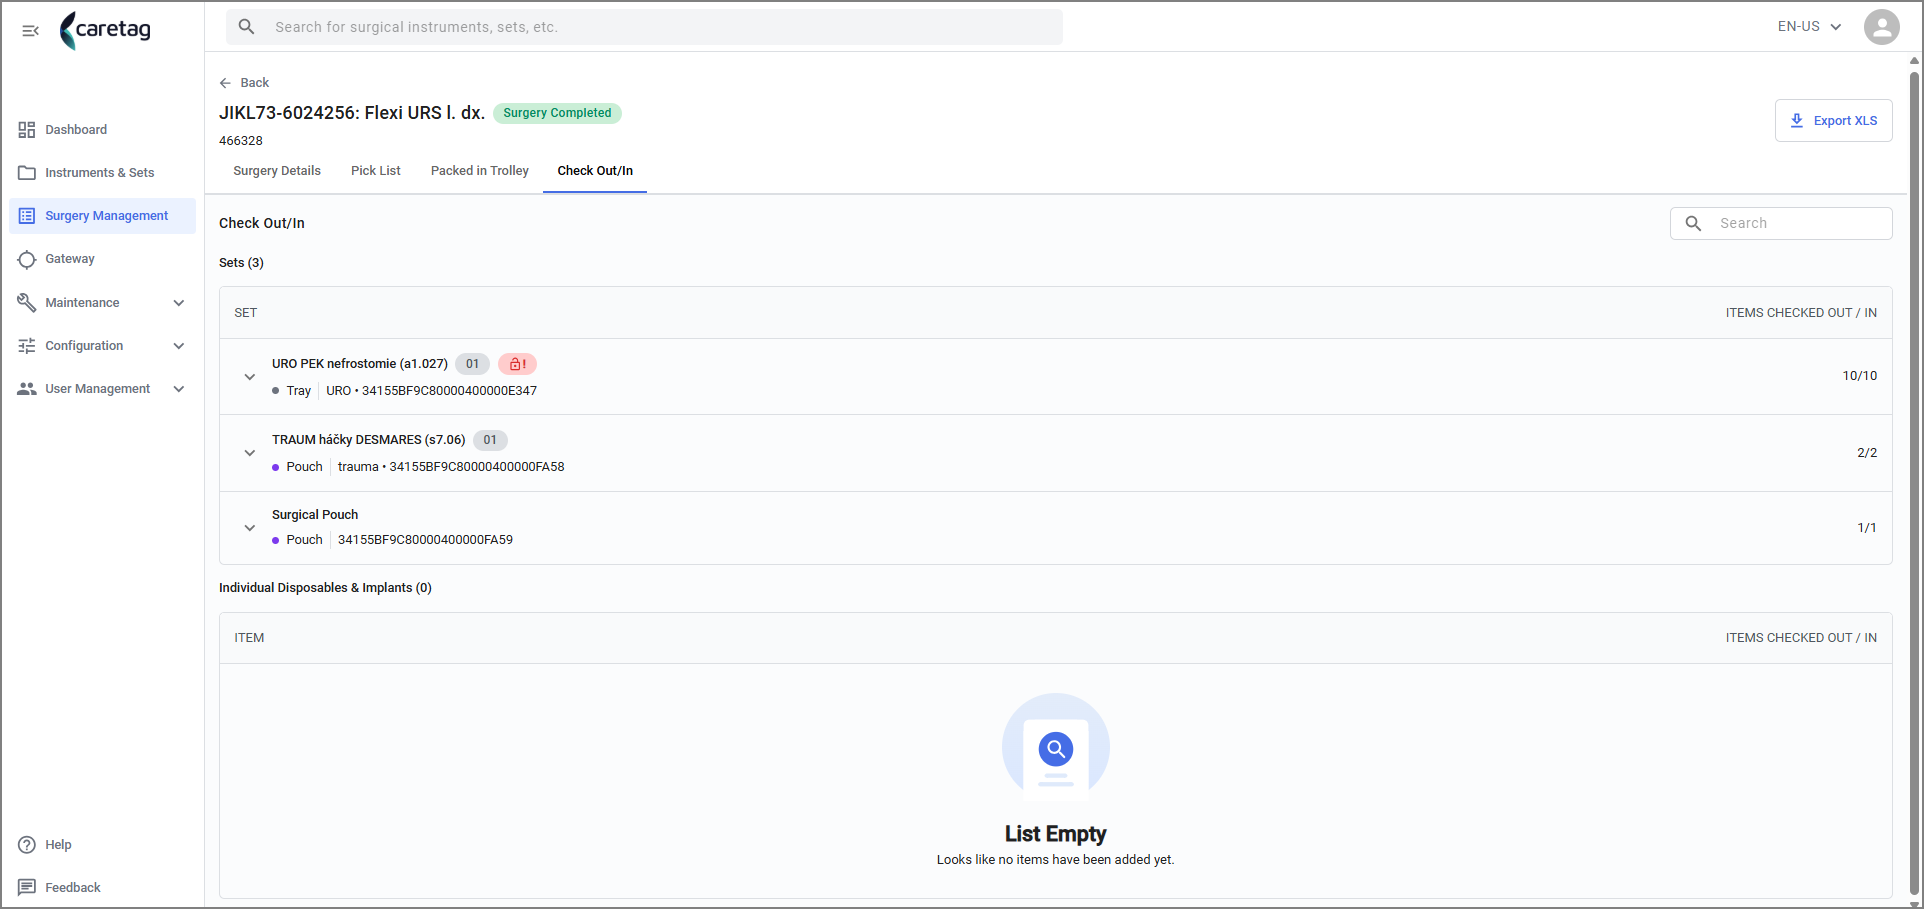
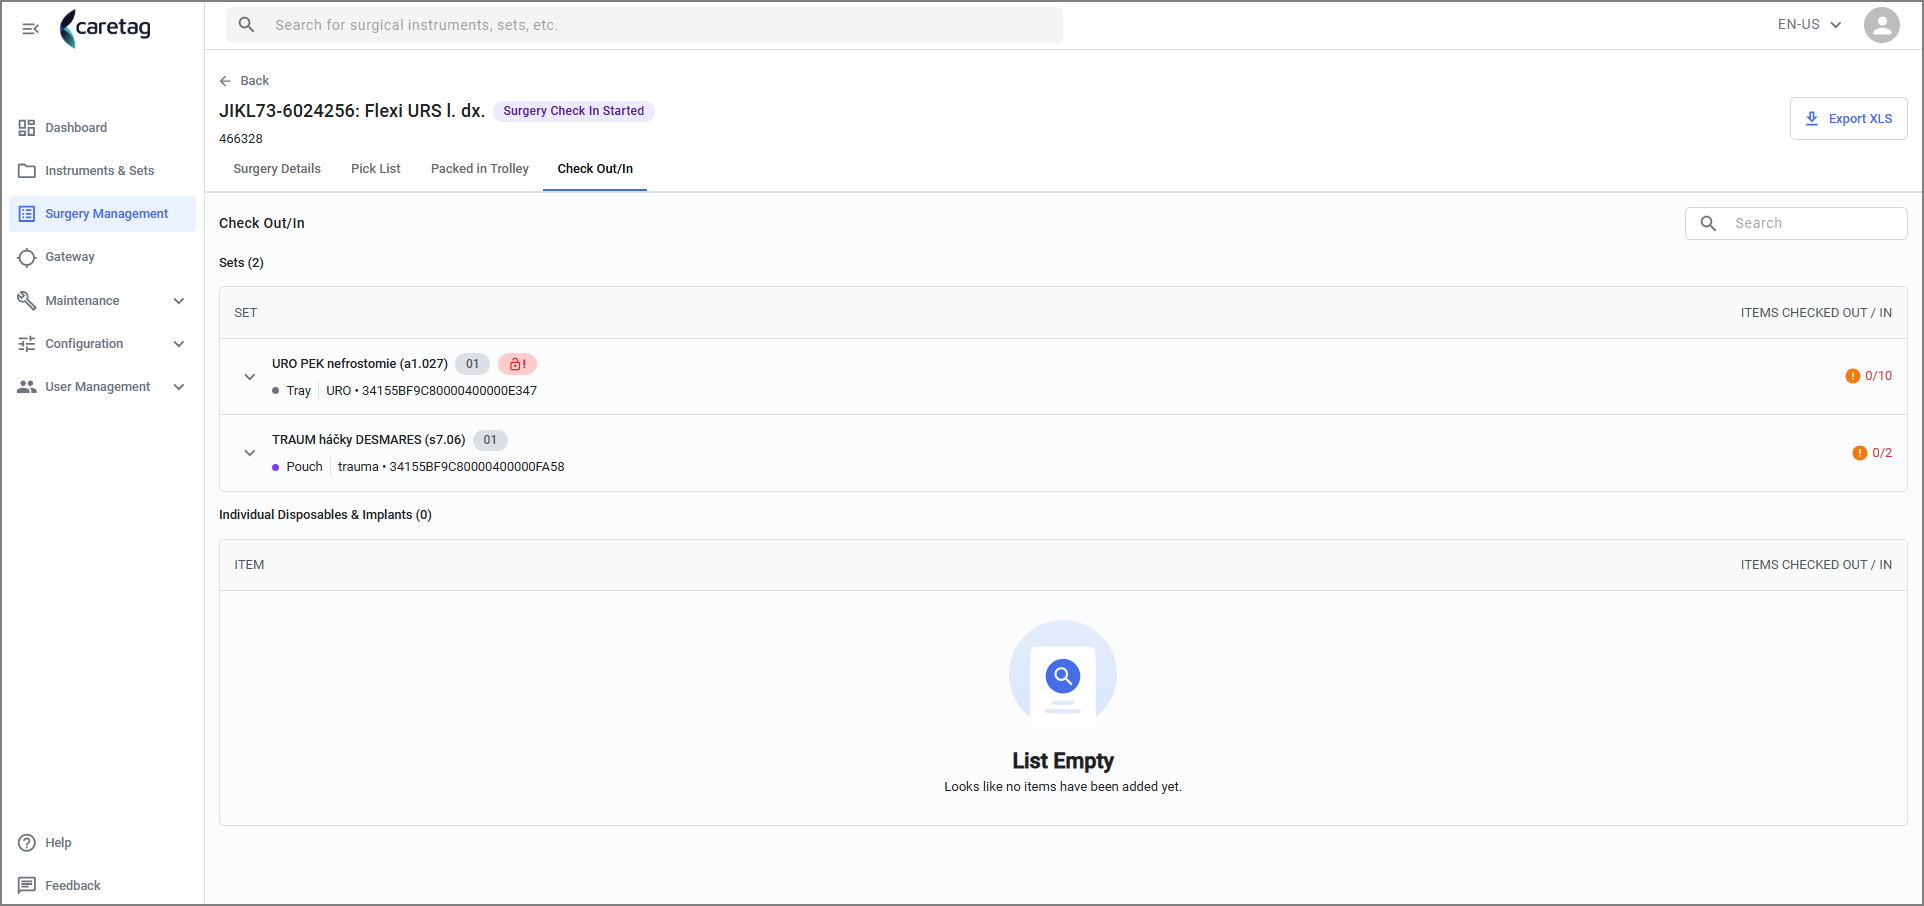
- Checked - In details can be seen in the Admin station, in Surgery Management.
- It displays the set name, number of items checked-in.
- To check-in any other sets picked for this surgery or to check-in extra items, select the same surgery from the list
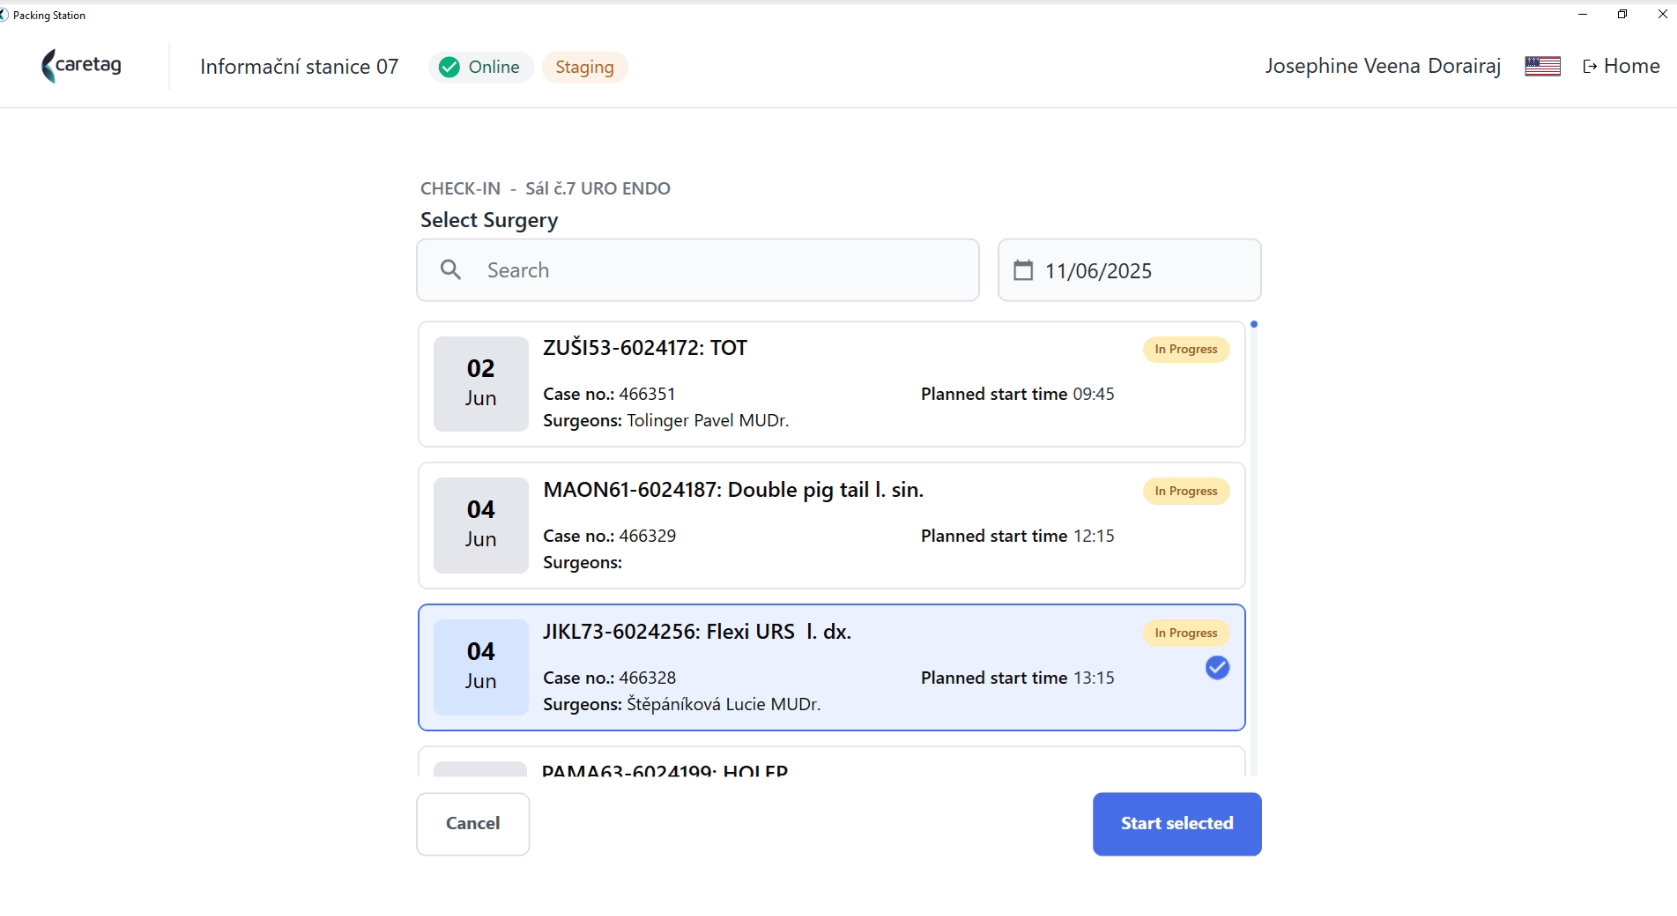
- Scan the Container/pouch.
- Click Save and continue later.
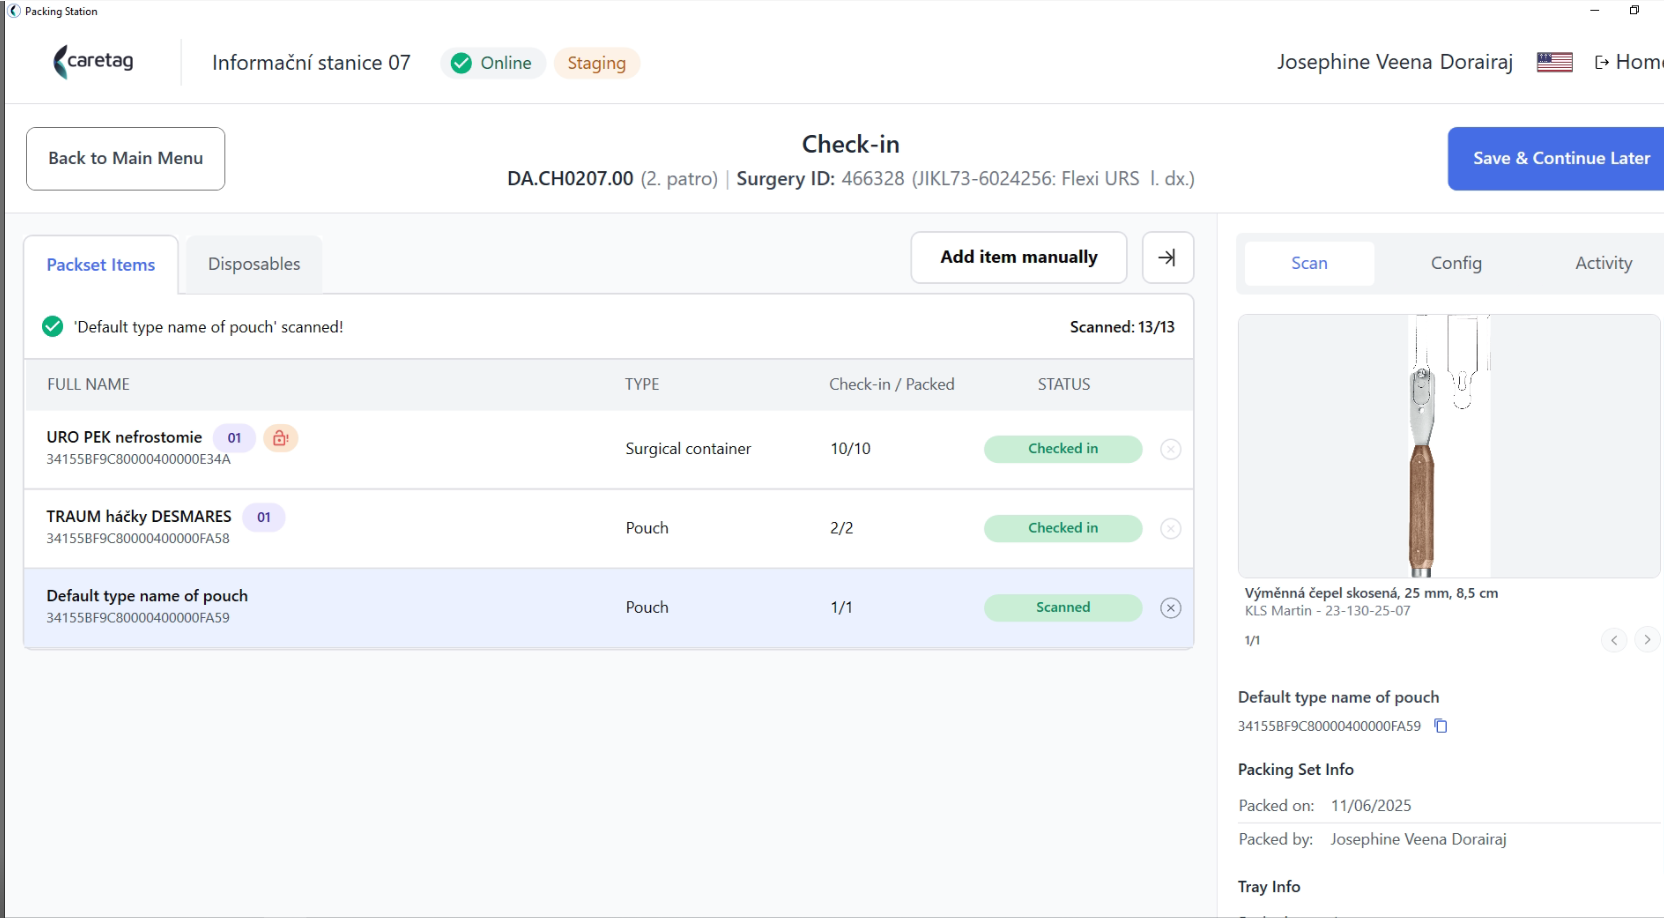
- Again a message will appear in green that new items are checked- in in the Operating Room.
- Now the checked in details get updated in the Admin Station.
- The Extra item checked in are displayed here.
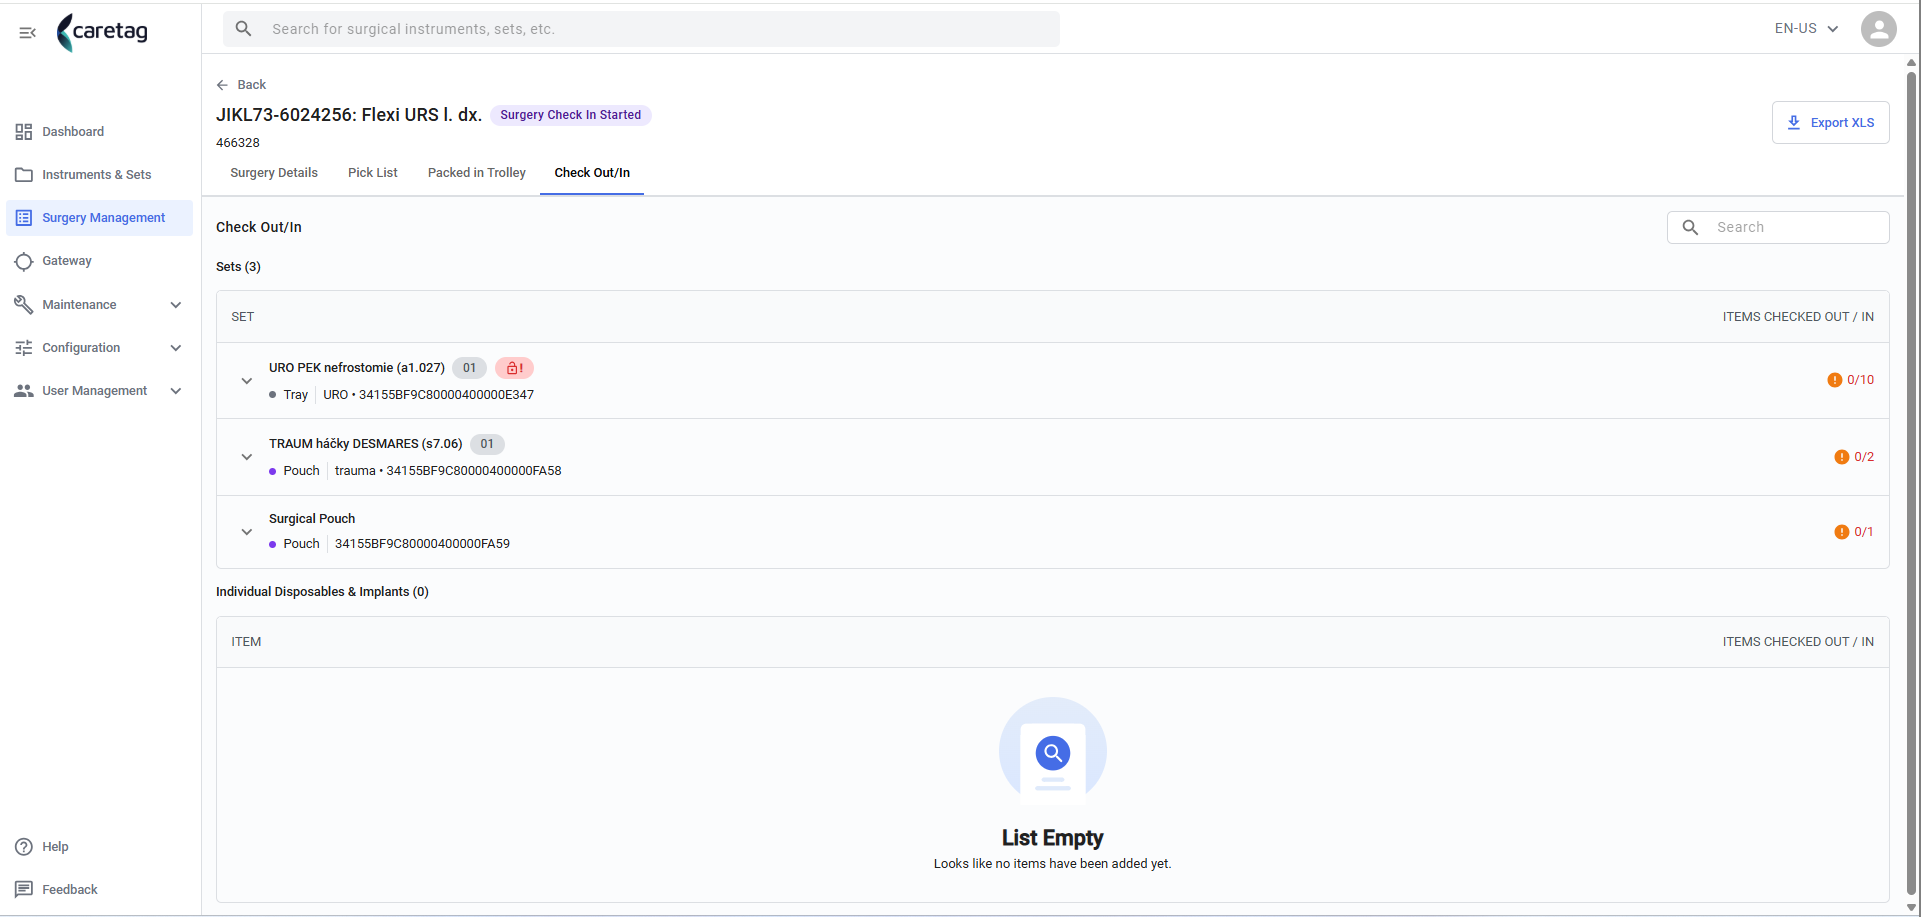
- Once Checked out, the details in the web-surgery management gets updated and displayed as below.